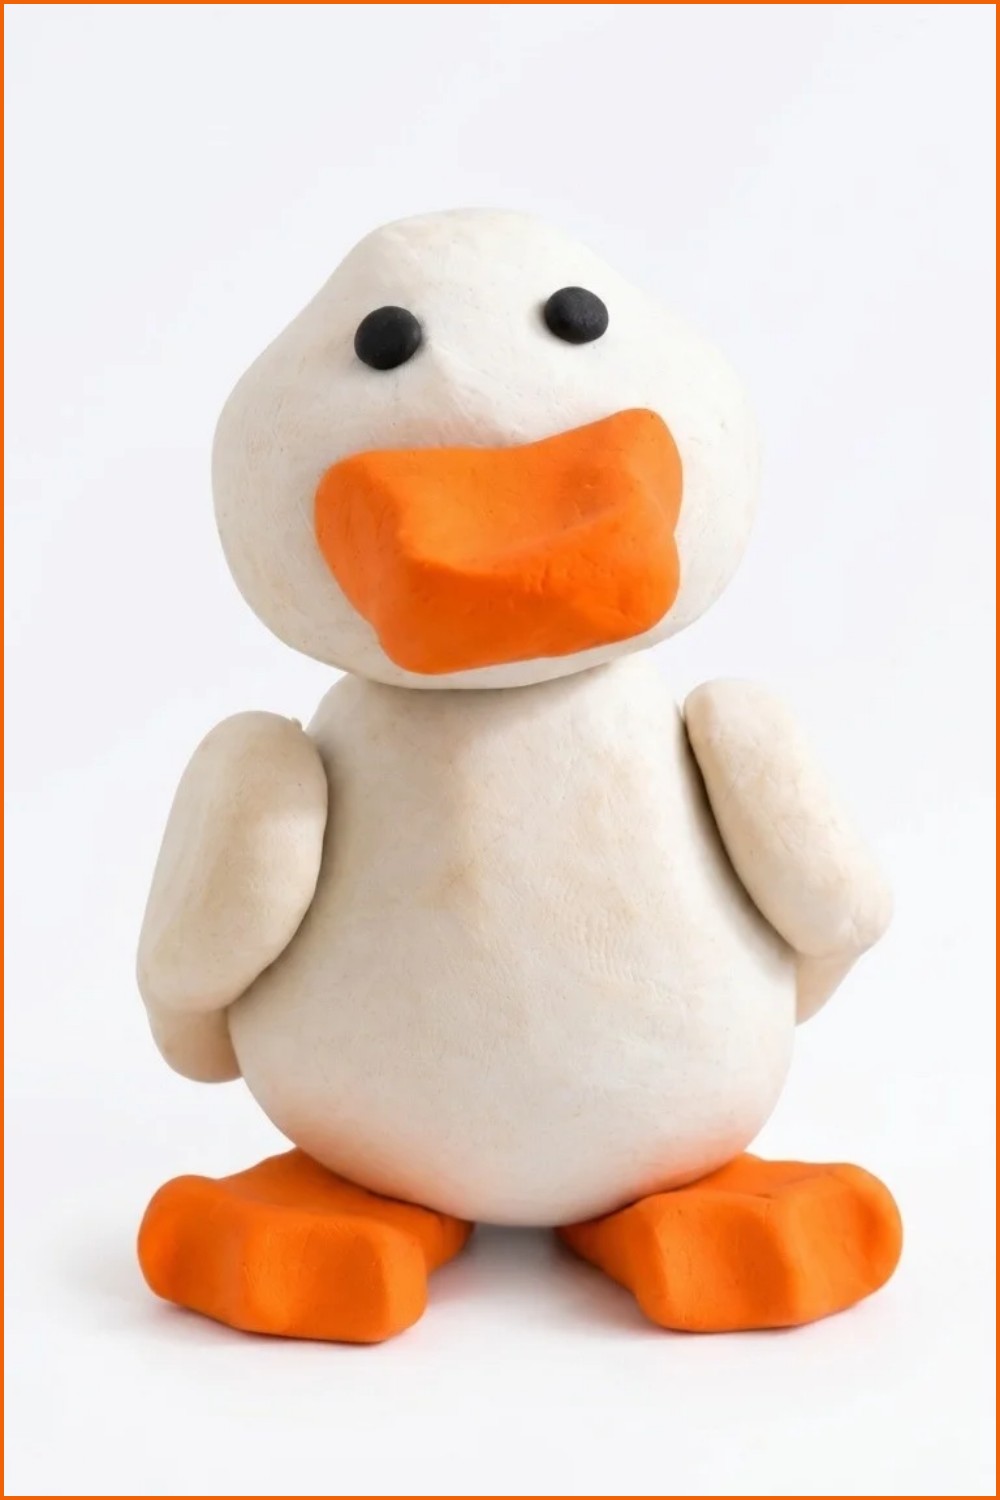
Make your own DIY Polymer Clay Duck effortlessly with this detailed guide and add a playful touch to your craft projects or DIY collection.
Making small, cute figures at home is a wonderful way to relax and smoothly show off your creative side. A really great project to start with is an adorable DIY Polymer Clay Duck. This specific idea was originally shared by the amazing YouTube channel Drawings In Action, and we absolutely want to give full credit to the creator for the tutorial and design. It is a very simple craft that easily turns soft, bright clay into a happy little bird, which is perfect for keeping on your desk or giving as a friendly gift.
Easy DIY Polymer Clay Duck For Beginners To Try
Creating it is a pure joy because you do not need any special skills to get a beautiful result. You just start by rolling a piece of yellow clay into a smooth ball for the head and a slightly larger piece for the body. Then, you can add tiny orange feet, a cute beak, and little black dots for the eyes. Working with the soft material feels just like playing with dough, bringing a nice feeling of calm. You can later bake it in your home oven so it becomes hard and lasts a long time.
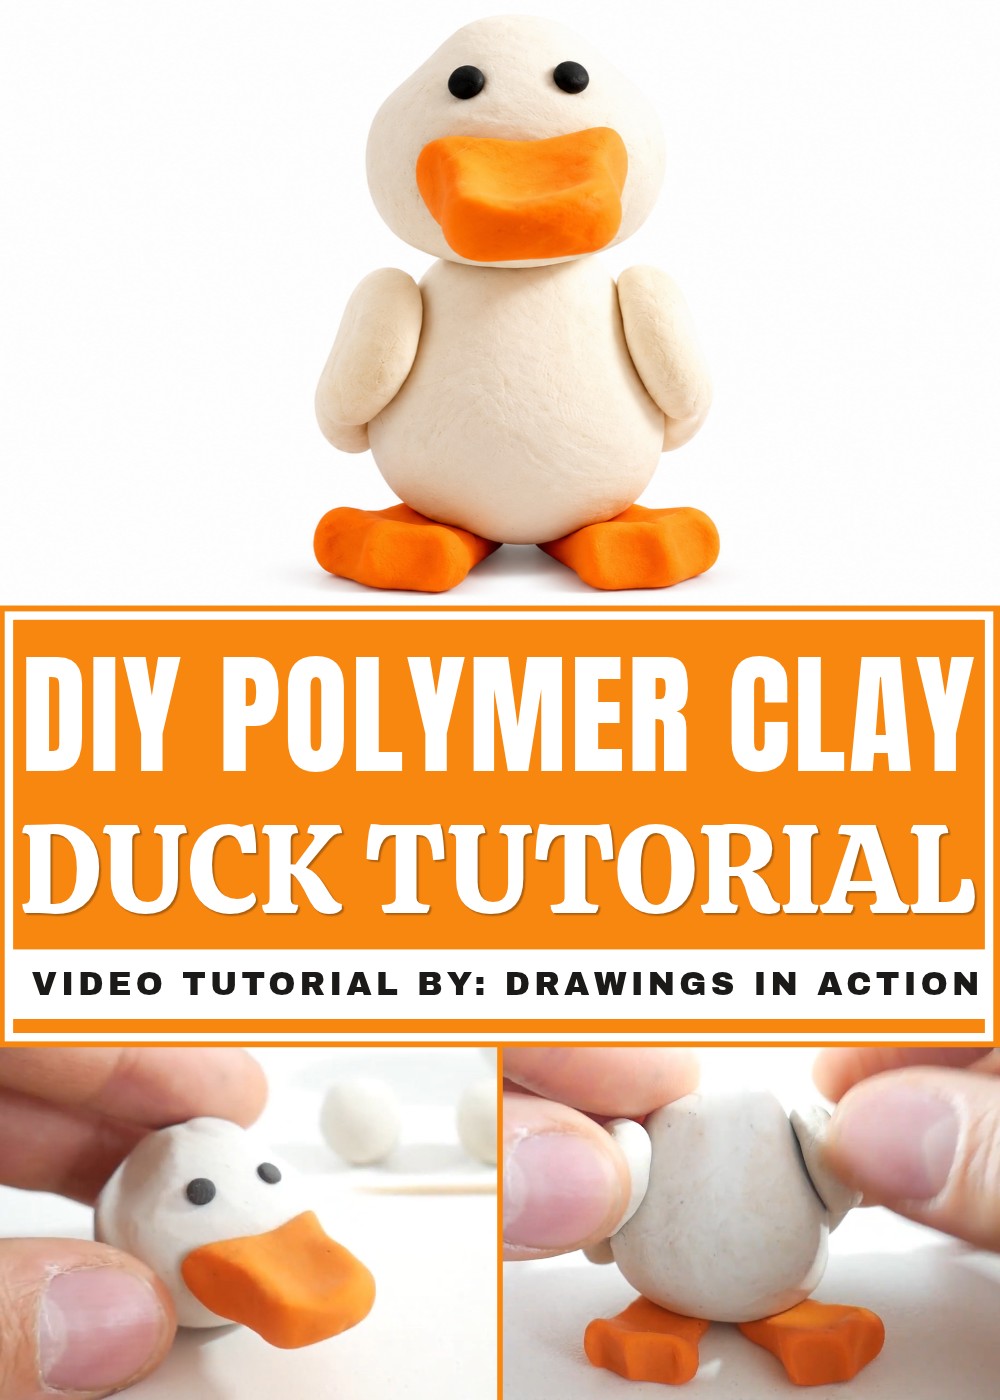
Anyone can enjoy doing this, whether you are trying it alone on a quiet afternoon or having a fun weekend with children. Once you are finished, you will have a cheerful little friend that is sure to bring a smile to anyone's face. It is a fantastic way to spend your free time, letting you easily build something cute from scratch with just your hands and simple steps. Grab some colorful clay, take your time, and enjoy the lovely feeling of holding your own handmade art.
DIY Tutorial: How to Make a Plasticine Duck
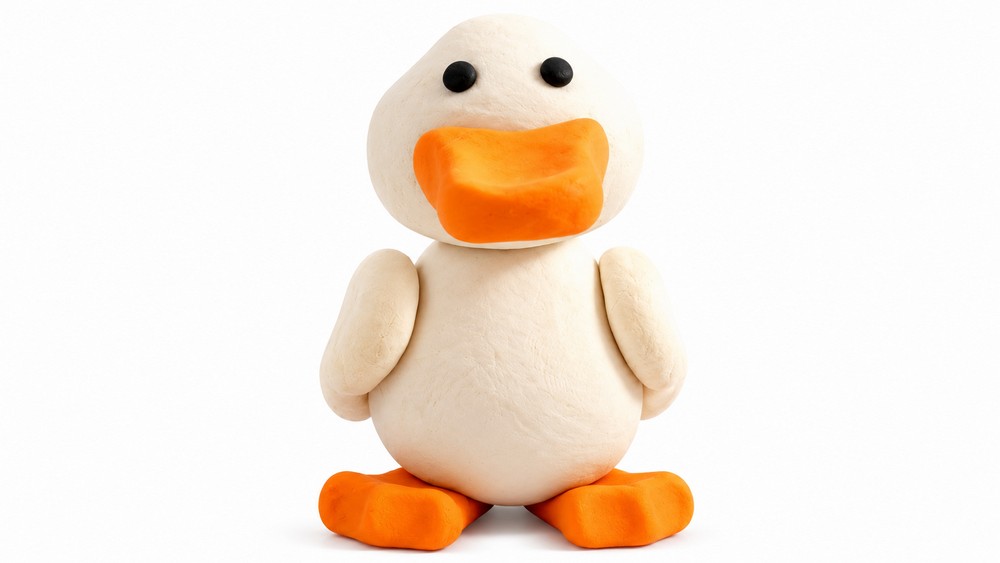
This step-by-step guide will help you mold an adorable plasticine duck using basic techniques. The duck is made with simple shapes like spheres, rectangles, and ovals, and the process is both beginner-friendly and efficient. Using white, orange, and black plasticine, you’ll craft a duck featuring realistic facial features, cute wings, and sturdy feet. Perfect for a creative activity or a unique decoration, this guide walks you through shaping, detailing, and assembling the duck with clear instructions. Let’s start shaping your playful plasticine character.
Materials and Tools
Materials
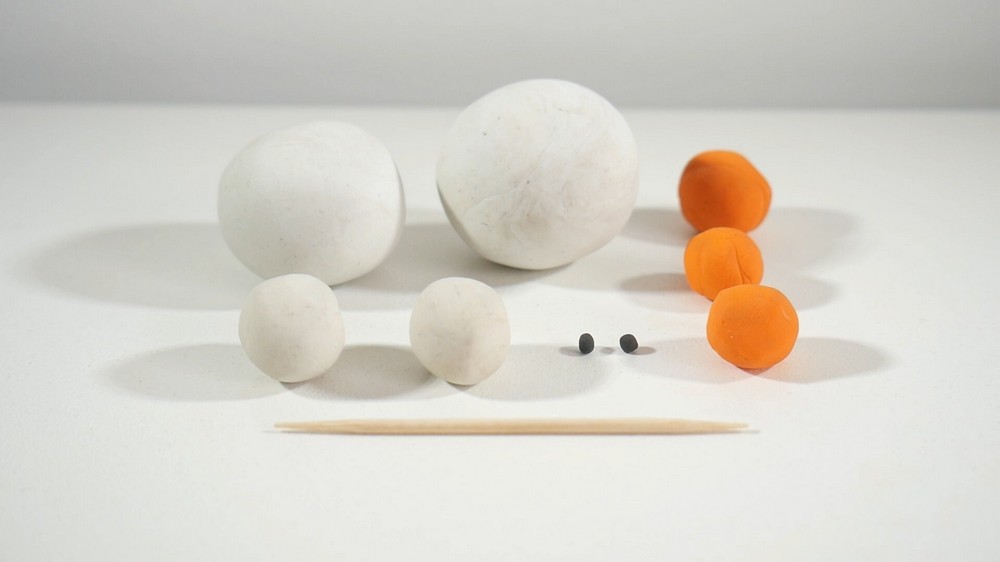
- White plasticine: For the head, body, and wings.
- Orange plasticine: For the beak and feet.
- Black plasticine: For the eyes.
Tools
- Toothpick: To securely attach the duck’s head to its body.
- Pencil or pointed tool: To add details to the feet.
- Clean workspace: To ensure the plasticine remains clean and free of debris.
Full Instructions
Shaping the Head
Create the Duck’s Head
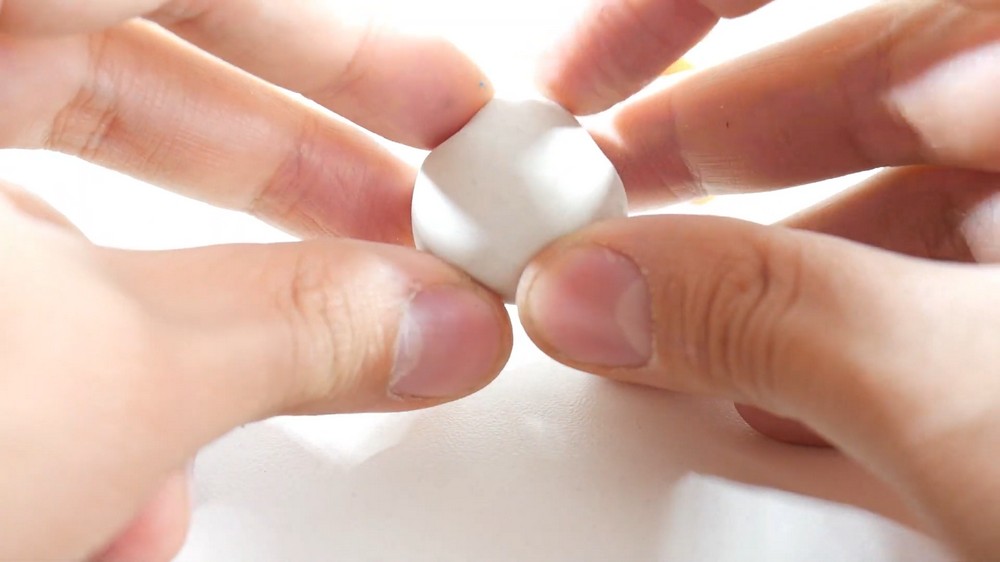
- Take a ball of white plasticine, about the size of a small egg.
- Roll the ball into a smooth sphere, ensuring there are no cracks or fingerprints.
- Pinch the top of the ball gently using your fingers to form a slightly tapered shape. This will mimic the natural contours of a duck’s head.
Crafting the Beak
Shape the Beak
- Take a small ball of orange plasticine, about the size of a marble.
- Roll it smoothly into a sphere, then mold it into a rectangle shape by flattening the sides with your fingers.
Finalize Beak Shape
- Gently pinch one end of the rectangle to form a slightly tapered tip while keeping the other end wider.
- Stretch the edges of the wide end slightly outward to create a natural curve that resembles a duck’s beak.
- Flatten the middle of the beak slightly for a realistic touch.
Attach the Beak
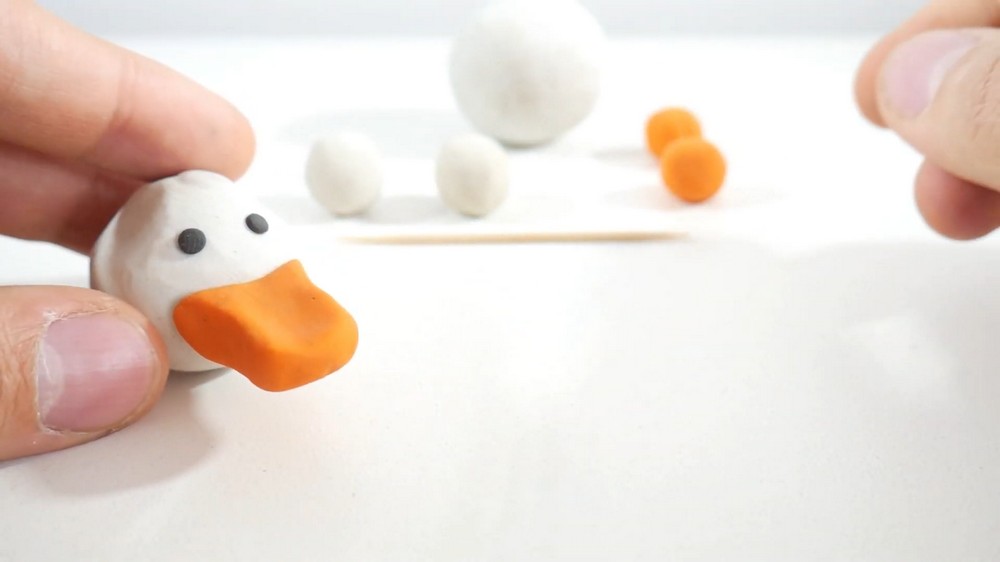
- Position the beak at the lower center of the white head and press gently to attach it securely. Be sure the beak is aligned symmetrically with the head.
Adding the Eyes
Shape the Eyes
- Take two tiny balls of black plasticine, slightly smaller than the size of a pea.
- Roll the black plasticine into spheres, ensuring they are smooth and equal in size.
Attach the Eyes
- Place the black spheres above the orange beak on the head, leaving a small gap between them to form evenly spaced eyes. Gently press each ball into the white plasticine so that the eyes adhere securely and add character to the duck’s face.
Shaping the Body
Form the Body
- Take the largest ball of white plasticine, roughly twice the size of the head’s ball.
- Roll the ball into a smooth and even sphere.
- Shape the sphere into a pear-like form by elongating one side slightly and leaving the other side rounded. The tapered end will represent the duck’s lower body, while the wider part will connect to the head.
Crafting the Wings
Shape the Wings
- Take two small balls of white plasticine, each about half the size of the body ball.
- Roll each white ball into a smooth sphere, then flatten them slightly.
- Pinch one end of the flattened shape with your fingers to form a comma-like curve.
Attach the Wings
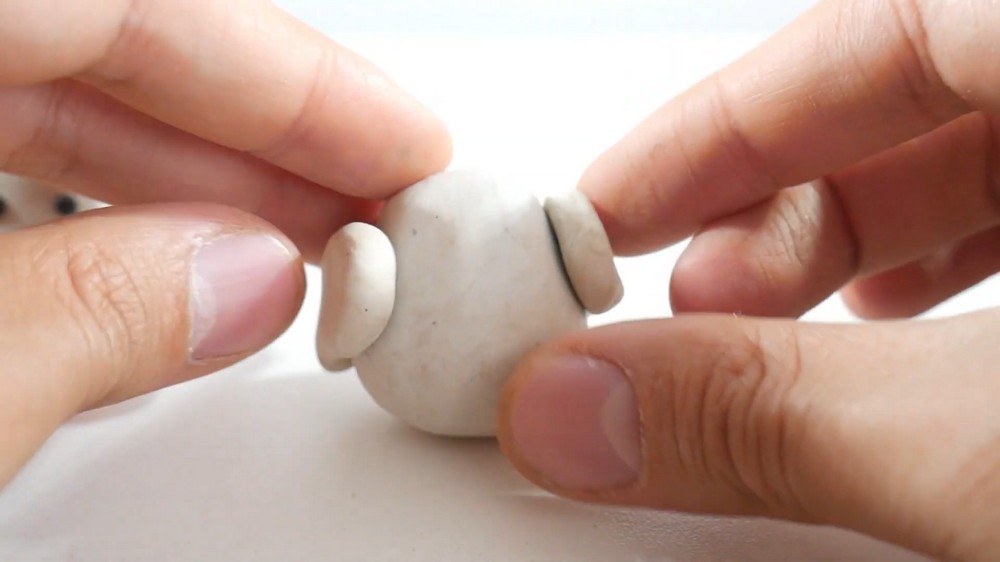
- Position one wing on each side of the duck’s body, ensuring the curved ends point slightly downward in a relaxed pose.
- Press each wing gently onto the body to secure them. Be sure to align them symmetrically on both sides.
Making the Feet
Shape the Feet
- Take two small balls of orange plasticine, slightly larger than the balls used for the wings.
- Roll each ball into a sphere, then shape it into a flattened oval using your fingers.
Add Toe Details
- Using a pencil or pointed tool, draw two gentle curved lines on each orange oval to represent the toe shapes on the duck’s feet.
- Smooth out the edges of the feet with your fingers if needed. This will give them a polished and realistic appearance.
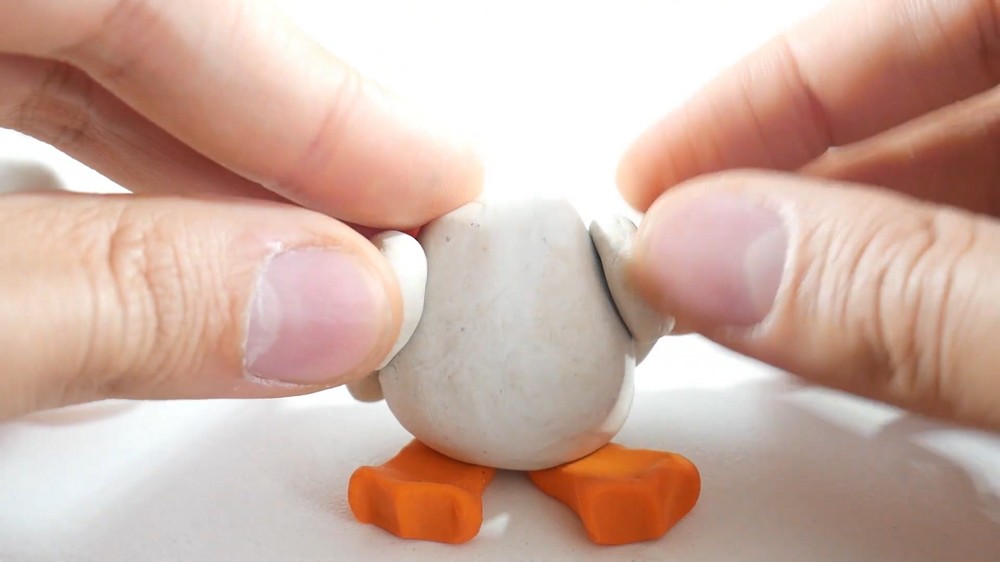
Attach the Feet
- Position the oval-shaped feet at the bottom of the duck’s pear-shaped body, near the tapered end. Make sure the feet are evenly spaced apart and securely attached for stability.
Connecting the Head and Body
Use a Toothpick
- Take a toothpick and snap it in half, creating a smaller piece to connect the head and body.
- Push one half of the toothpick into the top center of the body, ensuring that some of it remains exposed for the head connection.
Attach the Head
- Align the tapered bottom of the head with the exposed toothpick on the body. Push gently to secure the head onto the body, ensuring it is firmly connected. Check that the head is properly aligned with the body and that it doesn’t wobble.
Adding Final Details
Review the Duck’s Features
- Inspect the duck’s head, body, wings, and feet to ensure that the features are balanced and symmetrical. Adjust any parts that appear uneven.
Smooth and Polish
- Use your fingers to smooth out any visible fingerprints or marks on the plasticine. This will give the duck a polished and professional appearance.
Project Reflection
Your adorable plasticine duck is now complete! The contrast of the white body and wings with the vibrant orange beak and feet makes for a visually appealing result. Adding tiny black eyes further enhances the duck's playful expression. The project exemplifies how simple shapes can form beautiful creations with minimal effort.
Whether displayed as a decoration, gifted to a loved one, or used for imaginative play, the completed duck is sure to leave a positive impression. This creative endeavor emphasizes the joy of working with your hands to produce art that is personal and rewarding. The process also encourages attention to detail and design, proving that artistic simplicity can be elegant. Enjoy showcasing your lovely duck or experimenting with other designs using the same techniques.