Display a little jungle friend with DIY Polymer Clay Crocodile, featuring green clay details and a cheerful face for desks and festive gifts.
Drawings In Action shares an interesting animal project that shows how simple clay shapes can represent a wild creature in a friendly and colorful way. This DIY Polymer Clay Crocodile is a nice choice for animal lovers who want something unusual to display at home.
Simple DIY Polymer Clay Crocodile For Miniature Animal Decorations
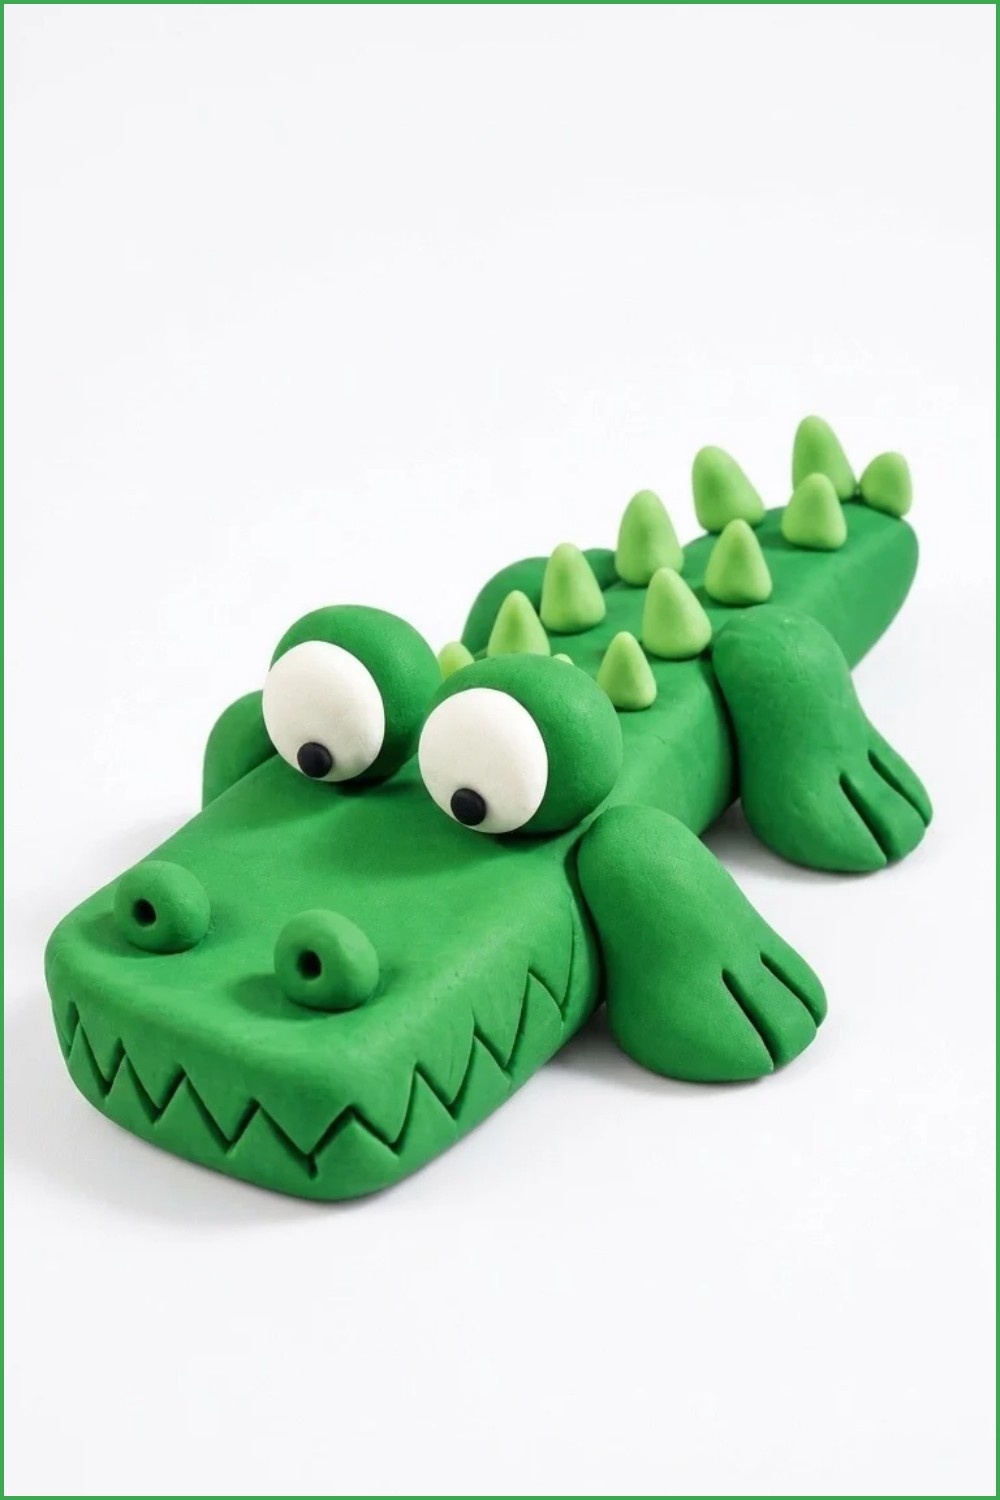
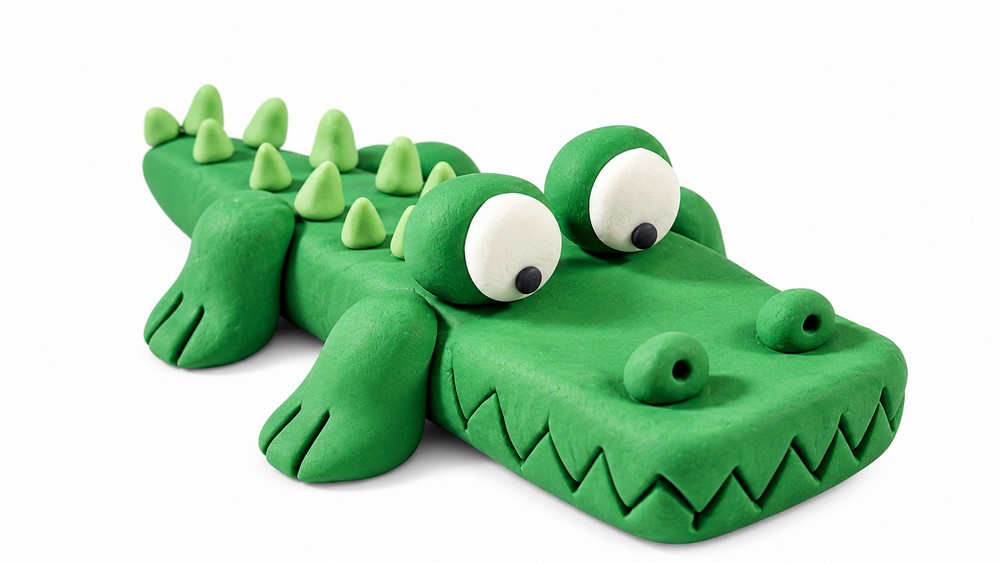
DIY Polymer Clay Crocodile features a long green body, a wide mouth, short legs, and a thick tail. Its stretched shape gives it a familiar reptile appearance, while the small size makes it look cute rather than scary. The bright green color adds a lively touch, and its tiny eyes give the face a playful expression.
The most noticeable part is the crocodile's long snout. Small white teeth along the mouth can add an interesting detail, while raised bumps across the back give the skin a textured look. Its four little feet sit close to the ground, and the tail extends behind the body. A lighter green or yellow belly can provide a nice contrast.
Green polymer clay forms the main body, with smaller pieces used for the eyes, teeth, and other features. Gentle pressing helps shape the mouth, while simple lines can show the skin texture. Each section is joined carefully to give the animal a complete appearance.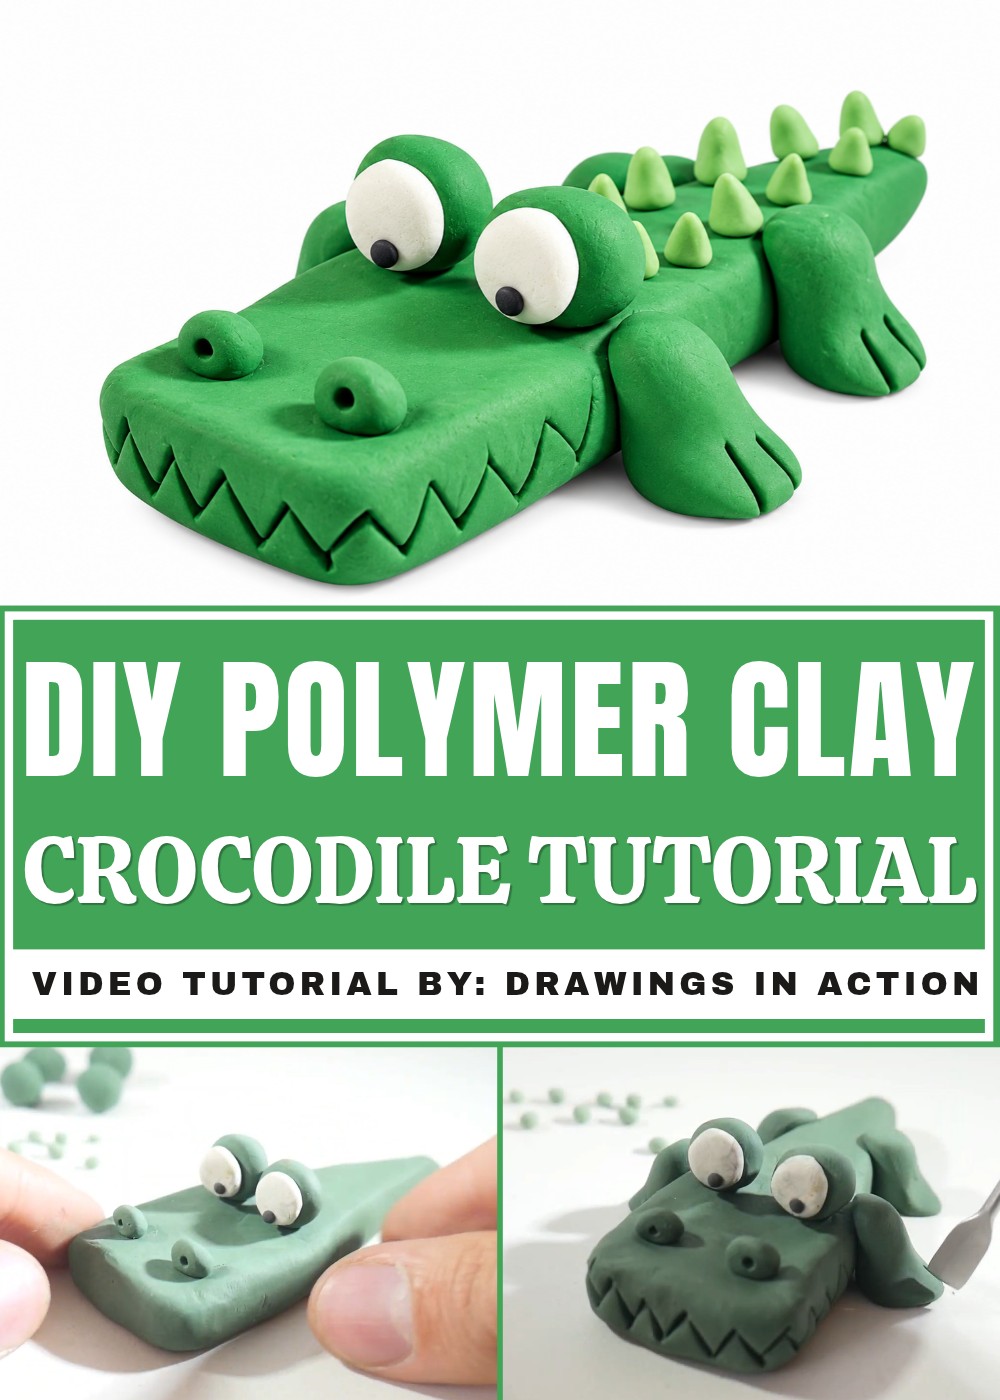
This small crocodile can decorate a study table, bedroom shelf, or children's room. It can also be a birthday gift for someone who likes wild animals.
The finished model offers a cheerful way to show an animal known for its powerful appearance. Its funny face and familiar body shape give this miniature a lovely personality that children and adults can appreciate.
How to Make a Simple Plasticine Crocodile – Beginner-Friendly Tutorial
In this tutorial, you will learn how to create a fun and easy crocodile model using plasticine. This step-by-step guide will help you make a cute crocodile with a detailed head, body, legs, and scales, even if you are new to plasticine modeling.
Materials and Tools Needed:
- Plasticine in four colors:
- Dark green (largest amount)
- Light green
- White
- Black
- Toothpick or any pointy tool (for details)
Step-by-Step Instructions:
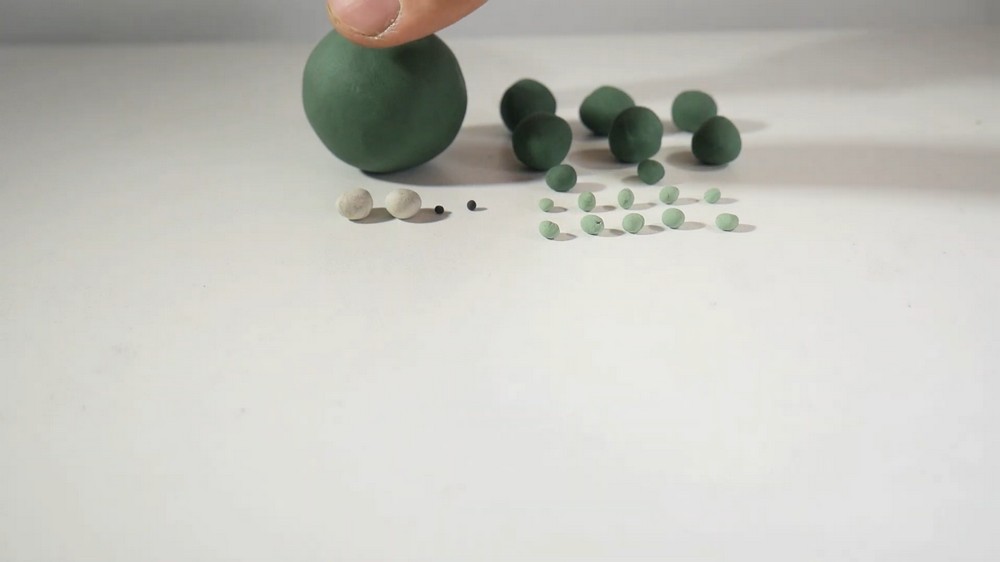
1. Preparing the Plasticine Balls
- Divide your plasticine colors into small balls.
- Feel free to make the balls smaller or larger based on the size you want your crocodile to be.
- You will use different sized balls for different parts, so keep the balls ready in front of you.
2. Making the Head and Body
- Take the largest dark green ball (this will be most of your crocodile’s body).
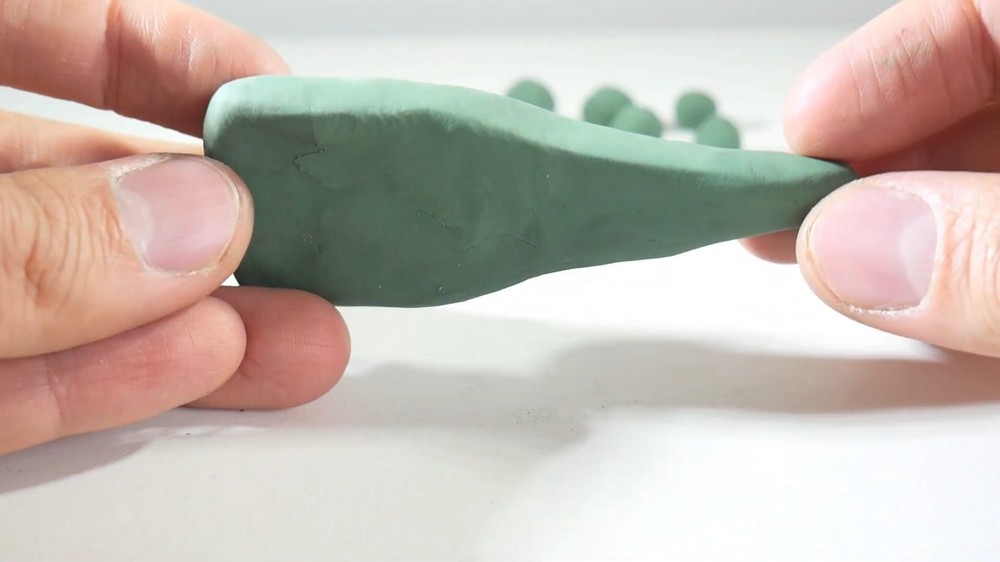
- Flatten this ball into a rectangle shape using your hands.
- Next, use your thumb and index finger to pinch the middle part of the rectangle. Pinch it so the rectangle tapers into a pointed shape, like a flat cone.
- The pointed tapered end will be the body (tail area), and the flat broad end will be the head.
- Be careful not to make this too thin, so your crocodile stays sturdy.
3. Making the Eyes
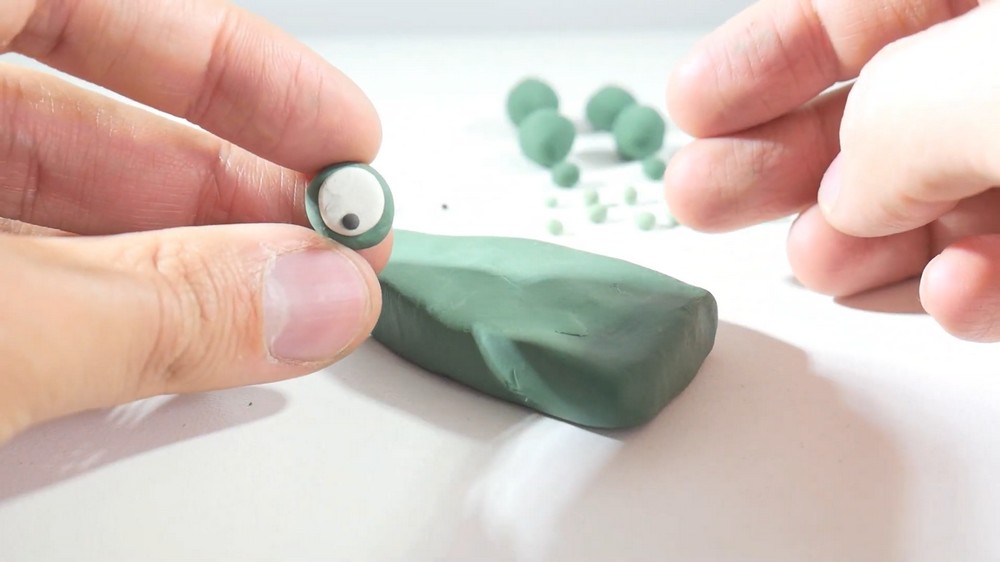
- Take a small green ball and flatten it into a small oval or circle shape.
- Do the same with a smaller white ball and attach it on top of the green oval to form the eyeball.
- Then, take a tiny black ball for the pupil and place it on the white piece.
- Make two identical eyes in this way.
- Attach both eyes near the front part of the head (the broad flat end).
4. Adding the Nostrils
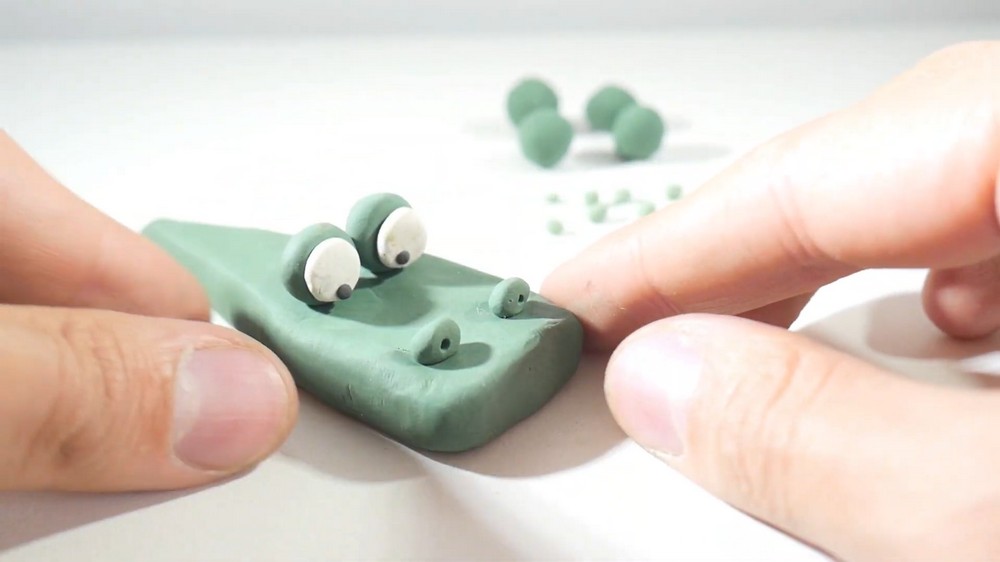
- Take two small green balls and flatten them just slightly.
- Place these on the very front tip of the head, on the flat end near the eyes if possible.
- Use a toothpick or pointy tool to poke small holes into these flattened balls to create nostrils.
5. Crafting the Legs
- To shape the legs, take small amounts of plasticine (dark green preferred to match the body).
- Roll each into a cone shape (a small point with a wider base).
- Pinch a small flap at the wider base to represent the feet. This flap can be gently flattened out a bit to look like toes.
- Make four identical legs this way.
- Attach the legs evenly spaced on the underside of the crocodile’s body.
- Press gently at the top to make sure the legs stick securely to the body.
6. Creating the Mouth and Teeth Details
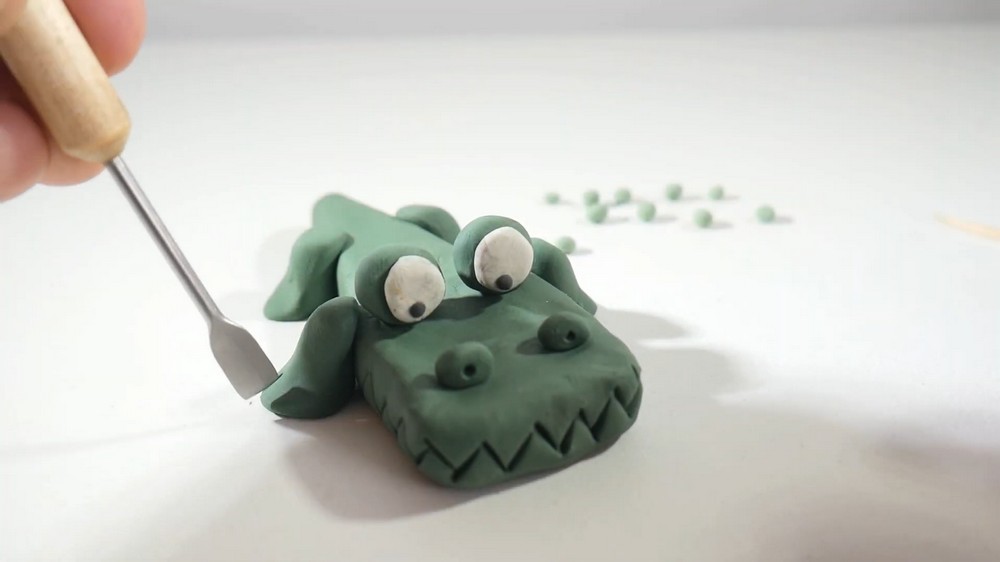
- Use a straight edge (like a ruler or the edge of a plastic card) to create the mouth line.
- Draw diagonal zigzag patterns lightly along the sides of the head where the mouth should be to mimic sharp teeth.
- Press gently but firmly enough so the plasticine holds the shape.
7. Adding Toes on the Feet
- Use the same straight edge or toothpick to make thin lines on each foot to separate toes.
- Draw these lines carefully to add realism to the legs.
8. Making the Back Scales
- Take small balls of light green plasticine.
- Shape each ball into a tiny cone by pinching one end.
- Attach these cones evenly along the crocs’ back, from the head down to the tail.
- Press lightly so they stay but keep their shape raised.
9. Fine-tuning the Model
- Look over your crocodile and adjust details as needed.
- Make sure the legs are secure, the nostrils are visible, and eyes are in place.
- Fix any flat or uneven parts by gently pressing or reshaping.
Summary
You have now created a simple but detailed plasticine crocodile! The key to this model is shaping and pinching your plasticine carefully for the body, legs, eyes, and scales. With a bit of practice, your crocodile will look fun and convincing.
Tips
- Keep your plasticine soft and pliable by warming it between your fingers.
- Use the toothpick carefully for all holes and lines to avoid tearing the plasticine.
- Feel free to pause and refer back to each step to match sizes and placement.