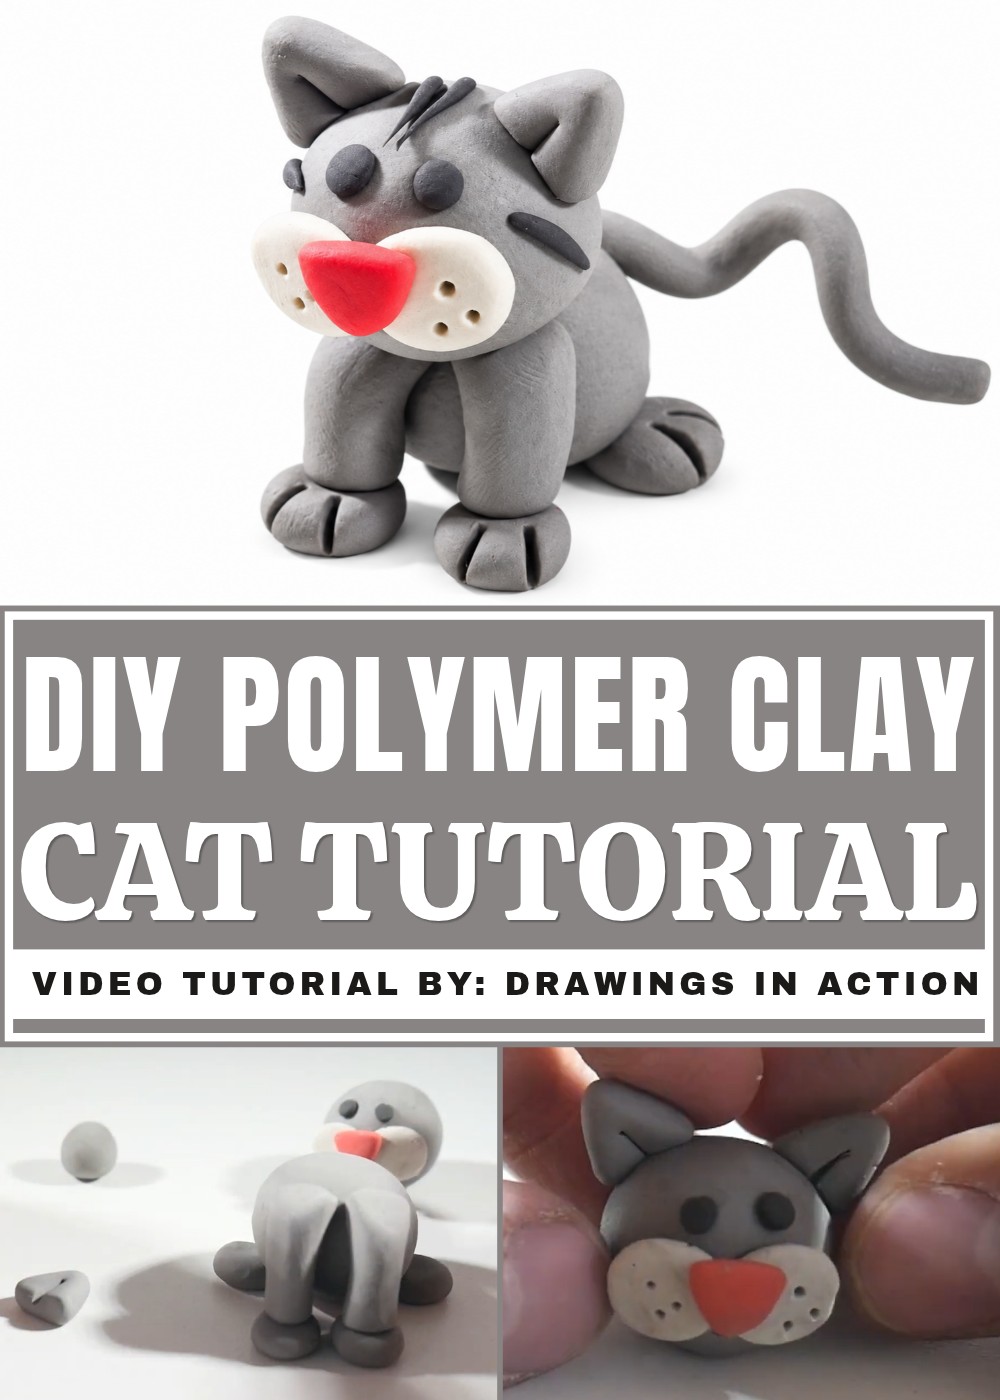
Learn how to shape a delightful DIY Polymer Clay Cat with this detailed tutorial, perfect for beginners and cat lovers looking for fun projects.
Creating cute things with your hands is a lovely way to spend an afternoon. If you love animals and want a simple activity, trying a DIY Polymer Clay Cat is a wonderful choice. This adorable project comes directly from the original YouTube channel Drawings In Action, and we give full credit to the creator for the excellent tutorial and design. The guide shows you how to take soft material and turn it into a charming little pet. You only need basic supplies, a bit of patience, and a willingness to get your fingers moving.
A Simple DIY Polymer Clay Cat For Kids And Beginners
Working on this figure feels very relaxing and brings out your creative side. You get to roll, smooth, and pinch the pieces until they look just right. It is super exciting to watch a basic ball shape slowly grow tiny ears, a little nose, and a long tail. Because the material stays soft until you heat it, you can easily fix mistakes or change the pose. This is perfect for beginners. You can even mix colors to match your own pet at home or invent a brand new design that sits perfectly on your desk.
When you finish molding, baking it turns your hard work into a permanent little friend. You can keep it to decorate your room or give it away as a sweet gift to someone you care about. Taking time to shape something so delightful always brings a big smile to your face. It is a fantastic hobby that helps you slow down, enjoy the moment, and feel proud of your work. Anyone can jump right in and enjoy the fun of bringing a happy, tiny pet to life.
Step-by-Step Tutorial: How to Make a Cute Plasticine Cat
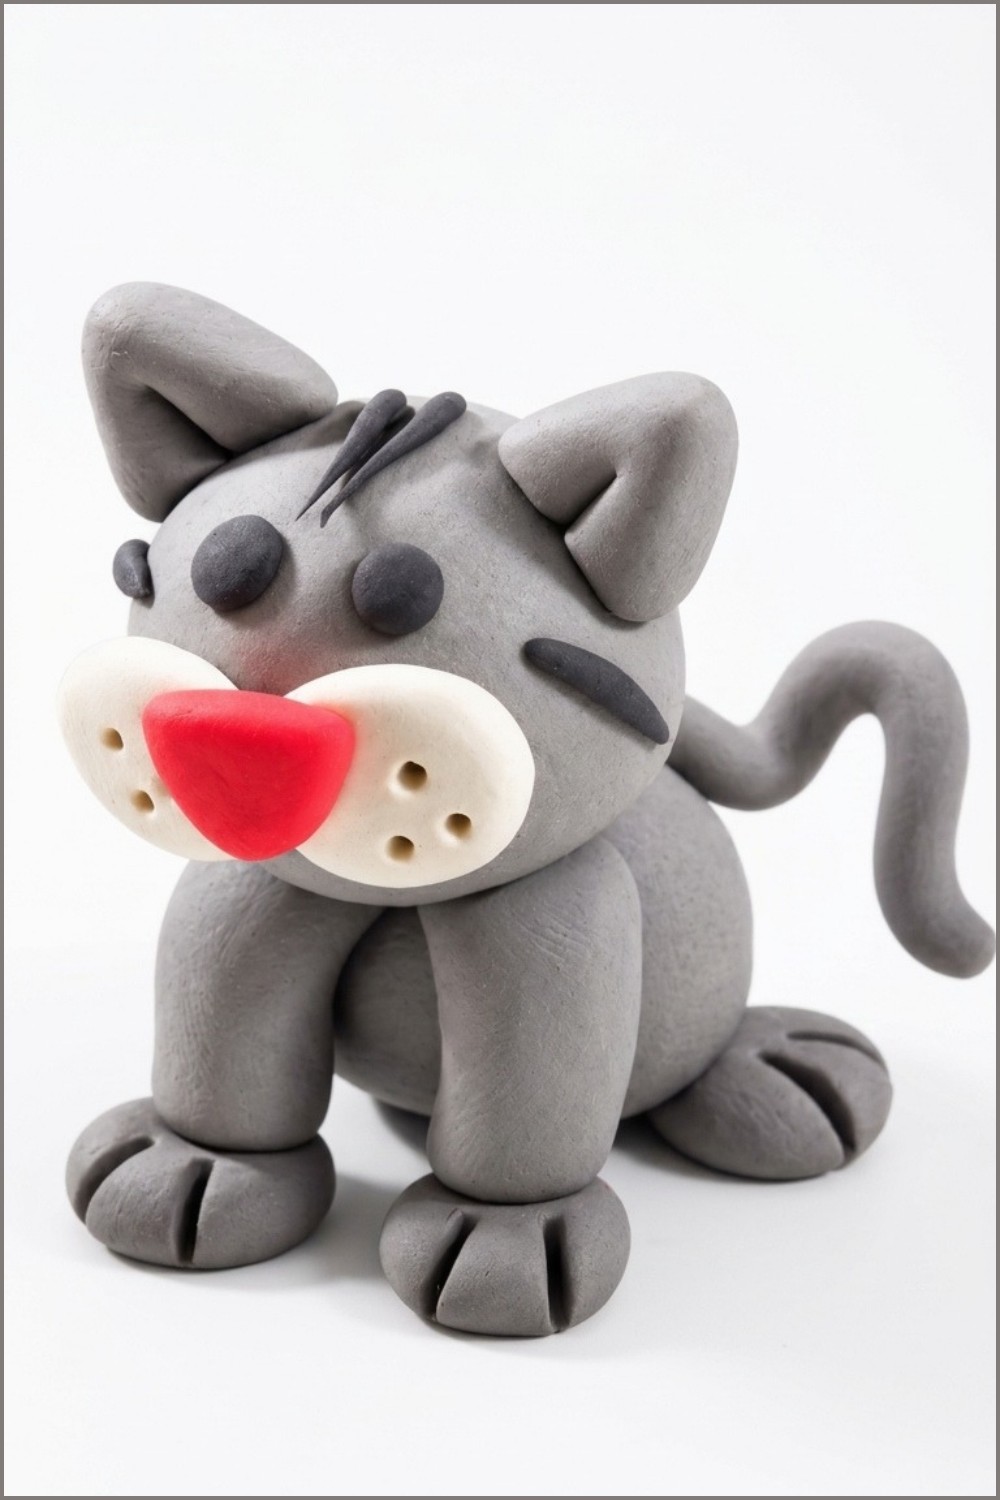
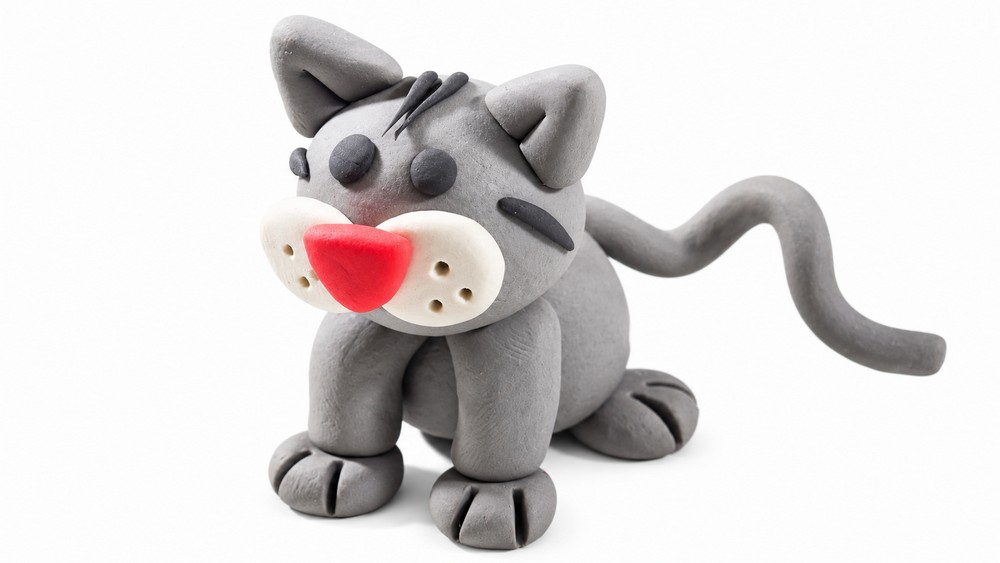
In this guide, you’ll learn how to sculpt an adorable plasticine cat using simple shapes and a few easy techniques. With materials like gray, white, black, and red plasticine, you’ll craft an endearing little cat complete with cute ears, expressive eyes, and a curled tail. The process is beginner-friendly and easy to follow, requiring only basic tools and techniques. By the end, you’ll have a playful plasticine cat to display, gift, or cherish as a creative keepsake.
Materials and Tools
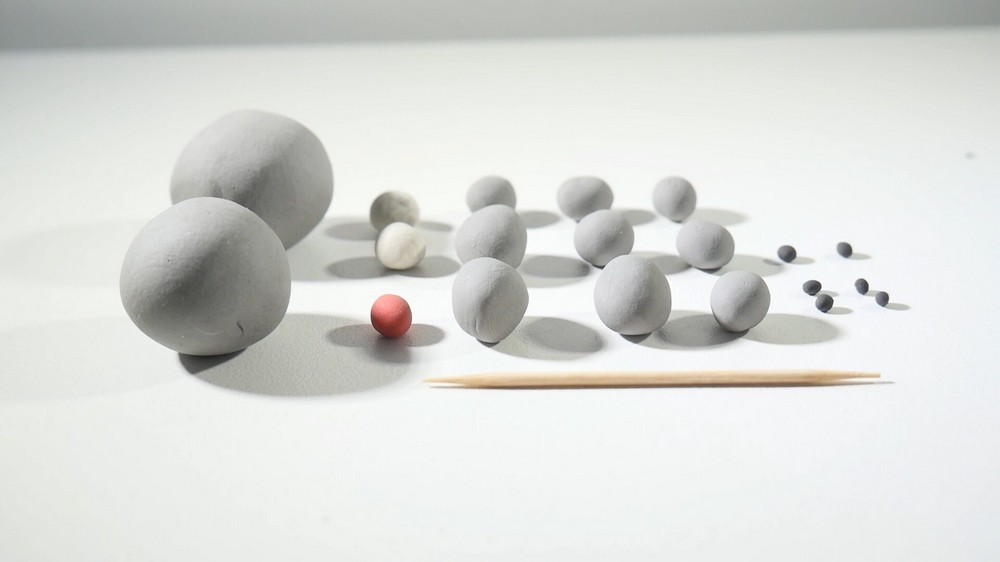
Materials
- Gray plasticine: For the body, legs, head, ears, and tail.
- White plasticine: For the cheeks.
- Black plasticine: For the eyes and whisker hairs.
- Red plasticine: For the nose.
Tools
- Toothpick: For adding whisker and mouth details and assembling the head and body.
- Cutter (or similar tool): For adding toe details to the feet.
- Clean hands and workspace: To ensure the plasticine stays smooth and clean.
Constructing the Body
Shape the Main Body
- Take the largest gray plasticine ball meant for the body.
- Roll it into a smooth ball and place it on your workspace.
Form the Legs
- Take two medium-sized gray plasticine balls and shape them into cylinders by rolling them between your hands.
- These cylinders will serve as the front legs of the cat.
Make the Feet
- Create four small gray plasticine balls, roughly the same size.
- Flatten each ball with your fingers to form four small, oval feet.
Attach the Feet and Legs to the Body
- Place two flattened feet behind the body and press them gently to secure them.
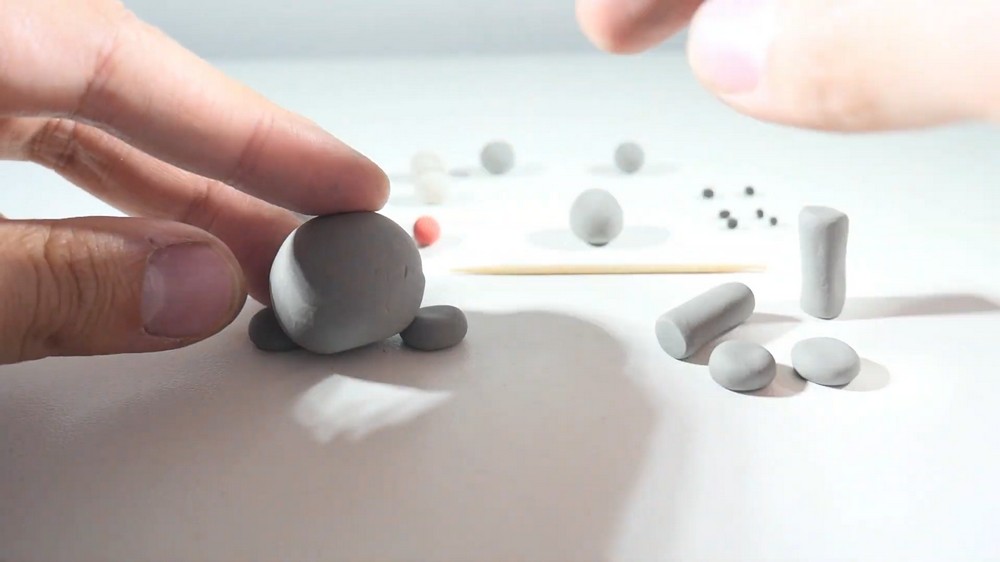
- Attach the two gray cylinders (front legs) to the front of the body by positioning them vertically.
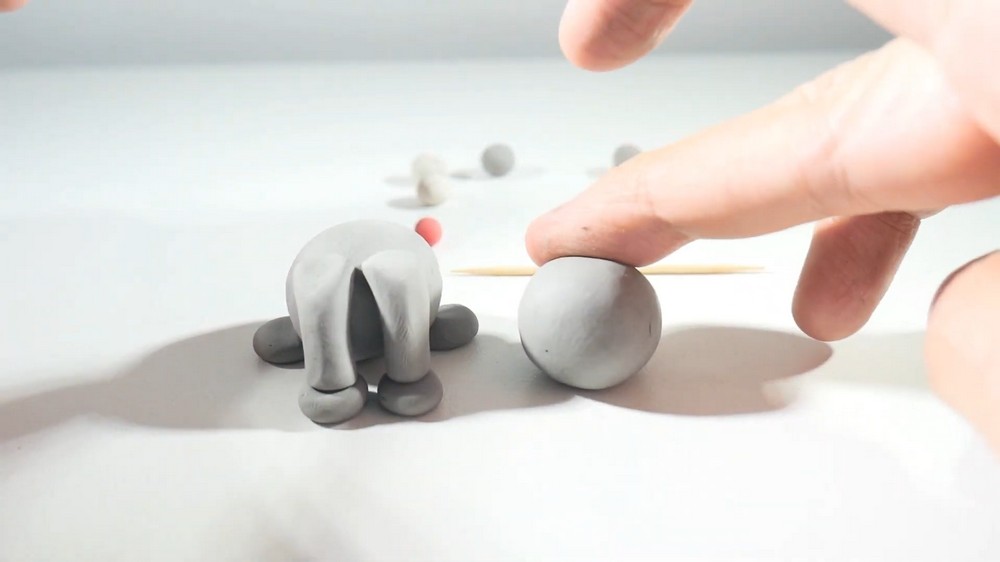
- Add the remaining two flattened feet in front, at the base of the legs.
- Press lightly on the legs and feet to ensure all parts are secure and balanced.
Creating the Head
Shape the Head
- Take the second-largest gray plasticine ball meant for the head.
- Roll it into a smooth sphere, then gently flatten it between your fingers to form an oval shape.
Add Cheeks
- Take two small white plasticine balls and flatten them with your fingers to form rounded ovals.
- Attach these white ovals to the front of the head, positioning them symmetrically on either side.
Shape and Attach the Nose
- Use a red plasticine ball, slightly smaller than the white cheek balls, and shape it into a tiny triangle.
- Place the red triangle between the two cheeks to create the nose.
Add Eyes
- Take two tiny black plasticine balls for the eyes.
- Roll them into smooth spheres and attach them to the front of the head, just above the red triangle nose.
Make the Ears
- Create two small gray plasticine balls for the ears.
- Flatten each ball slightly and shape it into a triangle by pinching the edges.
- Using a toothpick, draw a small vertical line in the center of each ear to add detail.
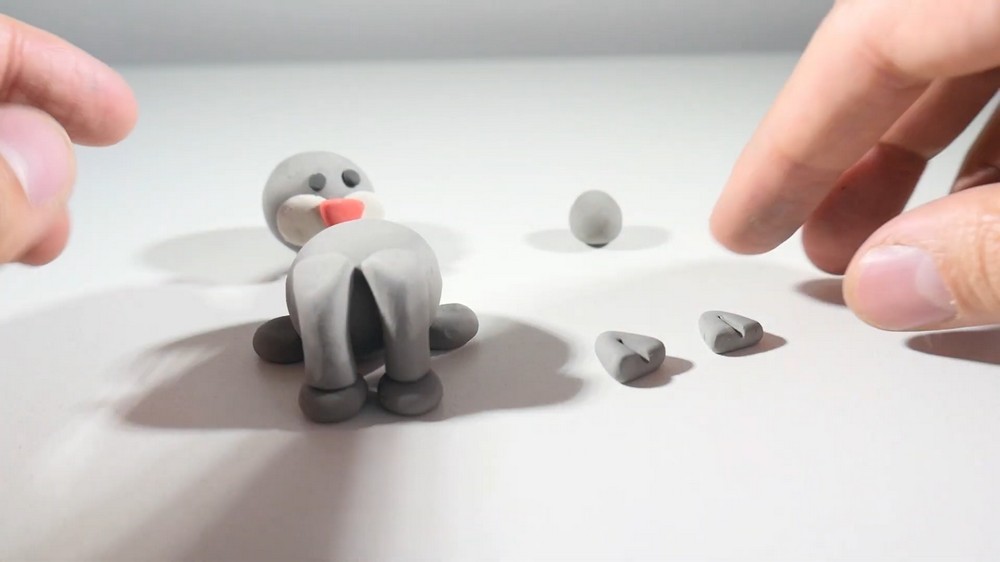
- Place the ears on top of the head, spaced evenly on either side. Press gently to secure.
Adding Details
Whiskers
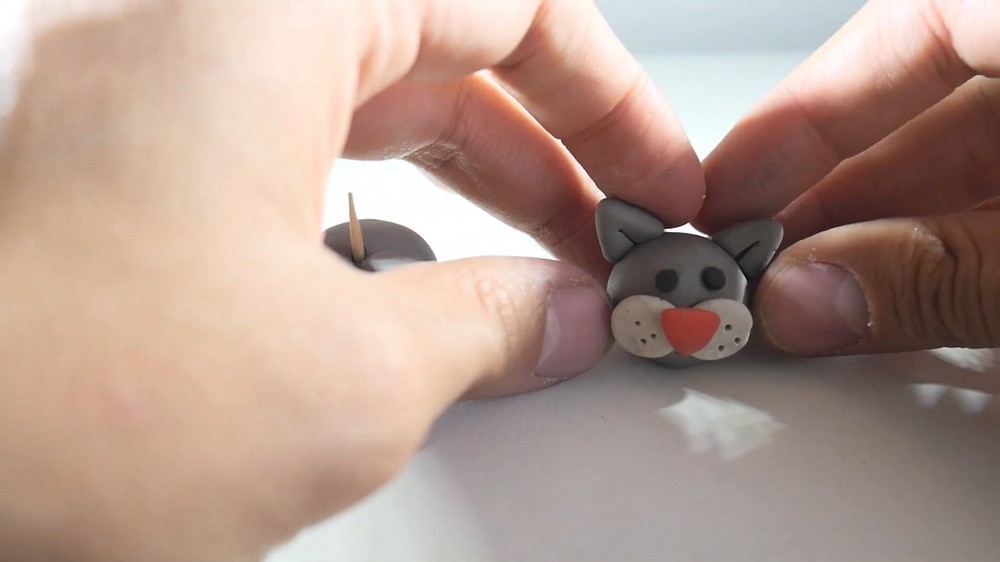
- Use a toothpick to create tiny holes in the cheeks to represent whiskers.
- Poke small dots symmetrically on both sides of the nose.
Make the Mouth
- Below the cheeks, use the toothpick to create a small vertical line to resemble a simple, smiling cat mouth.
Assembling the Head and Body
Connect the Head and Body
- Take a toothpick and break it in half to create a short piece for assembly.
- Insert one end of the toothpick into the top of the body, leaving the other half exposed.
- Align the head with the body and gently press it onto the exposed toothpick to secure the connection.
Final Touches
Whisker Hairs
- Take four small black plasticine balls and roll them into thin strings, similar in shape to whiskers.
- Attach two whiskers on each side of the cheeks, with the strands pointing outward for a natural look.
Make the Tail
- Take the last gray plasticine ball, about the size of a small egg. Roll it between your hands to form a long strip (or cylinder).
- Attach one end of the strip to the back of the cat’s body, positioning it where the tail would naturally extend.
- Gently curl or bend the strip to give the tail some dynamic movement.
Toe Details
- Use a cutter or similar sharp tool to create small lines on each foot to represent the toes.
- Draw 2–3 short, vertical lines on each of the four feet for detail.
Project Reflection
Your plasticine cat is now complete! Each element, from the softly molded cheeks to the expressive whiskers and gently curled tail, adds personality to this endearing creation. The use of simple shapes and techniques makes this project approachable and fun for beginners, while the small details like the whiskers and toes bring the design to life.
This craft is a wonderful way to unwind while practicing creative skills. Place your finished cat on a shelf, gift it to a loved one, or even use it as an inspiration to mold other animal figures in the future. It's a fun and rewarding experience to see your work come together into something so charming.Whatever you decide to do with your plasticine cat, take pride in knowing that you’ve shaped a delightful piece with your own hands.