Give your bookshelf a fun farm touch with DIY Polymer Clay Chicken, featuring little wings and a bright comb for a charming homemade display.
Have you ever seen a tiny chicken that looks cute enough to keep on your table? Drawings In Action shares a lovely idea for turning simple clay into a small farm animal with a sweet face and colorful details.
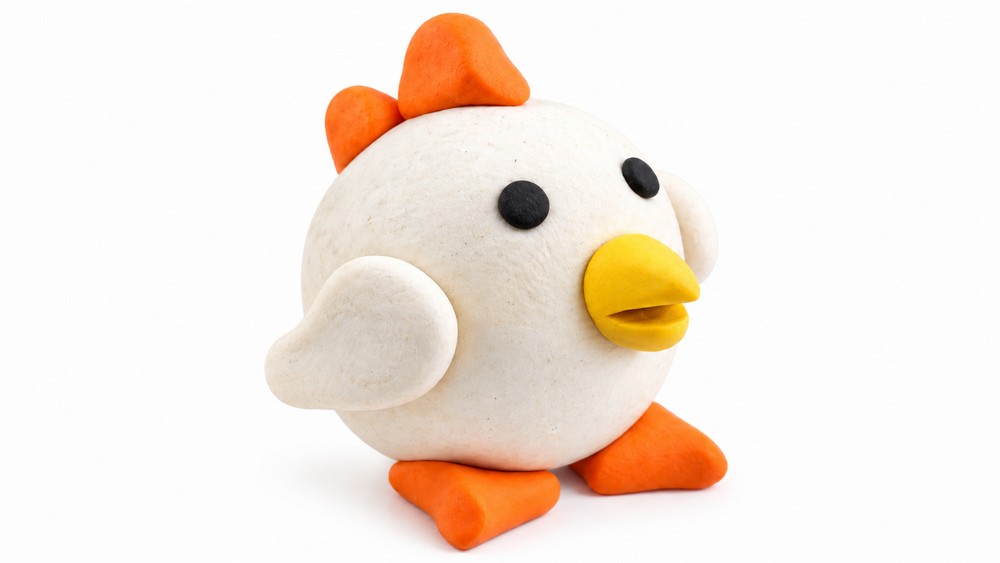
DIY Polymer Clay Chicken features a rounded body, tiny wings, a short beak, and little feet. Its soft, plump shape gives it an adorable appearance. The bright yellow or white body looks lovely with an orange beak and a red comb on top of its head. Its small black eyes add a friendly expression that makes the figure even more attractive.
DIY Polymer Clay Chicken Tutorial With Simple Steps
The chicken's round body is its main feature. Two little wings sit on the sides, while a short tail adds a natural touch at the back. The red comb and tiny wattle give its face a familiar farmyard appearance. These simple details help the animal look complete without too many extra pieces.
For this project, polymer clay is shaped into small sections for the body, head, wings, and feet. The smaller parts are gently attached to the main shape. Careful finger movements help keep the surface smooth and the details clear.
This little chicken is a nice decoration for a kitchen shelf, study table, or children's bedroom. It can also be a birthday present for a child who loves farm animals. You can place it beside other miniature animals for a cheerful display.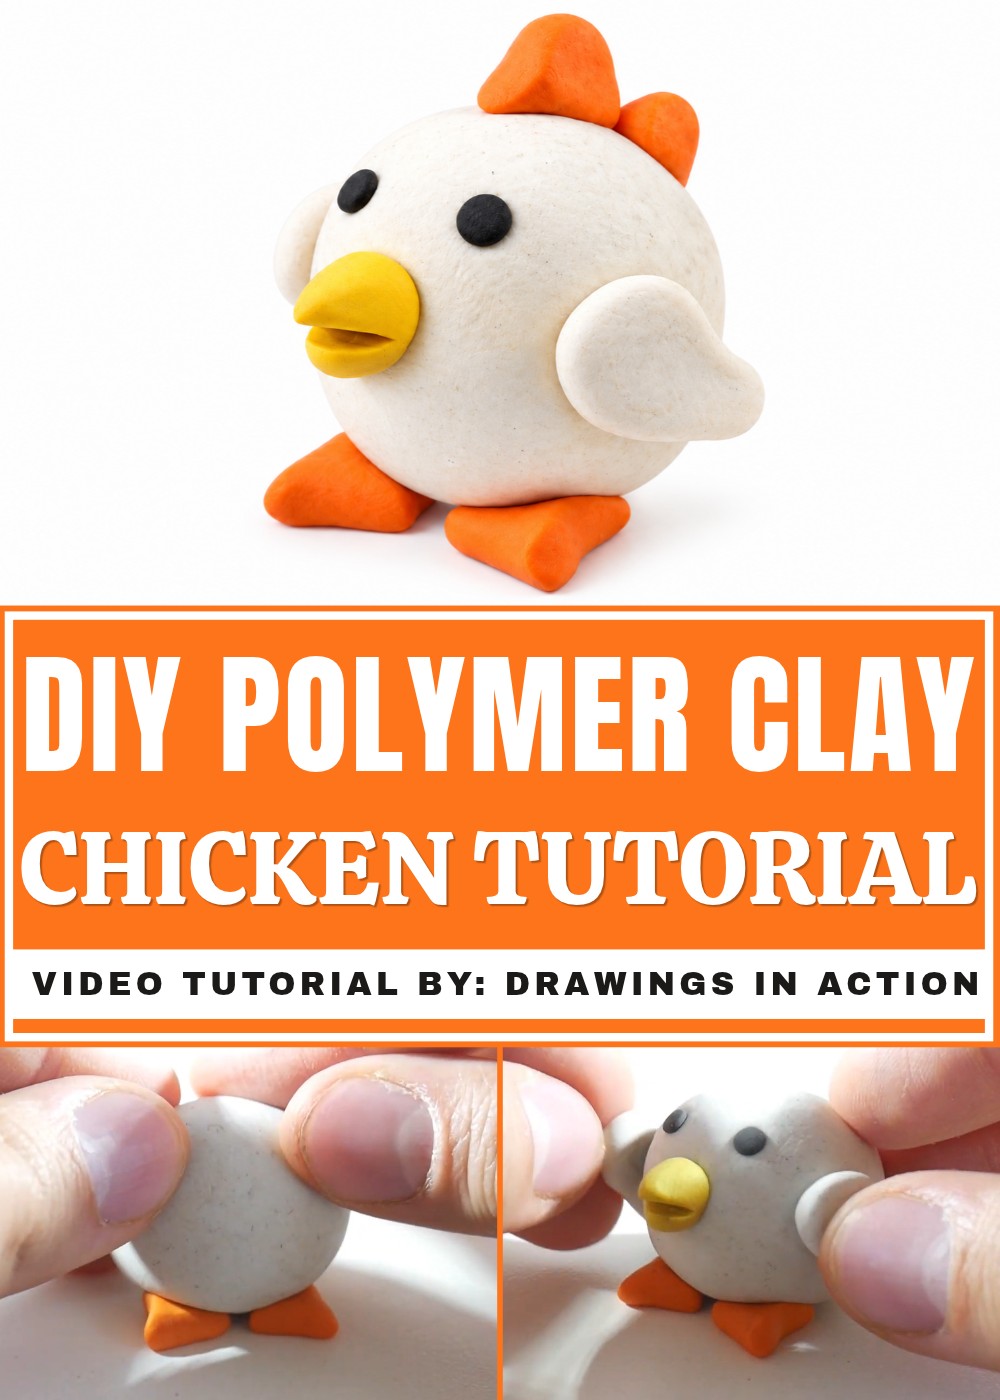
Its innocent face and rounded shape give the finished figure a happy personality. This small clay animal adds a warm, playful touch to everyday home decoration.
How to Make a Simple Plasticine Chicken – Beginner’s Tutorial
This easy and fun plasticine project! Today, we’ll create a cute chicken using simple shapes and a few colors of plasticine. This tutorial is perfect for beginners and kids, as it uses basic shaping techniques and common tools you may already have at home. By the end, you’ll have a charming little plasticine chicken ready to show off.
Materials and Tools
- Plasticine in these colors:
- White
- Orange
- Black
- (Note: The original video mentions a yellow beak ball – please substitute orange plasticine or yellow if you have it.)
- A cutter or any sharp edge (like a plastic knife or a craft blade)
- Your hands and fingers to shape and pinch the plasticine
- Workspace to place and shape your plasticine figures
Step-by-Step Instructions
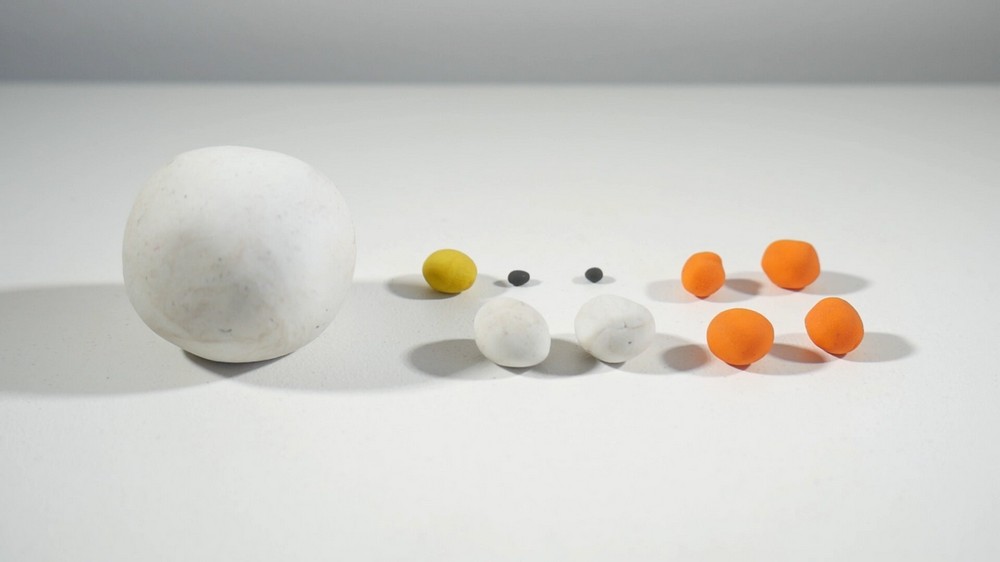
1. Prepare Plasticine Balls
- First, break the plasticine into pieces.
- Roll the pieces into small balls.
- You will need several balls of each color:
- The largest white ball will be for the body and head.
- Several smaller balls for legs, eyes, wings, beak, and crest.
- Feel free to pause and check the sizes as you go to match the tutorial.
2. Make the Body and Head
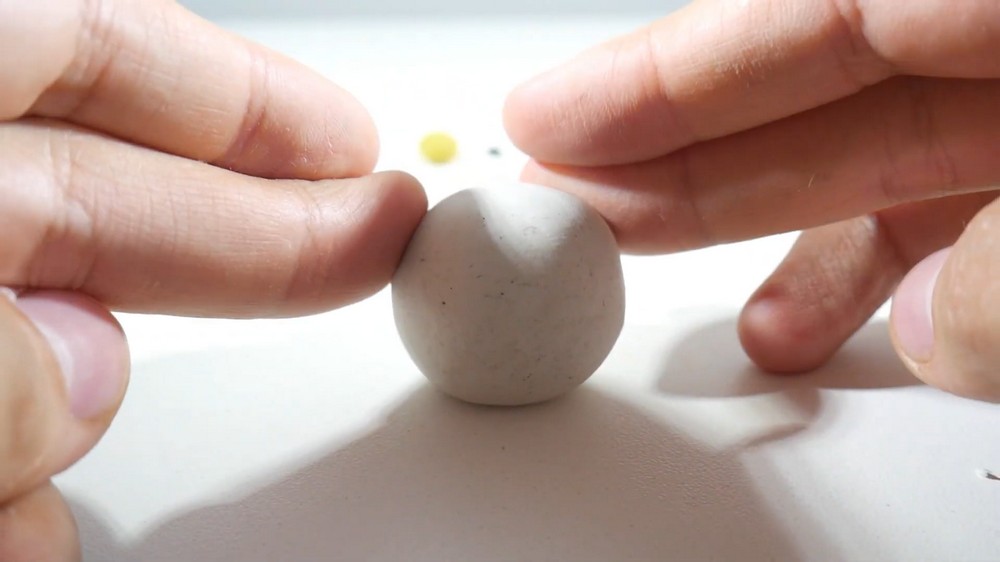
- Take the largest white ball – this will form both the body and the head.
- Place it in the center of your workspace.
- You don’t need to flatten or reshape this ball much; just keep it smooth and round to resemble a chicken’s rounded body and head combined.
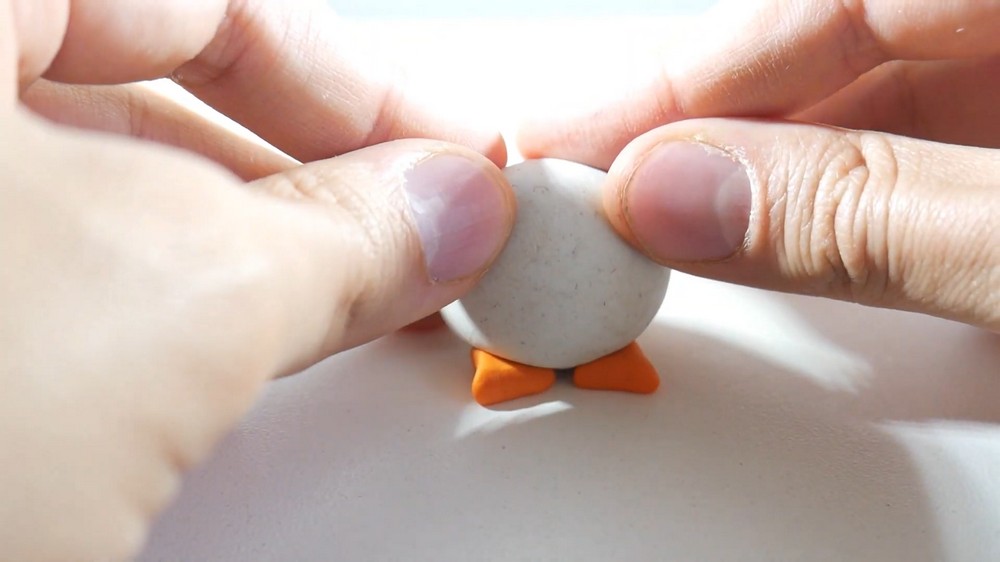
3. Craft the Legs
- Grab an orange ball of plasticine.
- Shape it into a triangle. This will be one leg.
- Make two orange triangles of similar size.
- Attach these under the body of your chicken, positioning them as legs.
4. Form the Beak
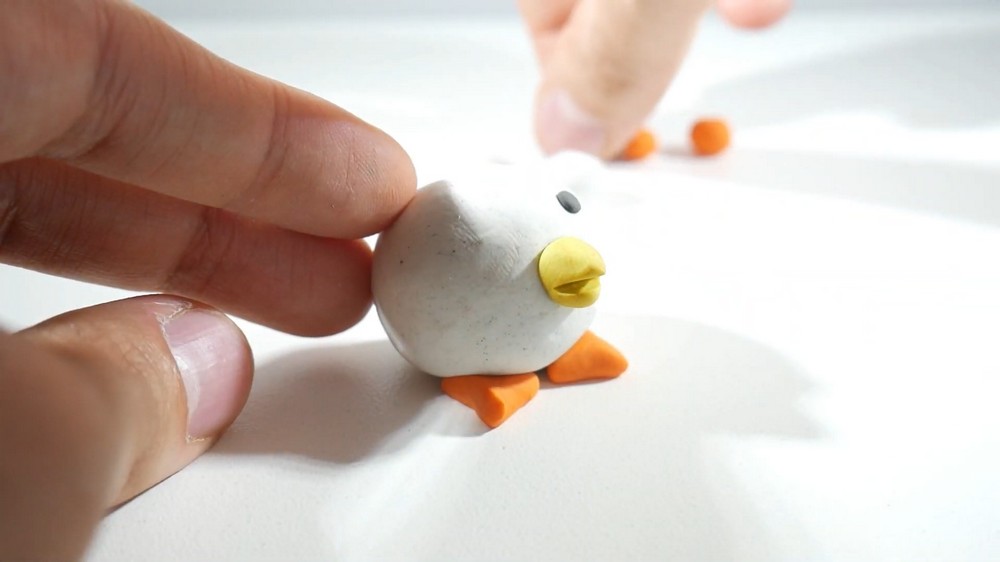
- Take a ball of yellow (or orange if yellow is unavailable) plasticine.
- Shape it into a cone.
- Place this cone on the front part of the chicken’s face, just beneath where the eyes will go.
- Using the cutter or sharp edge, carefully make a small line across the cone to form an opening beak.
- This tiny cut creates the mouth of your chicken.
5. Add the Eyes
- Roll two small black balls.
- Place these just above the beak on the front of the chicken’s head.
- These balls will serve as the chicken’s eyes.
- Ensure they are evenly spaced and properly attached.
6. Make the Wings
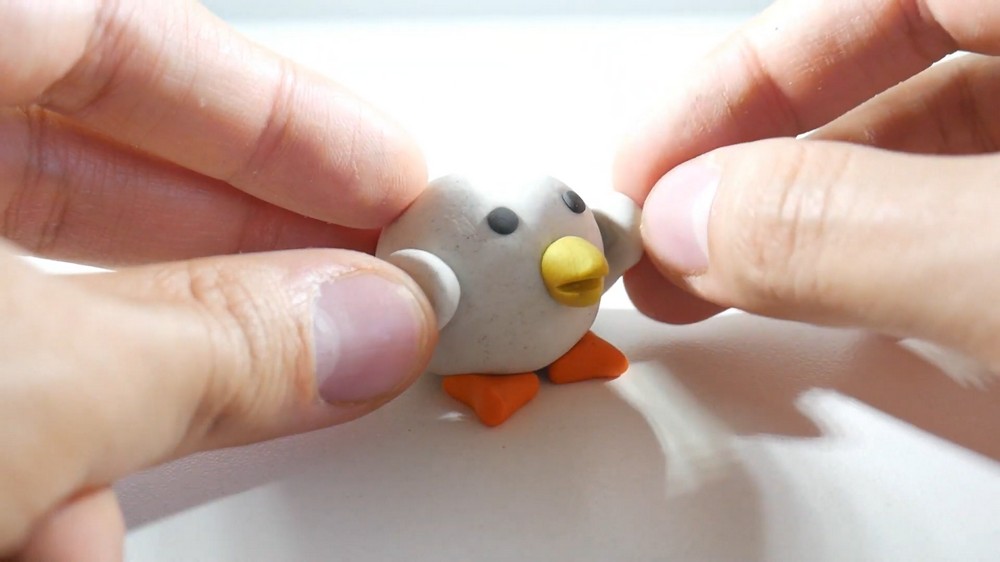
- Take a ball of white plasticine.
- Flatten it gently with your fingers to make a small oval shape.
- Pinch one end slightly to make it pointed, creating a shape like a comma or teardrop.
- Make two of these wing shapes.
- Attach each wing to the sides of the chicken’s body.
7. Create the Crest
The crest is the red comb on top of a chicken’s head.
- Take an orange ball and shape it into a triangle.
- Place this triangle on top of the chicken’s head.
- Then, take a smaller orange ball, also shaped into a triangle.
- Place the smaller triangle slightly behind the first one on the head.
- This layering creates a cute and recognizable rooster’s crest.
8. Final Touches
- Look over your plasticine chicken and press gently to secure all parts.
- Adjust any shapes that may need a bit of refining, such as smoothing surfaces or reshaping the wings or legs slightly.
- Make sure the beak line is clear and the eyes are well placed.
Summary and Tips
Congratulations! You’ve made a simple and adorable plasticine chicken using just a few colors and basic techniques. This project is quick and perfect for anyone starting with plasticine modeling.
Key tips to remember:
- Use soft, pliable plasticine by warming it with your hands before shaping.
- Roll your balls carefully to keep smooth surfaces.
- Use the cutter carefully to add details like the beak opening.
- Attach parts gently but firmly so they stay together.
- Revisit and reshape as needed to keep your chicken neat.
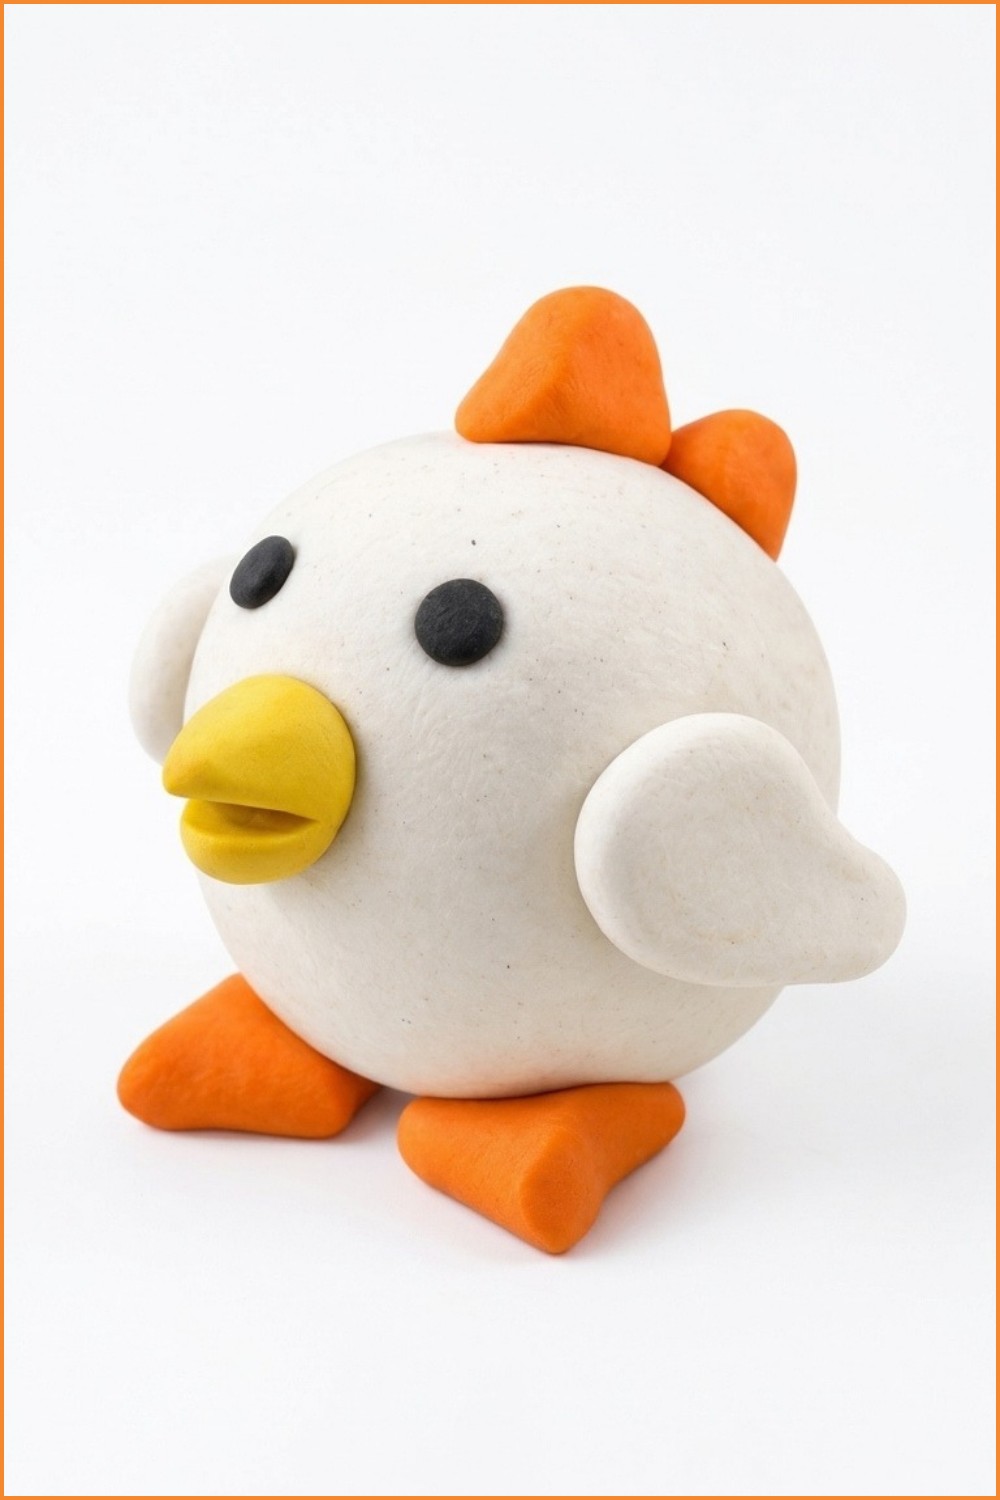
With this basic chicken model, you can explore customizing colors, sizes, or even add more details like feathers or eyes with other colors. Most of all, have fun and enjoy creating with plasticine!