Pick your favorite clay shades for Polymer Clay Cute Dog and form a small pet with a friendly face to display beside books or other figures.
A tiny animal with a sweet face and little paws can easily catch everyone's attention. The Polymer Clay Cute Dog is a lovely idea for turning colorful clay into a small animal figure that looks friendly and playful. This adorable project comes from Drawings In Action, who shares a simple way to shape a charming puppy with beautiful little details.
Lovely Polymer Clay Cute Dog Step by Step
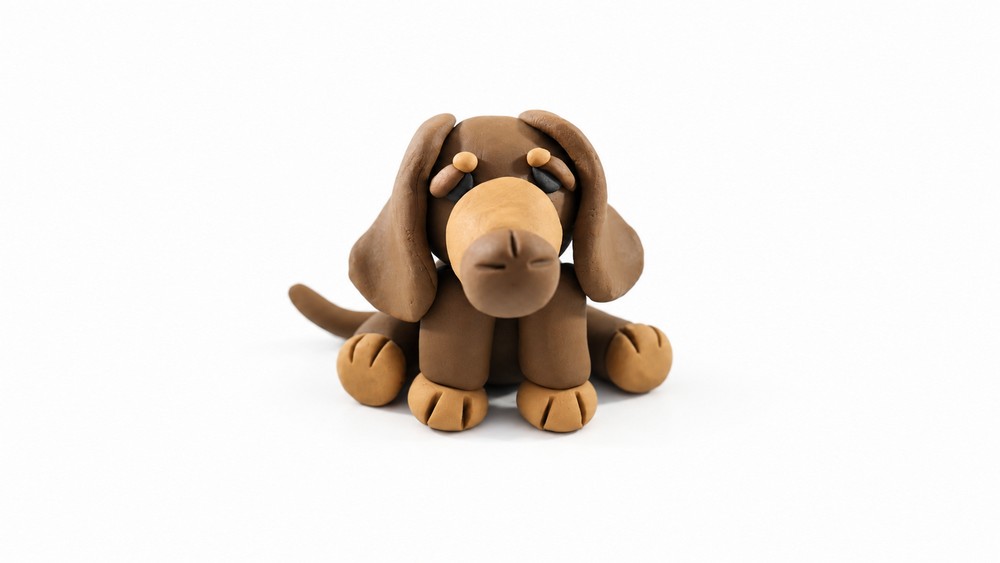
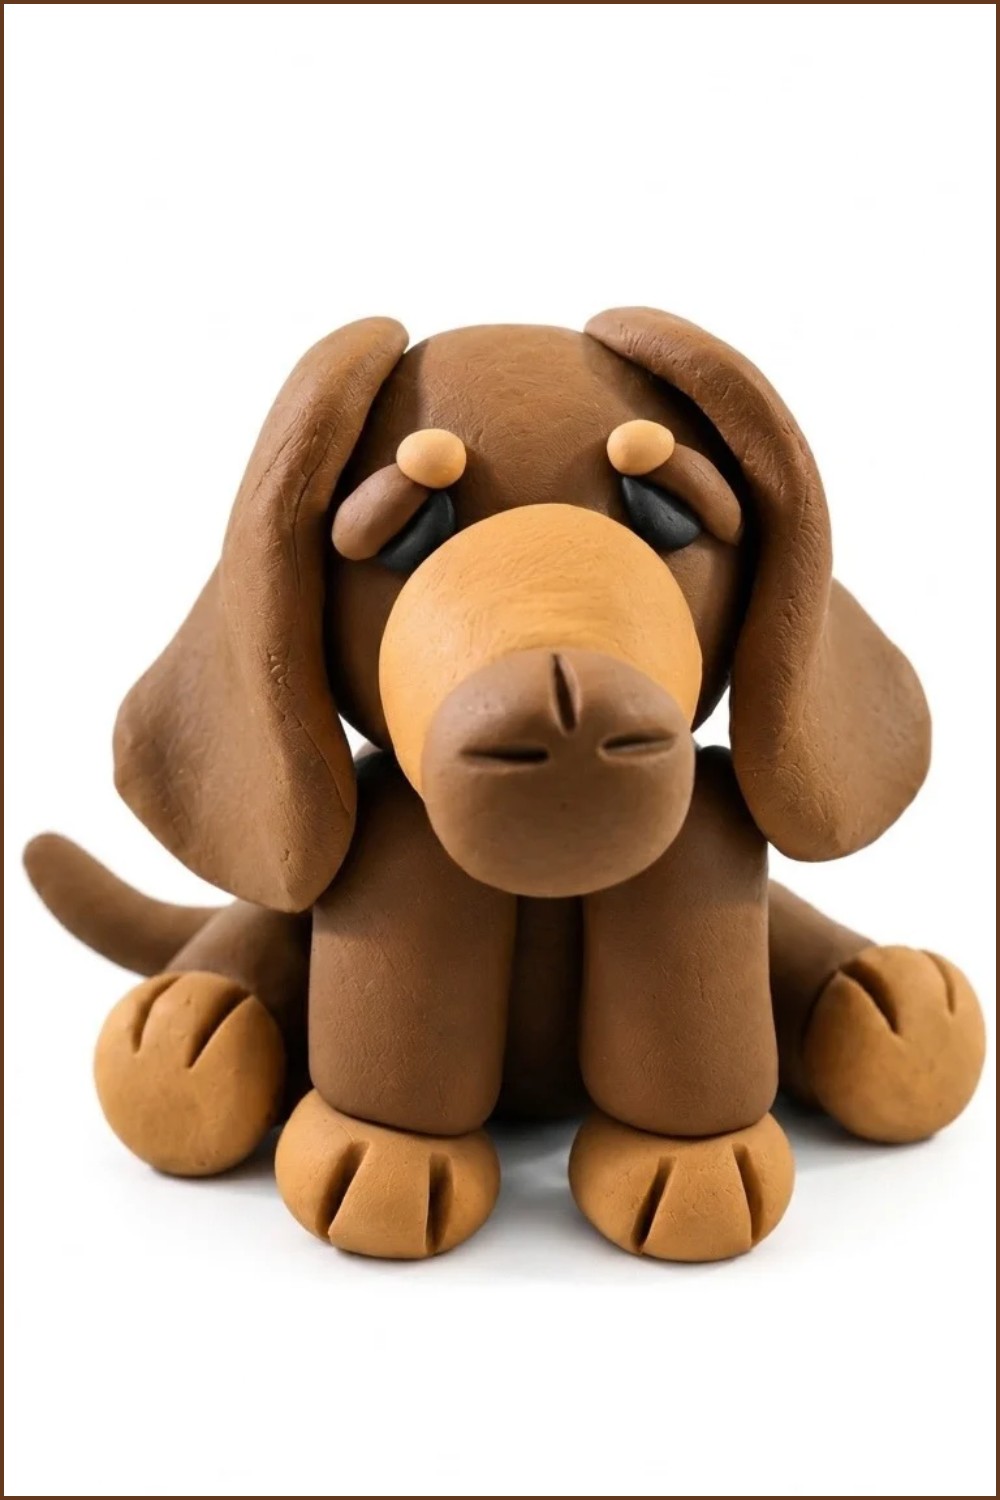
The finished dog has a round face, soft-looking ears, tiny black eyes, and a small nose that gives it a lovable expression. Its short legs, little paws, and curved tail help give the figure a playful appearance. You can use brown, white, cream, or black clay to give your puppy a familiar look. The smooth surface and neatly shaped features help the entire design look clean and attractive.
Polymer clay, a basic shaping tool, and a toothpick are useful for forming the body and smaller facial details. Shaping each part by hand helps improve finger control, concentration, and patience. It is also a relaxing activity for spending some quiet time at home.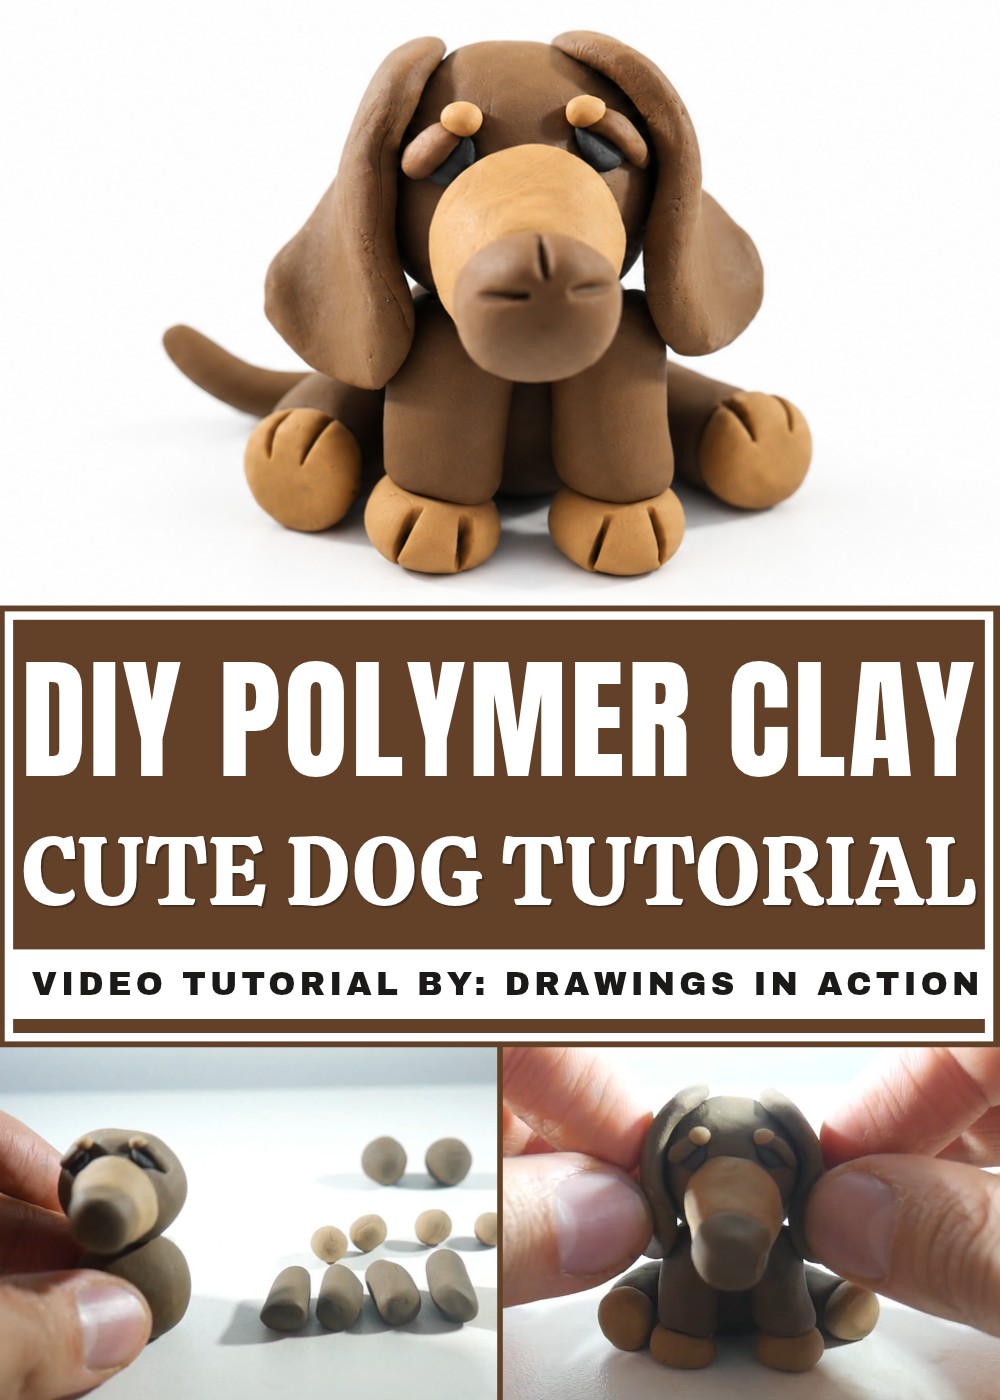
This miniature dog looks lovely on a study desk, bedroom shelf, or small display table. It can also be a thoughtful birthday gift for someone who loves puppies. Choose your favorite clay color and give this little dog a special place in your home.
How to Make a Simple Plasticine Dog: Beginner-Friendly Tutorial
In this tutorial, you will learn how to create a cute plasticine dog quickly and easily. This project is perfect for beginners. Follow the step-by-step instructions below using simple materials and tools.
Materials and Tools
- Dark brown plasticine
- Light brown plasticine
- Black plasticine
- Toothpick (to break in half)
- Scalpel or cutter (or any small knife for detail cutting)
Step-by-Step Instructions
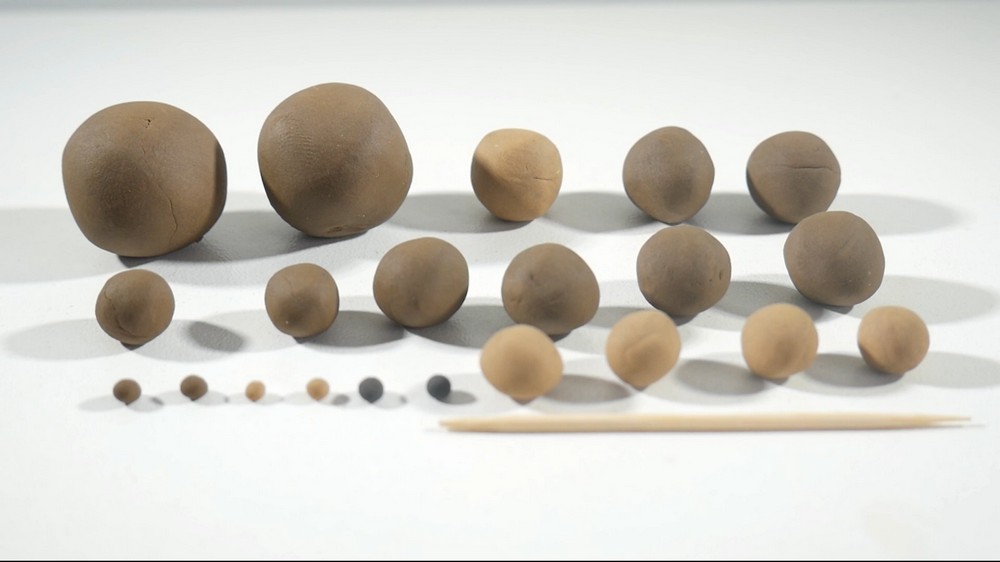
1. Prepare the Plasticine Balls
- Divide the dark brown, light brown, and black plasticine into small balls of different sizes.
- Pause now if needed to see how many and what size of each ball you should have.
2. Make the Dog’s Head
- Take a large brown plasticine ball and set it aside for now.
3. Shape the Nose Base
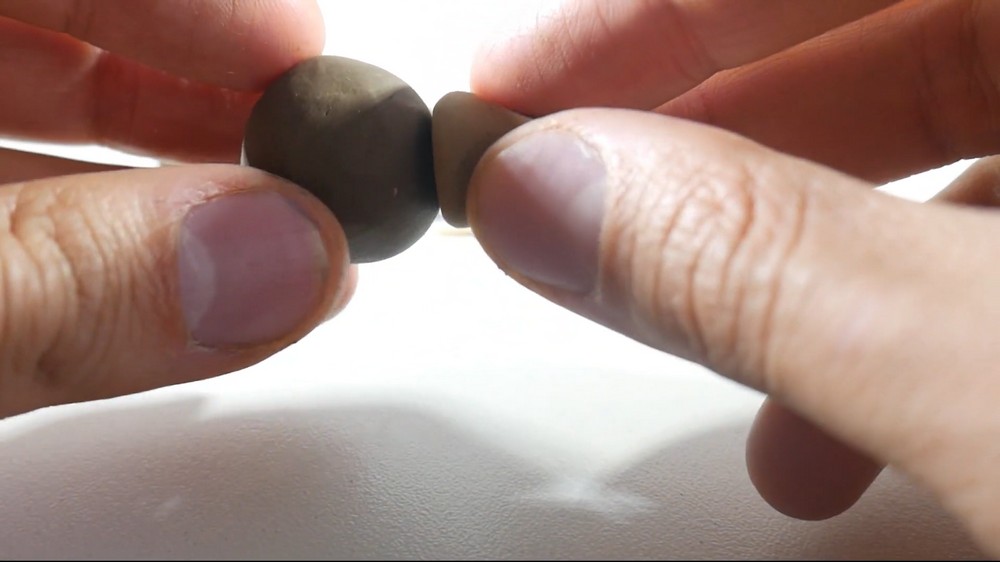
- Take a light brown plasticine ball and shape it into a cone.
- Place the straight side of the cone on the table and gently shape it with your fingers.
- Flatten the pointed tip slightly with your finger until it looks like the example shape.
- Attach this piece to the large brown ball (head), placing it where the nose will be.
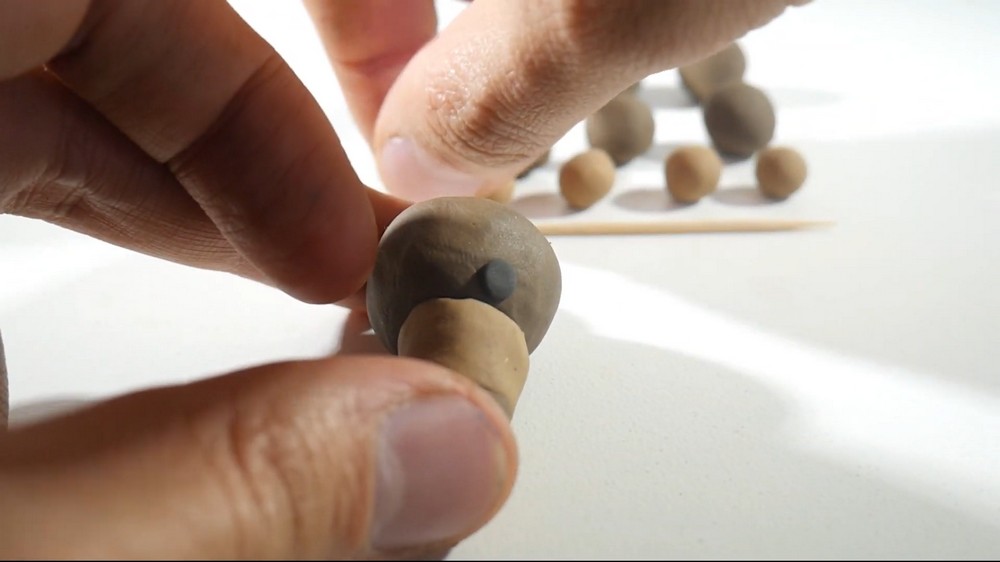
4. Add the Nose Tip
- Take a small dark brown ball and shape it similarly to a smaller cone.
- Place this smaller cone at the end of the light brown nose base to create the nose tip.
5. Make the Eyes
- Take two black plasticine balls.
- Place one black ball on each side of the head, just above the nose.
6. Add the Eyebrows
- Take two tiny dark brown balls.
- Roll each into thin strips.
- Place each strip above an eye, covering half of the eye.
7. Add Eyebrow Details
- Take two small dots of light brown plasticine.
- Place one dot at the end of each dark brown eyebrow strip.
8. Create the Body
- Take a large dark brown plasticine ball.
- Place it in the center of your workspace.
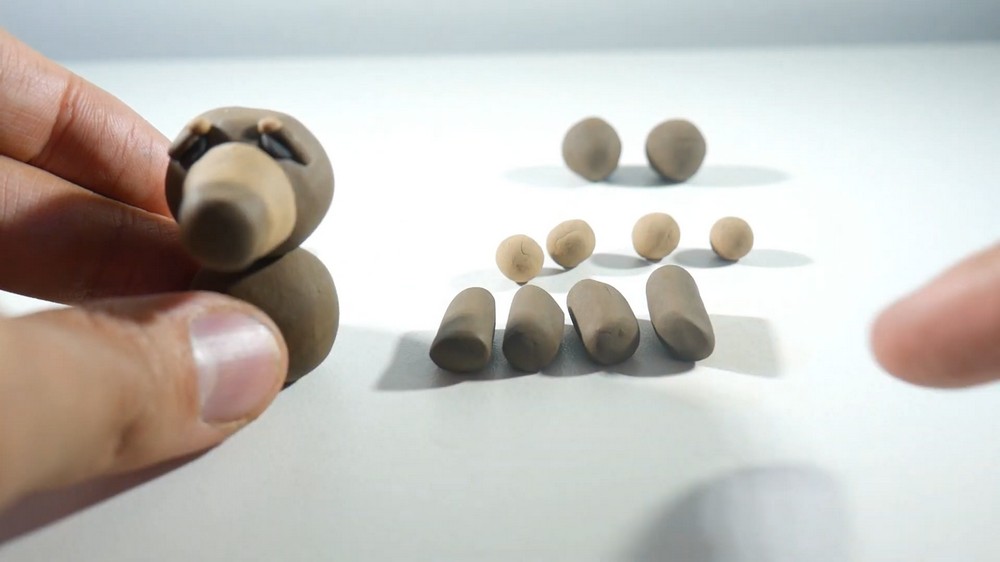
9. Join Head and Body
- Break the toothpick in half.
- Use one half of the toothpick to connect the head to the body.
- Insert the toothpick into both pieces to keep them joined firmly.
10. Make the Legs
- Take four dark brown plasticine balls.
- Roll each into a cylinder shape to form four legs.
- Take four smaller light brown balls, flatten each one.
- Attach one flattened light brown piece to the bottom of each dark brown cylinder to create a paw.
11. Attach the Legs
- Attach two legs standing upright at the front of the body.
- Attach the other two legs to the back of the body, but place them lying down.
- Press gently to support and hold them in place.
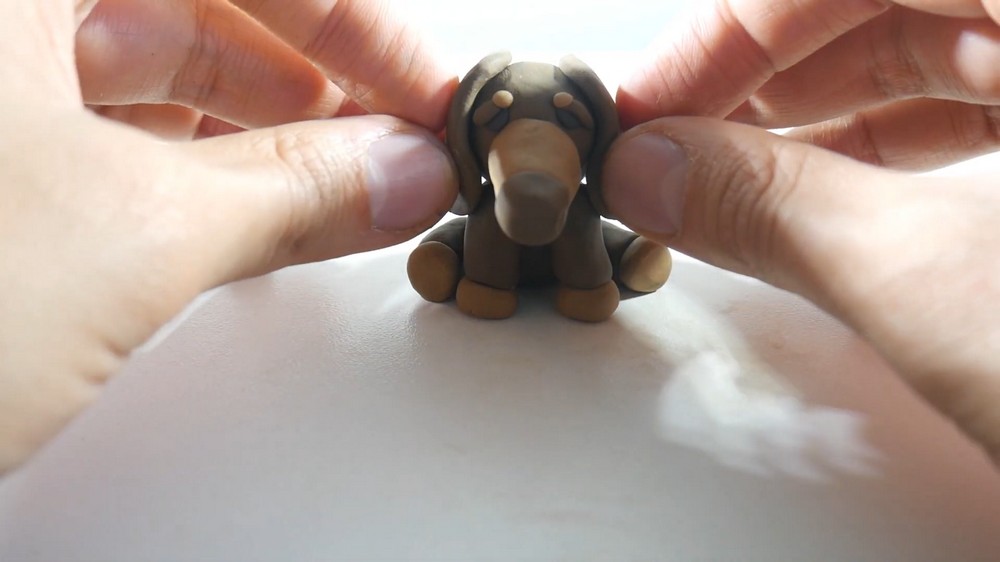
12. Make the Ears
- Take two dark brown plasticine balls.
- Flatten each into a rectangle shape, about right thickness to avoid being too thin or too thick.
- Place these flattened rectangles on each side of the head as ears.
- Position the ears to have a slight wavy shape.
13. Make the Tail
- Take the last dark brown plasticine ball.
- Roll it into a strip.
- Attach this strip at the back of the body.
- Lift the tail slightly at the tip for realism.
14. Add Texture Details
- Using the scalpel or cutter, carefully cut three thin lines on each leg to form the dog's toes.
- Using the second half of the toothpick, make three small lines on the nose to create the shape and details of nostrils.
Finishing Touches
- Check that all pieces are well attached and secure.
- Smooth out any marks or fingerprints on the clay for a neat look.
- Confirm the nose details and eyes look balanced and natural.
- Make sure the dog's legs and tail are attached firmly and shaped nicely.
Final Result
You now have a cute and easy plasticine dog! This simple project uses basic shaping, attaching, and detailing techniques to create a charming little dog figure. It’s perfect as a fun craft or a beginner clay modeling project.
Enjoy your creation and feel free to try more plasticine projects to improve your skills!