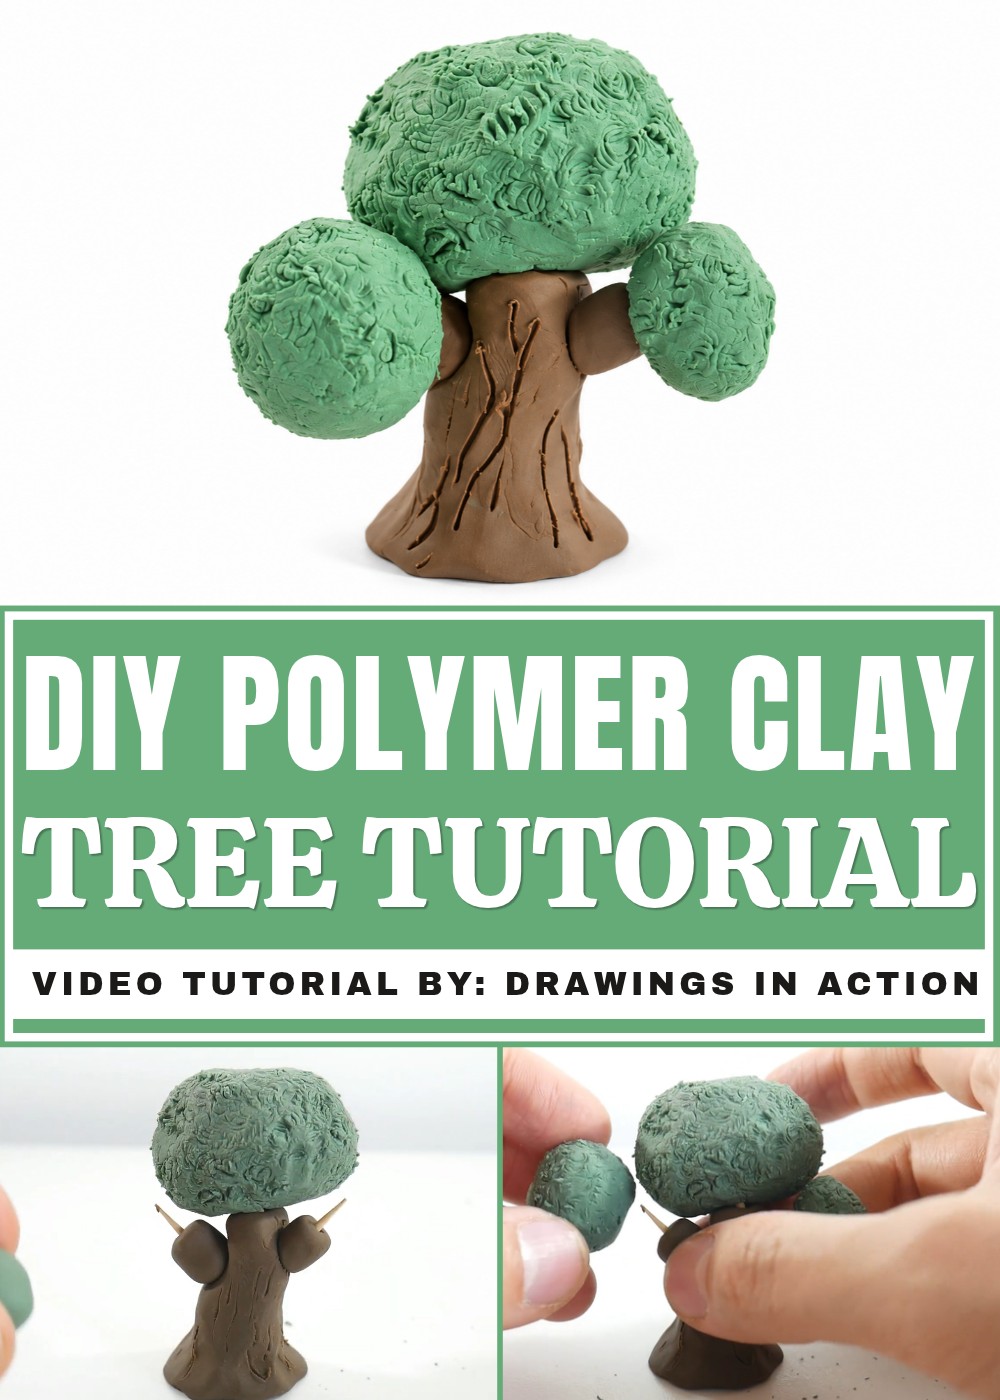
Shape a lovely little plant with DIY Polymer Clay Tree, a fun idea for decorating your desk, bedroom shelf, or miniature garden at home.
Drawings In Action shares a lovely idea for turning simple clay into a small tree that can sit beautifully in any room. The DIY Polymer Clay Tree is a fun project that shows how a few carefully shaped pieces can form a natural-looking decoration. Its tiny size, colorful leaves, and realistic trunk give it a pleasant appearance that suits different home styles.
Nature-Inspired DIY Polymer Clay Tree With Tiny Branches
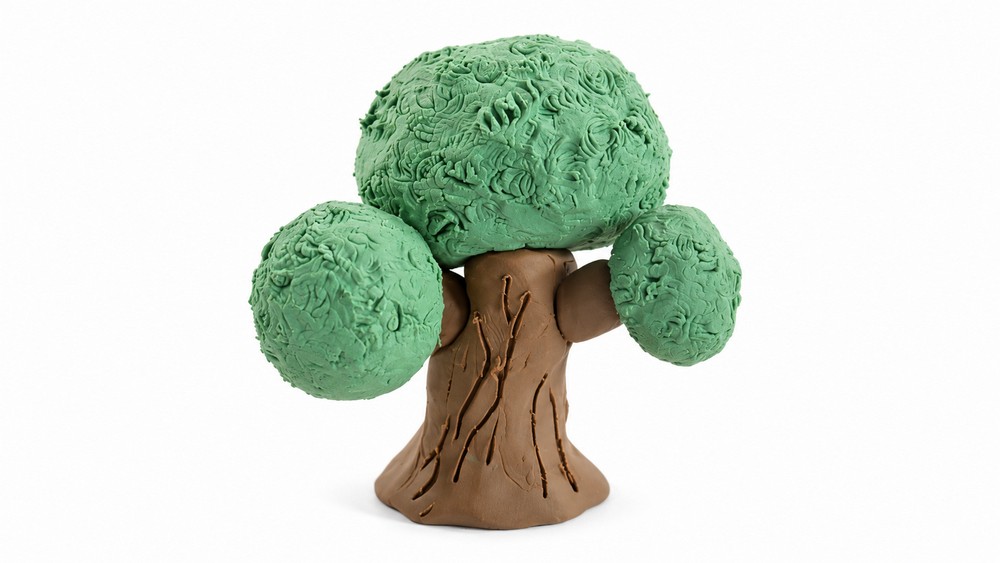
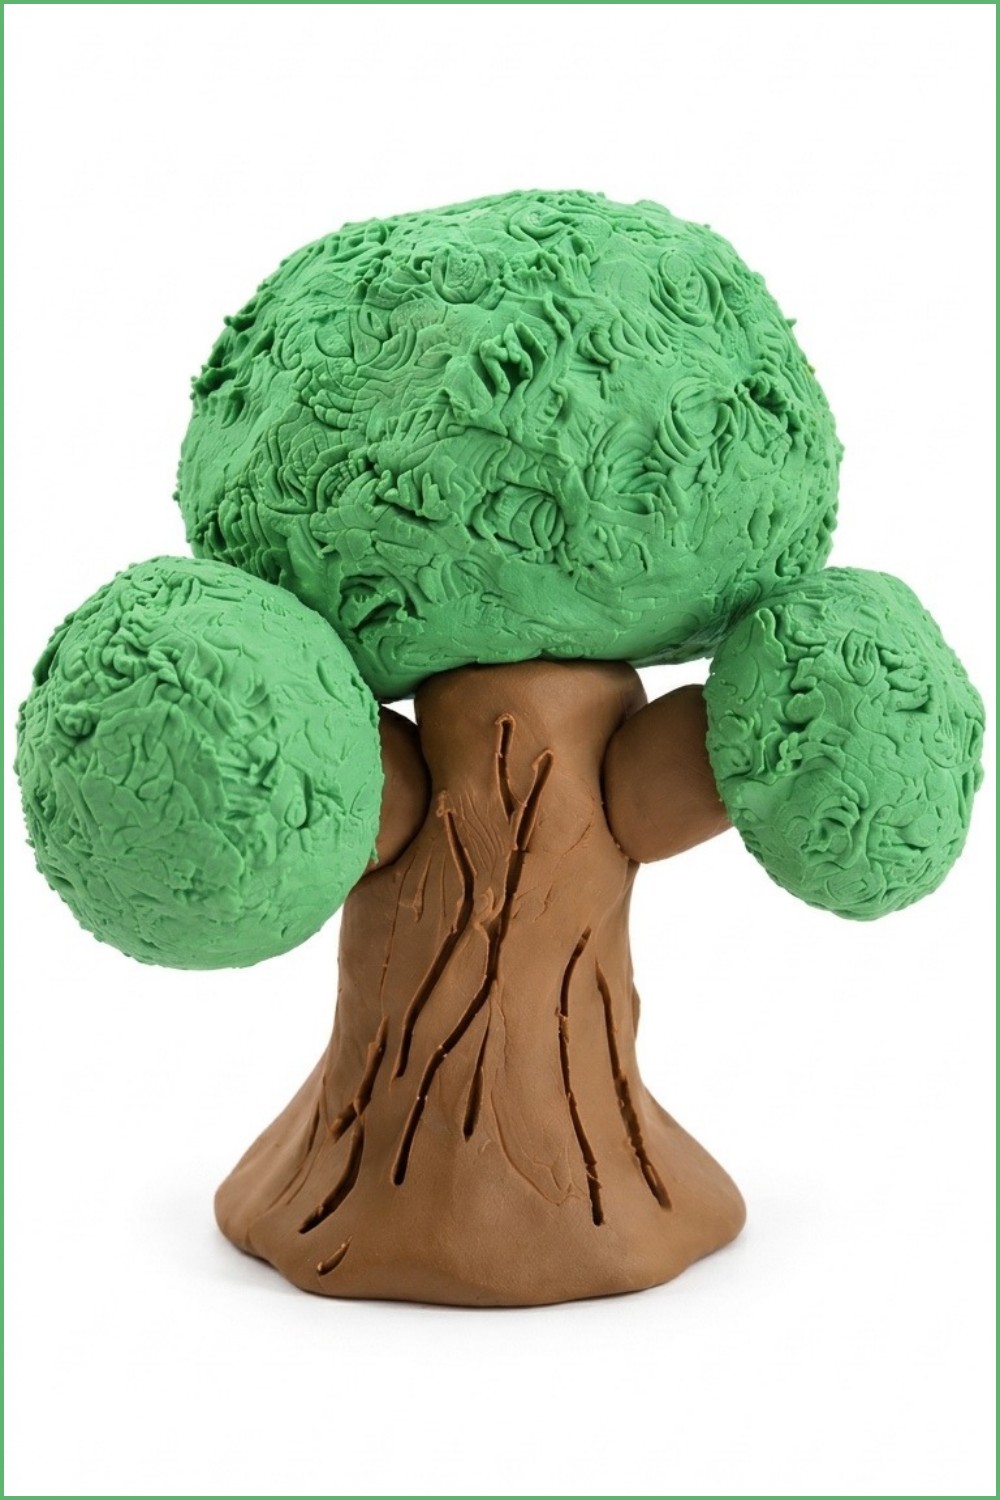
The tree has a brown trunk, spreading branches, and a leafy green top that resembles a real tree. Small details on the bark help the surface look more natural, while the rounded leaves give the upper part a full appearance. The combination of earthy brown and fresh green colors keeps the design simple and attractive.
Polymer clay, a smooth working surface, and basic shaping tools are useful for this project. Brown clay forms the trunk and branches, while green clay helps shape the leaves. Careful shaping and joining give the finished figure a balanced structure. Working with these small parts also improves hand control, patience, and attention to detail.
Try this simple tree idea during your free time and give your favorite corner a cheerful, handmade touch.
How to Make a Simple Plasticine Tree: Step-by-Step Tutorial
This easy and quick tutorial on how to make a plasticine tree! This project is perfect for beginners and requires only a few materials and simple techniques. Follow these clear steps to create a charming and textured tree model.
Why I Love This Plasticine Tree Project
I love this plasticine tree project because it is simple, fun, and perfect for beginners. The materials are easy to work with, and the shaping process is clear and quick. I enjoy creating the uneven trunk because it makes the tree look natural and unique. Using the toothpick to add texture gives a realistic bark effect, which feels rewarding. The metal sponge technique to create leaf texture is clever and simple, giving the tree a beautiful finish. Overall, this project is satisfying to complete, builds basic clay skills, and results in a charming handmade decoration.
Materials and Tools
- Brown plasticine
- Green plasticine
- Toothpick
- Metal kitchen sponge
Step-by-Step Instructions
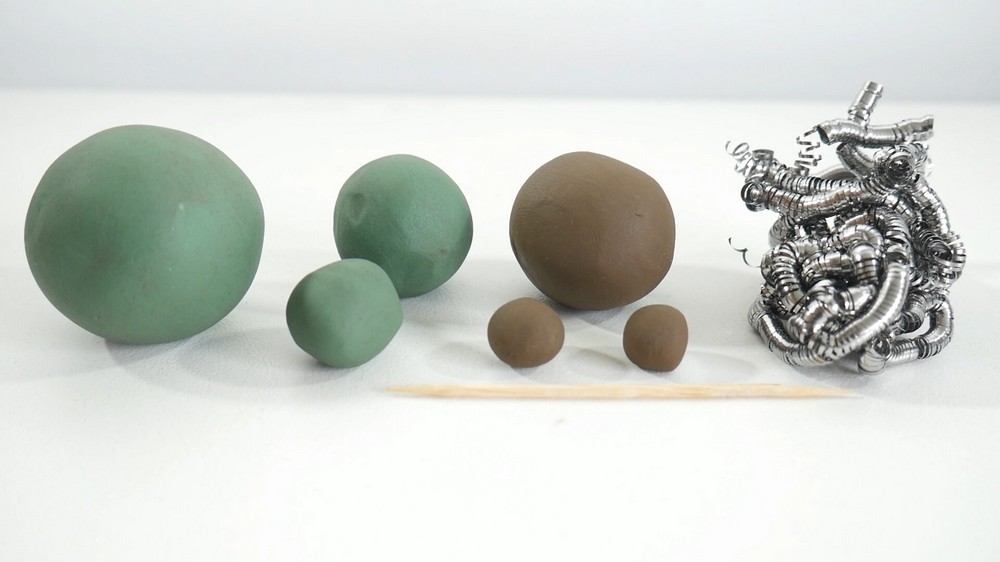
1. Prepare Your Plasticine Balls
- First, divide the brown and green plasticine into several balls.
- Use one largest brown ball for the tree trunk.
- Use the other brown balls and green balls for branches and crowns.
- You can pause here to see the exact number and sizes if needed.
2. Shape the Tree Trunk
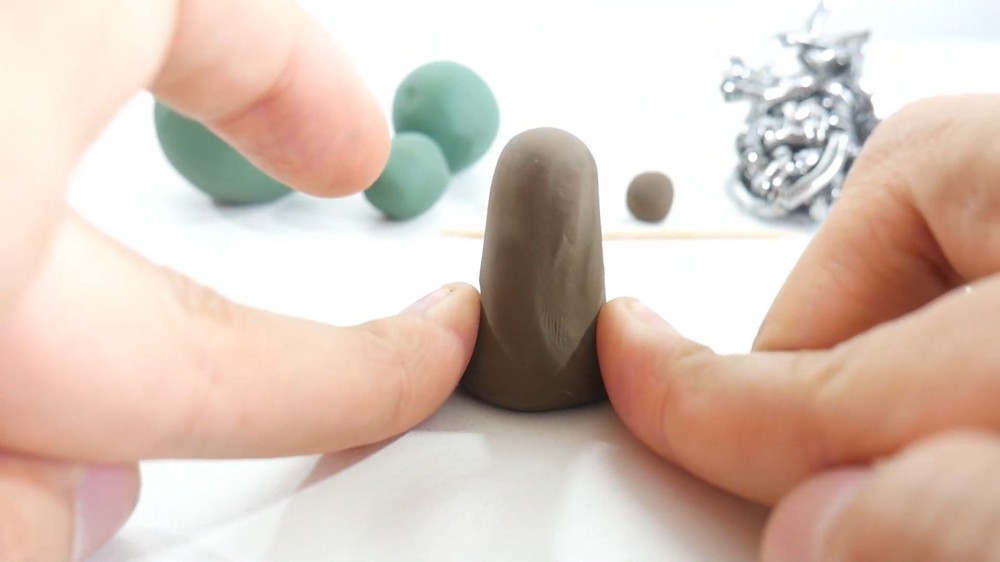
- Take the largest brown plasticine ball.
- Mold it into a bell shape: wider at the bottom, narrowing towards the top.
- Place it on your table.
- Sculpt the bottom part to look like the tree is growing out of the ground.
- To make the trunk realistic, bend and squish it gently so it looks uneven and natural—trees do not grow perfectly straight.
3. Add Texture to the Trunk
- Use your toothpick to draw lines and markings on the trunk.
- These lines give the trunk a textured, natural appearance like tree bark.
4. Make the Branches
- Take two other brown plasticine balls.
- Roll each into a cylinder shape to form branches.
- Attach one cylinder to each side of the trunk.
5. Strengthen Attachment with Toothpicks
- Break your toothpick into three smaller parts.
- Insert one piece into each branch and the last one into the top of the trunk.
- These toothpicks help keep the branches and crown firmly attached and prevent them from falling off.
6. Create the Tree Crown
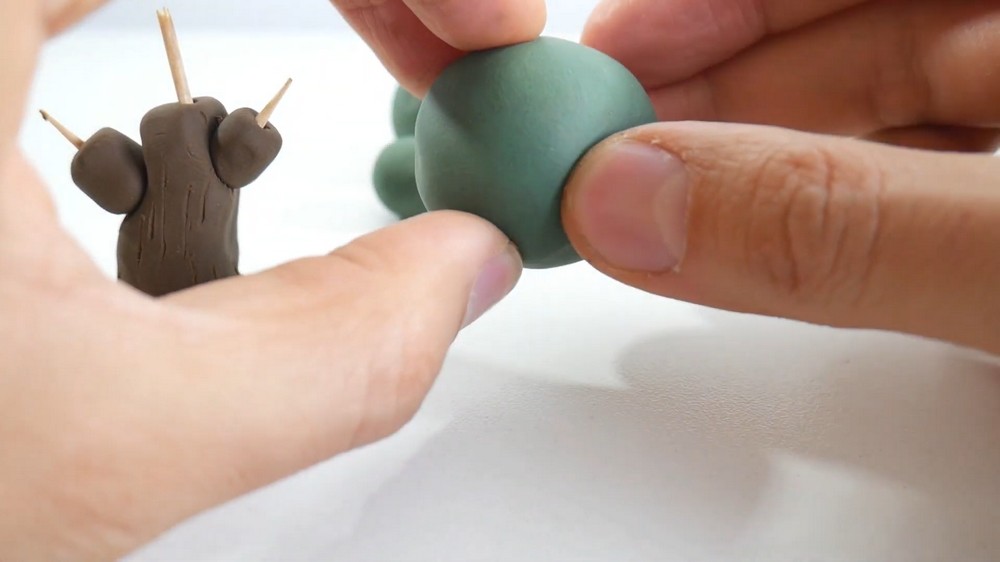
- Take the largest green plasticine ball.
- Shape it into an oval.
- Use your fingers to make random marks on the oval to break the smoothness.
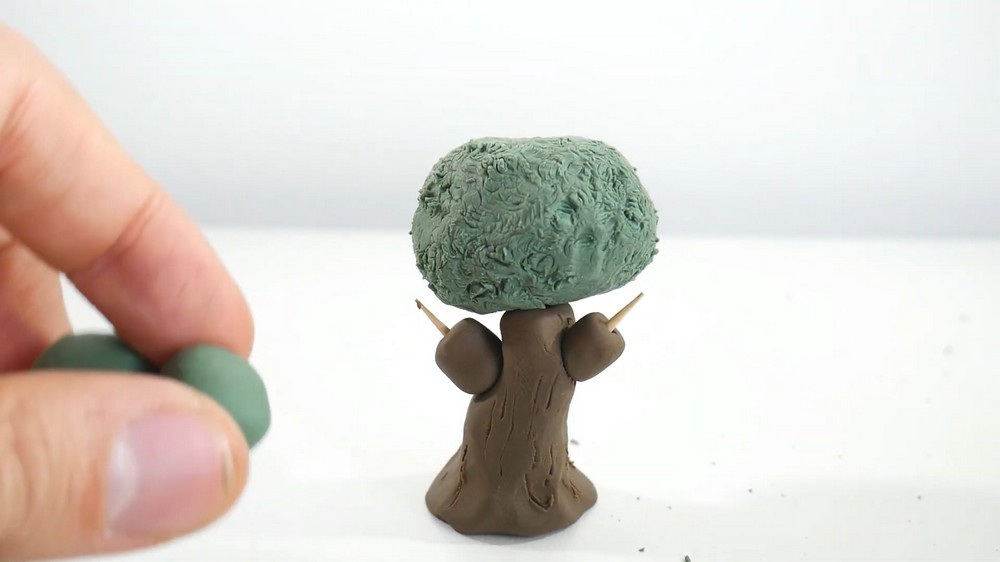
- Press the oval gently with the metal kitchen sponge to create a leafy texture on the surface.
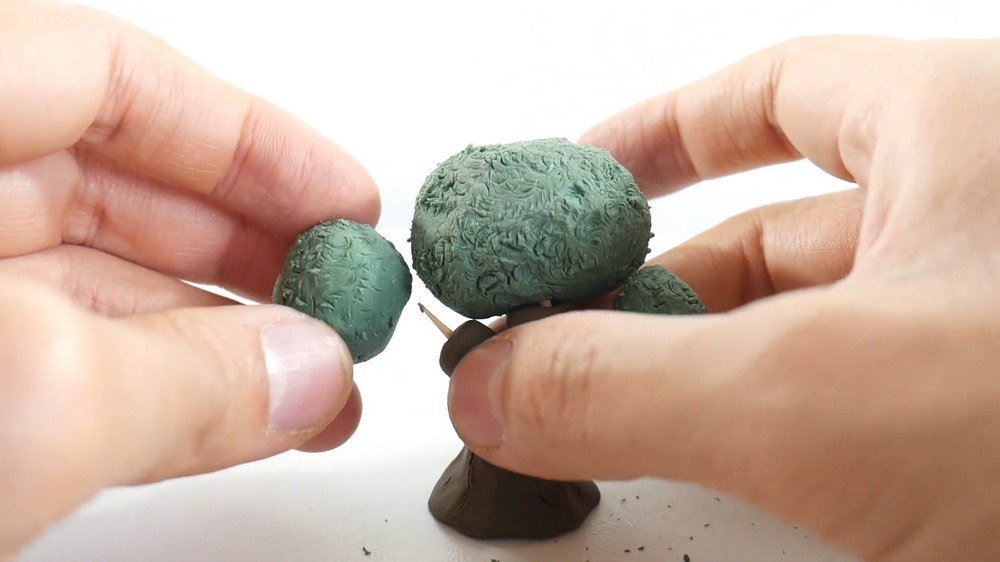
7. Attach the Crowns
- Place the large green crown on top of the tree trunk, where you inserted the toothpick.
- Make smaller green crowns for the branches.
- Apply the same sponge texture to these smaller green pieces.
- Attach the smaller green crowns to the ends of each brown branch.
8. Final Adjustments
- Smooth out any rough or uneven areas on the trunk and branches as needed.
- Ensure all the parts are tightly joined.
- Check that the texture details are clear and the shapes look natural.
Finishing Details
- The textured trunk with toothpick lines gives the model an authentic tree bark look.
- The leaf texture created by the metal sponge makes the crown look full and natural.
- The toothpick supports keep the branches and crowns firmly attached.
- The uneven and bent trunk shape adds realism since no tree grows perfectly straight.
Final Result
You now have a lovely plasticine tree with a textured, natural-looking trunk, sturdy branches, and leafy crowns. It’s a simple but effective model that shows how basic shaping and texturing tools can create beautiful clay art.
Enjoy your plasticine tree, and happy crafting!