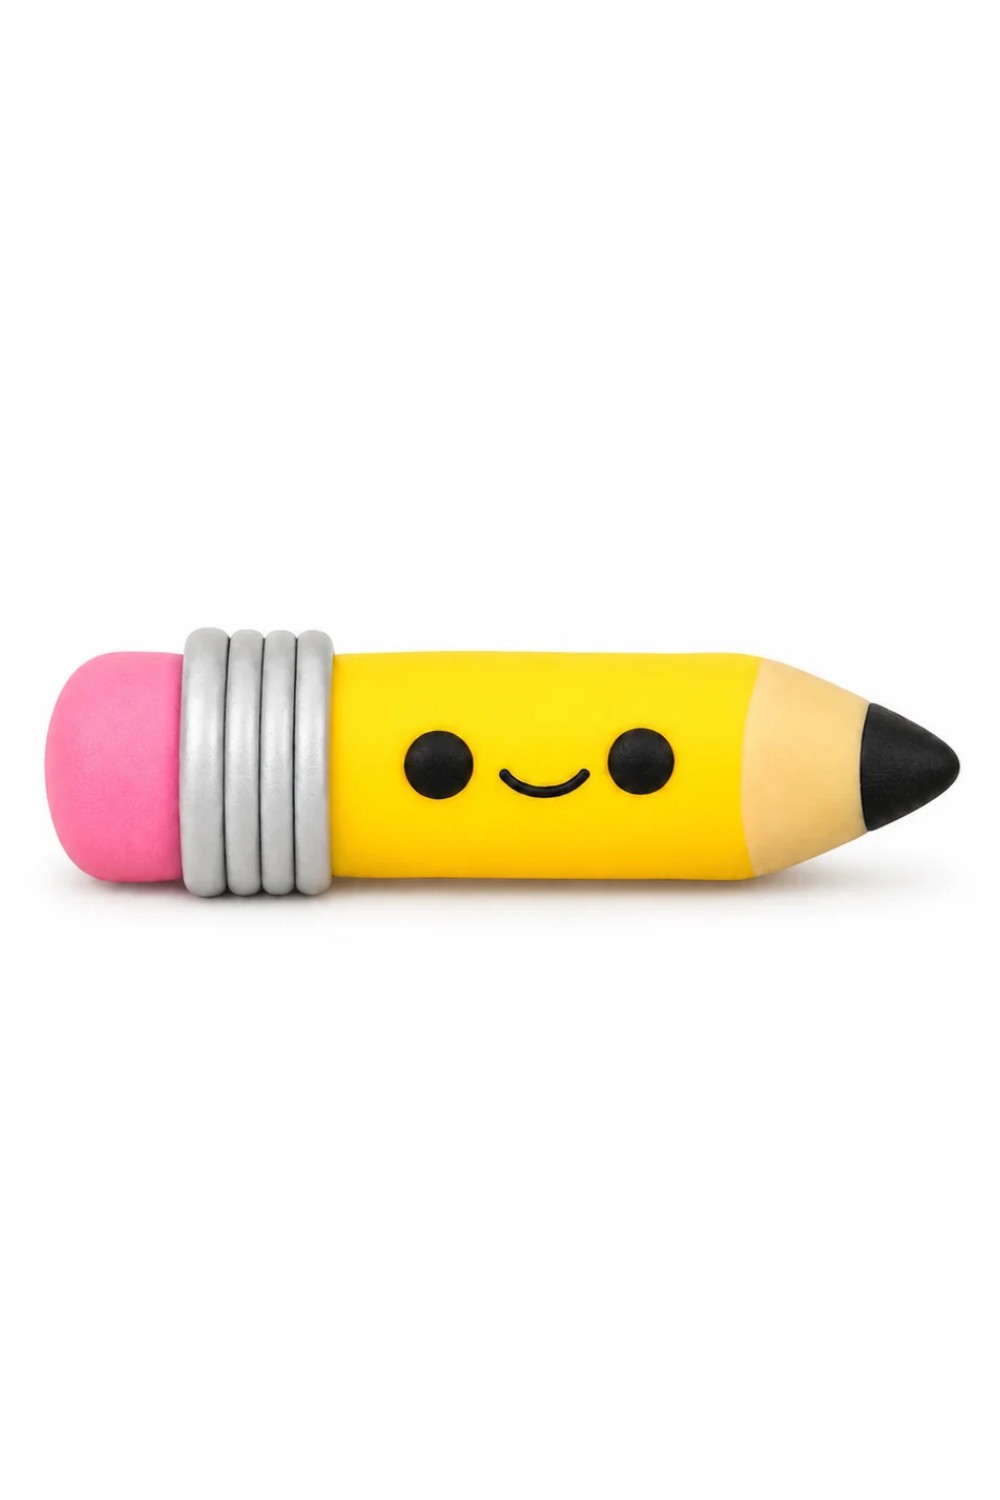
Turn a simple pencil into something special with this DIY Polymer Clay Working Pencil idea, using pretty clay accents for a fun desk accessory or a gift.
PolymomoTea shares an interesting idea that turns an ordinary writing tool into something colorful and personal. DIY Polymer Clay Working Pencil is a lovely project that combines a decorative clay design with the practical use of a real pencil. Unlike ordinary clay miniatures that are only used for display, this idea focuses on an item that can also be useful for writing and drawing. Its small details and playful appearance give it a different look from regular stationery.
Unique DIY Polymer Clay Working Pencil Tutorial For Handmade Gifts
The most interesting feature is its working design. The pencil keeps its main purpose while the clay decoration gives it a more attractive appearance. Different colors and tiny shapes can be used to form a cheerful outer design. A neat finish helps the decorative parts look natural without covering the writing tip.
Polymer clay is used to shape the decorative sections, while a suitable pencil component provides the writing function. Small pieces can be rolled, pressed, and carefully arranged to form the chosen design. The clay needs proper hardening according to its instructions, with attention to keeping the writing component usable.
This pencil is a nice choice for schoolwork, drawing, or writing short notes at home. It can also be kept in a pencil holder as a table decoration. Students may like receiving it as a birthday present or a small gift from a friend.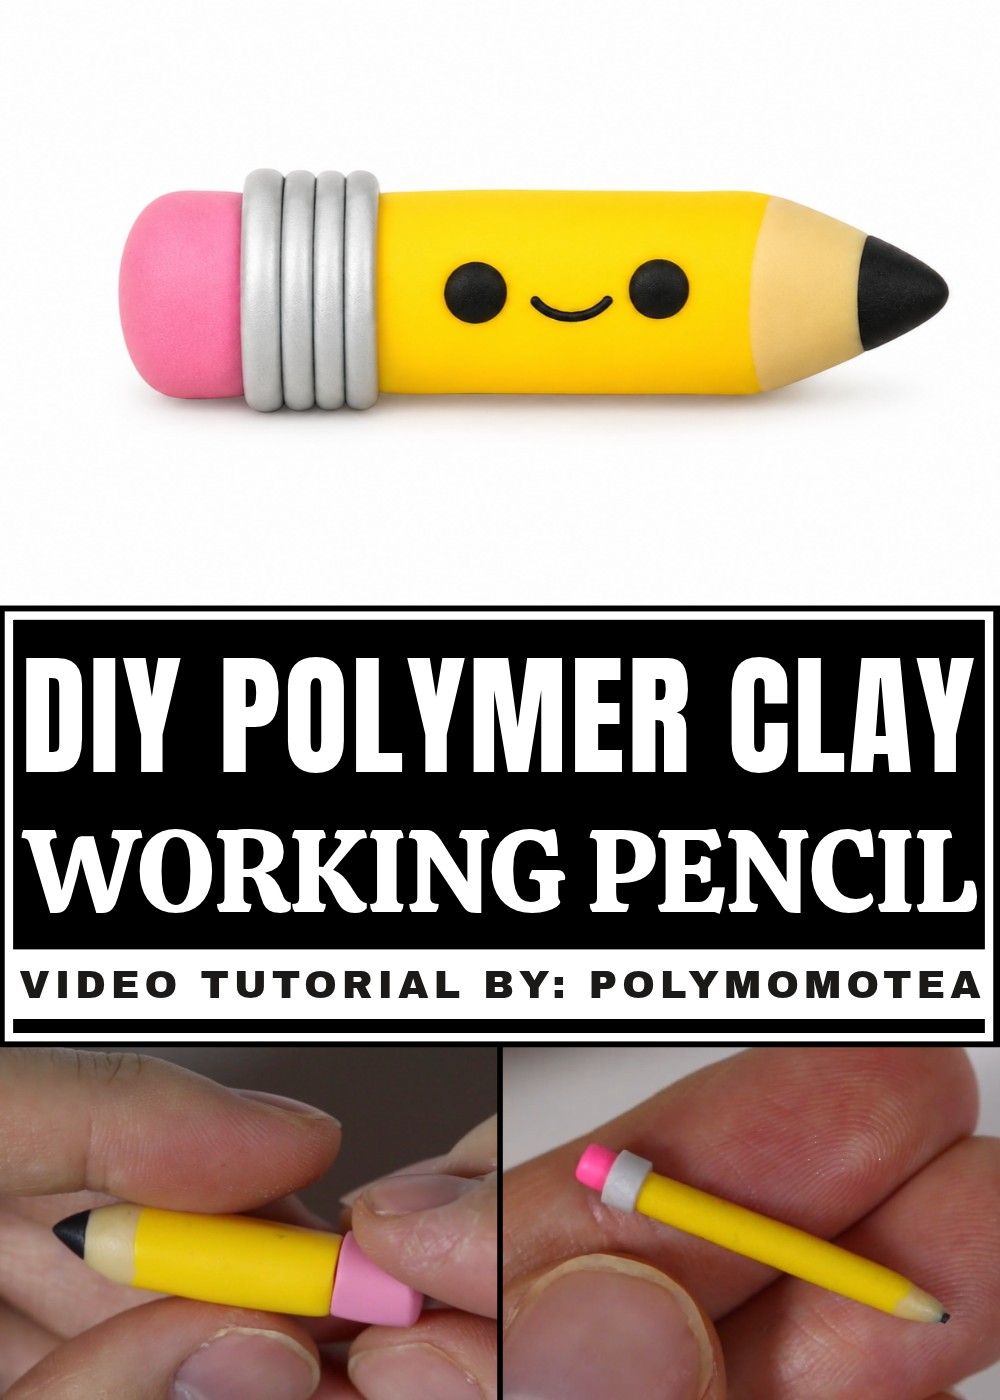
The finished item combines beauty with everyday use. Its colorful appearance gives a normal writing activity a playful touch, while the working pencil inside keeps it practical. This simple idea is especially suitable for anyone who likes unusual stationery and small handmade accessories.
How to Make Two Cute Polymer Clay Pencils: Cartoon & Functional
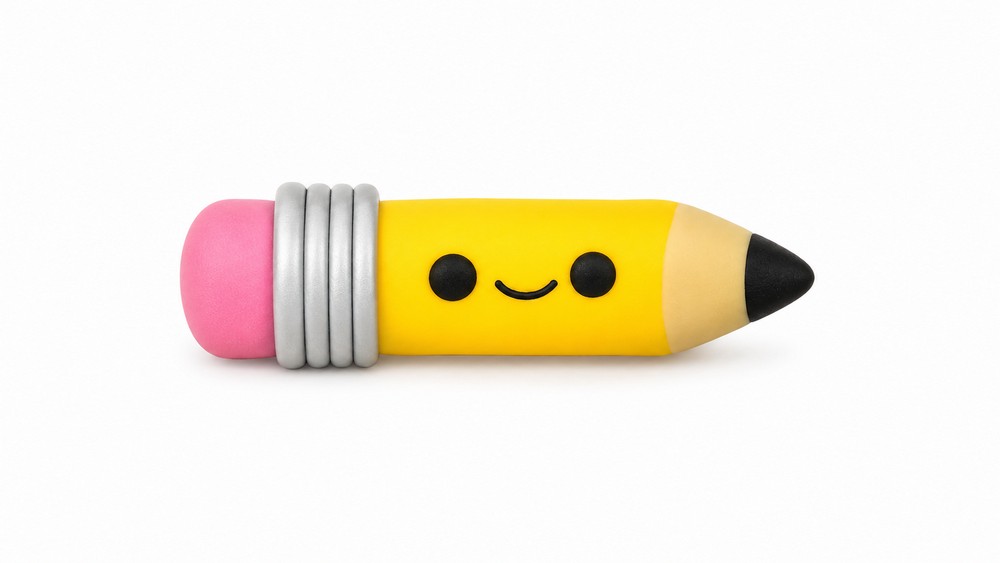
In this tutorial, you’ll learn to create two types of polymer clay pencils: a cute, cartoon-style kawaii pencil and a more functional, realistic pencil with an actual pencil lead core. Both are simple to make and perfect for beginners who want to try small polymer clay crafts. Follow the step-by-step instructions carefully, using the measurements and techniques shared here.
Materials and Tools
- Yellow polymer clay
- Tan/beige polymer clay
- Rose pink polymer clay
- Black polymer clay
- Silver polymer clay (for metal band)
- Real pencil lead (0.7 mm recommended)
- Sculpey eraser clay (or polymer clay that behaves like an eraser after baking)
- Polymer clay blade or craft knife
- Rolling surface
- Oven for baking polymer clay (follow manufacturer instructions)
: Make the Cartoon Kawaii Pencil
Shape the Pencil Body
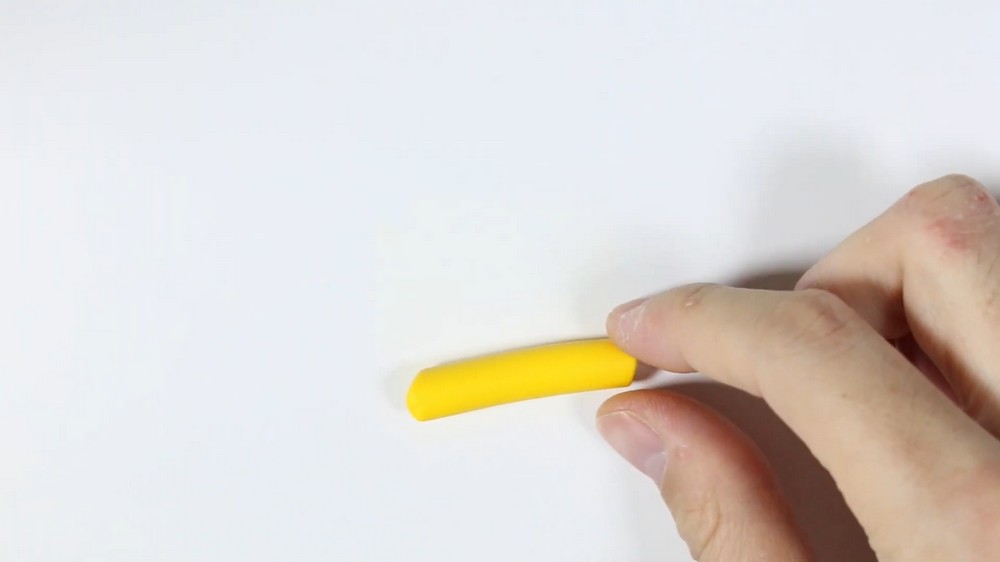
- Take yellow polymer clay and roll it into a fat cylinder shape.
- Cut off the two ends evenly with your blade to make a neat pencil body.
Create the Pencil Tip (Wood Part)
- Use some tan/beige clay and pinch it into a cone shape.
- Cut the tip of the cone flat so it won’t be too pointy.
- Attach this cone to one end of the yellow cylinder to form the wooden part of the pencil tip.
- Also, cut the tip of the tan cone off a bit more to prepare space for the lead.
Add the Pencil Lead
- Take a small piece of black clay and shape it into a mini cone.
- Cut the tip of this black cone flat.
- Attach the black lead piece to the very end of the tan cone tip.
- Roll the clay edges gently with your fingers to even them out.
Make the Eraser
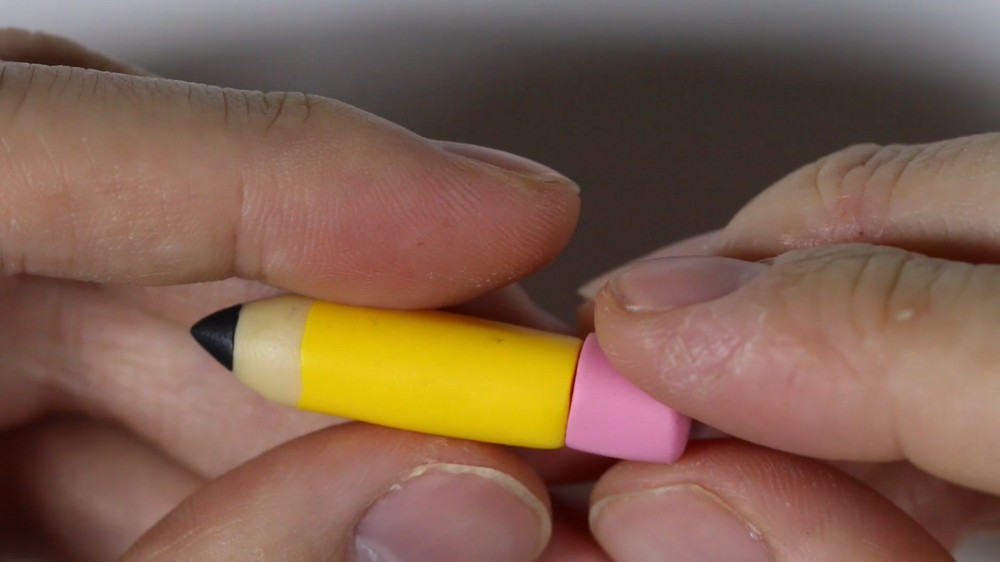
- Roll rose pink clay into a cylinder to match the width of the pencil body.
- Cut it to fit nicely on the opposite end of the pencil.
- Attach the eraser to the other end of the yellow pencil body.
Add the Metal Band
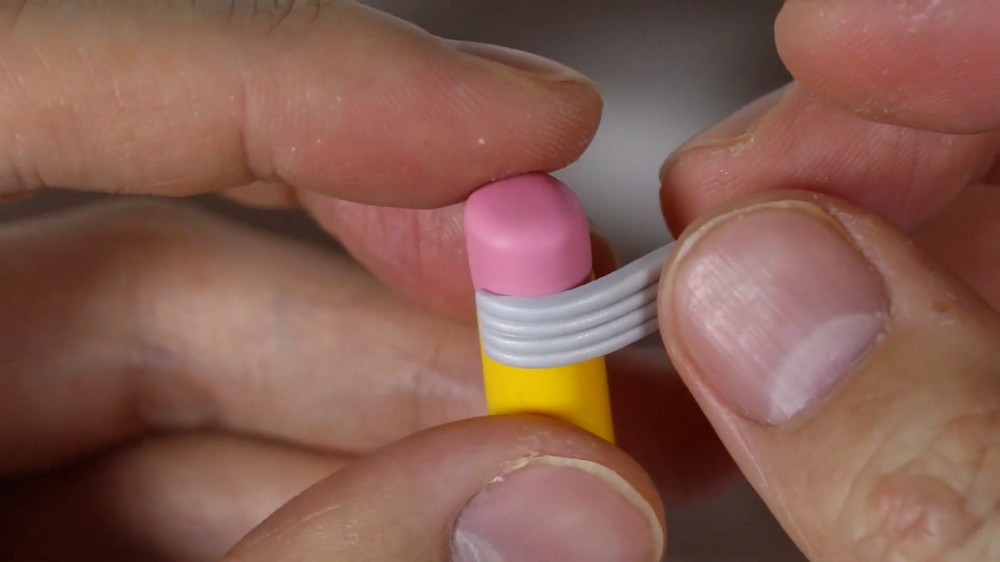
- Roll out silver clay and cut a thin strip long enough to wrap around the pencil where the pencil body and eraser meet.
- Use the dull side of your blade or a needle tool to make parallel line indentations on the silver strip, mimicking the metal band texture.
- Wrap the metal band strip around the pencil at the eraser joint, trimming off any excess clay.
Add the Kawaii Face
- Using black clay, add two small dot eyes to the body of the pencil.
- Use your clay blade or a pointed tool to create a simple line smile below the eyes.
Step 2: Make the Functional Pencil
Prepare the Pencil Lead
- Take a piece of real pencil lead (0.7mm size) and cut it in half.
- This will be the actual lead core that the pencil will “write” with, so handle carefully!
Create the Pencil Body
- Flatten some yellow polymer clay.
- Wrap this yellow clay around the real pencil lead, rolling it evenly to encase the lead inside.
- Trim off any excess clay so the pencil body is smooth and uniform.
Make the Wood Tip
- Flatten a piece of tan/beige clay and wrap it over the end of the pencil lead and yellow clay, forming the wooden part of the pencil tip.
- Cut off any excess clay and smooth the edges with your fingers or blade.
Make the Eraser
- Roll out Sculpey eraser clay into a cylinder shape.
- Cut it to fit the opposite end of your pencil body.
- Attach this “eraser” clay to the pencil’s end to make a realistic eraser tip.
Add the Metal Band
- Cut a thin strip of silver clay.
- Wrap it around the pencil between the yellow body and pink eraser to act as the metal band.
- Trim any excess clay and smooth the edges.
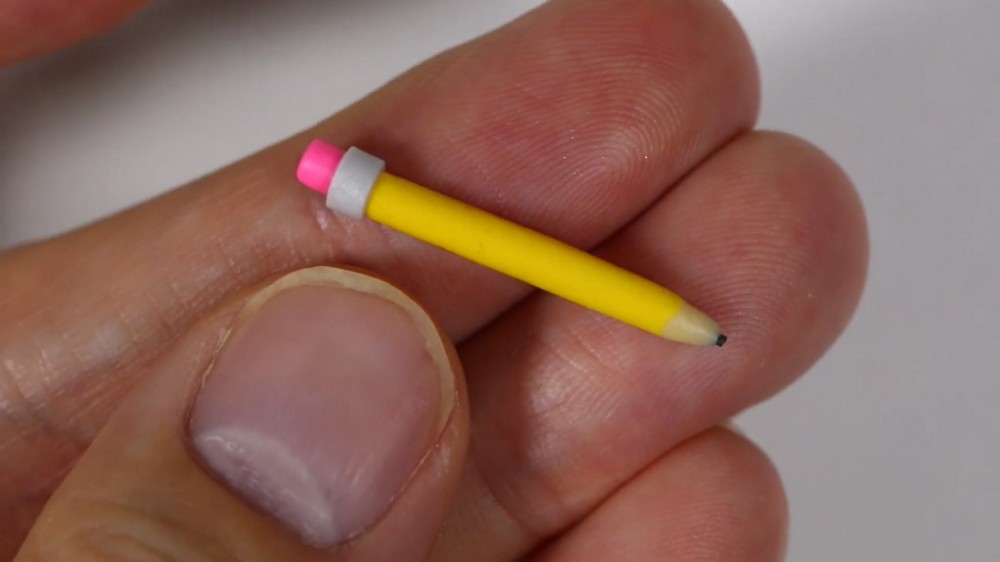
Step 3: Baking
- Place both pencils on a baking sheet.
- Bake them together according to the polymer clay manufacturer’s instructions. Typically, this is around 265°F (130°C) for 15-30 minutes, but check the packaging for exact details.
- After baking and cooling, your pencils will be hard and ready!
Final Look and Tips
- The cartoon kawaii pencil is fun and playful, with dot eyes and a smile that give it personality.
- The functional pencil actually contains real lead inside and can write carefully, but be gentle because the lead is very thin and may break easily.
- The eraser clay on the functional pencil works as a basic eraser—it might not erase perfectly but will work for light erasing.
- You can keep these pencils as cute collectibles, gifts, or simple fun desk accessories.