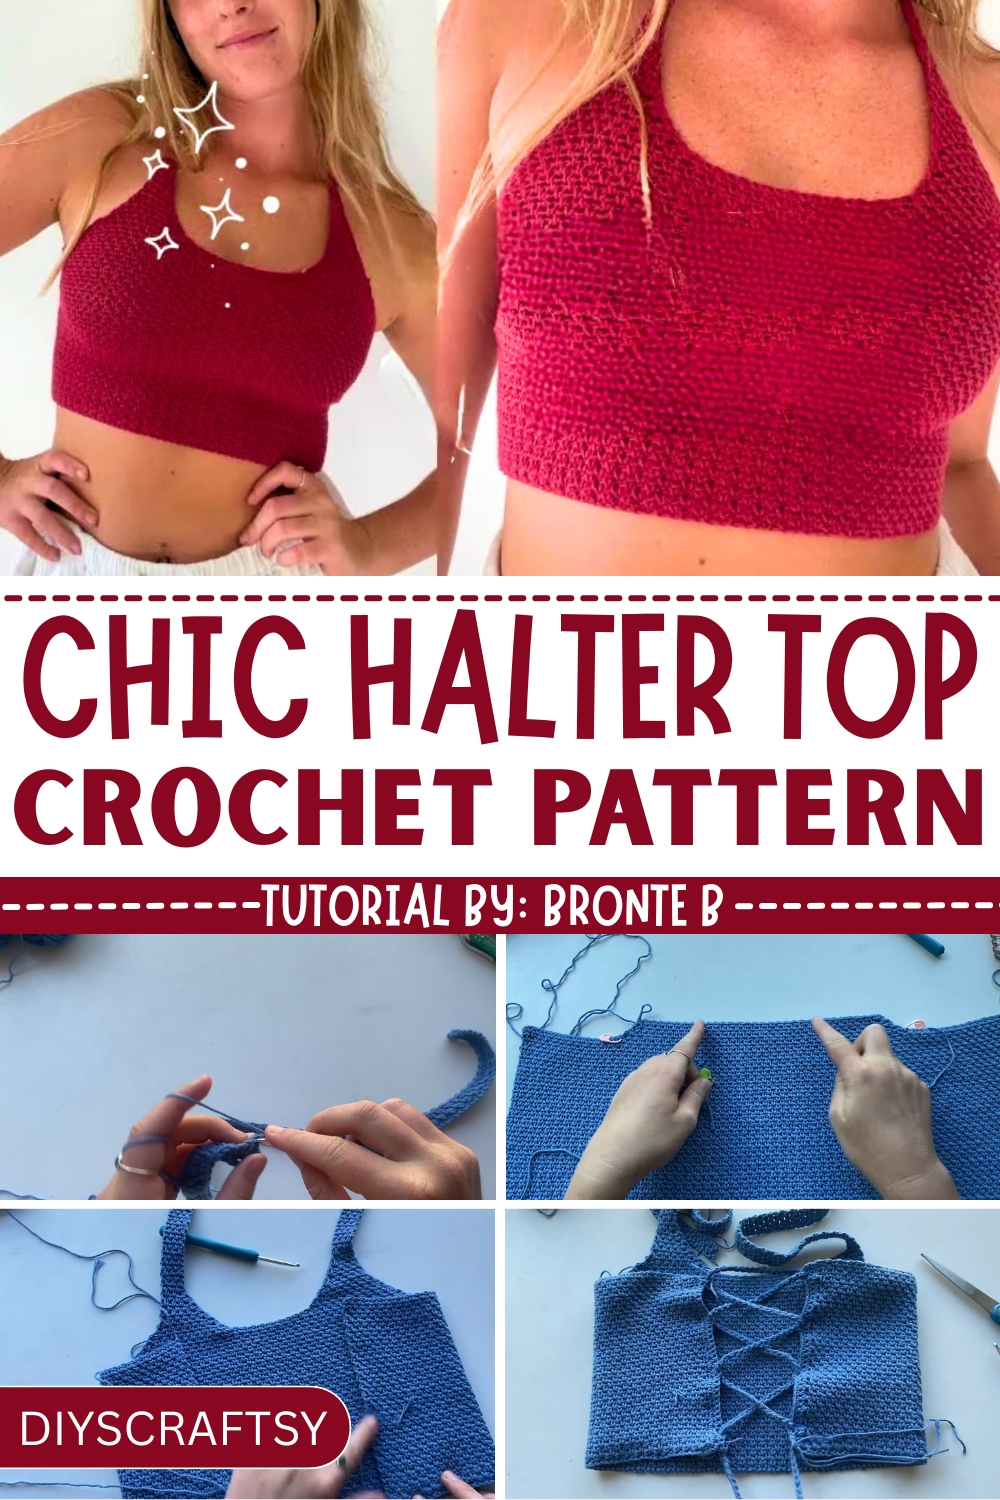
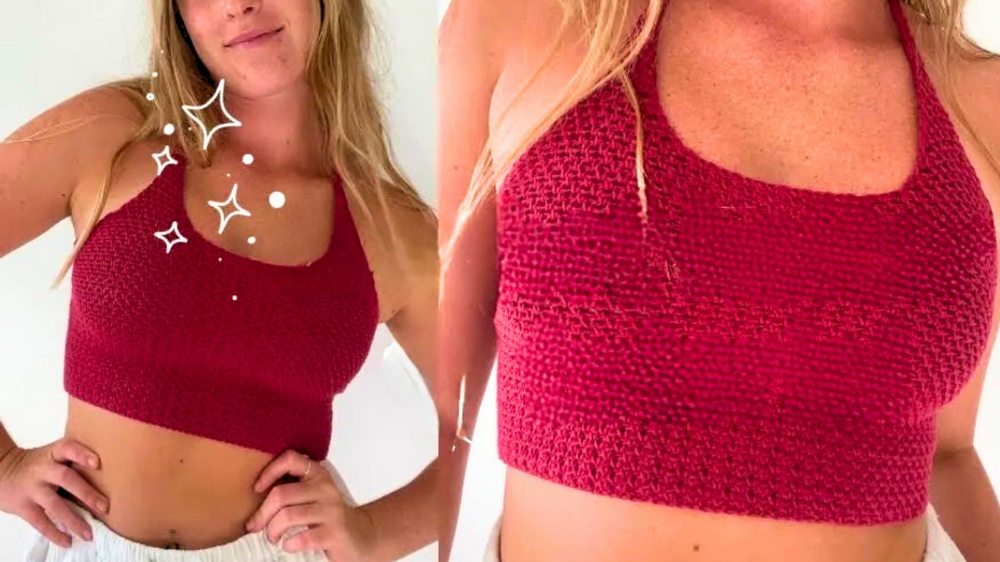
Spice up your style with this playful crochet halter top pattern that's perfect for beach days, festivals, or just flaunting your creative fashion flair.
Warm days and breezy evenings often call for outfits that are both stylish and comfortable, and crochet halter top fit right into this space. With their airy design and intricate details, they’ve become a timeless favorite for casual outings, vacation wear, and even festival attire. Over time, their versatile appeal has made them functional for layering, ensuring they transition seamlessly across seasons.
Glamorous Crochet Halter Top Pattern
Known for their practicality, crochet halter tops combine comfort with individuality. Much more than just a fashion statement, the lightweight material offers breathability that’s ideal for staying cool in warmer weather. Many patterns feature customizable sizing, making it easy to achieve a flattering fit for all body types. Their adaptability ensures they remain a staple in wardrobes, bringing flair to both dressed-down and elevated looks.
Taking the time to follow a crochet halter top pattern allows for personalization that store-bought pieces can’t match. From picking specific yarn colors to incorporating unique stitch designs, every choice adds a layer of individuality. Perfect for beginners and seasoned crocheters alike, these projects not only serve as wearable art but also as meaningful gifts when shared with others.
Materials Needed
- 100g of Four Seasons Blenders Yarn (two 50g balls)
- A 4mm crochet hook
- Scissors
- Yarn needle
- 4 stitch markers (two of each color)
Step-by-Step Details
Steps
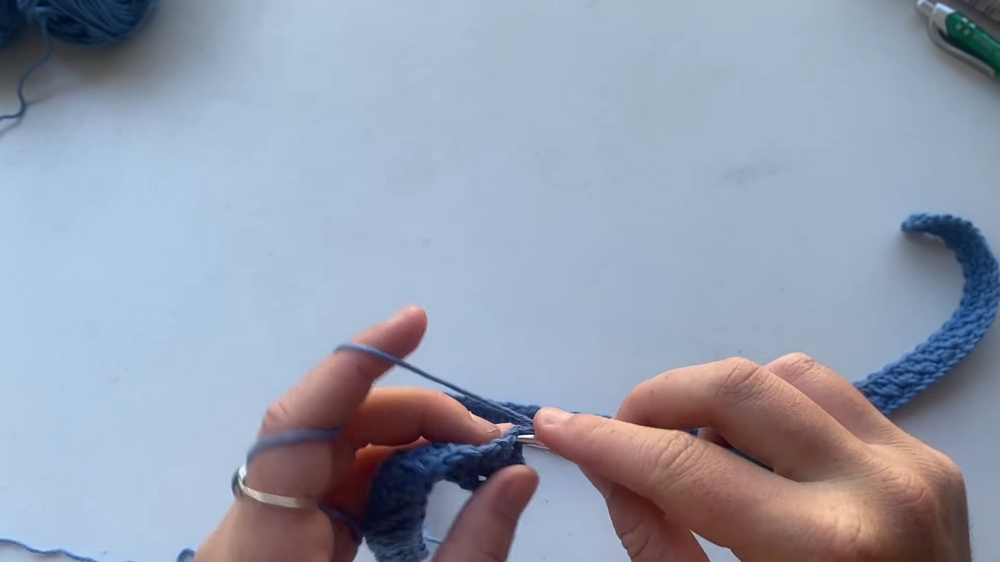
1. Base Chain
- Slip Knot: Begin by creating a slip knot.
- Chaining: Chain any even number to wrap around the rib cage with a 4-5 inch gap at the back. (Example: Chain 120 for a snug fit).
2. Moss Stitch Rows
- First Row:
- Chain 1 on top of the base chain.
- Skip two chains, then create a single crochet in every third chain.
- Alternate single crochet and chain 1 across the row.
- Subsequent Rows:
- Chain 2, turn the work.
- Use the gaps between previous single crochets to continue single crochet followed by chain 1.
- Repeat until completing 42 rows.
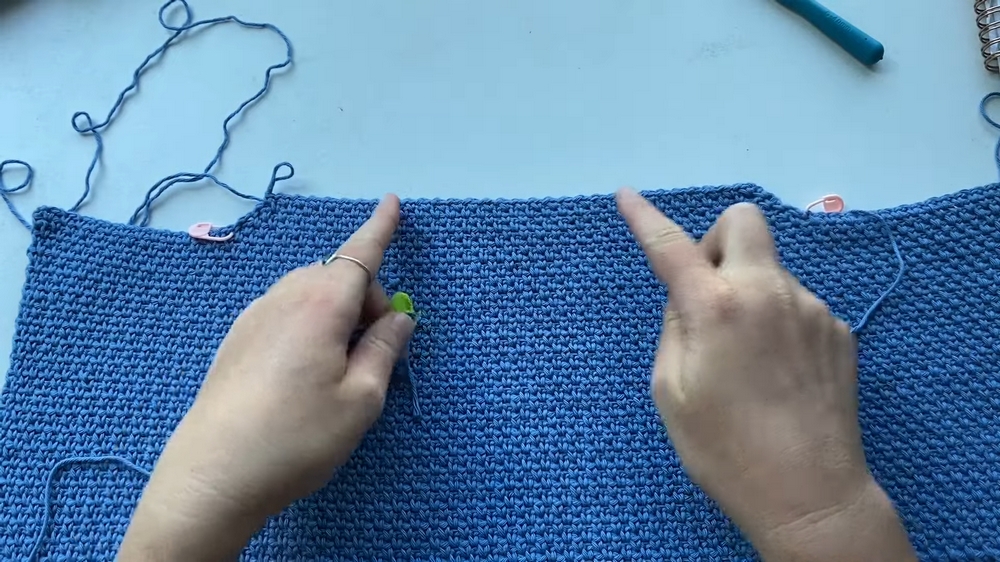
3. Straps Placement
- Marking: Using stitch markers or bobby pins, mark outer spots near the armpits for the strap placement.
- Even Positioning: Count gaps to ensure both straps are evenly spaced (e.g., 13 gaps each side).
4. Making Straps
- Attaching Yarn: Attach yarn to one strap marker gap using a slip knot.
- Decreasing Rows:
- Work moss stitches, decreasing in certain rows by skipping stitches.
- Follow the pattern until straps curve inward and taper for a narrower look (down to three single crochets).
- Lengths: Continue straps until desired length (adjust based on fit).

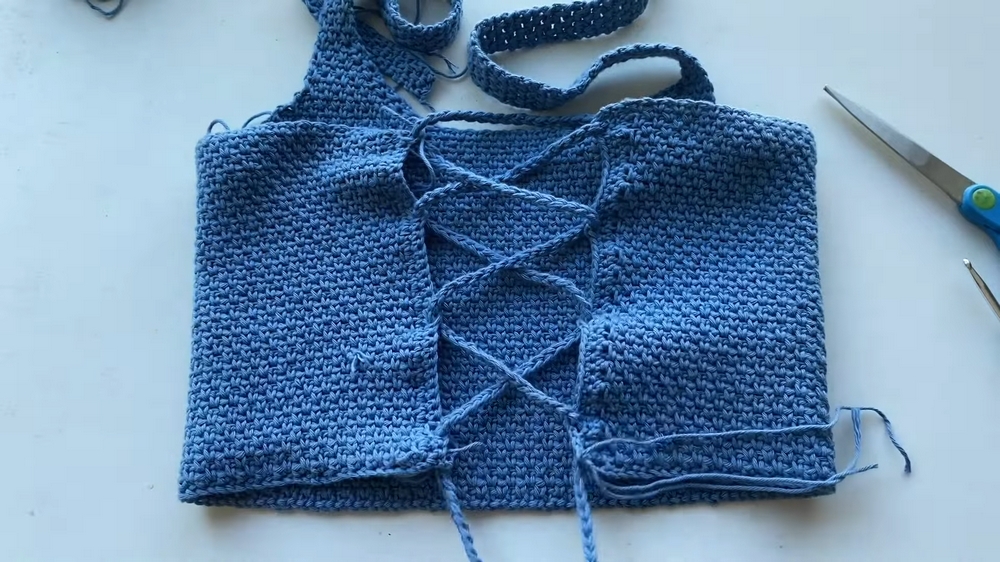
5. Border and Back Tie Loops
- Side Borders:
- Attach yarn to the bottom edge and add single crochets along one side.
- Create 4 holes evenly spaced using chain stitches (e.g., chain 2, skip 2 stitches).
- Repeat on the opposite side.
- Back Strap:
- Double the yarn strand for added strength and chain 300 stitches (or adjust length as needed).
- Thread strap into the side loops to create a crisscross tie back.
Special Features
- Beginner-Friendly Stitch: The moss stitch is simple yet versatile, making this project manageable for beginners.
- Body-Fitting Design: The halter top molds well to the body, ensuring support and comfort.
- Non-See-Through: The dense stitch pattern eliminates the need for bras or nipple covers, offering modesty.
- Adjustable Fit: The crisscross back allows easy adjustment for various body sizes.
Level of Difficulty
Beginner:
- The moss stitch requires basic crochet knowledge, and Bronty provides clear instructions for learners.
Tutor’s Suggestions
- Customization: Adjust chain count and strap length based on rib cage and body type.
- Row Tracking: Use a piece of paper or an app to track rows, ensuring symmetry and accuracy.
- Fit Testing: Frequently try the top on to ensure straps and borders are properly marked and sized.
- Secure Ends: Double-knot loose ends and weave them securely to ensure durability.
Uses and Applications
- Summer Wear: Fashionable addition to your summer wardrobe.
- Custom Gifts: Handmade halters make thoughtful gifts for friends and family.
- Layering: Pair with shorts or skirts for a casual, breezy look.
Tip
Double Yarn for Strength: When making the back strap, double the yarn strand for extra durability and avoid snapping during wear.
Conclusion
Bronty’s halter top pattern is a great project for crochet enthusiasts looking to create a simple, stylish, and functional summer garment. The moss stitch provides the perfect balance of comfort and elegance, while the adjustable crisscross back makes the top versatile for anyone. Whether you are a beginner or looking to refine your crochet skills, this project offers the perfect opportunity to combine creativity with practicality.


