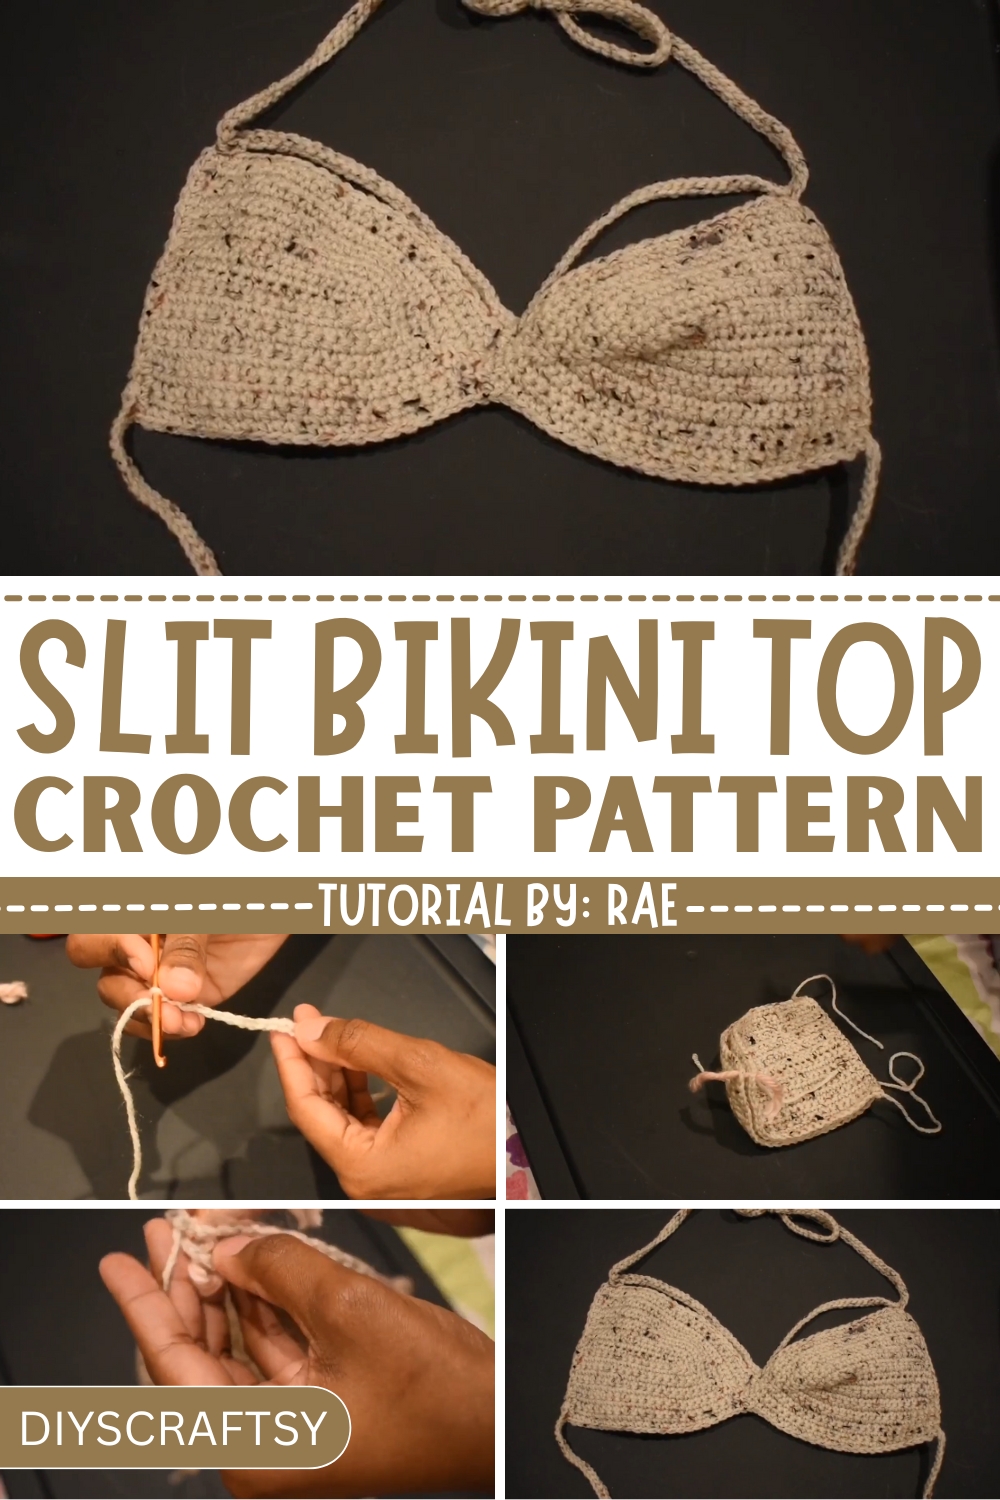
Celebrate summer with a crochet bikini top pattern, perfect for cpocheting personalized swimwear that combines comfort, style, and individuality.
Crochet has long been admired for its ability to turn simple threads into intricate, functional designs. A crochet bikini top pattern is a shining example of this artistry, offering a stylish solution for sunny adventures. Unlike conventional swimwear, this handmade top combine a sense of uniqueness with practicality. Perfect for warm weather, they provide a lightweight feel and a breathable texture, ensuring comfort while looking effortlessly chic.
Modern Crochet Bikini Top Pattern to Try Today
Adopting a crochet bikini top pattern brings more than just a fashion statement—it’s an opportunity to tailor swimwear to your personal style. From adjusting the fit to choosing vibrant or neutral tones, this pattern allow endless customization. Whether worn to the beach, poolside, or paired with casual summer outfits, the versatility of these bikini tops ensures they blend seamlessly into varied settings while maintaining a sense of individuality.
Additionally, working on a crochet bikini top fosters a mindful and fulfilling activity. The repetitive stitching can offer calming moments, transforming the process into a form of quiet relaxation. Wearing the finished product isn’t just about its aesthetic appeal; it’s about the satisfaction of using something uniquely your own. With its mix of fashion, functionality, and creative reward, this design brings purpose and charm to swimwear and crocheting alike.
Materials Needed
- Crochet hook: 4.25 mm.
- Yarn: Use a comfortable, lightweight, and breathable yarn suitable for summer projects. Cotton is ideal.
- Yarn markers: To track chain-1 spaces.
- Scissors: For cutting loose ends.
- Tapestry needle: For weaving in ends.
Step-by-Step Details
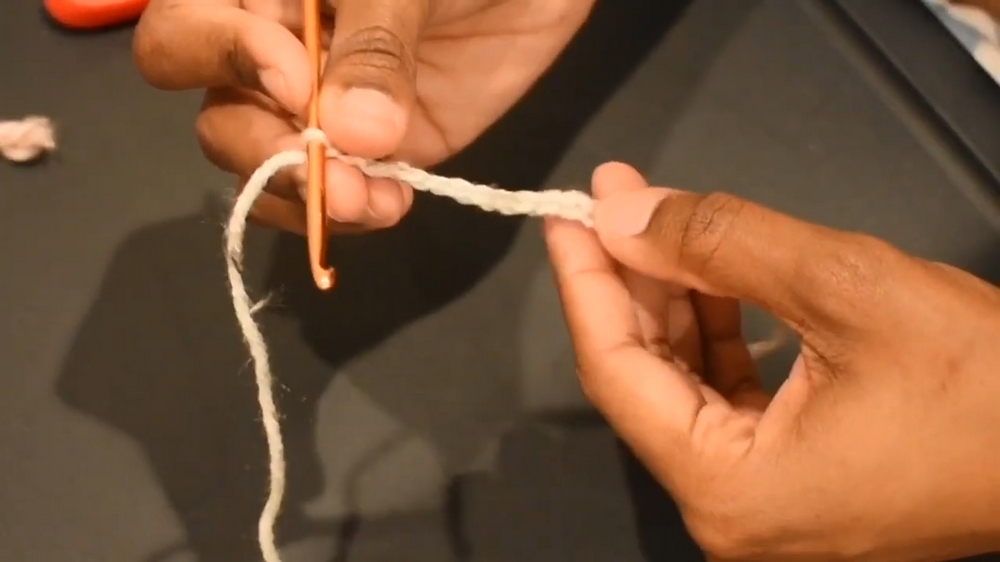
Step 1: Starting the Project
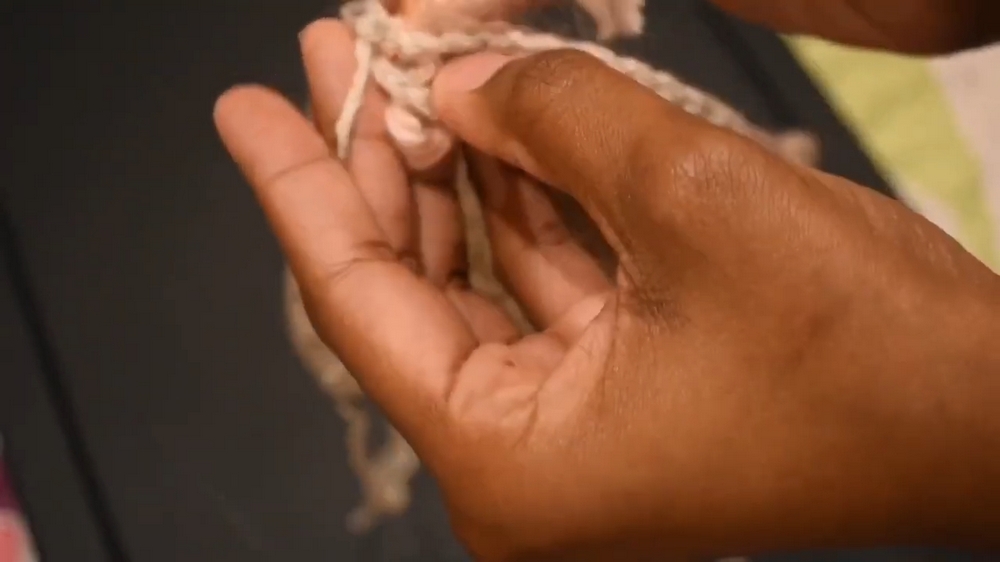
- Use a 4.25 mm crochet hook and begin with a slip knot.
- Chain 16 stitches to start. Ensure you have exactly 16 chains before continuing.
Step 2: Creating the First Row
- Single crochet into the second chain from the hook and continue with single crochets across the row.
- In the last stitch, make two single crochets, then chain one.
- Use a piece of yarn (e.g., pink) to mark the chain-1 space.
- Following the marked space, create two additional single crochets in the chain-1 space.
Step 3: Continuing the Rows
- Flip your work and single crochet across the row.
- When reaching the chain-1 space marked by the yarn marker, single crochet once, then chain one, mark this new space, and add a single crochet again in the same chain-1 space.
- Repeat this process until you achieve the desired size.
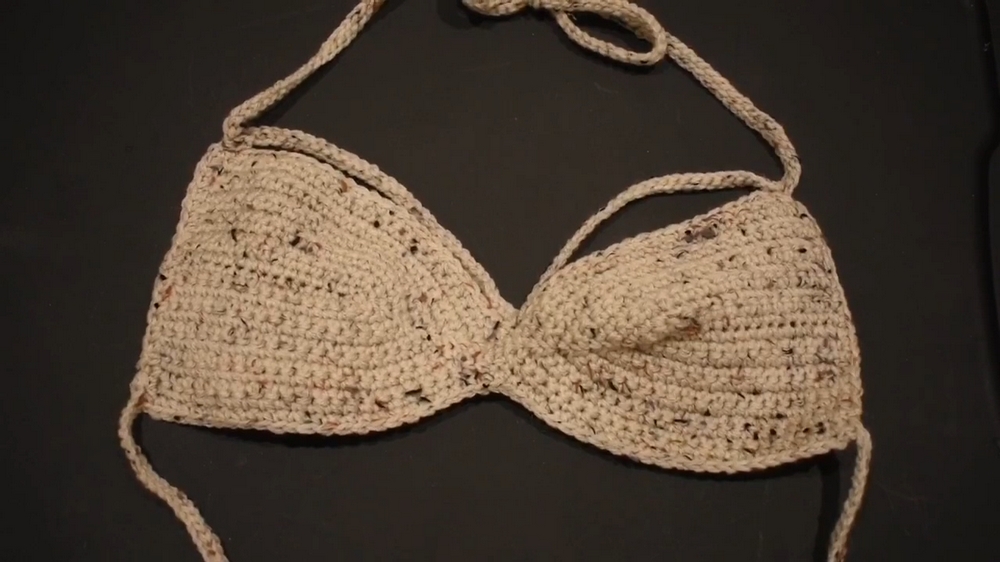
- The tutorial suggests measuring the piece to cover the majority of your bust. For the demonstration, 11 rows were created.
Step 4: Creating Neat Edges
- After completing all rows, add single crochets along the edges to make the sides aligned and tidy.
- For the given example, the total single crochets along the edges came out to approximately 22 single crochets per side.
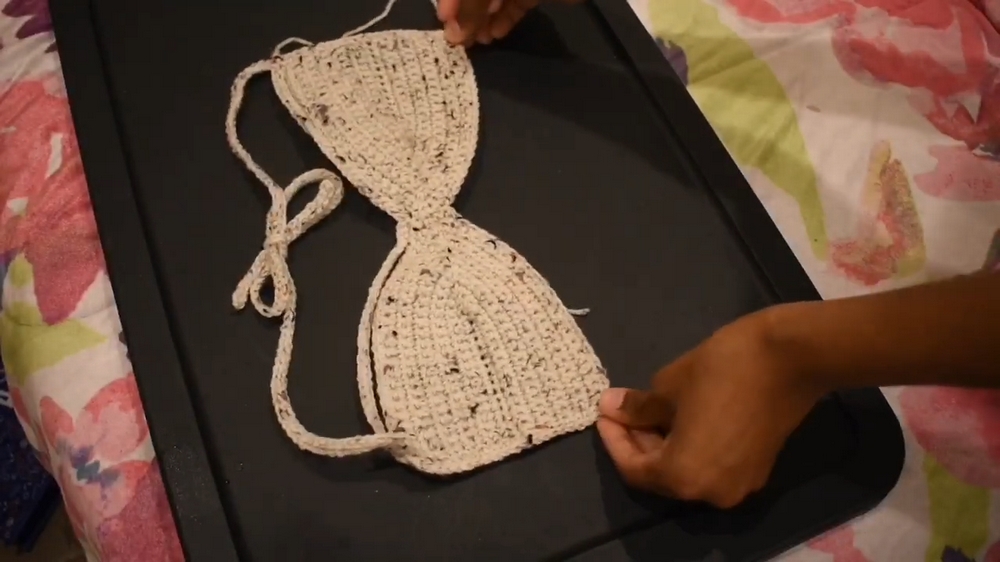
Step 5: Connecting the Sides
- Join the two sides together using single crochets, starting from the fourth stitch away from the center.
- Ensure the right sides of the fabric face each other during this process.
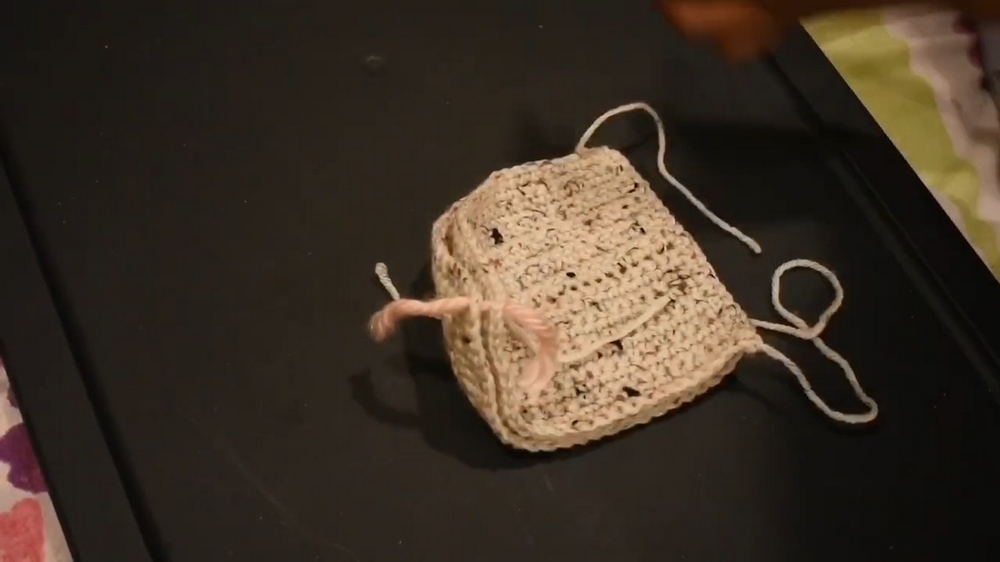
Step 6: Adding Straps
- Without tying off, slip-stitch to either the left or right side of your work.
- Chain 30 stitches for the straps and connect them two stitches away from the corner of the top using a slip stitch.
- For the neckline strap, chain 84 stitches.
Step 7: Strengthening the Straps (Optional)
- If additional support is needed (e.g., for larger busts), slip stitch back down the chain to make the straps thicker.
- Repeat the same strap-making process on the opposite side of the top.
Step 8: Adding Side Straps
- Attach yarn to the bottom of the top using a slip knot and slip stitch.
- Chain 80 stitches for the side straps, then slip stitch back down if reinforcement is desired.
- Continue single crocheting across the bottom edge to avoid cutting and restarting the yarn.
Step 9: Final Touches
- After all straps are added, clean up the project by weaving in loose ends and ensuring everything looks uniform.
Special Features
- Adjustable pattern to fit various sizes.
- Optional reinforcement for added strap strength.
- Minimalistic and breathable design perfect for summer wear.
- Beginner-friendly with fundamental stitches (like single crochets and slip stitches).
Level of Difficulty
This project is rated as Beginner to Easy. It primarily uses basic crochet stitches, making it suitable for those with fundamental crochet knowledge.
Tutor's Suggestions
- Use a yarn marker to keep track of your chain-1 spaces to ensure consistency in rows.
- Measure your rows against your body to ensure a perfect fit.
- Add slip-stitched straps if additional support is needed for larger busts.
- Work slowly to ensure clean edges and uniform stitches.
Uses:
- Handmade summer tops for beach outings, casual wear, or layering with other outfits.
- Customizable straps make it versatile for different body types and preferences.
Bonus Tip
For a more vibrant look, experiment with colored yarns to create contrast between the top's body and straps. Striped or ombre yarns can add a dynamic touch without additional effort.
Conclusion
This crochet summer top pattern is straightforward, modern, and enjoyable for beginners and experienced crocheters alike. With its customizable design and breathable fabric, it’s a perfect project for the summer season. Follow the steps carefully, add your creative flair, and enjoy a uniquely handmade addition to your wardrobe!


