Stay warm and stylish this winter with an easy-to-follow crochet beanie hat pattern, perfect for adding personal flair and comfort to your seasonal wardrobe.
Looking for a way to stay cozy and stylish during the winter months? A crochet winter beanie hat might be just what you need! This free crochet pattern is easy to follow, making it perfect for both beginners and seasoned crocheters. It’s designed not only to bring warmth on cold days but also to elevate your winter wardrobe with a handmade charm.
Free Crochet Beanie Hat Pattern You’ll Love This Winter

Its simple yet versatile design lets you adapt the hat to suit your personal tastes, whether you prefer adding a playful pom-pom or sticking to a more classic look. With the ability to adjust sizes, you can ensure the perfect fit for yourself or anyone you might want to gift it to.
This beanie is much more than a winter accessory it’s a practical way to protect yourself from icy winds while expressing your creativity. Whether worn during outdoor adventures or paired with casual winter wear, its functionality and stylish appeal make it a favorite for all. Plus, the satisfaction of making your own cozy hat brings a sense of accomplishment, while its usefulness keeps your head warm all season long.
How To Crochet Beanie Hat
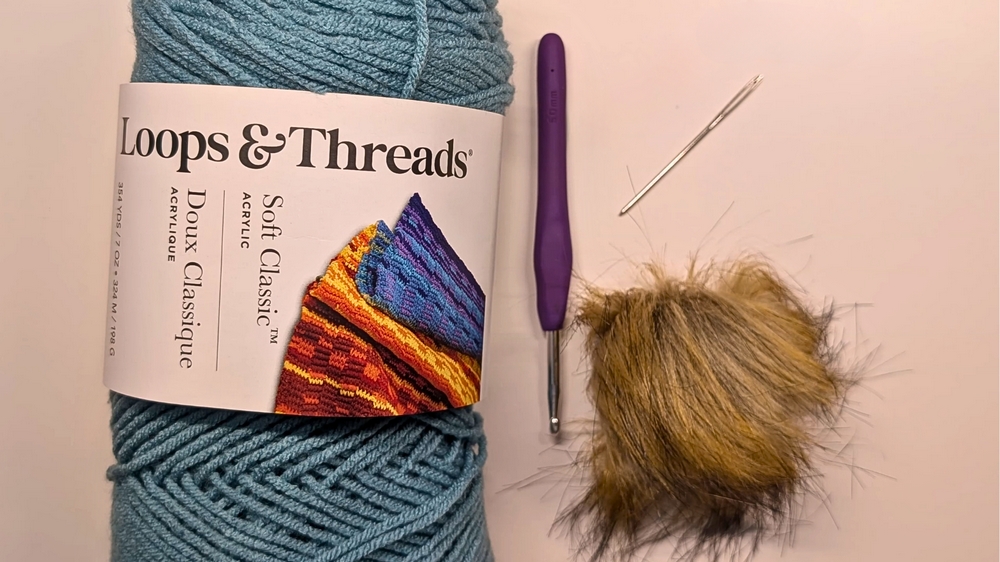
Materials Needed
- Yarn: Loops and Threads Soft Classic Yarn in color Arctic
- Crochet Hook: Size 5 mm
- Darning needle
- Pom-pom (optional)
Introduction
In this project, we'll be creating a cozy, beginner-friendly winter hat using loops and threads soft classic yarn and a few basic crochet techniques. The pattern is straightforward and perfect for newcomers to crochet.
Steps to Crochet the Winter Hat
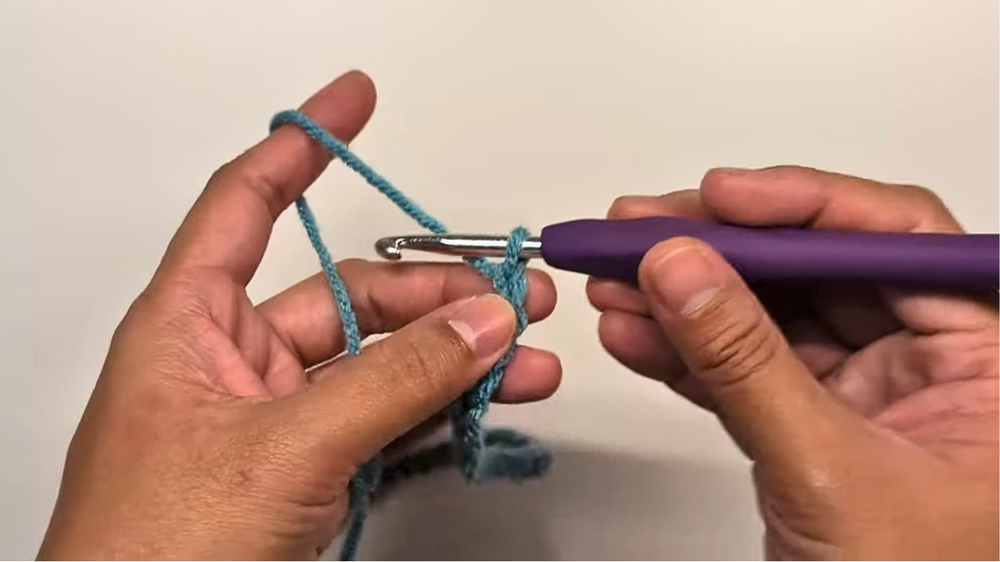
Step 1: Chain Foundation
- Start: Begin with 46 chains.
Step 2: Row 1
- Double Crochets: Starting on the second chain from the hook, make 36 double crochets.
- Single Crochets: Follow with 4 single crochets.
- Slip Stitches: End with 4 slip stitches.
Step 3: Row 2
- Chain & Turn: Chain one and turn your work.
- Slip Stitches: Work 4 slip stitches in the back loops only.
- Single Crochets: Work 4 single crochets in the back loops only.
- Half Double Crochets: Work 36 half double crochets in the back loops only.
- Last Stitch: For the last stitch of the row, work one half double crochet into both loops.
Step 4: Row 3
- Chain & Turn: Chain two and turn your work.
- First Stitch: One half double crochet into both loops.
- Half Double Crochets: Work 36 half double crochets in the back loops only.
- Single Crochets: Work 4 single crochets in the back loops only.
- Slip Stitches: Work 4 slip stitches in the back loops only.
Step 5: Repeat Rows 2 and 3
Continue repeating Rows 2 and 3 until you have a total of 42 rows.
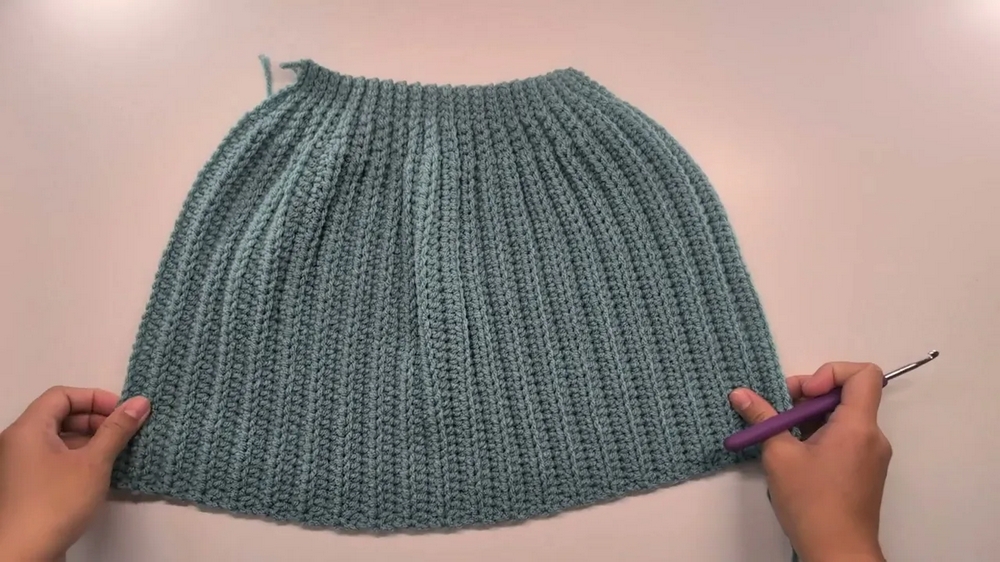
Step 6: Assemble the Hat
- Fold: Fold your work lengthwise.
- Join Techniques: You can either sew or slip stitch the first and last rows together. Alternatively, you can add another row while attaching it to the first row.
- Start: Begin your row as usual.
- Join: After finishing the first stitch, hold the loop and remove the hook, insert the hook into the first stitch of the first row, and draw the loop through.
- Continue: Make your next half double crochet and repeat the process until the end of the row.
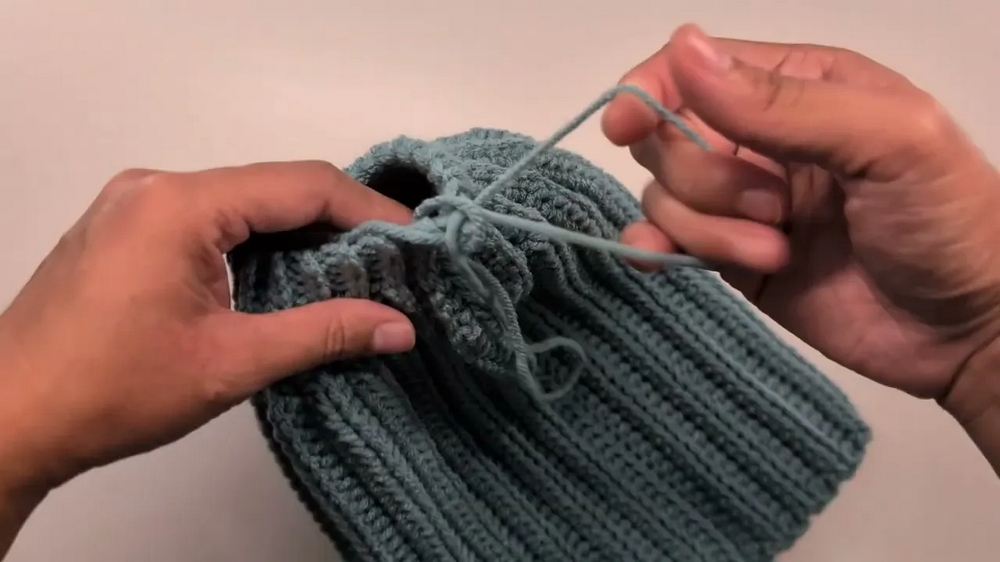
Step 7: Finishing Off the Hat
- Finish: Once you reach the last stitch of the row, leave a long tail and cut the yarn. Pull the yarn through the loop to close off.
- Seam the Top: Using a darning needle, sew the top of the hat to close it.
Step 8: Optional Pom-Pom
- Attach the Pom-Pom: Insert the hook through the top of the hat and pull the elastic loop of the pom-pom through. Flip the hat over to secure it.
- Button: If you want the pom-pom removable, sew a button inside the hat to attach the elastic loop.
Conclusion
Your stylish winter hat is now complete! Whether you add a pom-pom or not, this hat is perfect for keeping warm during the colder months. Adjust the number of rows to achieve your desired size, and enjoy your new creation!


