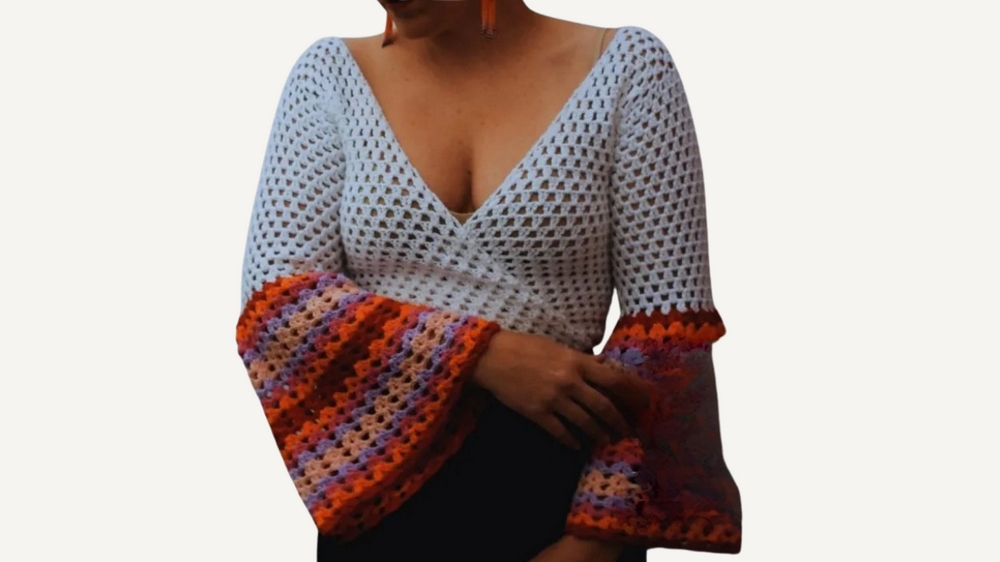
Catch elegant vibes with the Crochet Bell Sleeves Blouse Pattern, offering airy comfort, graceful style, and handmade charm for every occasion.
A gentle breeze drifting through a sunlit morning sets the perfect scene for a blouse that combines elegance with comfort. The Free Crochet Bell Sleeves Blouse Pattern offers a timeless garment that is both versatile and stylish. The signature bell sleeves add a subtle flair, creating graceful movement with every gesture while maintaining ease of wear. Perfect for casual outings, social gatherings, or layering over your favorite tops, this blouse adapts effortlessly to different occasions. Its lightweight texture allows breathability, keeping you comfortable during warmer days, while the structured stitching ensures durability and a polished finish.
Free Crochet Bell Sleeves Blouse Pattern That Brightens Any Outfit

Following this pattern not only results in a wearable piece but also provides a calming and focused crocheting experience, helping reduce stress and enhancing mindfulness. The crochet bell sleeves blouse can be personalized with colors, yarn types, or sleeve lengths to suit individual tastes, making each finished piece uniquely yours.
Beyond personal use, it makes a thoughtful handmade gift, symbolizing care and attention to detail. Wearing this blouse offers both functional comfort and a touch of graceful style, demonstrating that simple, well-executed handwork can transform everyday outfits into elegant expressions of personality and charm.
Materials Needed
The video outlines the materials required for this project:
- Yarn: 100% cotton balls, approximately 100g per ball (250 meters). For size S/M, you’ll need:
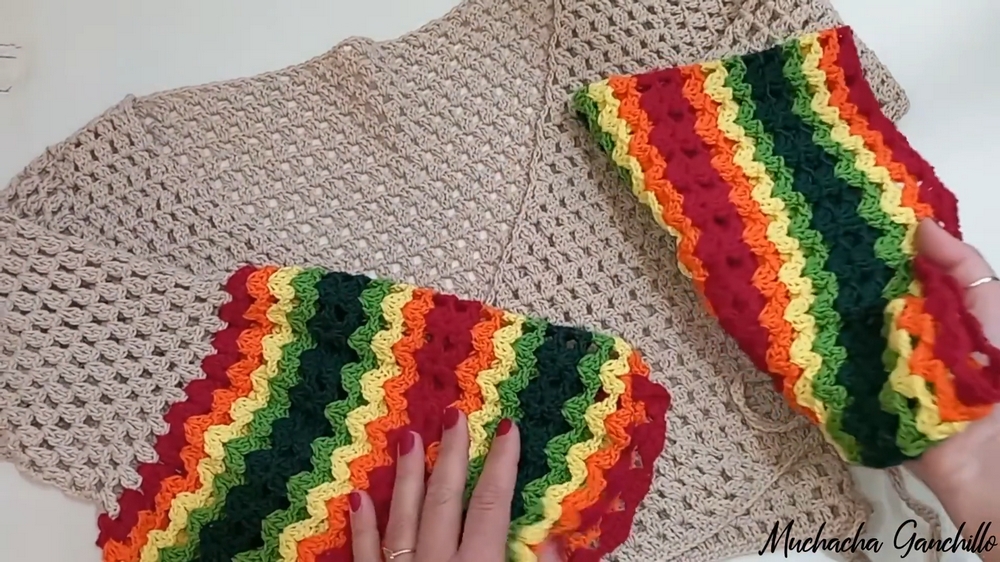
- Body: ~300g of ecru or beige thread.
- Ruffled accents: ~50g total (in colors such as bottle green, leaf green, orange, yellow, and bright red).
- Hook: 3.5mm crochet hook.
- Tools:
- Needle.
- Markers.
- Tape measure.
- Scissors.
Step-by-Step Instructions
1. Preparing and Measuring
- Begin by measuring your waist. Since this is a wrap blouse, allow for double the waist measurement to ensure the blouse can be wrapped comfortably around your body.
- Add additional chain length for tying cords at the back.
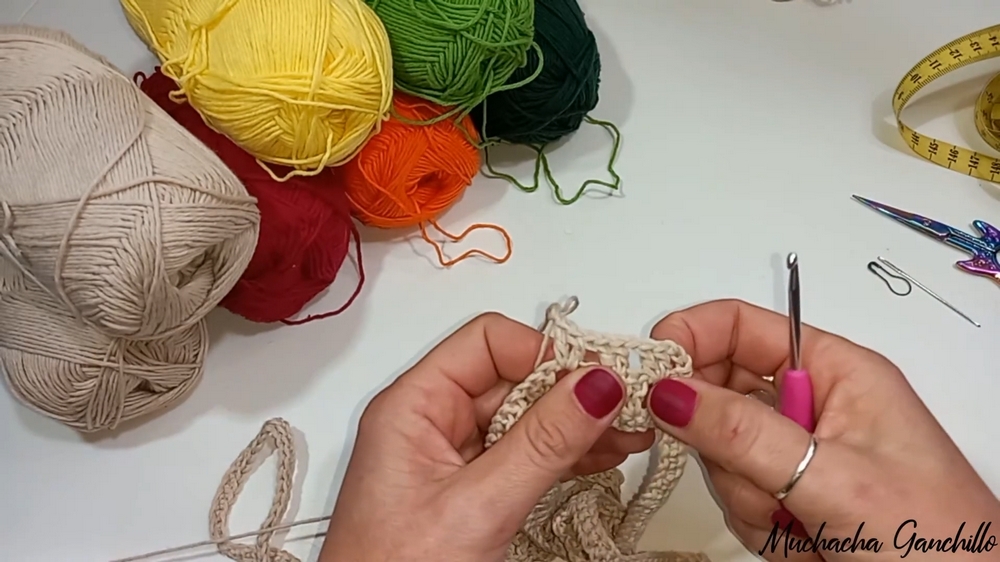
2. Making the Cord
- Start with a slip knot and crochet a series of chains until you achieve the required length (~400 chains for this size).
- Fold the chain in half to confirm the length, which should be about 2.3 meters.
- Mark the starting and ending points of the chain (100 chains each for reference).
- Crochet single stitches along the entire chain length.
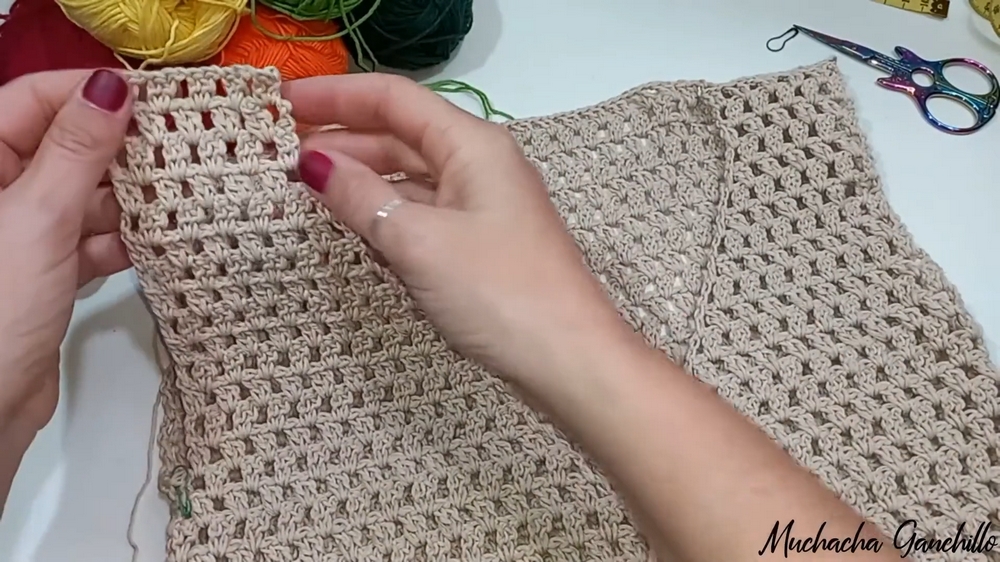
3. Creating the Waist
- Begin with double crochets and one chain between two stitches, skipping one space in between. This forms alternating groups of double crochets and chain spaces.
- Work back and forth between markers across the waist cord.
4. Shaping the Body
- Decrease at the beginning and end of each row after the first.
- Continue crocheting in rows with a pattern of two double crochets, one chain, and skipping spaces, gradually shaping the piece by decreasing.
- Repeat this step until completing 20 rows.
5. Front Panels and Back Panel
- Split the body into front panels and a back panel.
- For front panels:
- Create 10 rows with a decrease on one side.
- Then crochet 4 rows without decreases.
- For the back panel:
- Work 14 rows straight (without decreasing).
6. Sewing
- Sew the completed panels together using an invisible seam technique:
- Insert your needle from above and below, ensuring a smooth and clean join.
- Pull the thread gently as stitches are added to avoid visibility.
- Sew the shoulder, sides, and other seams as required.
7. Creating the Sleeves
- Start at the armhole and crochet evenly around in rounds.
- Alternate groups of double stitches and spaces to maintain an appropriate size for the sleeve.
- Continue working until the desired length is achieved (~18 rounds).
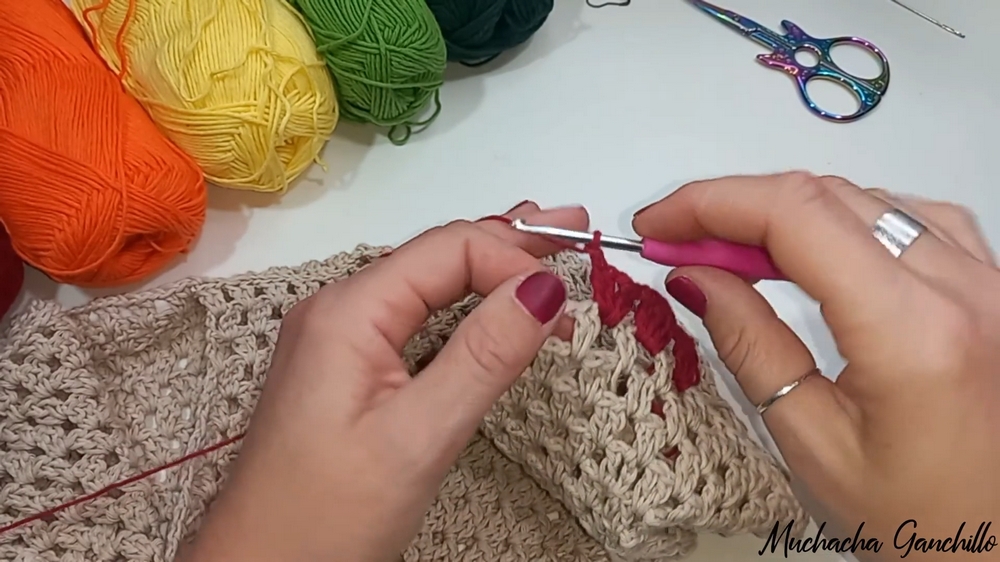
- For the ruffled portion of the sleeve:
- Add colorful yarn and increase stitches on each chain space to create fan-like ruffles.
- Work 20 rounds, changing colors for each row.
Special Features
- Wrap Design: The blouse crosses at the waist, tying at the back, giving it an adjustable and flattering fit.
- Ruffled Sleeves: The colorful, fan-like design accentuates the sleeves, making them a standout feature.
- Customizable Size: The pattern allows for adjustments based on personal measurements.
Tutor’s Suggestions
- Accuracy in Measurement: Always double-check your waist measurements before starting to ensure a proper fit.
- Practice Invisible Seams: Clean sewing techniques elevate the final look of the blouse.
- Test Sleeve Fit: Adjust sleeve fitting while working to ensure it is proportional and comfortable.
- Experiment with Colors: Use vibrant contrast colors for the ruffled sleeve to make the blouse visually appealing.
Difficulty Level
This project is suitable for beginner to intermediate crocheters. While the techniques used—such as making double crochets, chains, and invisible seams—are fairly straightforward, the need for consistent measurement and careful shaping may require moderate skill and patience.
Uses
The final blouse can be used for:
- Casual wear, paired with jeans or skirts.
- Special occasions, accessorized with jewelry to highlight its unique design.
- Customized gifts for friends or family.
Tip for Success
Before starting the blouse, create a small test swatch with the yarn and hook to ensure your tension is consistent. This will prevent discrepancies in size and shape.
Conclusion
This crochet wrap blouse with ruffled sleeves is a versatile, elegant project that allows for creativity and personalization. The detailed tutorial covers every step, guiding you to create a garment that’s not only functional but visually striking. With attention to detail and the tutor’s helpful tips, you’ll achieve a beautiful finished product to enjoy or gift.


