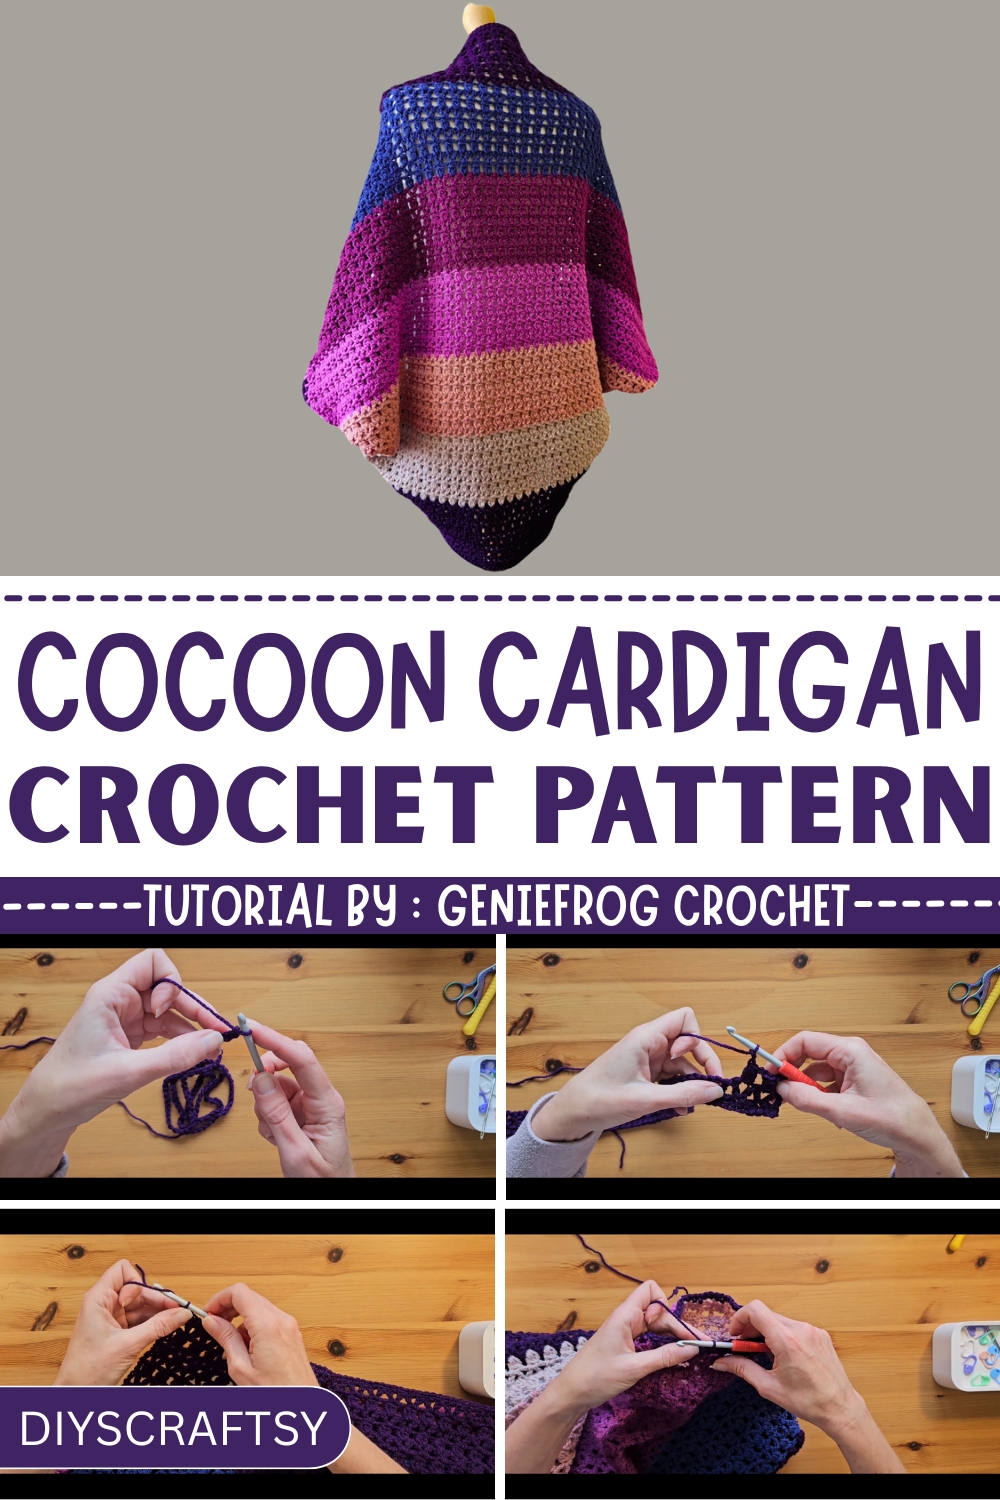
Feel comforted in style with this Free Crochet Cocoon Cardigan Pattern offering an easy fit cozy texture and everyday wearability in every handmade stitch
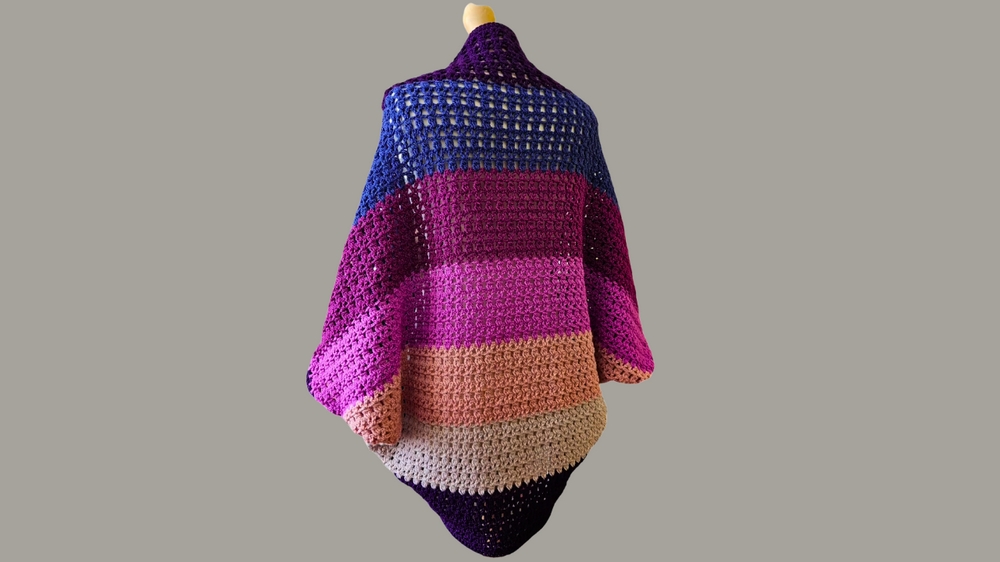
Ever wondered what makes a cardigan both stylish and incredibly easy to wear? The answer lies in the cocoon shape, a relaxed silhouette that drapes naturally, offering cozy coverage without the fuss of shaping or seams. Its structure flows from a simple rectangle or circle, forming sleeves and a curved hemline without complex construction, making it a smart option for crocheters of all levels. The Free Crochet Cocoon Cardigan Pattern brings all these qualities into one piece, minimal shaping, maximum comfort, and timeless style.
Master the Art of Relaxed Fits with This Free Crochet Cocoon Cardigan Pattern
This cardigan layers beautifully over basics or dresses and transitions seamlessly between seasons. Whether you're at your desk, running errands, or enjoying a slow weekend, its comfort remains constant. With its roomy fit and subtle structure, it flatters different body types while adding a hint of elegance to casual dressing.
The texture speaks for itself, giving a handmade touch that still feels refined. Lightweight yet warm, it works as a staple in both cool and mild temperatures. Best of all, it's foldable, packable, and wearable for nearly every occasion.
Introduction
The YouTube tutorial by Becky from Genie Frog Crochet provides detailed instructions for making the Sunset Moonrise Cocoon Cardigan. This cardigan is versatile, designed to be "one size fits all," and provides ample room for customization. The step-by-step guide covers the entire process, from creating the main body to assembling and finishing touches. Whether you’re new or experienced in crochet, this project combines simplicity with creativity.
Step-by-Step Instructions
1. Starting Materials
Becky suggests using Stylecraft Special DK yarn and provides the following details:
- Yarn: DK weight yarn
- Sunset Colors: Emperor, Lipstick, Mushroom, Pale Rose, Magenta, Plum, Lilia
- Moonrise Colors: Emperor, Mushroom, Pale Rose, Magenta, Plum, Lilia
- Hooks: 5 mm and 5.5 mm hooks
- Other Supplies: Scissors, darning needle, stitch markers
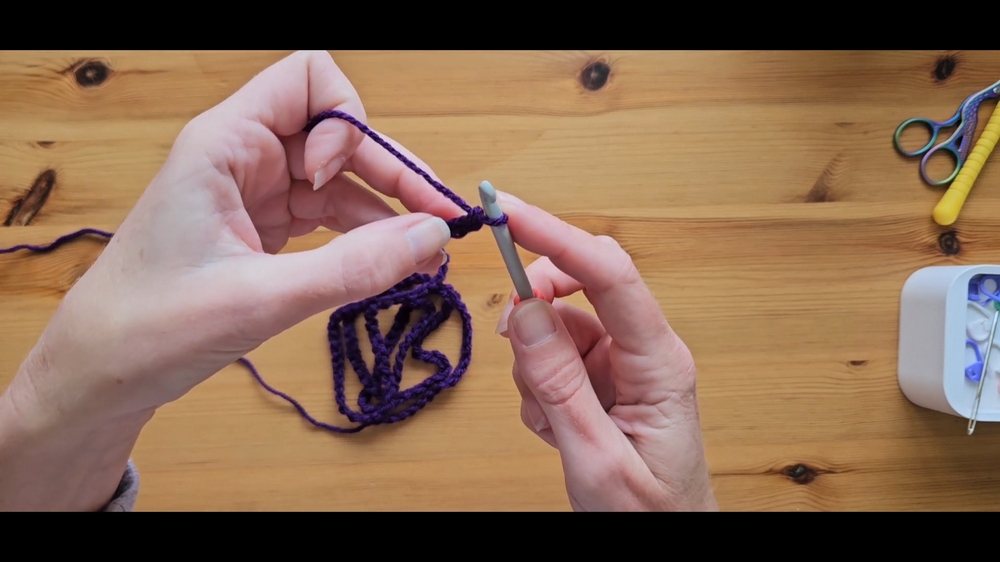
2. Creating the Foundation
- Slip Knot: Start with a slip knot on your hook using the chosen main color (Emperor).
- Chain Foundation: Chain 168 (the width of the cardigan).
- You can adjust the width by working in multiples of 3.
- Single Crochet Row:
- Start in the back bump of the second chain from the hook.
- Create single crochets all the way across, resulting in 167 stitches.
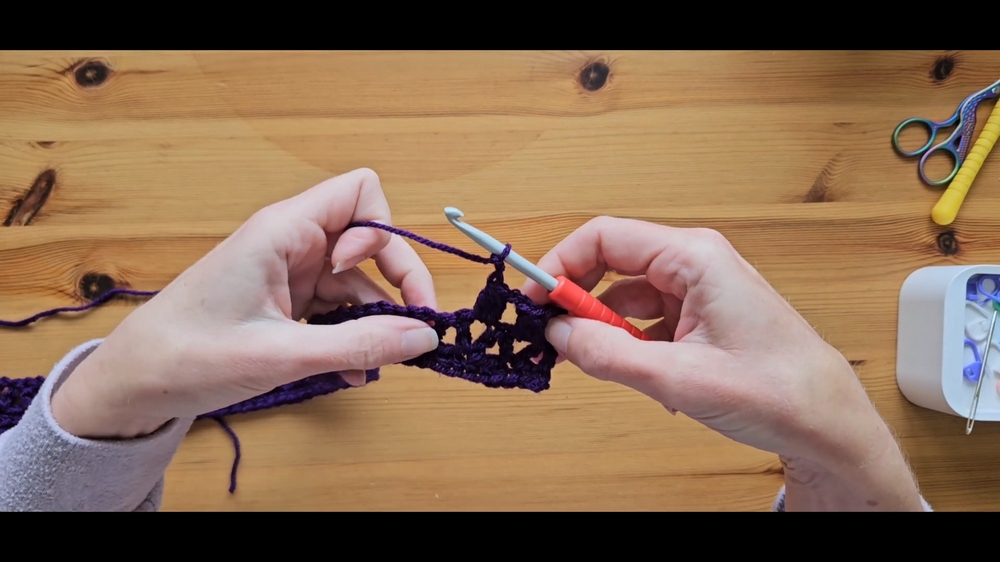
3. Alternating Rows
The cardigan alternates between two stitch types: V Stitch Rows and Cluster Stitch Rows.
Row 2: V Stitch Set-Up
- Chain 3 and turn.
- Skip 2 stitches and create a V stitch:
- Double crochet, chain 1, double crochet (in the same stitch).
- Skip 2 stitches and repeat the V stitches across.
- At the end, skip a stitch and place a double crochet in the last stitch.
Row 3: Cluster Row
- Chain 4 and turn.
- Create clusters in the chain spaces of the V stitches:
- Yarn over, pull up a loop, and do three unfinished double crochets.
- Pull through all four loops on the hook; chain 2.
- Repeat until the end and finish with a double crochet plus a chain.
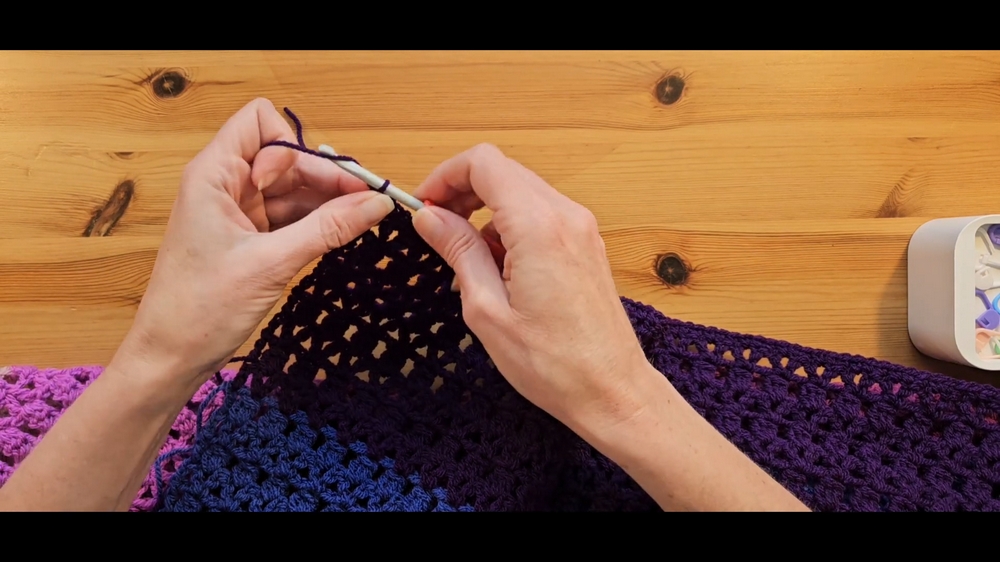
Row 4: V Stitch Row
- Chain 3 and turn.
- Place V stitches in the top of the cluster stitches.
- At the end, crochet into the third loop of the chain from the previous row.
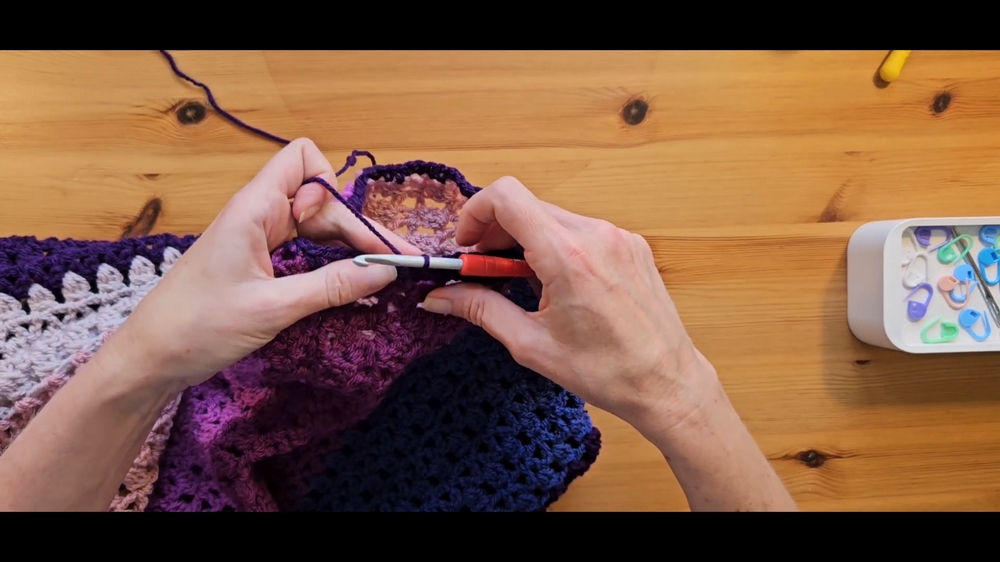
4. Color Changes
Becky uses stripe sections of 9-row color blocks, changing colors alternately.
- On color changes:
- End the current color and fasten off.
- Start the next color using a standing stitch or chain three.
5. Completing the Main Body
- Crochet up to Row 64, alternating V stitch and cluster stitch rows.
- Row 65: Single crochet across the last row for a clean edge.
6. Assembly
- Fold the cardigan in half (right sides facing).
- Creating Sleeves:
- Use stitch markers to mark out armholes.
- Place markers 37 stitches from the top and join using slip stitch seams.
7. Border and Sleeves
- Sleeves:
- Add a row of half-double crochets around the sleeve edges.
- Use the 5 mm hook tightly for clean edges.
- Border:
- Add a row of half-double crochets around the cardigan's neckline and bottom edges.
Special Features
- Flexibility in Size: The starting chain (width) and rows (length) can be easily adjusted.
- Color Customization: Wide selection of yarn colors provides room for personal preferences.
- One Size Design: Loose and forgiving fit ensures comfort for various body types.
- Ease of Assembly: Simple folding and slip stitch seams make piecing the cardigan together straightforward.
Level of Difficulty
- Easy to Intermediate
- The pattern itself is simple (alternating rows) and beginner-friendly.
- Changing colors and assembling using back loop slip stitches may require some familiarity with crochet techniques.
Tutor's Suggestions
- Using Stylecraft Special DK yarn for consistent quality and durability.
- Ensuring to maintain an even tension during slip stitch joins to avoid puckering.
- If doing a single-color cardigan, skipping steps related to color changes.
- Crocheting over yarn ends during border rows for easier finishing.
Uses
- Casual Wear: As a cozy layering piece during cooler weather.
- Gift: A thoughtful handmade gift for friends or family.
- Versatile Style: Can be worn right-side up or upside down for different looks.
Tip
When working with yarn pulled from the center, creator suggests squeezing the yarn ball to loosen the inner strand for smooth unwinding.
Conclusion
The Crochet Cocoon Cardigan is a charming crochet project that combines simple stitches with stunning results. Its adaptability in size and color makes it suitable for all skill levels. Becky’s detailed tutorial makes this design accessible while offering room for creative expression.


