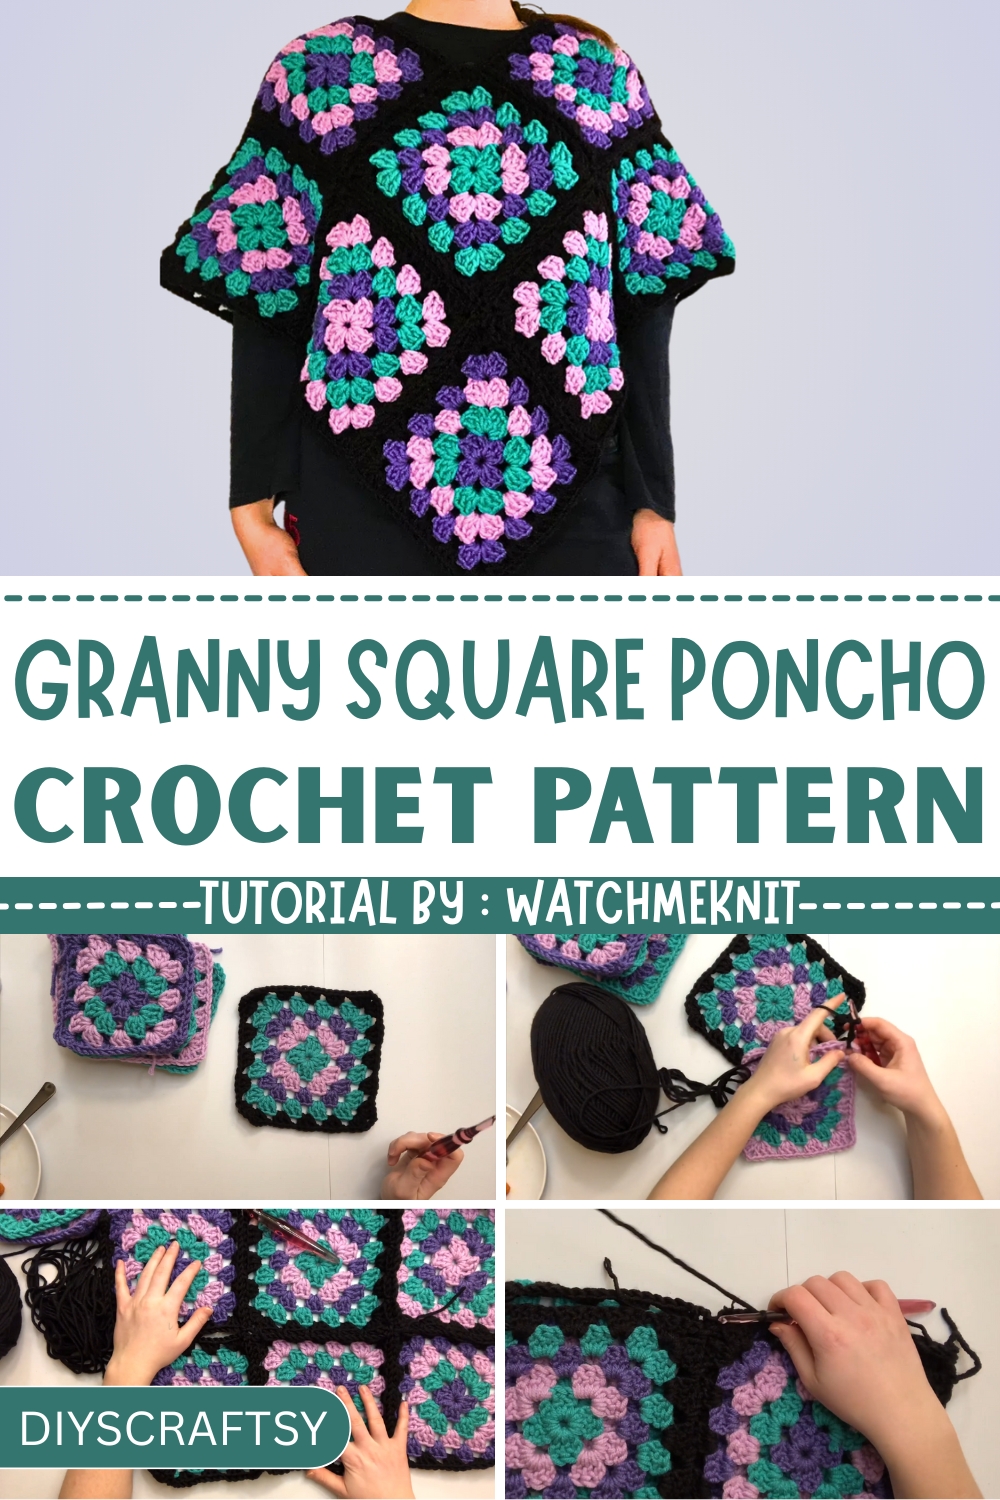
Keep it playful and warm with this Free Crochet Granny Square Poncho Pattern that turns classic squares into a colorful fashion favorite with flair.
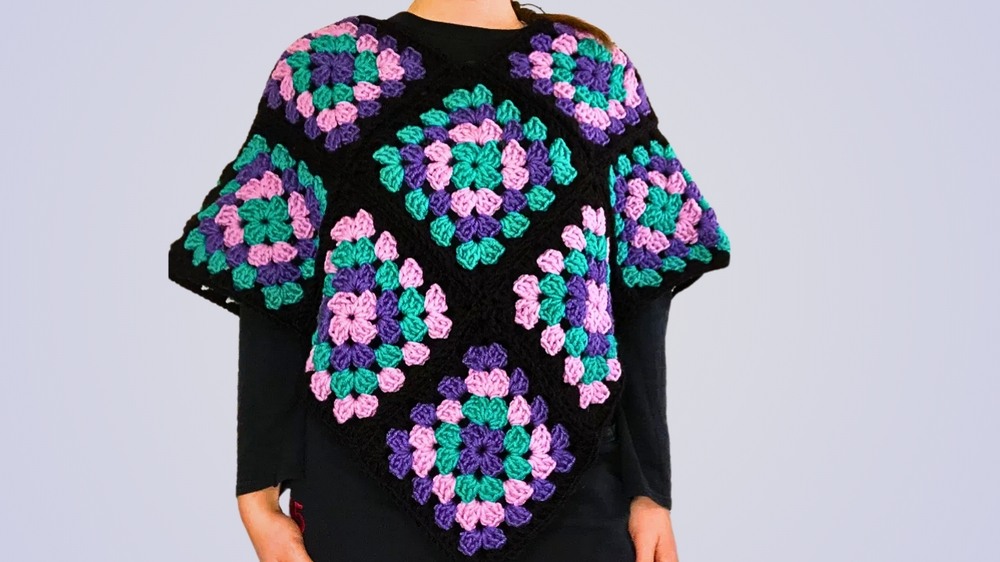
Once reserved for vintage afghans, the timeless granny square now breathes new life into everyday fashion. With just a few bold blocks and seamless connections, a simple square evolves into a statement poncho that wraps the body in charm and comfort. This piece carries the soul of tradition with a fresh, modern twist, each square acts like a patchwork of personality stitched with care. The Free Crochet Granny Square Poncho Pattern brings together vibrant motifs, customizable layouts, and straightforward joins.
Free Crochet Granny Square Poncho Pattern with Easy Step-by-Step Pattern
Its structure allows room for playful colors or a calm neutral palette, making it perfect for seasonal layering or a year-round staple. Lightweight yet warm, this poncho slips easily over casual outfits or cozy homewear, offering both warmth and movement. Stitched mostly in double crochets and chains, it’s approachable even for newer hands, while the repetitive nature offers a peaceful rhythm for experienced crocheters.
The beginning rows focus on square formation, followed by a clean joining method, and the poncho finishes with a neat edging that ties the look together. Whether used to fight a chill, add personality to a plain top, or as a thoughtful handmade gift, this granny square poncho proves that beauty often lies in the simplicity of symmetry and color.
Materials Needed
- Yarn: Two balls of Lion Brand "Color Made Easy" yarn (main color). The tutor uses the "caviar" (black) shade.
- Crochet Hook: 6.5 mm crochet hook (or any size that matches your gauge). The presenter recommends the Hook Nook crochet hook.
- Other Tools: Scissors (no darning needle needed for finishing).
Special Features
The poncho has the following standout features:
- Granny Square Construction: It is made with 16 granny squares — 8 squares for each side.
- Three Motifs System: Three granny square motifs (A, B, and C) use three different colors that are combined with a main color for a cohesive look.
- Seamless Joining: Rather than sewing the squares together, the squares are connected by single crocheting, which results in a neat finish.
- Customizable Design: The color scheme and size can be adjusted according to personal preference by modifying the yarn and square layout.
- Minimal Sewing: The process is intentionally designed to avoid sewing, making it more beginner-friendly and less time-consuming.
Step-by-Step Details
1. Understand the Project Layout
- Construct two identical sides of the poncho, each consisting of 8 granny squares.
- Follow a simple pattern with three different granny square motifs (A, B, C).
- Align these motifs consistently as per the sketched design.
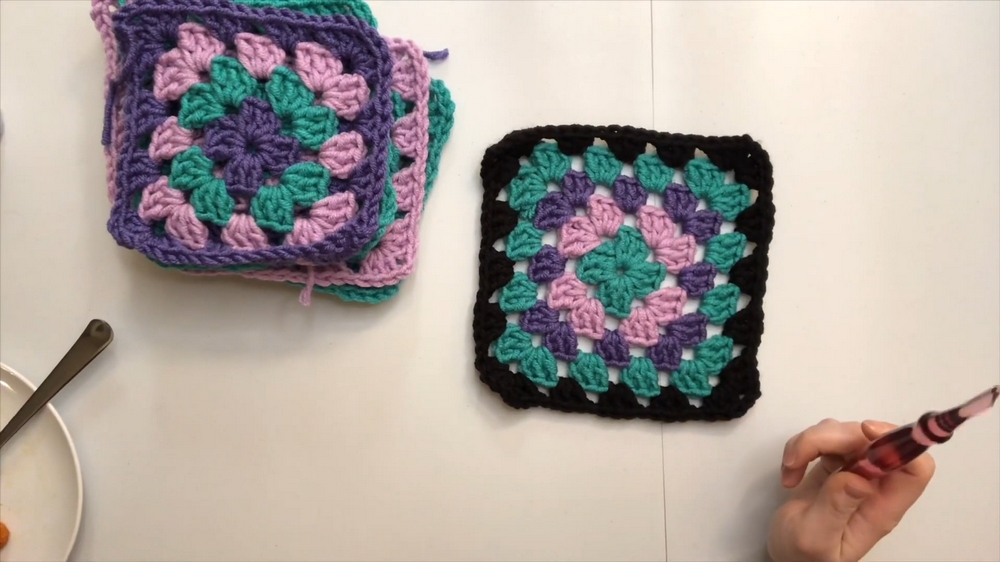
2. Crochet the Granny Squares
- Create 16 granny squares in total:
- 6 squares each of motif A and motif B.
- 4 squares of motif C.
- Each granny square should measure about 8 inches.
- Add a black trim (main color) to one side after completing each square.
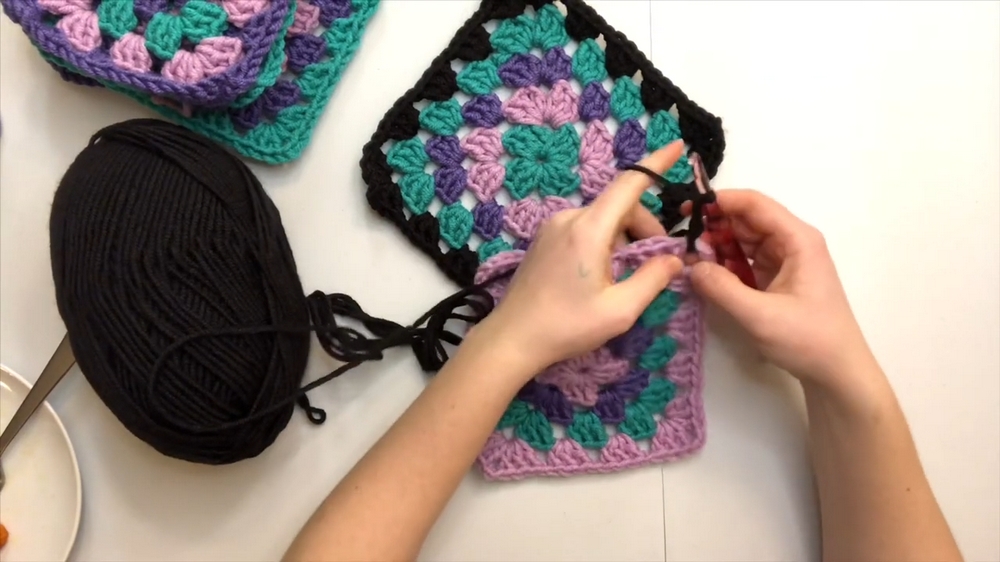
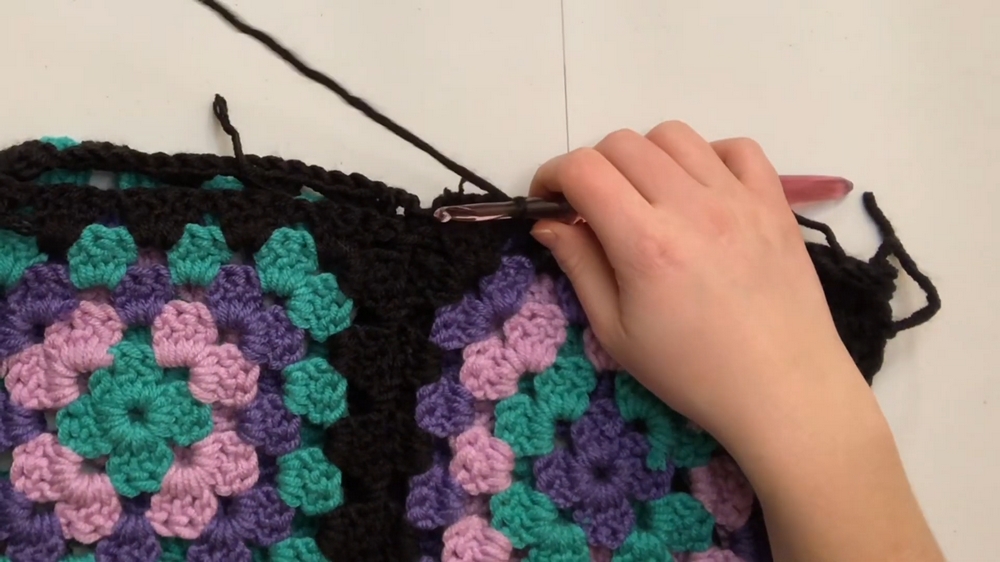
3. Connect the Granny Squares
- Use the single crochet method to join granny squares.
- Place granny squares with wrong sides together.
- Replace the traditional chain stitches in corners and edges with a single crochet to connect adjacent squares.
- Pay careful attention to ensure squares align correctly, especially when joining three squares at once.
- At three-way corners, make two single crochets — one for each connecting square — to keep the join neat and clean.
4. Assemble the Two Sides
- Once both sides are complete, join them together at the shoulders using additional single crochet stitches.
- Align edges properly and avoid pulling stitches too tight to maintain comfort and flexibility at the joins.

5. Finish the Project
- Trim any loose ends at the end of the project.
- Block the poncho as needed for the best final appearance.
Level of Difficulty
- Level: Intermediate Beginner.
- The project is ideal for crocheters comfortable with basic stitches like double crochet, single crochet, and chaining. Familiarity with granny square techniques is a plus.
Tutor’s Suggestions
- Take it Step-by-Step: Focus on completing one granny square at a time to avoid overwhelm.
- Pause and Review: Refer to the written pattern or the sketched diagram to ensure colors and motifs align properly.
- Practice Joining Techniques: Take some time to familiarize yourself with single crocheting to join squares, as this technique is central to the project.
- Choose Your Colors: Feel free to experiment with color combinations to make this poncho uniquely yours.
Uses
This crocheted poncho is:
- A cozy and fashionable accessory for cooler weather.
- A practical layering item for casual or semi-formal outfits.
- A great handmade gift for friends and family.
Final Tip
When joining the granny squares, ensure the wrong sides face each other to achieve a seamless and polished connection. Be sure to crochet loosely when single crocheting the sides together, as tight stitches may cause the poncho to bunch or lose its flexibility.
Conclusion
This crocheted poncho project is both practical and creative, allowing crocheters to enhance their skills while crocheting a timeless, functional accessory. With its simple construction based on granny squares and minimal sewing, this design stands out as beginner-friendly and versatile.


