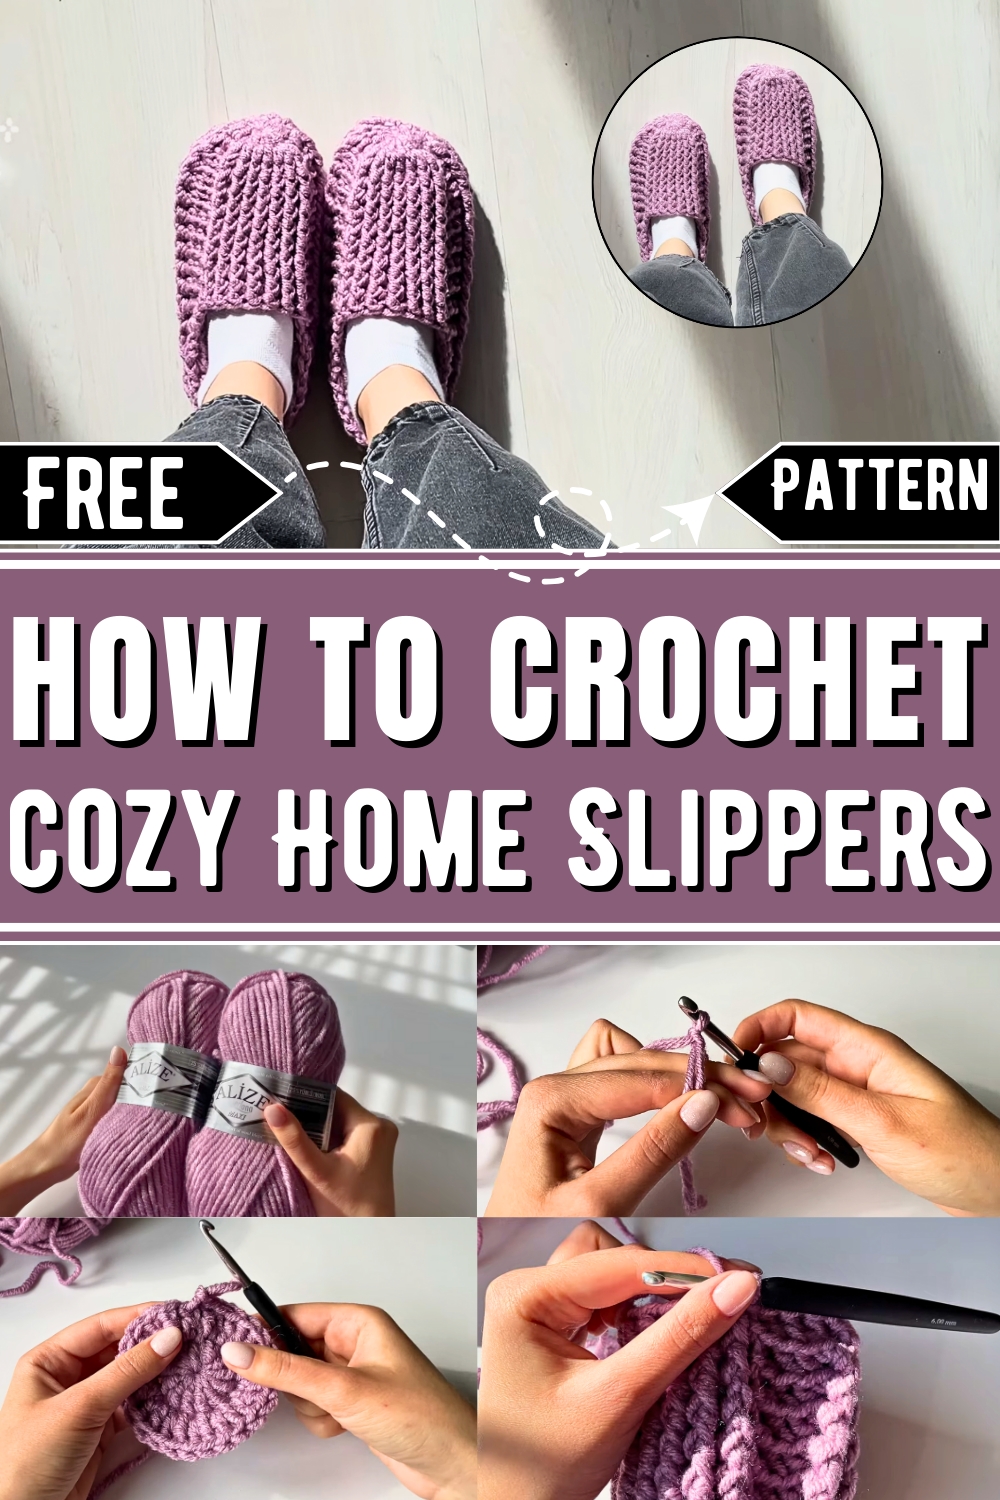
Stay cozy and stylish with personalized crochet home slippers, offering warmth, comfort, and durability while adding a unique handmade touch to your everyday life.
The comfort of indoor footwear has evolved over time, giving rise to unique options like crochet home slippers. These handmade creations offer a delightful mix of function and style, designed to keep your feet warm while adding a personalized touch to every step. Perfect for everyday use, crochet slippers are lightweight, cozy, and highly customizable, allowing you to pair them with any color scheme or pattern you love.
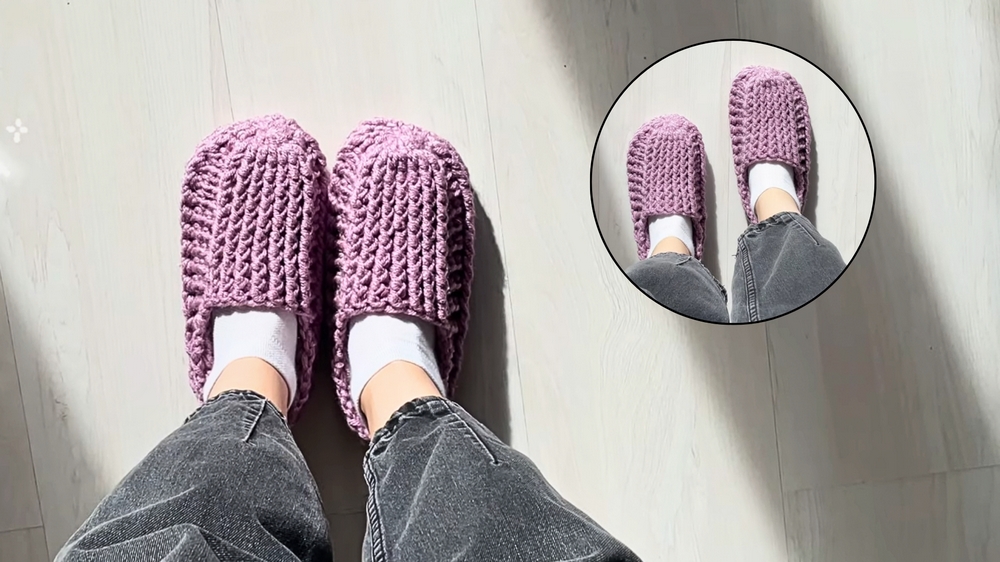
Versatile Crochet Home Slippers For Everyone
You’re relaxing at home, avoiding cold floors, or simply prioritizing comfort, these slippers provide exceptional softness and durability. Additionally, their machine-washable nature makes maintenance simple, ensuring they remain as practical as they are stylish. Beyond personal use, crochet slippers are a thoughtful gift idea, showcasing care and effort in every stitch.
They’re also an eco-conscious option, as leftover yarn can often be used to make them, reducing waste and contributing to sustainable living. Crochet home slippers combine comfort, charm, and functionality, making them an essential addition to your indoor wardrobe.
How To Crochet Home Slippers
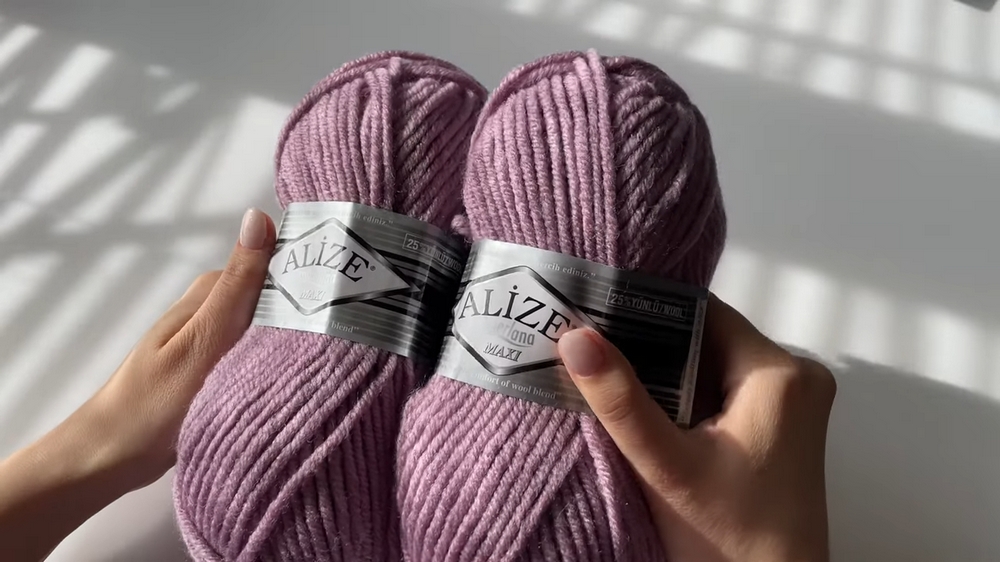
Materials Required
- Yarn: 100g per 100m, preferably one containing wool.
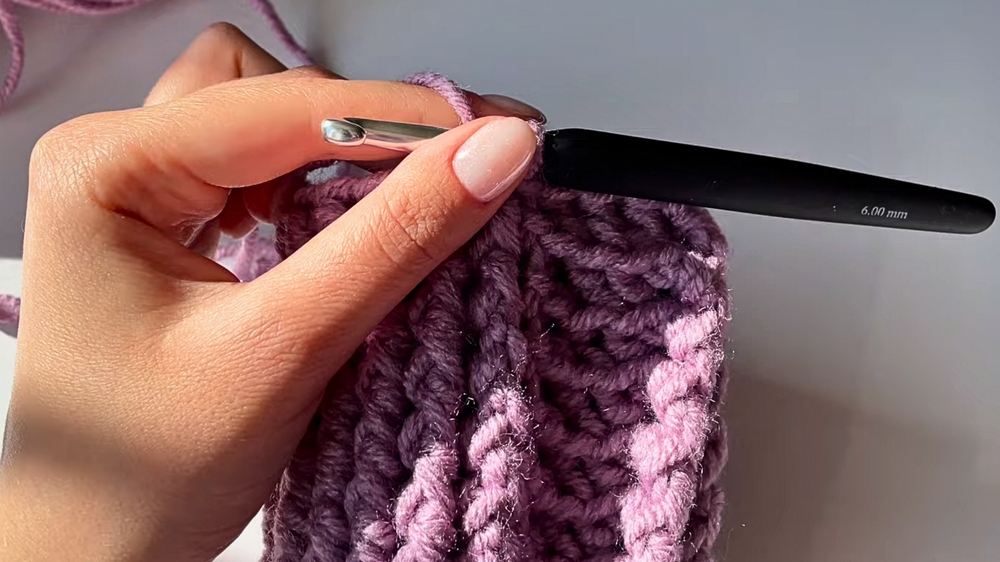
- Crochet Hook: Size 6.
- Scissors.
- Needle: For sewing.
Introduction:
This pattern is great for beginners, explaining each technique clearly while using a yarn containing wool for extra warmth and durability. Let’s step into the detailed steps outlined in the video.
Step-by-Step Instructions
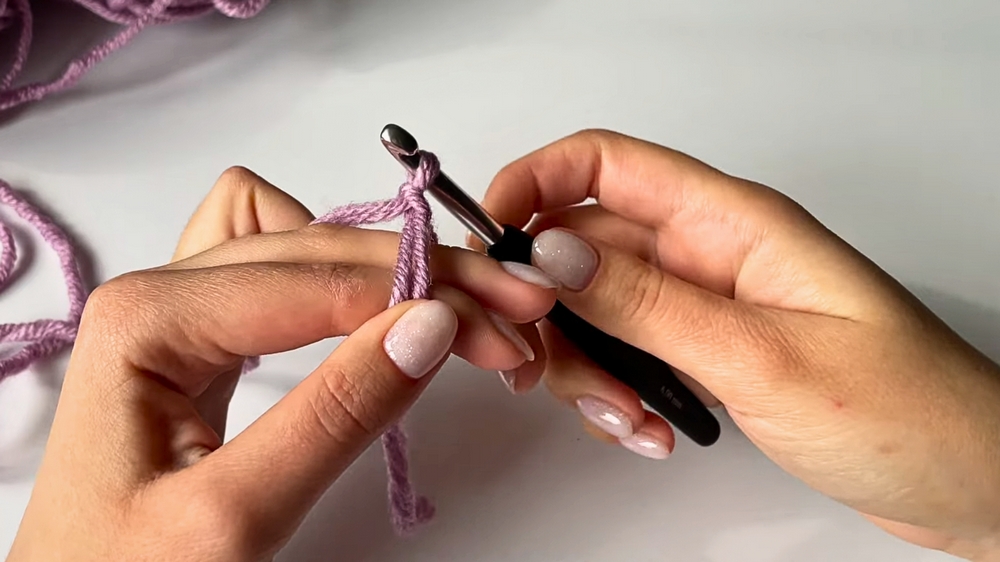
Step 1: Create a Magic Ring
- Wrap the short end of your yarn around your fingers.
- Hold the yarn with another finger.
- Insert the crochet hook under the first loop and pull the second loop through it.
This forms a magic ring for your first row.
Step 2: First Row – Double Crochets
- Yarn over and insert the hook into the magic ring.
- Pull up the yarn (you’ll have 3 loops on the hook).
- First Pull: Yarn over and go through the first 2 loops.
- Second Pull: Yarn over and go through the remaining 2 loops.
- Make 13 double crochets into the same magic ring.
- Tighten the short end of the yarn to close the ring.
- Finish the row with a slip stitch:
- Insert the hook into the first stitch of the row, pull up the yarn, and pull it through the loop on your hook.
Step 3: Second Row – Increasing
- Start by making 1 chain stitch, then crochet 2 double crochets into each stitch of the previous row.
- At the end of Row 2, there will be 26 double crochets (since 13 × 2 = 26).
- End with a slip stitch by joining the first and last stitches into a circle.
Step 4: Front and Back Post Double Crochets
The next rows will involve a pattern of front post and back post double crochets to give shape to the slipper.
- Front Post Double Crochet:
- Yarn over and insert the hook from the front behind the post of the stitch.
- Pull up the yarn, yarn over, and pull through two loops twice.
- Repeat for 7 stitches.
- Back Post Double Crochet:
- Yarn over and insert the hook from the back in front of the post of the stitch.
- Pull up the yarn, yarn over, and pull through two loops twice.
- Repeat for 3 stitches.
- Continue alternating between 7 front post double crochets and 3 back post double crochets until the row ends.
Note: Always use a slip stitch to join stitches at the end of the row.

Step 5: Crochet 11 Rows
Continue with the post pattern (7 front post, 3 back post, and alternating as described above).
- Crochet 11 rows of this pattern to form the top of the slipper.
Step 6: Turning Rows
- Start crocheting turning rows to shape the heel and sides of the slipper:
- After finishing Row 11, turn your work after each row and crochet in the opposite direction.
- Begin each row with 1 chain stitch as it counts as a stitch, and always start the pattern at the second stitch from the beginning.
Continue with the post stitch pattern (front and back post double crochets) as before.
Step 7: Crochet 5 Turning Rows
- For reference: The creator's foot size is 24.4 cm. Adjust by either adding or reducing turning rows if needed.
- Follow the stitch pattern consistently while turning after each row.
Step 8: Final Two Rows – Decreases
To shape the slipper for a snug fit, decrease stitches at the bottom:
- First Decrease:
- Yarn over, work the first stitch, leaving 2 loops on the hook.
- Yarn over again, insert the hook into the next stitch, and pull through 2 loops first, then all 3 loops together.
- Continue crocheting and repeat decreases at the start and end of the row.
- Second Decrease:
- Follow the same process in the second row of decreases.
Make sure the 2 decreased stitches join into one big stitch.
Step 9: Sew the Heel
- Leave a yarn tail and thread it through a needle.
- Fold the slipper inside out, aligning the heel edges.
- Sew stitch by stitch using your preferred seam technique (a simple stitch works fine).
- Reinforce the seam by stitching it twice, and secure the tail with a knot.
- Hide the yarn tail by weaving it randomly into rows, then trim the excess.
Conclusion
After sewing the heel, your slipper is complete! Try it on to check the fit and comfort. If you encounter fitting issues, you can simply unravel and redo rows for adjustment. Once the first slipper is finished, repeat the process to make the matching pair. The beauty of this pattern is that there’s no distinction between left and right slippers, making it quick and easy to crochet a cozy pair.


