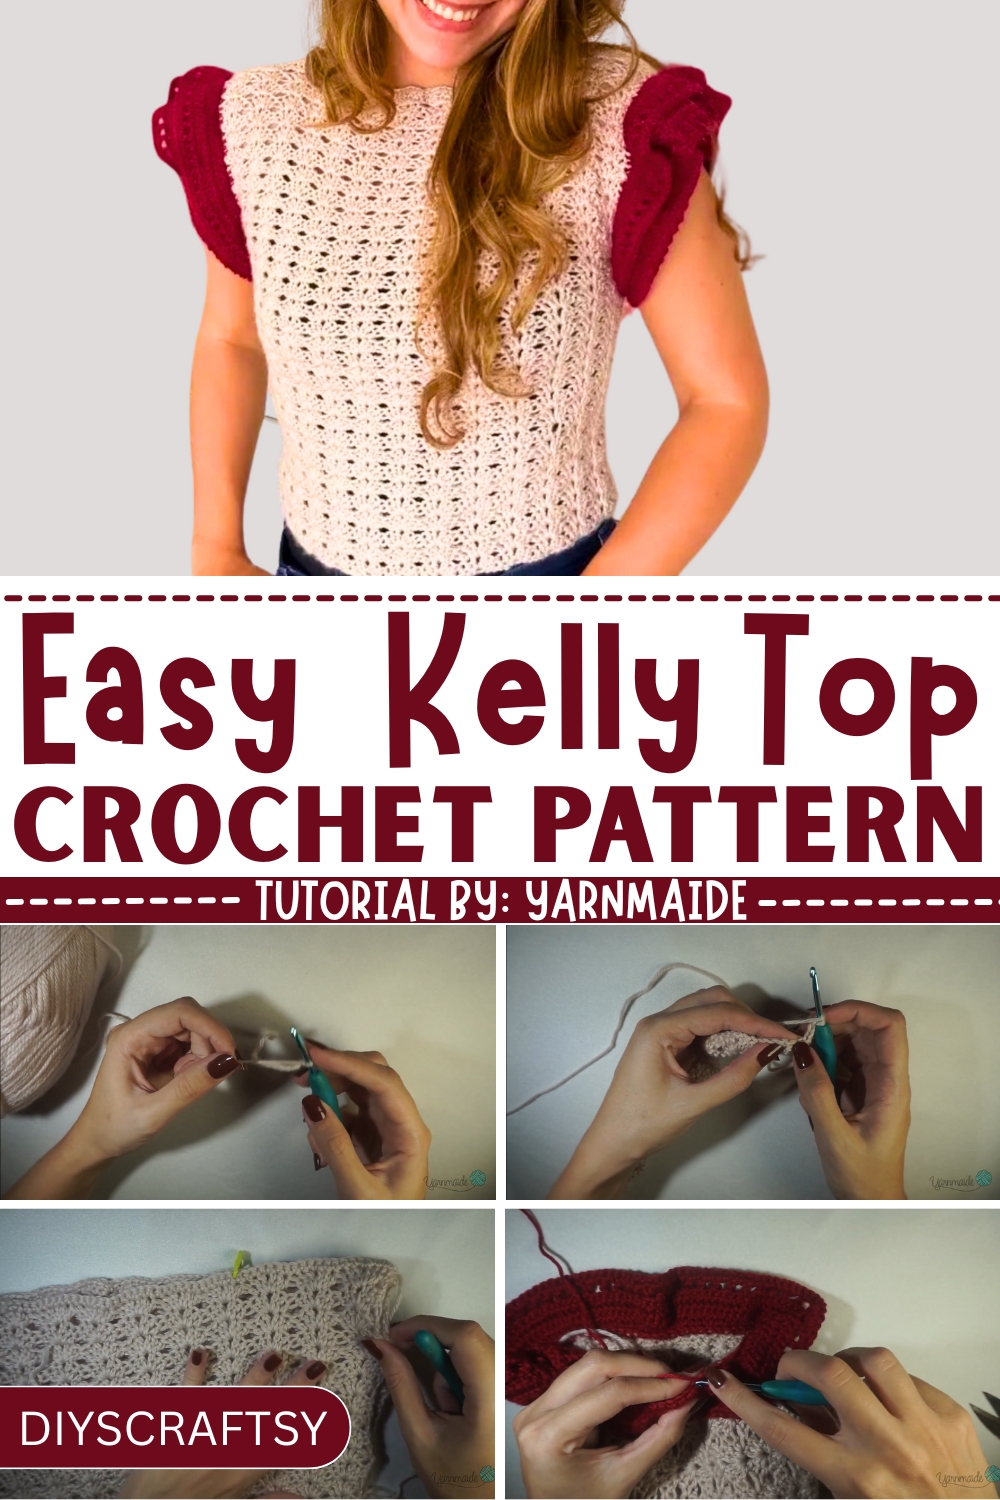
Boost your style with this crochet Kelly Top Pattern, a lightweight, versatile design perfect for any outfit, blending comfort, elegance, and your personal creativity.
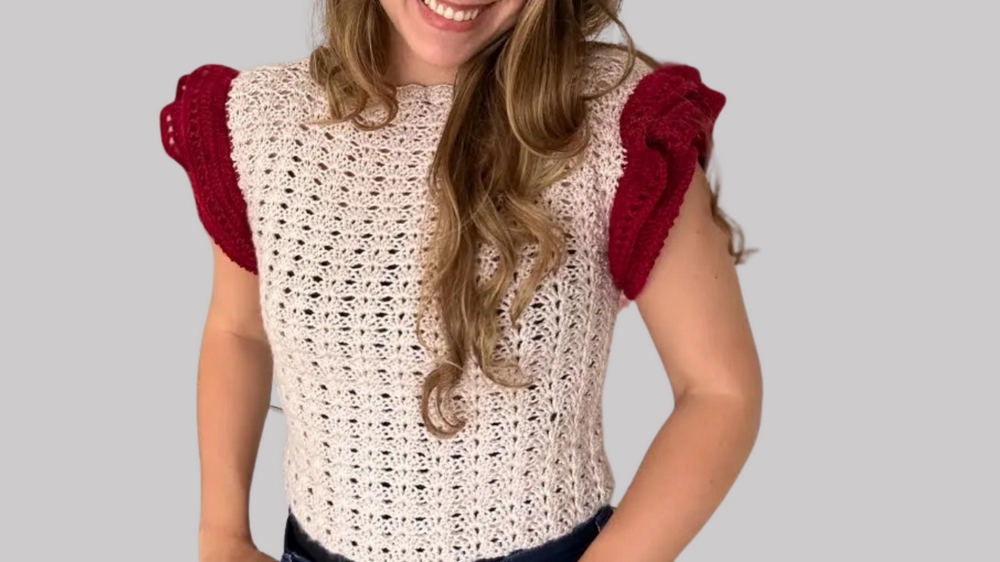
A wardrobe essential doesn’t always come from a store; sometimes, it begins with your own hands. The Kelly Top is a wonderful example of how practical fashion can meet personal creativity. Designed to be lightweight and breezy, it’s a perfect choice for warm-weather days, allowing you to stay cool while looking chic. Its elegant stitchwork adds charm to its simplicity, making it more than just a top—it’s a statement of style and individuality.
Crochet The Kelly Top Pattern
The adaptability of this design makes it a favorite for everyday wear. Whether styled casually with a pair of jeans or dressed up with a maxi skirt, the Kelly Top easily complements a variety of looks. You can even customize it to your taste by adjusting the length, experimenting with vibrant yarn colors, or playing with textures to match the seasons or your preferences.
Aside from its stylish versatility, the process of crocheting the Kelly Top offers its own rewards. It’s a thoughtful project that encourages mindfulness, helping to reduce stress while keeping your creative mind engaged. When finished, it adds a handmade, budget-friendly staple to your collection. It’s a perfect mix of function, fashion, and fulfillment—bringing both beauty to your closet and peace to your day.
Materials Needed
To recreate the Kelly Top, you’ll need the following materials:
- Yarn: Mighty Stitch Worsted yarn from WeCrochet in the color “Oyster.”
- Hook: A 4.0 mm crochet hook.
- Additional Tools: Stitch markers, scissors, and a needle for weaving in ends.
Step-by-Step Guide to the Crochet Kelly Top
Step-by-Step Process
1. Preparing to Start
- Take a critical measurement: the distance between one shoulder to the other. This ensures your top is tailored to fit you perfectly.
- Begin the top by creating two main panels using the measurement.
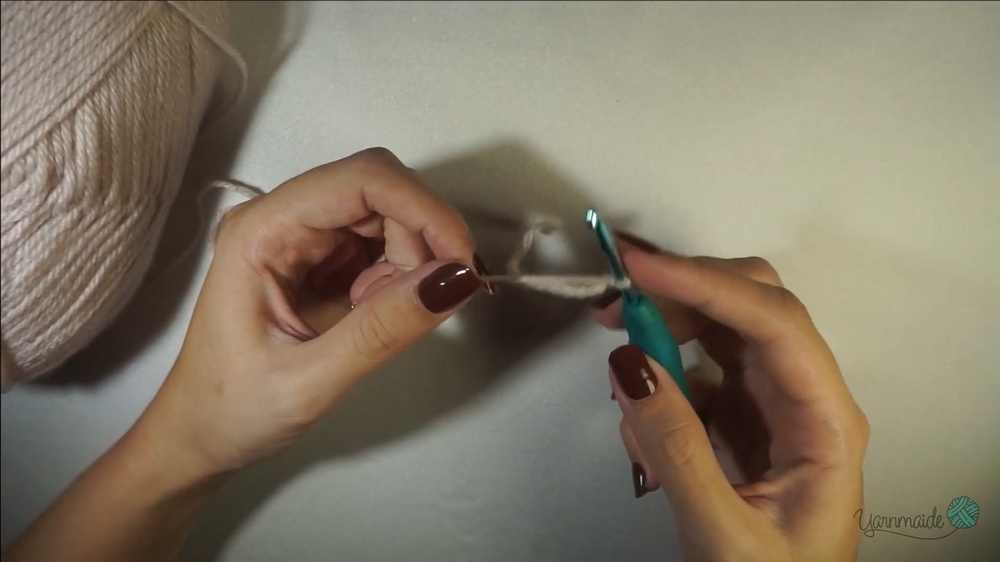
2. Starting the Panels
- Make a slip knot and start chaining. The stitch count must be a multiple of 6, plus 4 additional chains.
- Example: The tutor starts with 60 chains plus 4 extra.
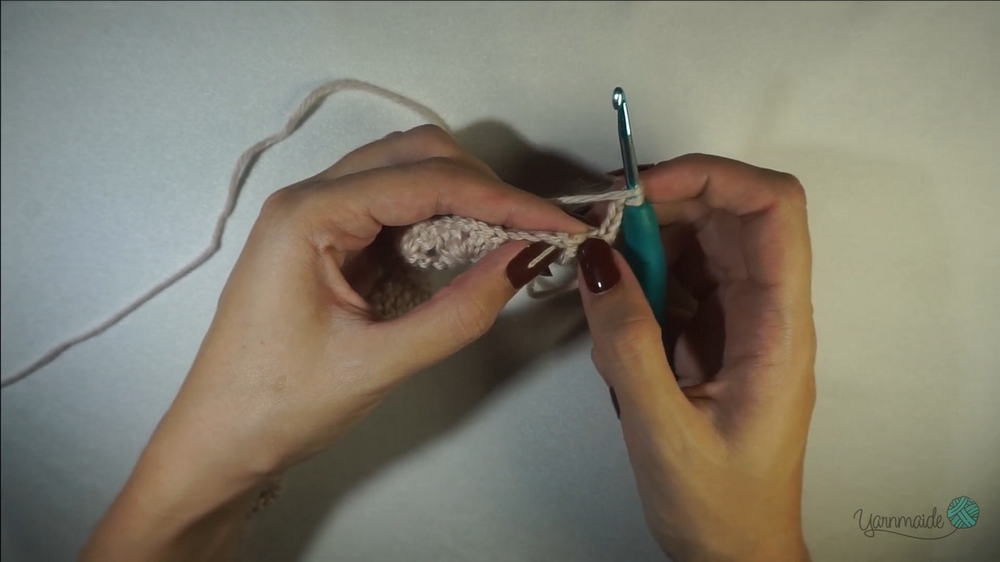
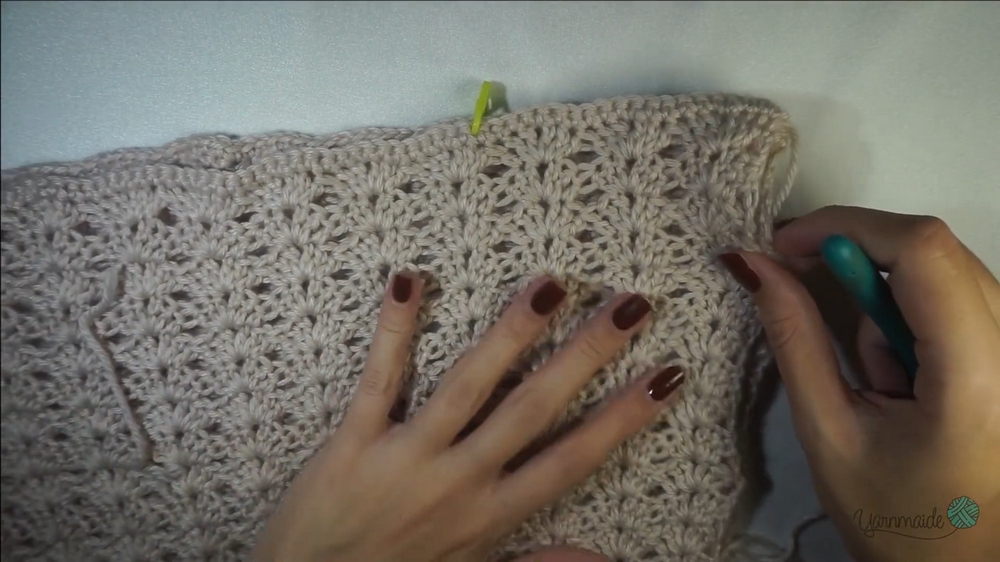
3. Creating Shell Stitch Patterns
- Round 1:
- Add 3 chains to begin and place the first double crochet (DC) into the 4th chain from the hook.
- In the same space, create a shell pattern by making 2 double crochets, chaining 1, and making 2 more double crochets.
- Alternate between creating shell stitches and 2 double crochet decreases across the row.
- Round 2:
- Start by chaining 3 and turning your work.
- Build shells in the chain-1 spaces from the previous round, and remember to decrease by skipping three stitches as needed.
- Continue alternating between shells and decreases.
4. Repeating the Pattern
- Repeat this pattern (Rounds 2 and 3) until the piece covers most of your torso. Keep in mind that blocking the piece later will slightly stretch it.
5. Adding the Final Row for Each Panel
- To finish the panel, turn around after your last row and add a final row of single crochets.
6. Blocking the Panels
- (Optional) Block each panel by stretching it slightly. This step defines the shell stitch pattern and makes the fabric longer.
Assembling the Top
1. Attaching Panels at the Shoulders
- Place the two panels together with the right sides facing inward.
- Use stitch markers to mark where you want to stop sewing (e.g., allowing space for your head to fit). The example tutorial used 20 stitches.
- Single crochet across the marked area to secure the shoulders.
2. Attaching the Sides
- Try on the panels to mark where you want the side seams to stop under your arms (e.g., the tutor marked hers at 11 inches).
- Attach the sides the same way, using single crochet stitches.
Adding the Sleeves and Ruffles
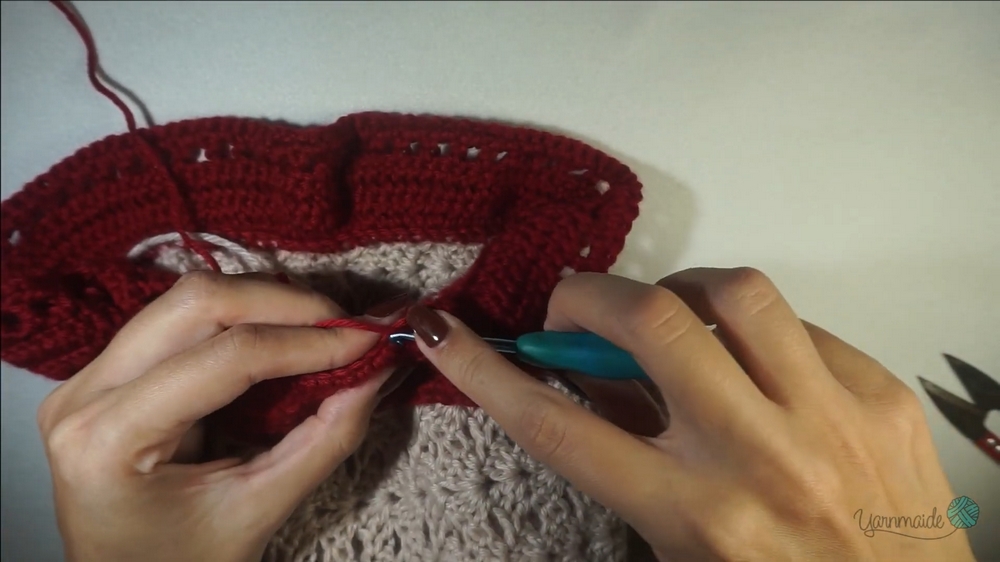
1. Creating the Small Sleeves
- Attach a contrasting yarn color (optional) at the armhole edge.
- Work single crochet stitches around the edge. Use 2 single crochets for larger holes.
- Add additional rounds with double crochet stitches, chain spacings, and finishes of single crochets for neat detailing.
2. Adding the Double Ruffle Detail
- Go back to the unused loop from a previous round and crochet ruffles:
- Start with double crochets, alternating between one stitch and increasing every other stitch.
- Add additional rows of double crochet to make the ruffles longer. The inner ruffle is longer than the outer one for a layered look.
Special Features
- Double Ruffle Detail: A standout design element that gives the Kelly Top an elegant and trendy look.
- Custom Fit: The project focuses on measurements, ensuring the top fits perfectly for each maker.
- Contrast Sleeve Design: The option to add a secondary color for a striking visual contrast.
- Versatile Shell Stitch: The shell pattern is repeated, creating a stylish textured finish.
Tutor's Suggestions
- Custom Fit: Always measure and try on the piece during assembly to ensure you get the perfect fit.
- Blocking Is Optional: Blocking enhances the stitch definition and adds length to the top, but it’s not mandatory.
- Trial and Error Is Okay: If the fit isn’t right, adjustments can be easily made by undoing or adding stitches.
Level of Difficulty
- Intermediate:
- The project involves creating shell patterns, managing decreases, working with double ruffle edges, and assembling panels, making it best suited for intermediate crocheters with some experience.
Uses
- Perfect for casual wear during warm weather.
- Can be styled with skirts, jeans, or shorts for a chic, summery outfit.
- Makes for a thoughtful and stylish handmade gift.
Tip
When working on the ruffles, ensure you work evenly and consistently into the front loop for the first tier. This leaves the back loop untouched, allowing you to easily create the second ruffle without hassle.
Conclusion
The Kelly Top crochet pattern is a fantastic project for those wanting to create a fashionable, custom-fitted summer top. With its beautiful shell stitch pattern and eye-catching ruffle details, it’s a rewarding piece for experienced crocheters. Follow the clear step-by-step instructions and enjoy the process of turning yarn into a gorgeous handmade masterpiece.


