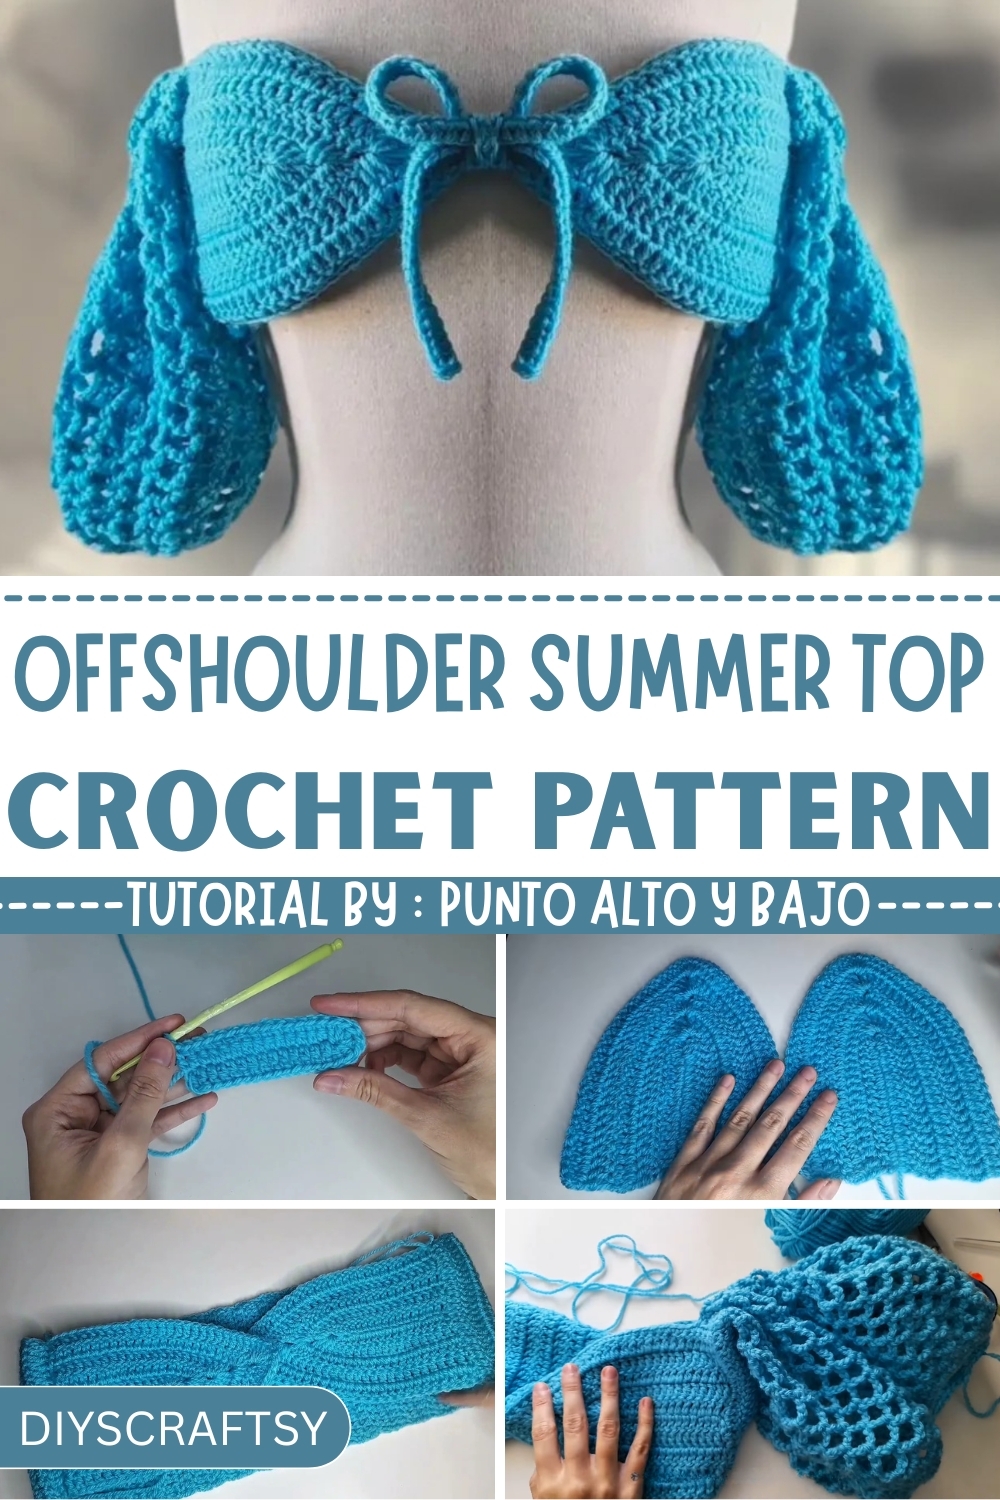
Breeze through sunny days in style with this Free Crochet Off Shoulder Summer Top Pattern perfect for warm weather, comfort, and effortless charm.
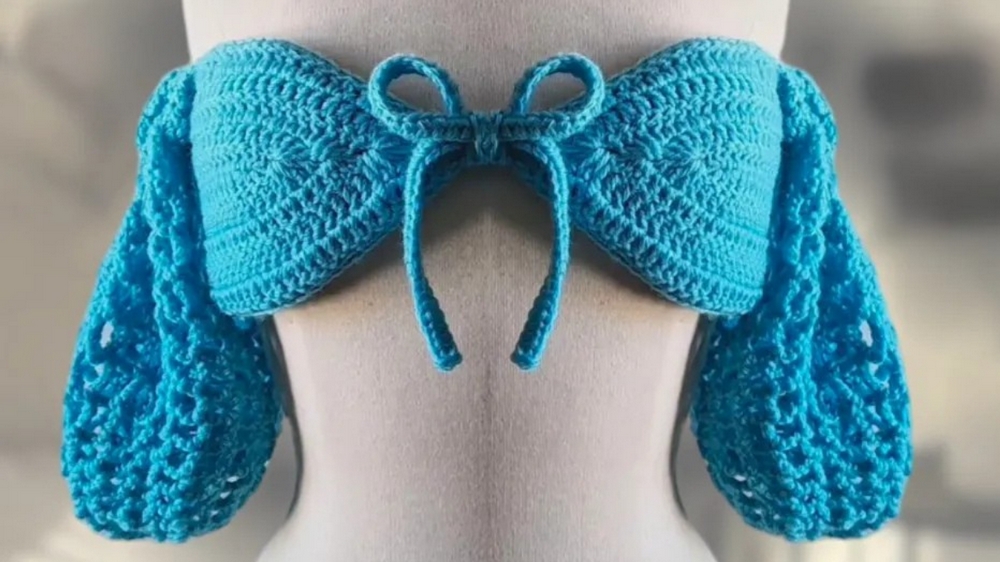
On warm evenings when the breeze carries the scent of fresh blooms, there’s a quiet charm in slipping into something light, breathable, and effortlessly chic. The Free Crochet Off Shoulder Summer Top Pattern fits that exact need with its relaxed elegance and timeless appeal. Featuring a flattering off-shoulder neckline that sits gently across the collarbone, this top brings a soft feminine touch to casual wear. The airy stitchwork allows the skin to breathe, making it ideal for sun-soaked afternoons, beach strolls, or café meetups.
Easy & Beautiful Free Crochet Off Shoulder Summer Top Pattern with Boho Energy
Its structure includes simple repeats and minimal shaping, making it approachable for confident beginners and soothing for seasoned hands. The body is built using basic stitches like double crochets and chains, with subtle increases shaping the neckline and sleeves. As the rows progress, the top takes form with a graceful drape and a light texture that pairs beautifully with denim, skirts, or flowy trousers.
From the first few chains to the final edging, the piece holds a rhythm that’s both meditative and rewarding. Its versatility ensures it remains a favorite through changing trends, offering not just beauty, but comfort and practicality as well. With this pattern, effortless summer styling becomes second nature—chic, breathable, and endlessly wearable.
Step-by-Step Crochet Pattern: Off-the-Shoulder Summer Top
Special Features
- Flexible Design: The pattern relies on measurements, so any yarn and hook size can be used.
- Stylish Sleeves: The off-the-shoulder style and decorative loops add a fashionable and unique touch.
- Adjustability: The crochet stretches, ensuring a perfect fit while accommodating size adjustments during crafting.
- Uses: Ideal for casual wear, layering, or as a statement piece for summer outings.
Materials Needed
- Yarn suitable for a 4mm hook (or your preference)
- Crochet hook of your choice
- Stitch markers
- Measuring tape
Step-by-Step Instructions
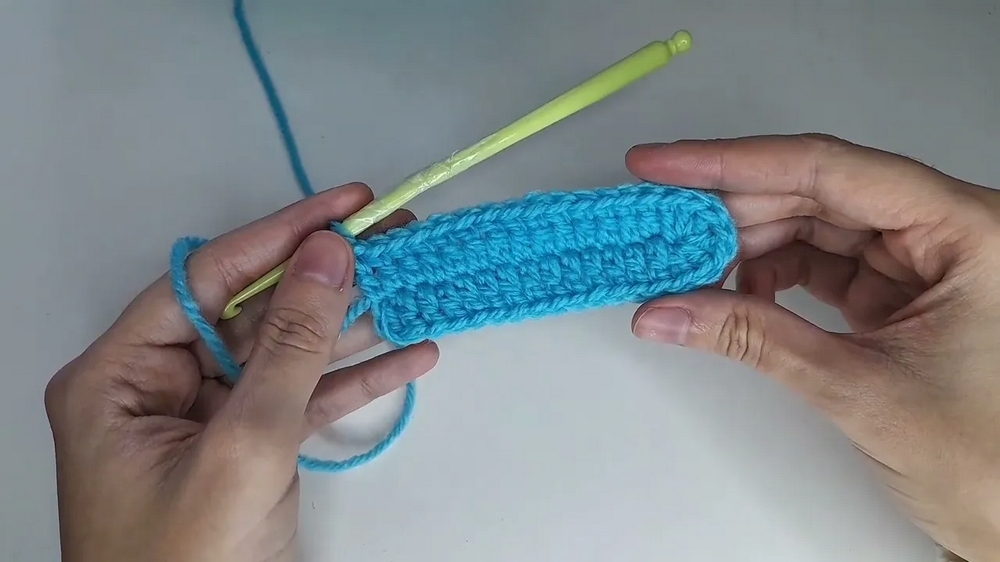
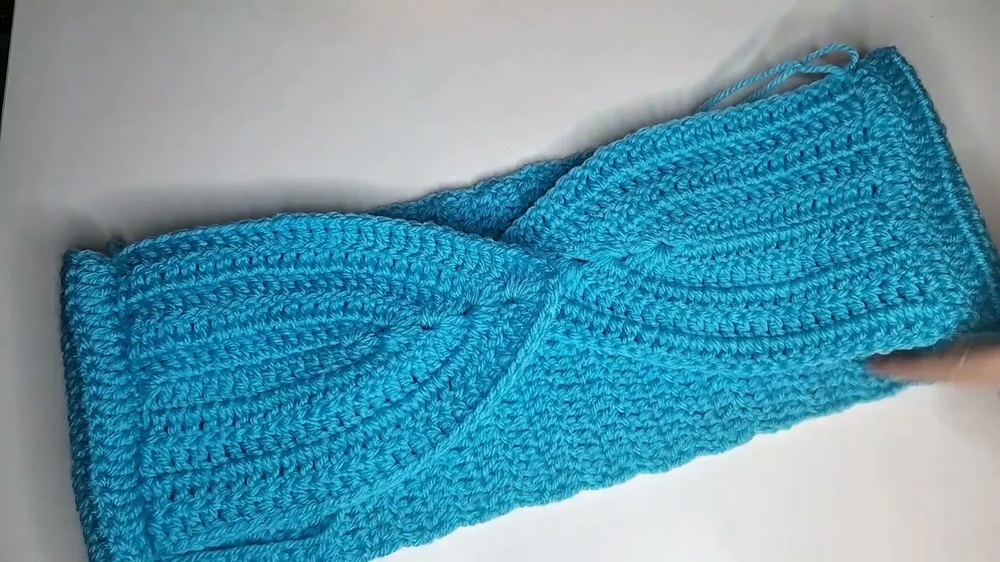
1. Creating the Cup
- Measure: Start by measuring the distance from the center of a bra pad to the bottom edge (or measure directly on yourself).
- Foundation Chain: Create a chain matching your measurements.
- First Row: Chain 3, then make double crochets across the foundation chain.
- Increasing at the End: On the last stitch, add 2 extra double crochets to form a total of 3. Chain 1 and add 3 additional double crochets into the same stitch (the stitch now has 6 double crochets).
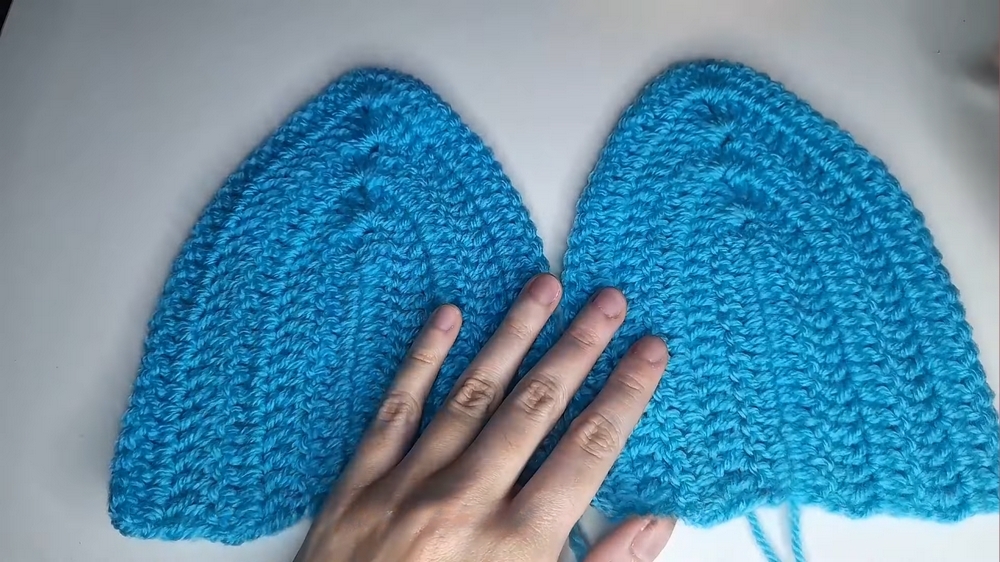
- Next Rows: Continue double crocheting across, repeating the process of adding 6 double crochets in the center of previous rows.
- Sizing: Repeat until the cup size is slightly larger than your bra pad or covers your desired area. Make a second cup in the same way.
2. Building the Back Panel
- Attach the Yarn: Start by chaining 2 and double crocheting across the row.
- Rows of Double Crochets: Continue making rows until the back panel is wide enough to fit your body.
- Size Check: Attach the panel to one of the cups using stitch markers and try it on. Leave a small gap between the cups for stretchability and finishing.
- Join: Connect the back panel to the other cup using slip stitches.
3. Finishing the Top
- Single Crochet Round: Create single crochet stitches all around the top until you reach the center chain on the cups.
- Bow Detail: Chain about 50 stitches (adjust based on your yarn and desired bow size), then make half-double crochets back across the chain. Attach it back to the single crochet stitch.
- Repeat: Complete the bow detail on the other cup and continue single crocheting to finish the edge.
4. Creating the Straps
- Positioning: Use stitch markers to determine where the straps will attach, typically near the shoulders.
- Chains: Make a chain with 45 stitches (or adjust based on creating a comfortable strap).
- Attach: Connect the chain to the back panel with stitch markers and adjust for a perfect fit.
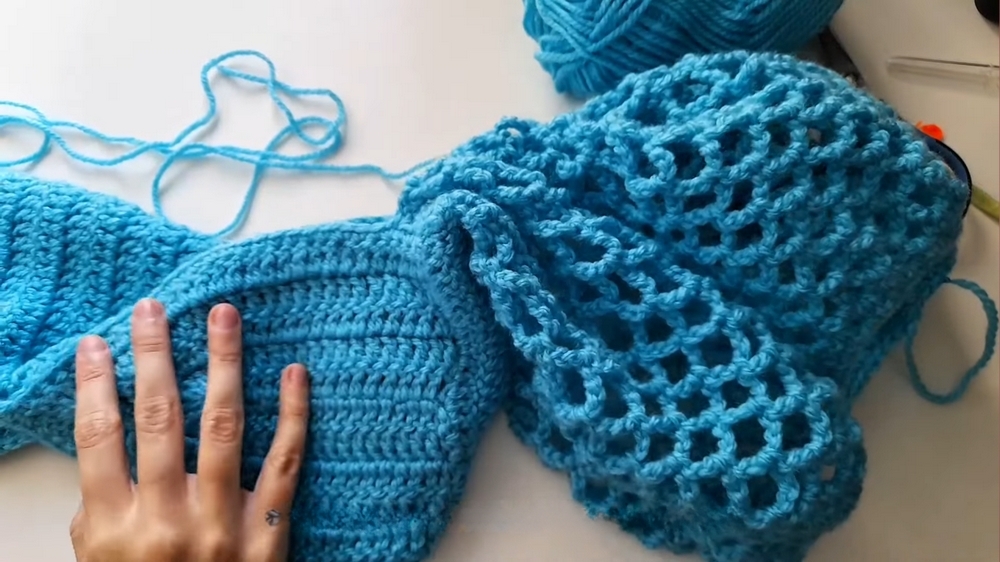
5. Making Decorative Sleeves
- Loops: Crochet chain loops along the edge of the sleeves. Start by chaining 5, skipping 1 stitch, and making a slip stitch in the next stitch.
- Expanding Loops: For subsequent rows, chain 7 and single crochet into each loop.
- Decreasing Loops: When the sleeve is wide enough, start decreasing loops by reducing the chains (e.g., chain 6, then 5, then 4 until the sleeve fits your arm comfortably).
- Finishing: Create slip stitches to adjust the opening size if needed.
Tutor's Suggestions
- Use measurements to achieve a custom fit for your top.
- Crochet stretches, so leave a slight gap when sizing to ensure a snug fit.
- Avoid cutting your yarn unnecessarily during steps, as this can complicate transitions for the next section.
Difficulty Level
- Beginner to Intermediate: Basic stitches (double crochet, single crochet, half-double crochet), chain creation, and slip stitches are used, making the project accessible for beginners while allowing experienced crocheters to enjoy styling details.
Tip
To achieve perfect straps and decorative loops, try the top on periodically during the process to make adjustments for size and comfort.
Conclusion
This off-the-shoulder crochet top combines elegance, comfort, and customizability in one project. With clear instructions and flexible design, it’s perfect for casual outings and summer use, showcasing your creativity and crochet skills.


