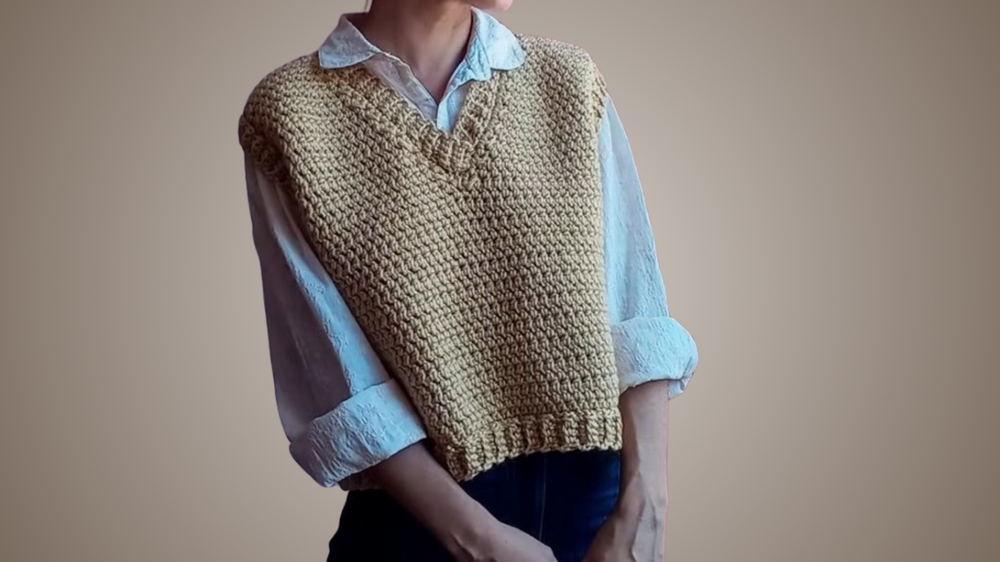
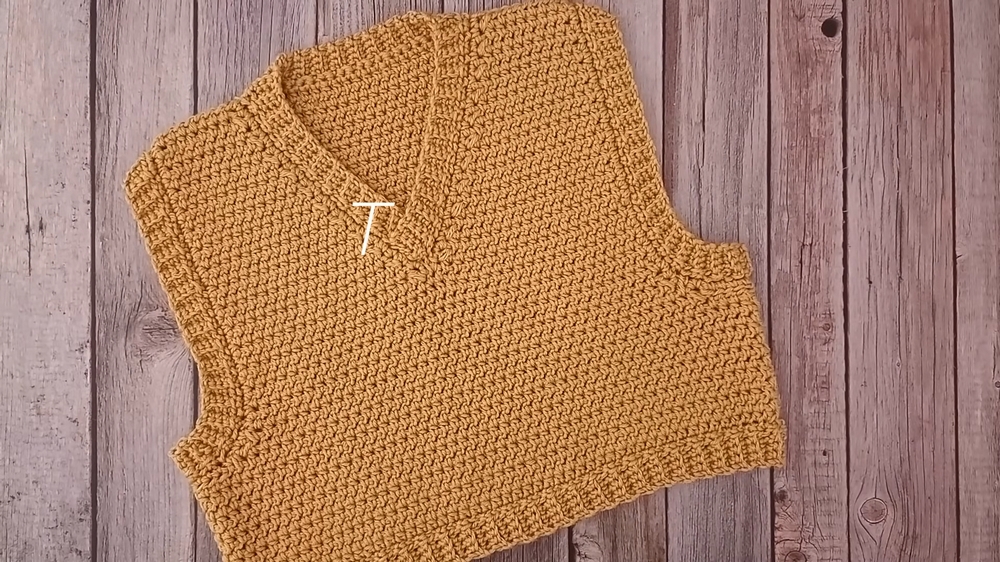
Refresh your wardrobe with this Free Crochet Sweater Vest Pattern, a cozy and stylish staple perfect for adding comfort and charm to any handmade look.
During chilly classroom mornings and spontaneous café meetups, sweater vests have quietly reclaimed their spot as wardrobe staples, versatile enough to layer yet stylish enough to wear solo. The Free Crochet Sweater Vest Pattern offers a timeless silhouette with just the right touch of structure and softness, balancing form and comfort beautifully. With its sleeveless cut and relaxed fit, it becomes a go-to layering piece for every season, over shirts for a crisp look or under coats without bulk.
Make Chic with This Free Crochet Sweater Vest Pattern & Texture Tips
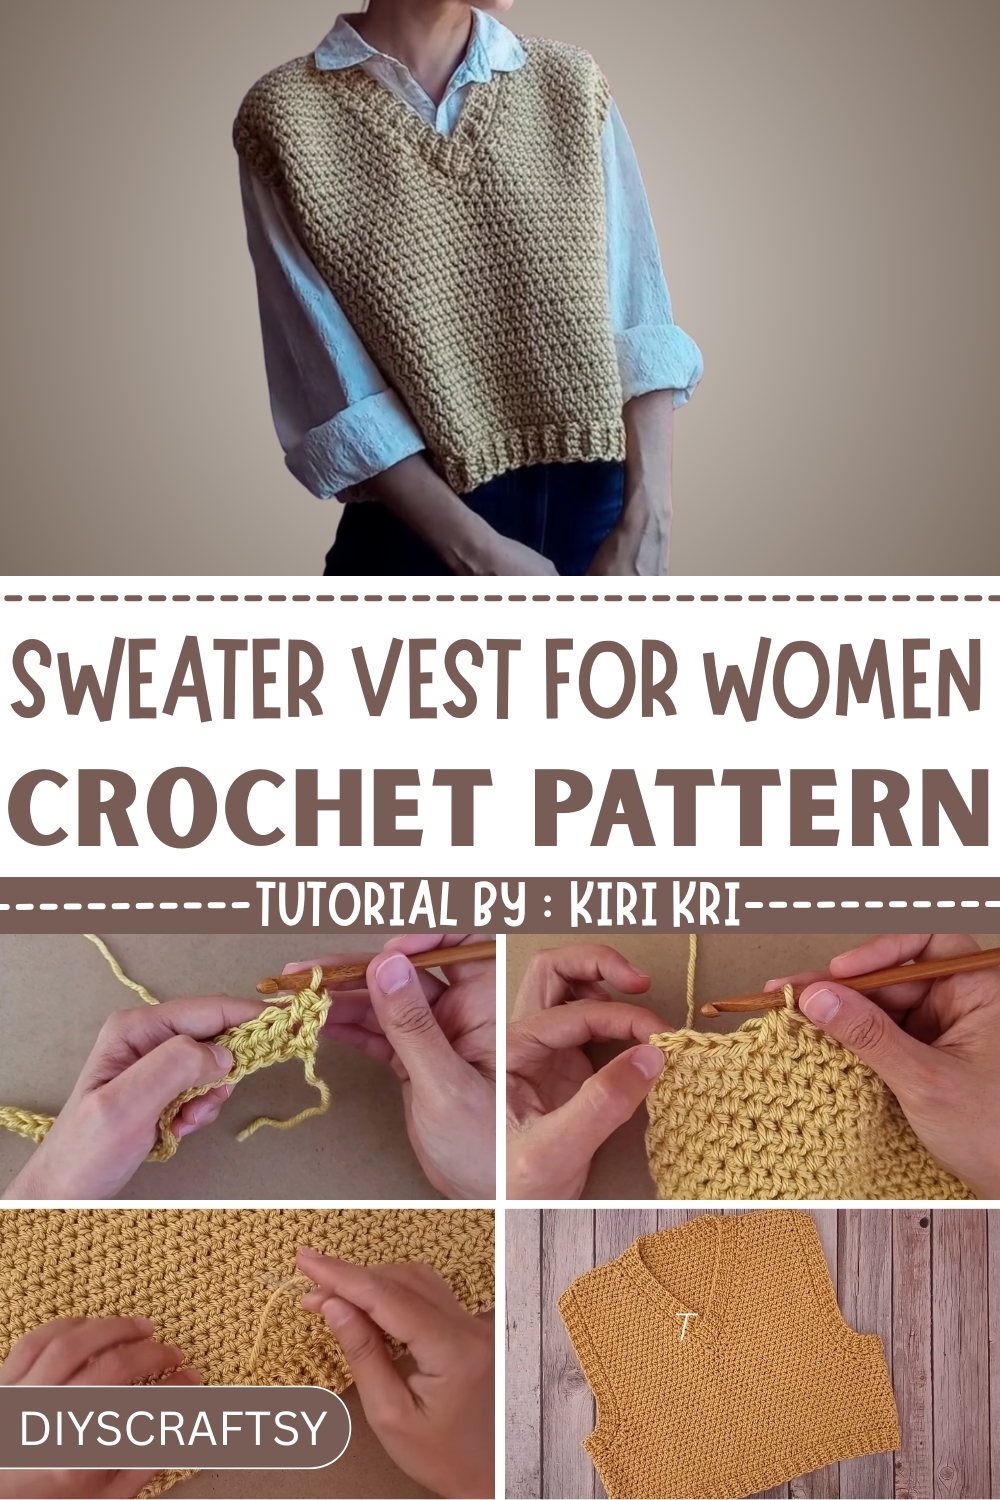
This pattern uses basic stitches like half double crochet and single crochet to build texture while maintaining a polished finish. Ribbed edging adds clean lines to the armholes and neckline, offering a tailored touch that flatters all body types. From the first few rows worked flat at the bottom hem to the neatly shaped shoulders and neckline, every step follows a thoughtful rhythm, making it beginner-friendly while still satisfying for experienced hands.
Whether styled for casual outings or professional settings, this sweater vest brings out the best of both comfort and modern style. The beauty lies in its simplicity, easy to wear, easier to love. It’s not just another piece; it’s a practical, wearable layer that becomes a quiet essential in your handmade wardrobe.
Step-by-Step Guide: Crochet Sweater Vest
Materials Needed
- Medium-thickness wool (Size #4)
- Quantities for small, medium, and large sizes appear in the video.
- Crochet hooks:
- 6 mm hook (main body of the vest)
- 5 mm hook (ribbing for sleeves and collar)
- Wool needle
- Scissors
- Measuring tape
Special Features
- Accessible Design: The vest pattern is beginner-friendly and requires basic crochet stitches.
- Ribbed Ba Collar: Adds an elegant detail that enhances the vest's aesthetic and structure.
- Sized for Versatility: Instructions for 3 sizes ensure the vest can be customized for different bodies.
- Minimal Sewing: Needlework is limited to joining pieces, providing a polished finish without excessive stitching.
Step-by-Step Instructions
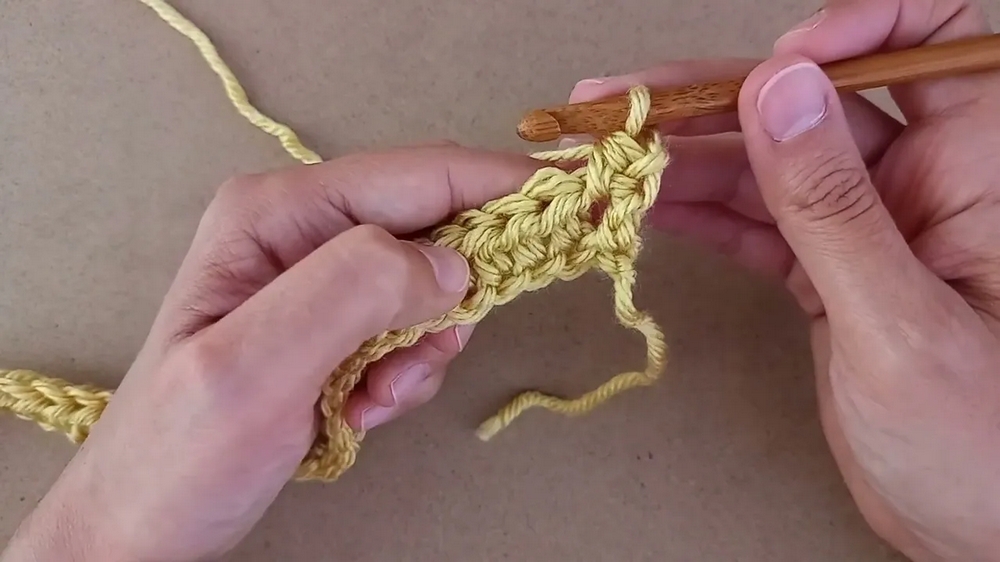
1. Base Chains and First Row
- Begin with a slip knot and crochet 53 chains (small size; different chain counts for medium & large sizes).
- For the first row, start in the second chain from the hook and crochet half double crochets (HDC) across. You should end with 52 HDC stitches.
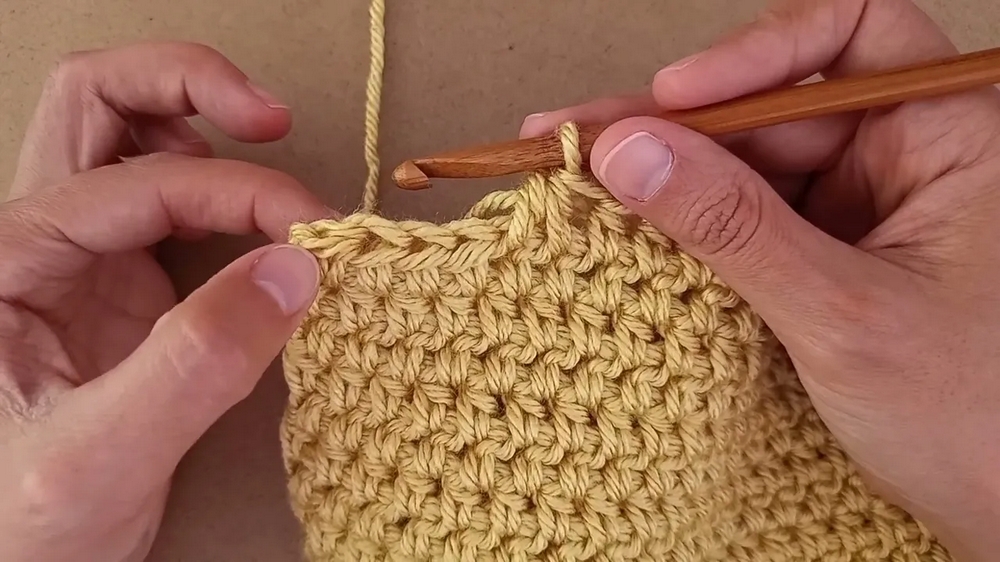
2. Repeated Rounds
- For subsequent rows, turn the fabric, chain one (does not count as a stitch), and continue crocheting HDC stitches while picking up all three strands of each stitch. Repeat until the fabric measures approximately 11 cm, finishing on the wrong side of the fabric.
3. Armhole Decreases
- Begin decreasing by crocheting 4 slip stitches, then 2 HDC stitches closed together. Repeat for a symmetrical decrease on each side.
- Decrease progressively until 14 total stitches are subtracted for the armholes. Continue crocheting until the fabric reaches approximately 20 cm, ending on the wrong side.
4. Neckline Formation
- Divide the front piece into two halves for the neckline.
- Begin decreasing one stitch at a time every alternate row until the fabric reaches 40 cm. Make sure rows are mirrored accurately on both sides of the neckline.
5. Back Panel
- Create the back panel with the same base chains as the front but without neckline shaping. Armhole decreases remain identical to the front.
- The back panel is worked straight across without splitting the fabric, ensuring it matches the front panel dimensions.
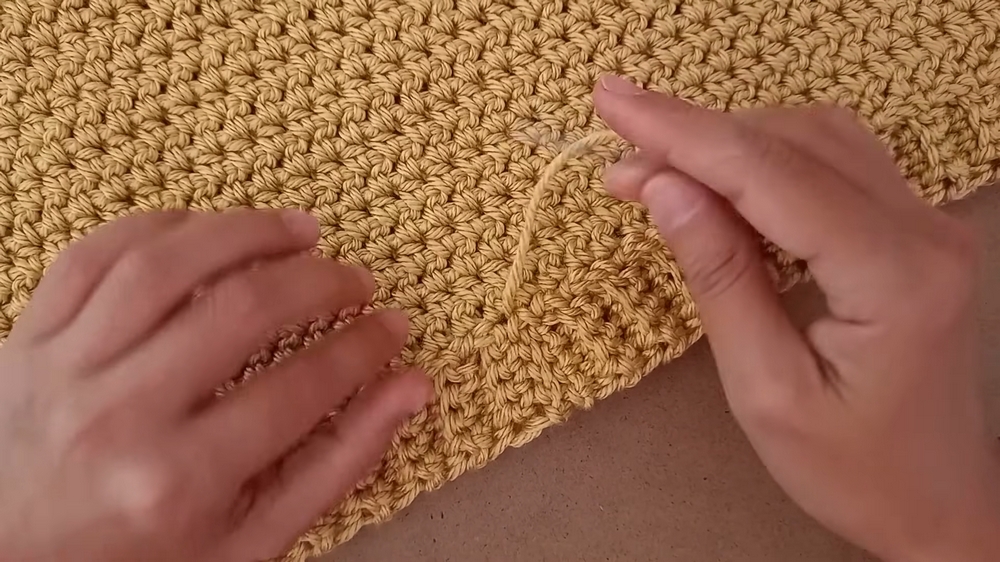
6. Joining the Pieces
- Shoulders: Use a whip stitch or slip stitch method to sew shoulder seams, ensuring rows align neatly.
- Sides: For side seams, use slip stitch method, alternating between rows with a chain edge and rows with stitches on the edge.
7. Sleeve Ribbing
- Add single crochet stitches around the armholes to create the base for the rib.
- Using a 5 mm hook, work the ribbing in vertical direction using 5 chains per segment, alternating single crochet rows with slip stitches for attachment. Finish by joining both ends of the rib seamlessly.
8. Ba Collar
- Start around the neckline with single crochet stitches.
- Transition to 5 mm hook for vertical ribbing, ensuring proper overlap and symmetry for the collar. The collar edges are sewn to the strands left deliberately free during previous rows for folding and overlap.
9. Bottom Ribbing
- Work ribbing at the hemline using a similar technique to the sleeves and collar. Ensure rows align perfectly for an even finish.
Tutor’s Suggestions and Pro Tips
- Difficulty Level: Beginner-friendly — simple stitches like chains, slip stitches, and half double crochets are used throughout.
- Customizable Fit: Adjust sizing based on individual measurements provided in the video.
- Symmetry is Key: Regularly ensure both the neckline and sides are mirroring each other throughout the process.
- Sewing Method: The tutor recommends whip stitch for shoulders but encourages creativity in sewing methods.
Uses
This vest is ideal as a comfortable and stylish piece for casual outings or layering during cooler seasons. It's also a thoughtful handmade gift for friends and family.
Tip from the Tutor
Always finish armholes and hems on the wrong side of the fabric to ensure a polished and professional appearance. Double-check alignment during sewing to avoid unwanted twists or gaps!
Conclusion
The Crochet Sweater Vest is a delightful project for beginner and intermediate crocheters alike. With its accessible design, minimal sewing, and elegant details, this vest is as enjoyable to make as it is to wear.


