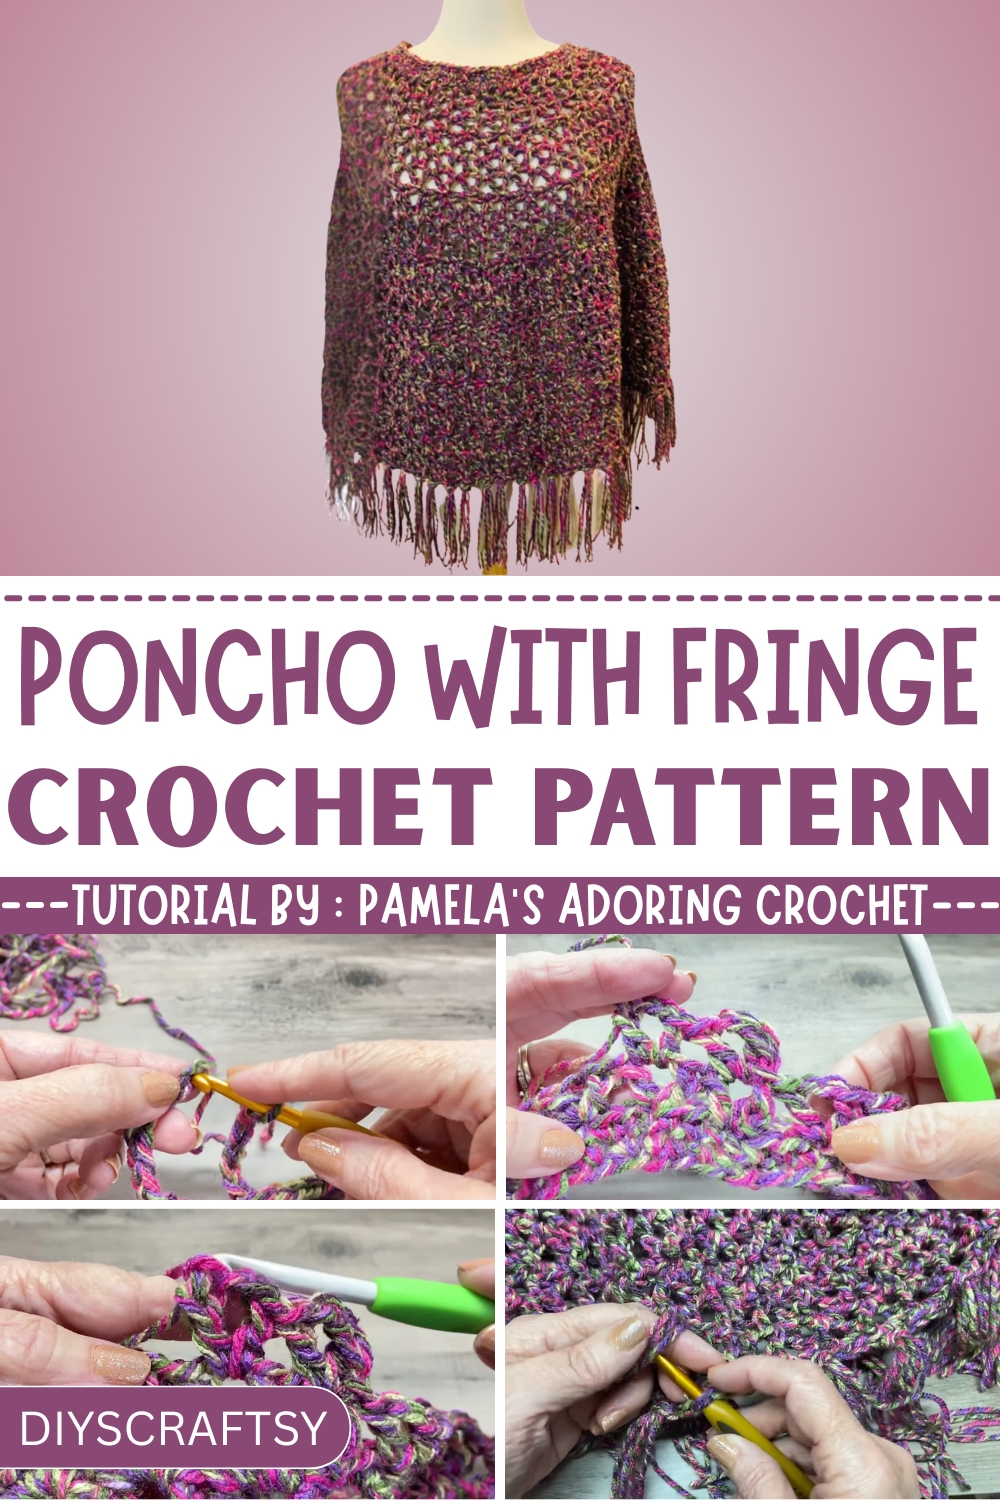
Spice up your outfit with this Free Crochet Poncho with Fringe Pattern that brings playful vibes, comfy layers, and a swingy twist to your everyday look.
Fringe has long held a timeless charm—tugging at memories of carefree days and effortless movement. The Free Crochet Poncho with Fringe Pattern brings that nostalgic element into a cozy, wearable piece that’s both stylish and practical. Whether swaying gently with a breeze or adding texture to a minimal outfit, this poncho draws attention with every thread. Its appeal lies in simplicity, offering a generous fit without compromising on form or detail.
Seamless Fit and Fashion Functionality Crochet Poncho With Fringe Pattern
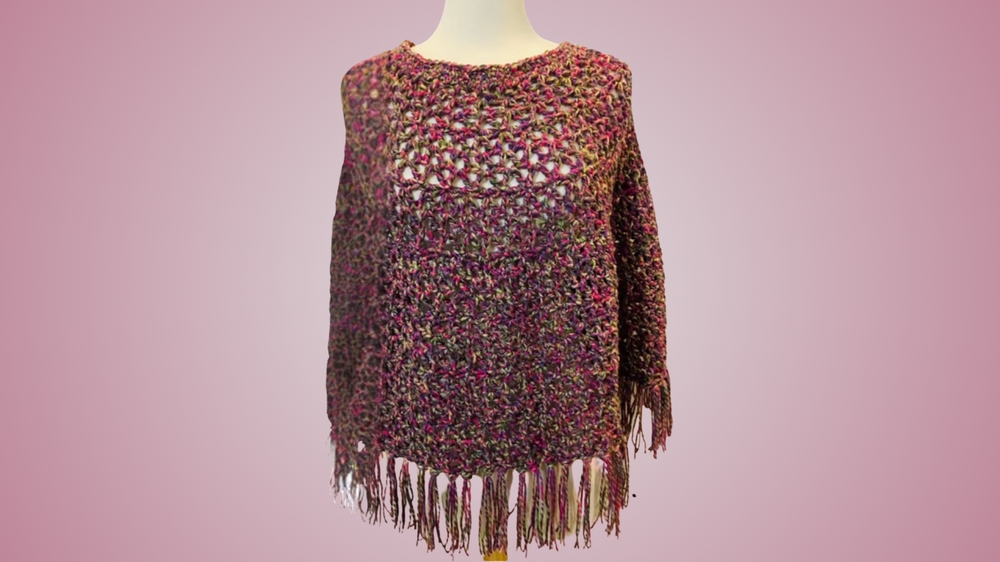
The construction begins with basic stitches like chains and double crochets, making it approachable for crocheters at any level. Worked flat and joined at the shoulders, the silhouette comes together effortlessly, and the fringe along the bottom edge adds character and movement. This subtle decorative touch gives the poncho its unique edge, creating a standout piece for layering through all seasons.
Functionally, it’s lightweight enough for breezy summer nights and warm enough to serve as a stylish winter layer. Whether paired with denim or draped over dresses, it adapts to a variety of looks. The stitch definition adds just the right amount of texture without overwhelming the overall design. Easy to wear and eye-catching to look at, this poncho becomes a go-to garment for comfort, charm, and timeless appeal.
Step-by-step Crochet Tutorial: Poncho Creation (Inspired by Pamela's Video Tutorial)
Introduction
In this tutorial, Pamela demonstrates how to crochet a stylish poncho suitable for various seasons and using different yarn weights. This project is beginner-friendly but offers customization options even for advanced crocheters. The poncho features V-stitch and single crochet rows and allows for personalized adjustments in size, yarn choice, and embellishments like fringe.
Step-by-Step Details
Materials Needed
- Yarn:
- For medium/4-weight yarn: Use "I Love This Yarn" in the color "Wild Carnation"; requires slightly over 3 skeins (around 252 yards per skein).
- For DK/3-weight yarn: Use "Premier Anti-Pilling Everyday DK" in the color "Stormy Speckle"; requires slightly over 2 skeins (around 273 yards per skein).
- 100% acrylic yarn is preferred.
- Hooks:
- J hook (6.0 mm) for the neckline.
- K hook (6.5 mm) for the body.
- Optional: Stitch markers to mark positions.
- Scissors, yarn needle for weaving in ends.
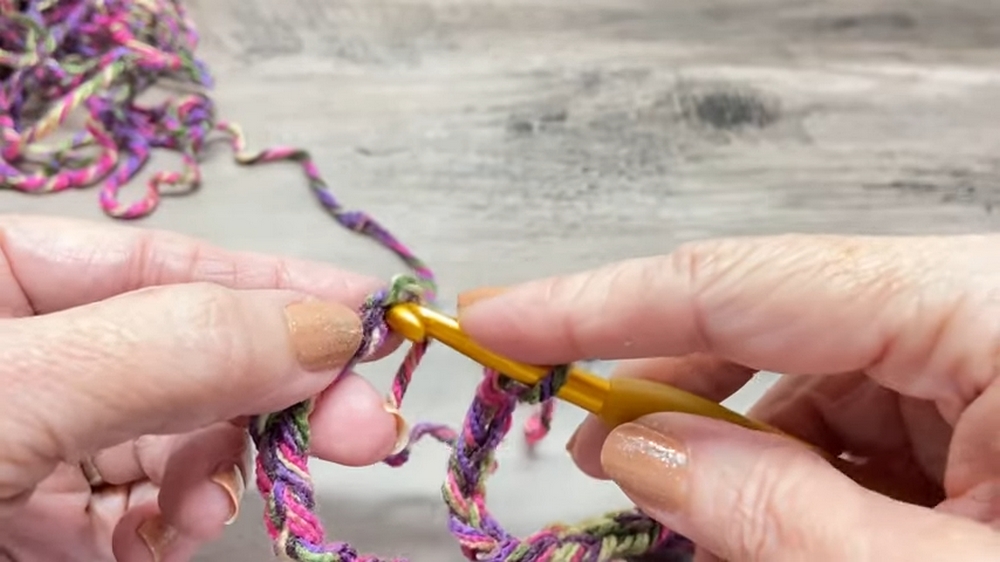
Step 1: Foundation Chain
- Start by creating a chain of 84 using the J hook (6.0 mm).
- Slip stitch into the first chain to form a loop, ensuring the chain isn’t twisted.
- Chain 1.
Step 2: Neckline Area
- Row 1: Single crochet in each chain. Ensure you have 84 single crochet stitches.
- Row 2: Single crochet in each stitch (84 stitches).
- Switch to the K hook (6.5 mm) for the body.
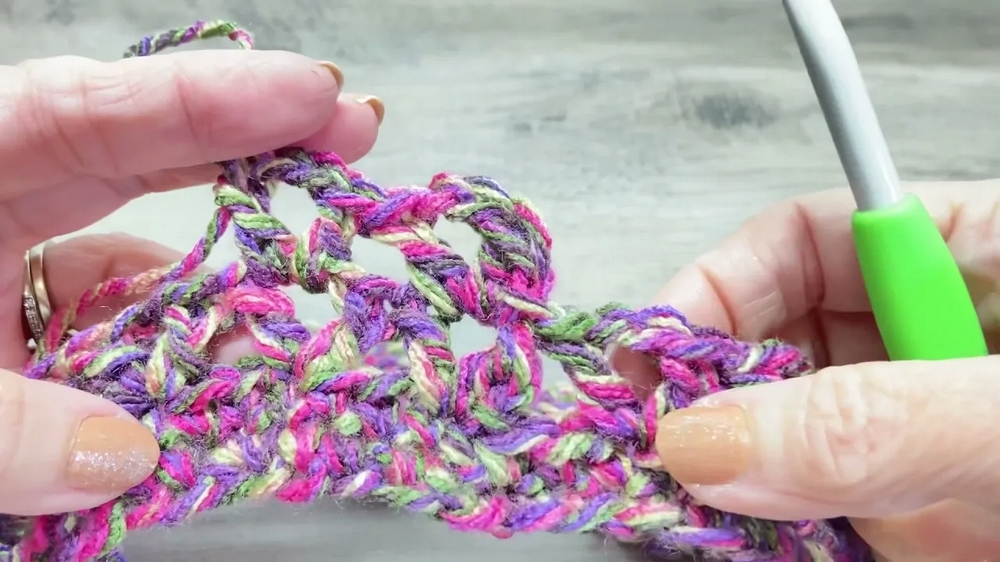
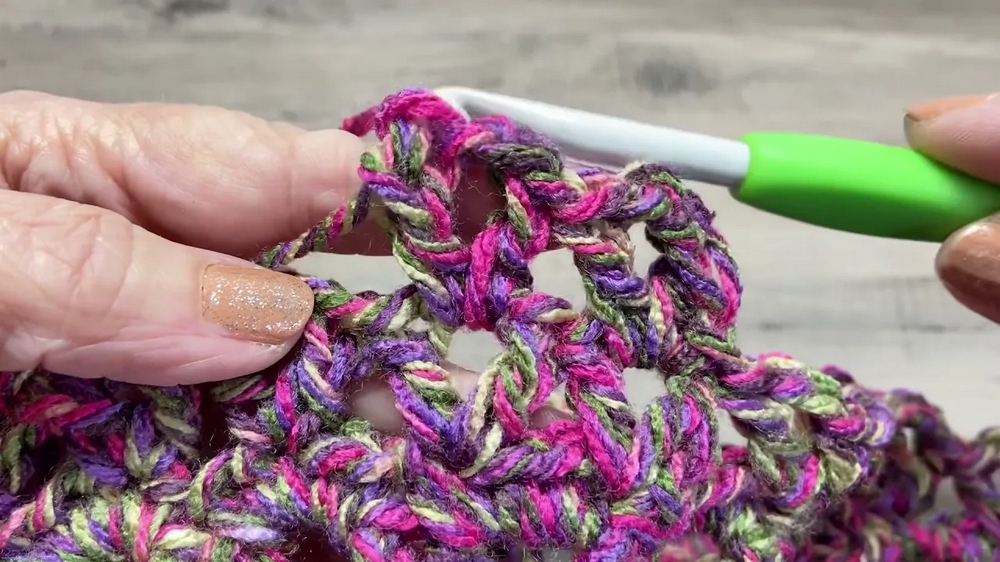
Step 3: Start the V-Stitch Pattern
- Make a V-stitch in the first stitch: double crochet, chain 2, double crochet (in the same stitch).
- Skip two stitches and repeat the V-stitch in the third stitch.
- Continue this pattern all the way around. You should have 28 V-stitches by the end of the row.
Step 4: Repeat the V-Stitch Rows
- Rows 4 & 5: Make a V-stitch in every existing V-stitch (28 V-stitches). Slip stitch into the first V-stitch after finishing each row.
- Adjust and repeat depending on desired width. Pamela suggests creating three sets (or more depending on size).
Step 5: Increase Rows
- Row 6 to Row 9:
- For each V-stitch, make 4 single crochets.
- After single crochet row, work three rows of V-stitches. Repeat this pattern three times for evenly spaced increases.
- Count specifics:
- After Row 6–9: 112 single crochets, 37 V-stitches.
- After the next repeat: 148 single crochets, 49 V-stitches.
- Pamela suggests trying the poncho on after each major repeat to ensure it fits comfortably.
Step 6: Non-Increase Rows
- Once desired width is achieved, the increases stop. Instead of 4 single crochets in each V-stitch, make 3 single crochets in each V-stitch.
- Continue alternating:
- Row A: Single crochet (3 per stitch).
- Rows B–D: V-stitches in every V-stitch from previous row.
- Repeat until you achieve desired length.
Step 7: Final Edging for the Neckline
- Switch back to the J hook (6.0 mm).
- Single crochet around the neckline to tighten it slightly. Add single crochet decreases if needed for a snug fit.
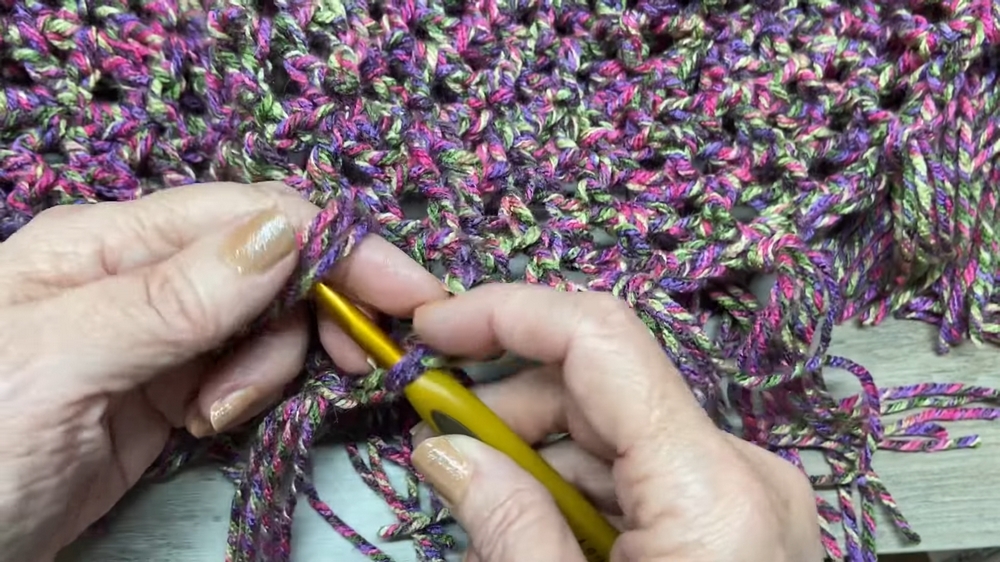
Step 8: (Optional) Add Fringe
- Cut yarn strands (12 inches each). Pamela used 40 sets of 3 strands folded in half for the fringe.
- Attach fringe evenly spaced (about 4–5 stitches apart). Make adjustments depending on how thick or detailed you'd prefer the fringe.
Special Features
- Design: The poncho is airy, versatile, and can be made warm for winters or lighter for summers depending on yarn weight.
- Ease of Customization: The pattern allows users to adjust width and length for all sizes. Pamela provides guidance for trying it on as you go.
- Optional Fringe: Personalize the look with decorative fringe or leave it plain for simplicity.
Level of Difficulty
- Skill Level: Beginner to Intermediate
Pamela’s instructions are simple and beginner-friendly but adding fringe or making adjustments requires intermediate crochet skills.
Tutor's Suggestions
- Hook Tip: Use slightly smaller hooks for a tighter neckline.
- Fit Adjustment: Repeat the 4-row increase if a larger size is needed.
- Finish: For a polished look, weave loose ends carefully with a yarn needle.
Uses
- Stylish poncho for casual outings or layering.
- Depending on yarn weight, it can be warm for colder months or airy for summer.
- Great as a handmade gift or personal project.
Tip
To achieve uniform stitches, ensure your tension is consistent throughout, especially when transitioning between hooks. Test your fit periodically to ensure comfort and proper drape.
Conclusion
Pamela’s poncho tutorial is perfect for those seeking a versatile and stylish handmade project. With step-by-step instructions, opportunities for personalization, and an optional fringe, this wearable crochet piece is both functional and beautiful. Whether you’re new to crochet or an experienced artisan, this poncho offers creative freedom while maintaining simplicity.


