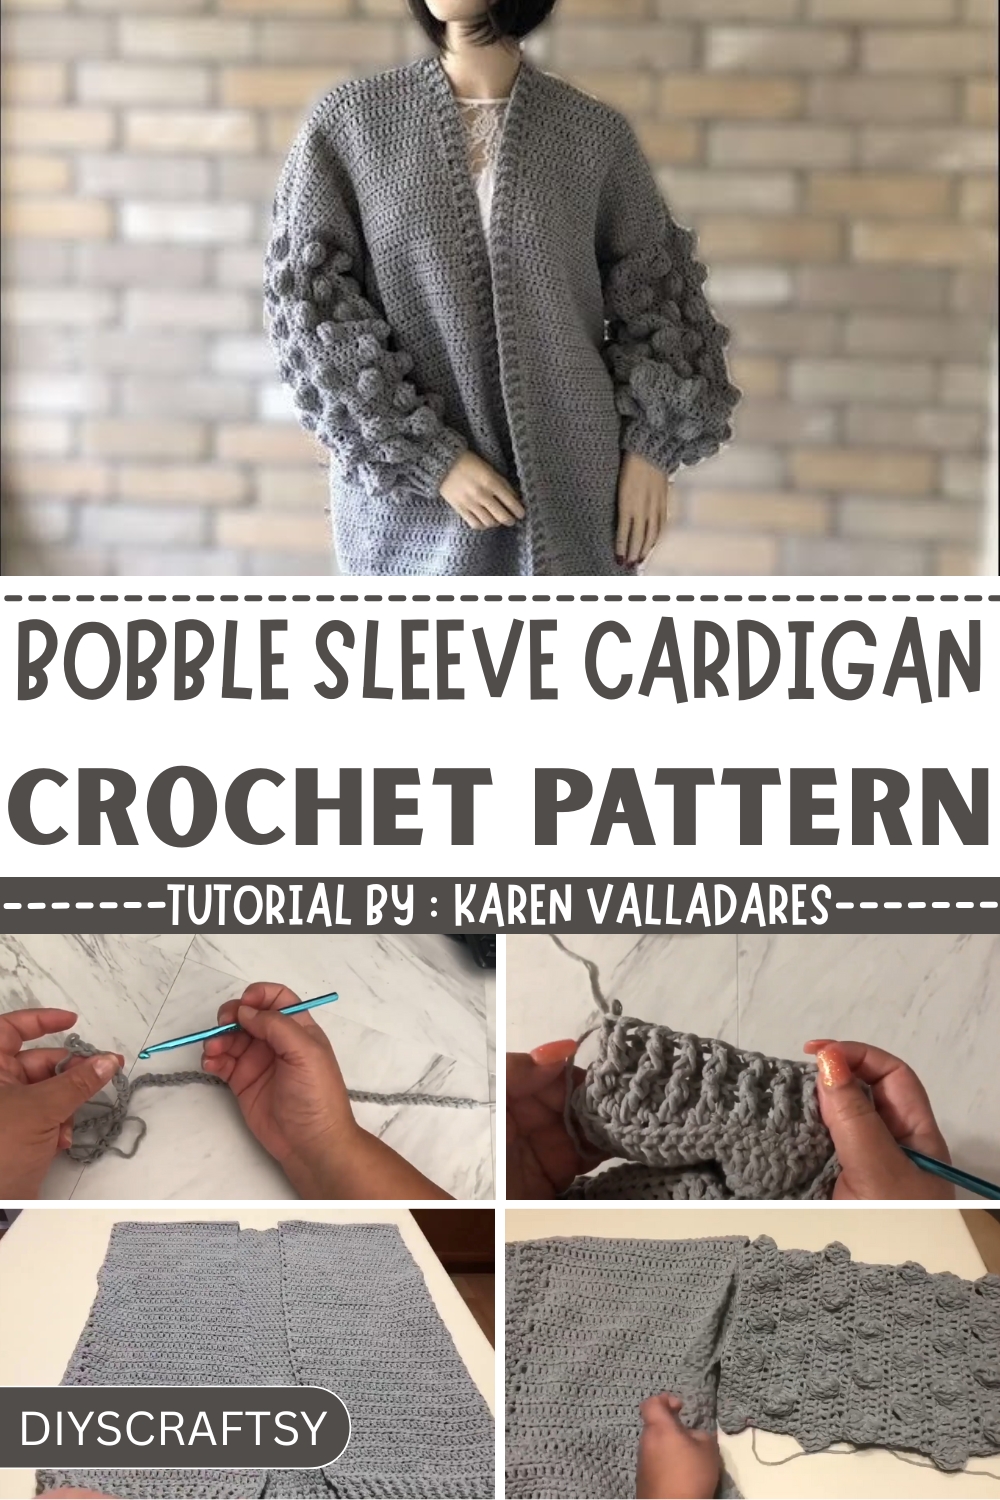
Bring bold texture into your wardrobe with this Free Crochet Bobble Sleeve Cardigan Pattern featuring cozy warmth and stylishly puffy sleeves.
Wearing a textured sleeve cardigan dates back to decades when fashion was more about feel than flash. Those who favored function with flair often turned to subtle detail—one such being the classic bobble. The Free Crochet Bobble Sleeve Cardigan Pattern brings that timeless aesthetic into today’s wardrobe, combining warmth with visual interest in every stitch.
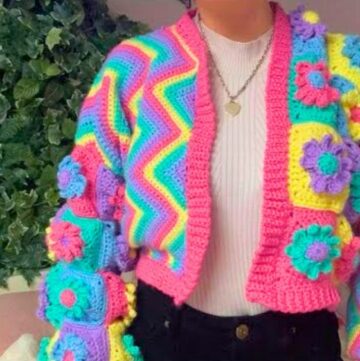
Free Crochet Bobble Sleeves Cardigan – Learn How to Add Shape and Texture
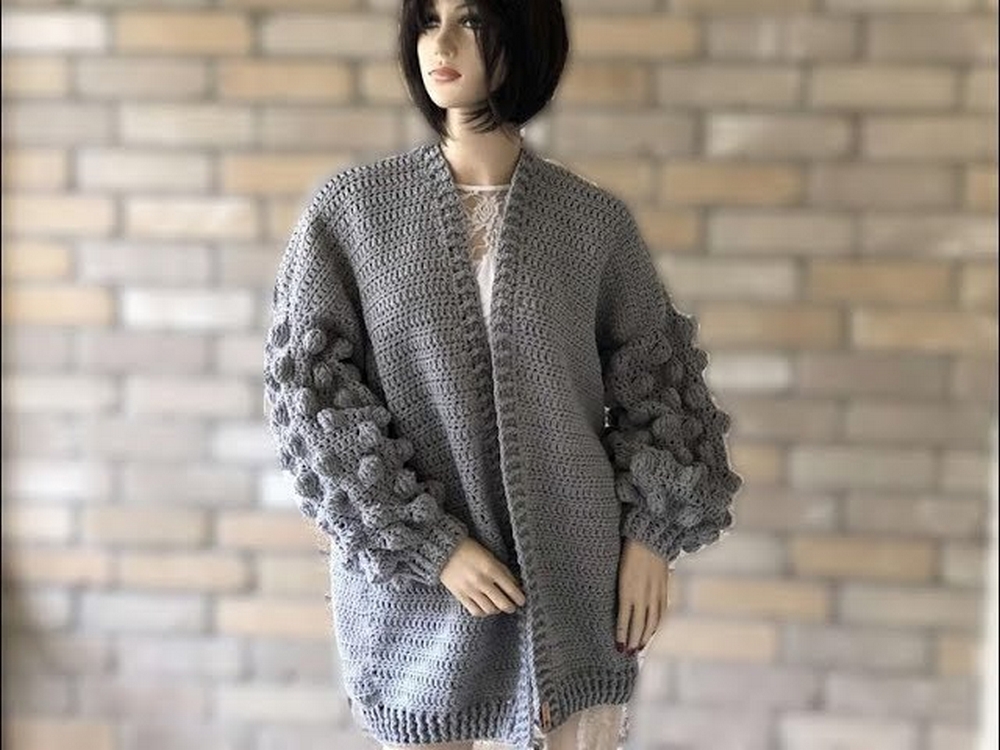
With sleeves that naturally stand out through raised bobble elements, this cardigan adds shape and charm without needing extra embellishment. It offers a flattering silhouette that drapes gently over any outfit, perfect for layering during cooler evenings or adding structure to casual looks. The softness of the yarn makes it cozy for prolonged wear, while the bobble texture adds a playful yet sophisticated touch to the arms.
Whether worn at home, styled for brunch, or draped over work attire, this cardigan bridges comfort and personality. Its relaxed fit ensures all-day ease, while the detailed sleeves keep the look interesting from every angle. As a wardrobe staple with textural charm, it makes for a thoughtful handmade gift or a rewarding personal project. Durable, stylish, and wearable across seasons, this bobble sleeve cardigan adds just the right amount of interest without overpowering your outfit.
Materials Needed
- Yarn: 50% acrylic and 50% cotton.
- Crochet Hook: Size 5 millimeters.
- Tapestry Needle: Required for sewing panels and sleeves.
- Ruler: To measure the initial chain length and ensure accuracy.
Tutor's Suggestions
- Gauge Consideration: If your yarn is stretchy, you may need to reduce the number of chain stitches to obtain the accurate 20-inch length.
- Double Checking: Measure your chain length to ensure consistency in size since stretchy yarn can alter dimensions.
- Flexibility with Panel Length: Customize the cardigan’s length as per your preference; the tutor made hers 25 inches long.
Steps: How to Crochet the Cardigan
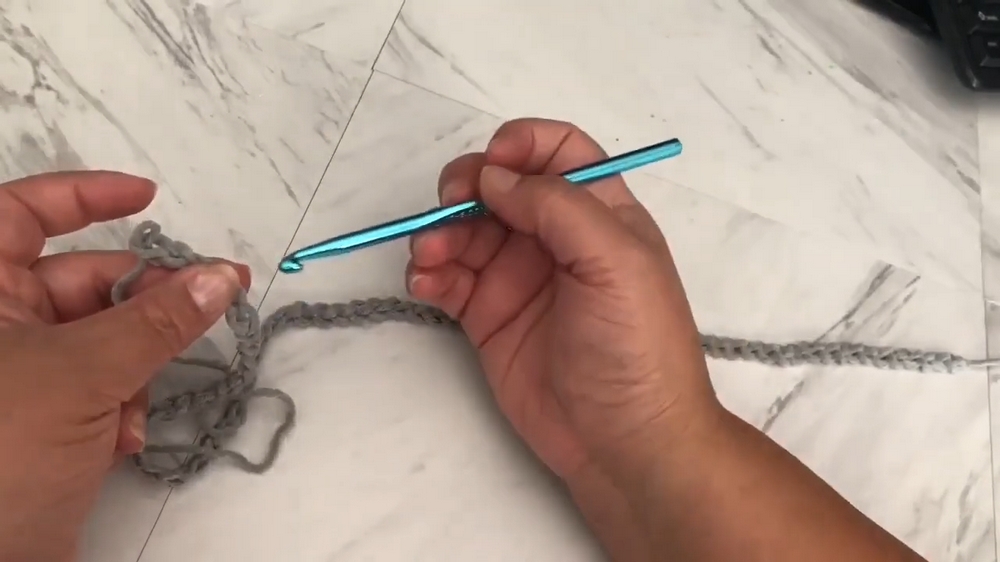
Step 1: Create the Foundation Chain
- Crochet chains until they measure 20 inches in length (use a ruler for precise measurement).
- If your yarn is stretchy, make adjustments by reducing chain stitches.
Step 2: Work the Rows
- Row 1: Start with a double crochet in the third chain from the hook. Continue with double crochet stitches across.
- Row 2: Chain 2 (or 1), turn your work, and make a half double crochet in each stitch across.
- Continue alternating rows of double crochet and half double crochet until you reach the desired length of the back panel (e.g., 25 inches).
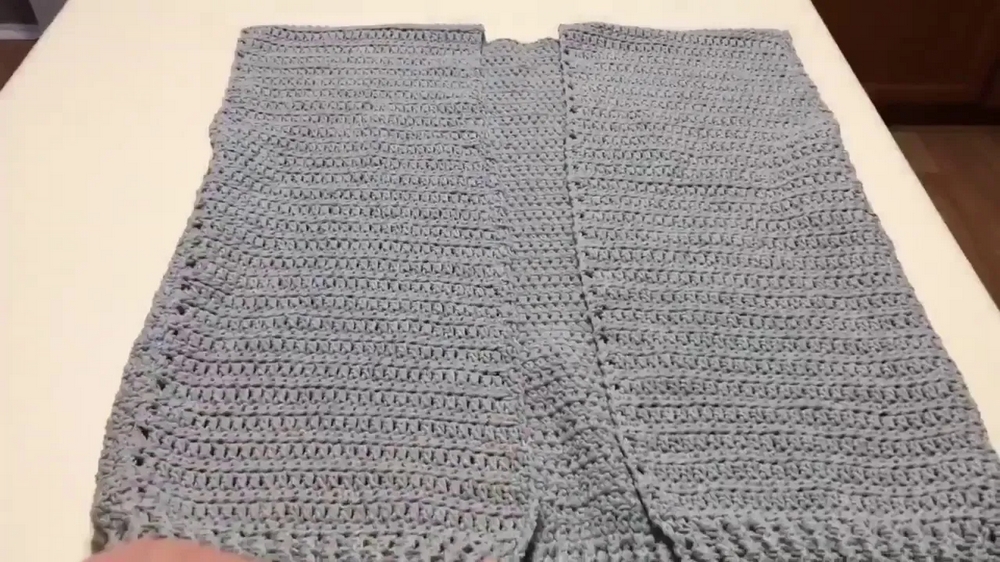
Step 3: Create Front Panels
- Place stitch markers at the center of the back panel, leaving 5 stitches on either side for each front panel.
- Follow the same pattern (double crochet and half double crochet rows) for each front panel, ensuring they are as long as the back panel.
Step 4: Assemble the Panels
- Position the two front panels against the back panel.
- Leave a 9-inch gap at the top for sleeves and join the sides using a tapestry needle with yarn.
Step 5: Work the Edges
- Bottom Edge: Crochet a foundation row of double crochets. Then alternate between front post and back post double crochets to create a stretchy ribbed effect. Repeat until you achieve your desired edge length (e.g., 3 inches).
- Front Panel Edges: Crochet double crochets on vertical rows (1 double crochet in half double crochet rows, 2 double crochets in double crochet rows). Add the ribbed pattern using the front and back post stitches and repeat for approximately 3 rows.
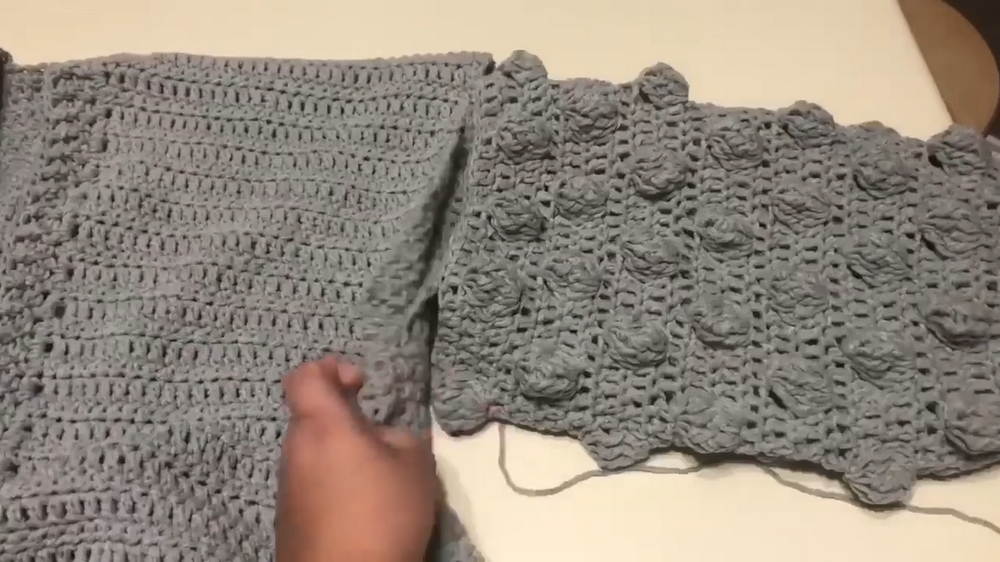
Step 6: Prepare the Sleeves
- Start with 24 chains, form a ring using a slip stitch, and crochet two double crochets in each chain.
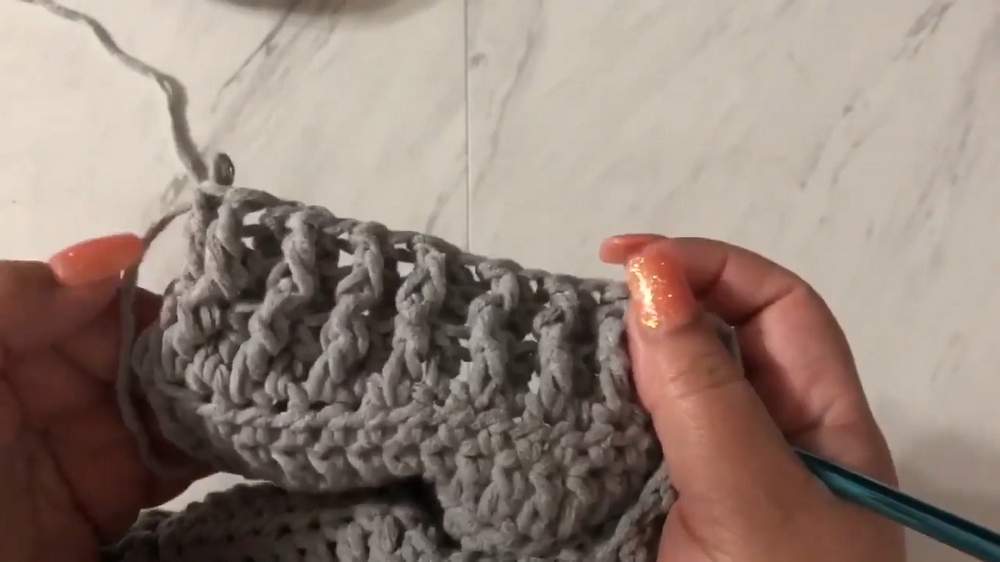
- Alternate rows to create the bubble pattern:
- Row 1: Crochet shells (7 double crochets in one stitch).
- Row 2: Work bubble stitches in the shell areas (a cluster of front post treble stitches).
- Row 3: Crochet a row of double crochets, including stitches over bubbles from Row 2.
- Repeat this pattern (shell, bubble, double crochet rows) until you complete 8 bubble rows, finishing with a round of double crochets.
Step 7: Attach the Sleeves
- Use the tapestry needle and yarn to sew the sleeves to the 9-inch openings reserved earlier.
- Weave in loose ends to tidy up the project.
Special Features
- Bubble Sleeves: The signature feature adds depth and texture to the cardigan, giving it a modern and playful look.
- Stretchy Edges: Using front and back post double crochets creates a ribbing effect that makes the edges stretchy and fits elegantly.
- Customizable: The cardigan can be adjusted for length, width, and sleeve design, making it suitable for various fashion preferences.
Level of Difficulty
This project is easy to intermediate, depending on your familiarity with crochet techniques such as double crochet, half double crochet, post stitches, and bubble clusters.
Uses
- Fashion Statement: Ideal for casual or semi-formal events.
- Gift: A thoughtful handmade garment for friends or family.
- Seasonal Wear: Perfect for cooler months thanks to the thick texture.
Quick Tip
If you're new to crochet, consider practicing bubble stitches and front/back post double crochets separately before starting the cardigan. This will ensure smoother progress during the project.
Conclusion
The crochet bubble sleeve cardigan is a stylish, functional project that crocheters of varying skill levels can create. Whether it's a trendy addition to your wardrobe or a heartfelt handmade gift, this cardigan highlights creativity and elegance.