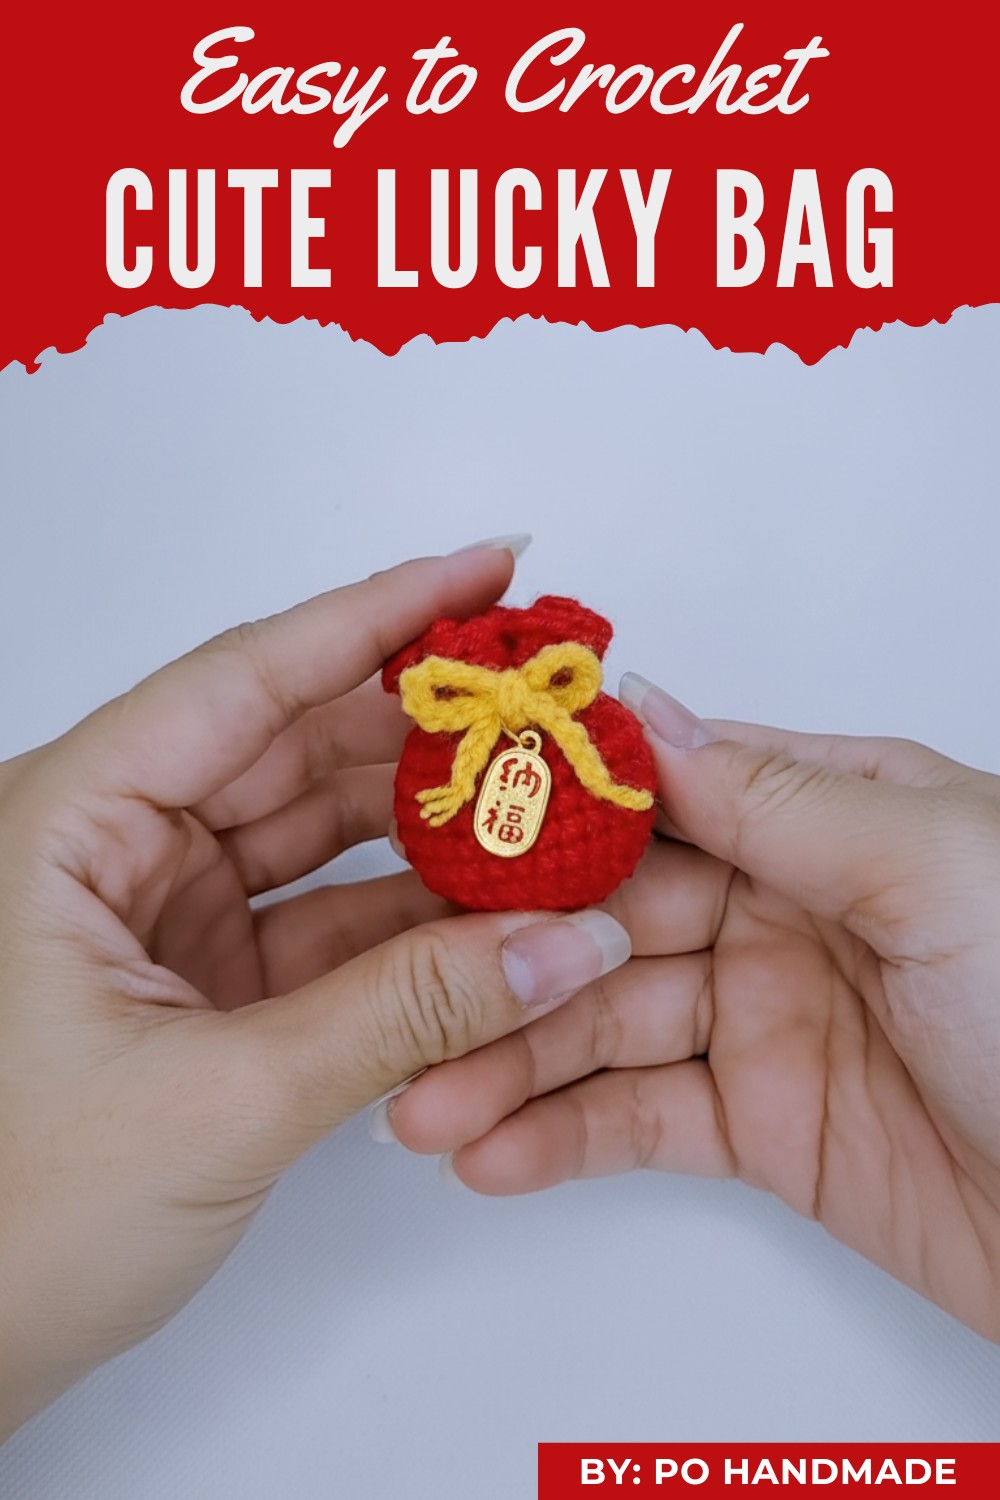
Spark festive fun with this Free crochet Lucky Bag Pattern, making charming, stylish bags that add joy, creativity, and a playful handmade touch to any gift.
Have you ever wanted to create something both practical and charming with your crochet skills? A "Crochet Lucky Bag Pattern" might be the perfect project to try. These delightful little pouches are not only incredibly versatile but also carry a symbolic touch of luck and positivity, making them unique gifts, party favors, or keepsakes that are as thoughtful as they are beautiful.
Tiny Crochet Lucky Bag Pattern That Packs Big Charm
The pattern allows you to personalize the design, size, and colors of your lucky bag to suit any occasion. Whether you're crafting a token of good fortune for a loved one, using it to store small items like jewelry or coins, or simply adding to your own handcrafted collection, the "Crochet Lucky Bag Pattern" provides endless creative possibilities.
Step-by-Step Guide to Crochet a Lucky Bag
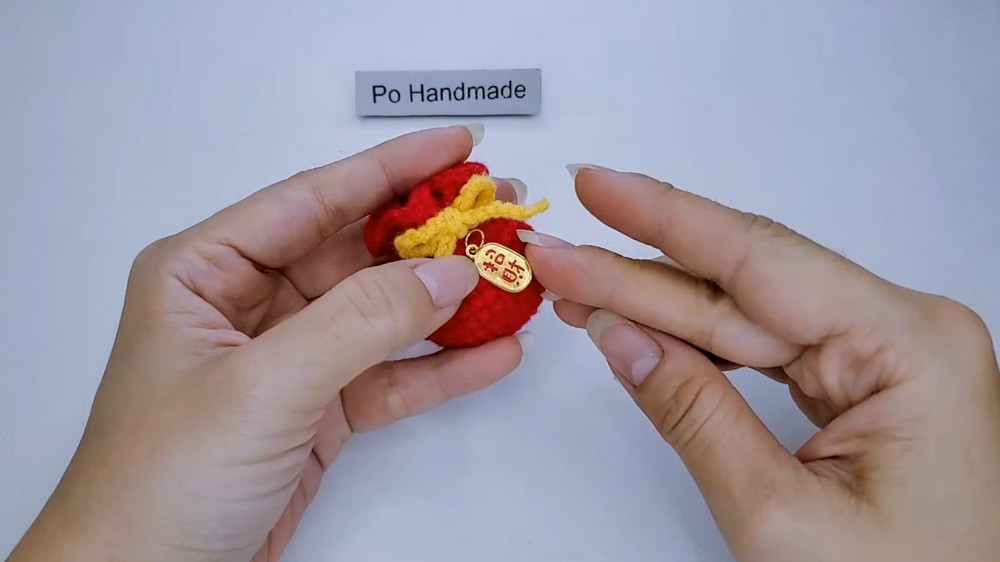
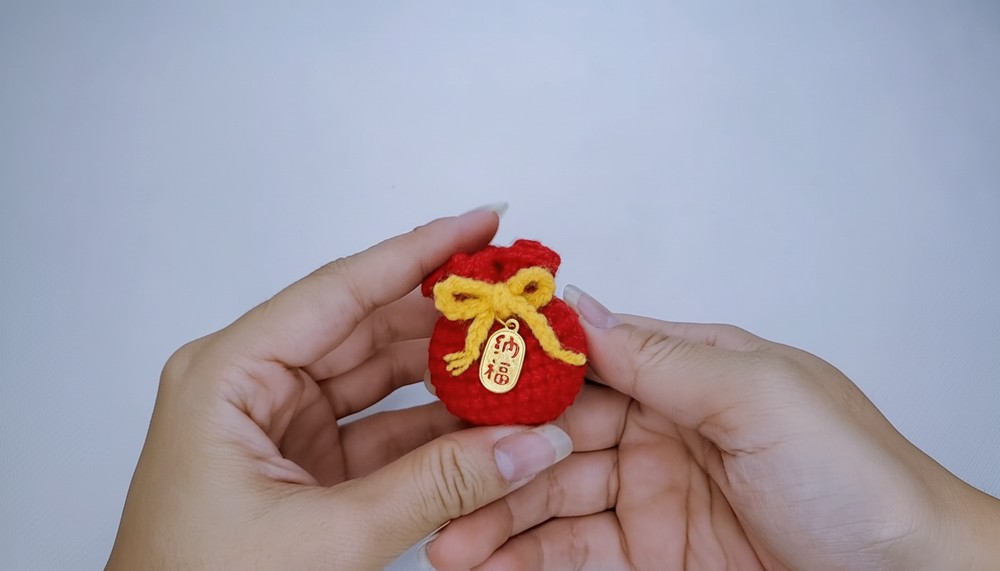
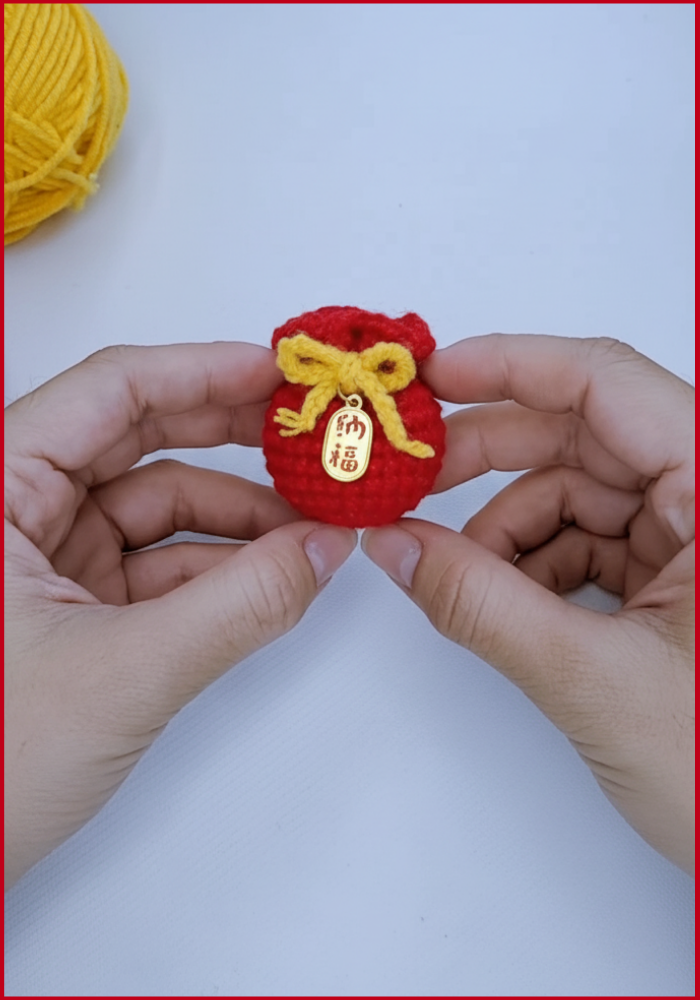
Create your own traditional Lucky Bag, a symbol of wealth and good fortune often used for holiday decoration or as a festive gift accessory. You will use a combination of simple amigurumi techniques to shape the bag and then add decorative elements like a golden lid and a drawstring bow.
Uses
-
Create a Lunar New Year Decoration to symbolize good fortune.
-
Use it as a Small Gift Pouch or holder for candy/money.
-
Attach it to a key ring or bag as a Festive Charm.
Materials
-
Yarn:
-
Red yarn for the main bag body.
-
Yellow/Gold yarn for the lid and the tie/drawstring.
-
-
Hook: Use a crochet hook appropriate for your chosen yarn weight.
-
Notions: You need stuffing (polyester fiberfill), a tapestry needle for assembly, and an optional key ring or decorative tag.
Special Features
-
Traditional Shaping: You use standard amigurumi increases and decreases to create a round, sack-like shape that mirrors the traditional lucky bag design.
-
Frilled Opening: You finish the top of the bag with a decorative shell stitch rim (three Double Crochet stitches in one front loop), creating a charming, gathered look for the mouth of the bag.
-
Two-Part Closure: You create a separate flat, round lid and a long chain for the drawstring, which allows you to customize the finished look.
-
Color Symbolism: You use the traditional festive colors of red (luck and happiness) and yellow/gold (prosperity and wealth).
Level of Difficulty
This project is Intermediate. While the body uses basic Single Crochet (SC), you must follow precise increase and decrease patterns to achieve the correct sphere shape. You also need to execute the unique Double Crochet (DC) rim and seamlessly sew the lid onto the bag.
Tutor's Suggestions
-
Stuff Uniformly: Firmly stuff the bag just before the final decrease row to ensure it holds a round, plump shape, but leave enough space at the opening for the rim to curve inward slightly.
-
Accurate Rim Placement: When crocheting the frilled rim, ensure you only work into the front loop of the stitches from the last round of the main body. This gives the rim a distinct, outward flare.
Step-by-Step Details
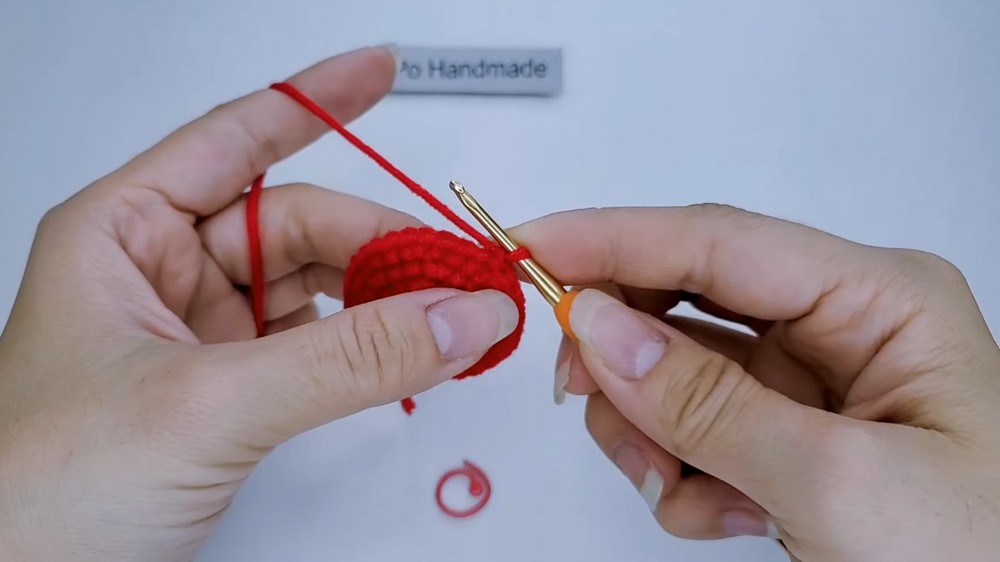
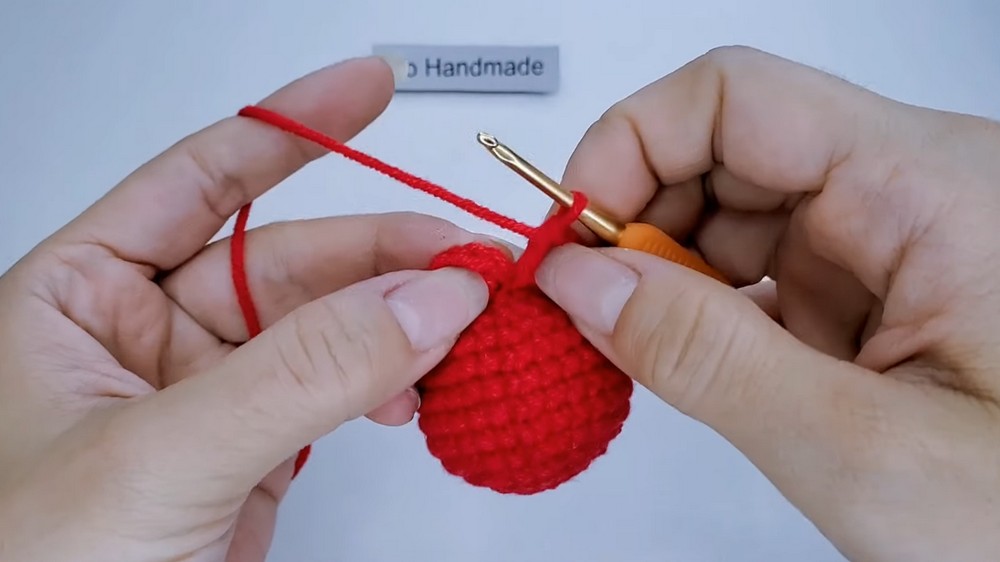
Part 1: Crochet the Bag Body (Red Yarn)
-
R.1 (Start): Make a Magic Ring and work 6 SC.
-
R.2 (Increase): Work 6 increases (2 SC in each st) to get 12 SC.
-
R.3 (Increase): Repeat (1 SC, 1 Inc) x 6 to get 18 SC.
-
R.4 (Increase): Repeat (1 SC, 1 Inc, 1 SC) x 6 to get 24 SC. Scattering the increases prevents a hexagon shape.
-
R.5 (Increase): Repeat (3 SC, 1 Inc) x 6 to get 30 SC.
-
R.6-9 (Height): Work 4 rounds of 30 SC (straight rounds).
-
R.10 (Decrease): Repeat (3 SC, 1 Dec) x 6 to get 24 SC.
-
R.11 (Decrease): Repeat (1 SC, 1 Dec, 1 SC) x 6 to get 18 SC.
-
R.12 (Decrease): Repeat (1 SC, 1 Dec) x 6 to get 12 SC.
-
Stuff: Firmly stuff the bag with fiberfill.
Part 2: Crochet the Frilled Rim (Red Yarn)
-
Start: Chain 3.
-
Rim: Work 3 Double Crochet (DC) into the Front Loop Only (FLO) of each stitch around the opening .
-
Close: Slip Stitch into the top of the starting Chain 3 to close the rim round.
-
Fasten Off: Cut the yarn and weave in the end to hide it inside the bag.
Part 3: Crochet the Lid (Yellow/Gold Yarn)
-
Start: Make a Magic Ring and work 12 SC .
-
Close: Pull the tail to cinch the ring closed completely, ensuring there is no hole.
-
Finish: Slip Stitch into the first SC to close. Cut the yarn, leaving a long tail for sewing.
Part 4: Crochet the Tie and Assemble
-
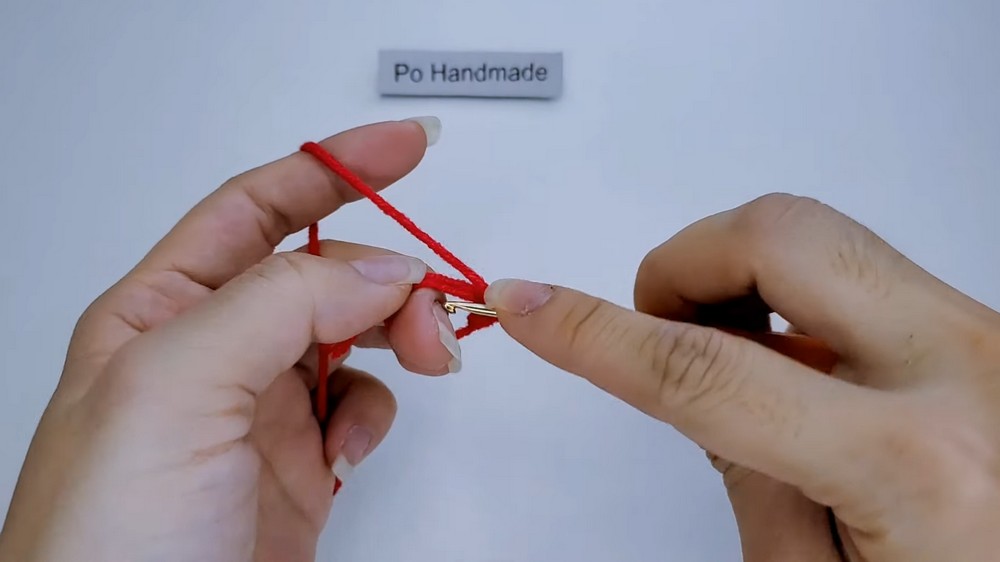
Tie/Drawstring (Yellow/Gold Yarn): Create a slip knot and Chain 50 stitches . Cut the yarn and secure the ends.
-
Attach Lid: Sew the yellow lid onto the top center of the red bag body. Align it centrally and use the tapestry needle to secure it with the long tail.
-
Add Tie: Wrap the Chain-50 strand around the gathered rim of the bag.
-
Finish: Tie the ends of the chain into a neat bow at the front of the bag.
-
Accessory: Attach an optional charm or key ring to the bow or the top of the lid.
Its simple yet elegant design ensures that it’s a wonderful project for beginners while offering room for skilled crocheters to add their personal touch. Creating these lovely bags is as rewarding as the final product itself.
They are quick to make, requiring minimal supplies and time, yet deliver a meaningful and visually appealing outcome. With a "Crochet Lucky Bag Pattern," you’re not just crocheting a pouch, you’re crocheting something that symbolizes good luck and care while showcasing your creativity.
Conclusion
You have successfully crocheted a beautiful Lucky Bag! You combined simple amigurumi shaping with decorative techniques to create a festive accessory that carries well wishes for luck and prosperity.
Tip
Use the Scraps: When you hide the yarn tails inside the bag, do not trim them too short. Leave the tails inside the bag along with the stuffing. This not only makes the ends more secure but also adds a small amount of extra bulk, helping the bag maintain its round, plump shape.