
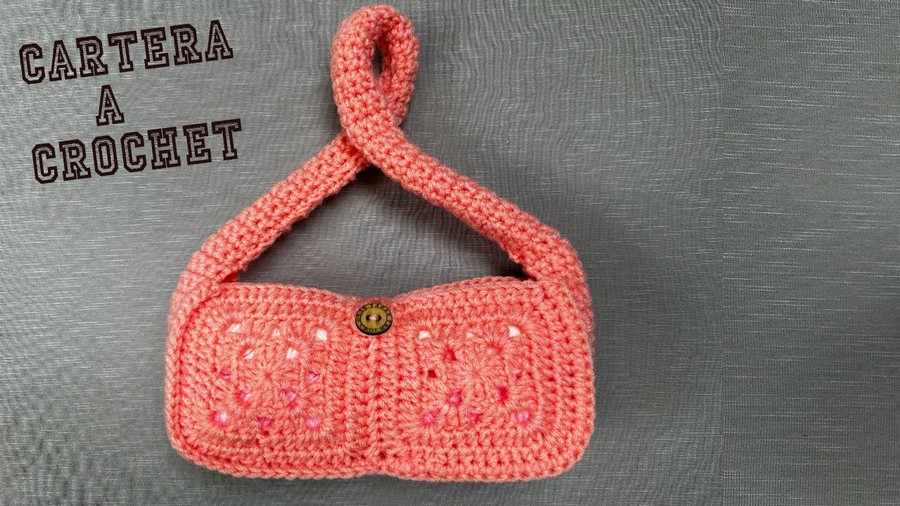
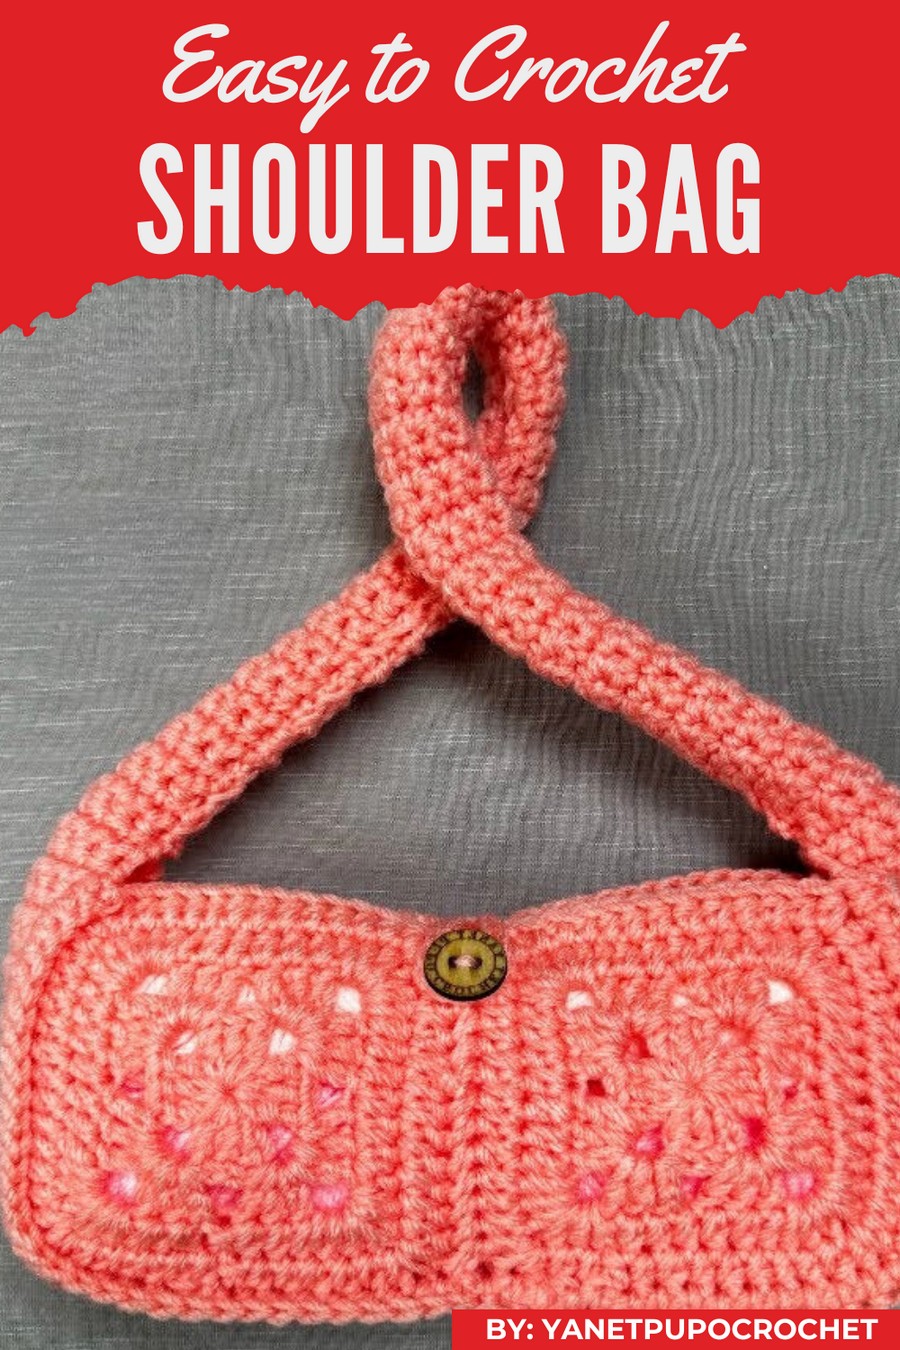
Impress with your own stylish crochet bag, bringing modern designs and classic flair to life, suitable for all occasions and personal styles!
With its delicate texture and intricate design, it combines functionality and charm, making it ideal for carrying essentials while complementing outfits for adults and kids alike. Its versatile finish allows it to suit casual outings, errands, or special occasions, providing a unique touch to your look. The compact size is just right to hold necessary items, ensuring convenience without compromising style. Thoughtfully designed, this bag offers a timeless charm that easily stands out.
Crochet Bag Pattern
Detailed Crochet Purse Pattern
Follow this step-by-step guide to create a versatile crochet bag suitable for adults and girls alike. This detailed tutorial outlines the process of making the bag, including materials, stitch abbreviations, and instructions.
Materials Needed
To complete this crochet bag, you will need the following materials:
- Thick Wool (Number 4): Approximately 85 grams.
- 3.5mm Aluminum Crochet Hook.
- Wool Needle for sewing edges and joining pieces.
- Button (Optional: wooden button for closure).
Abbreviations Used
Here are the key stitches used in this pattern:
- ch – Chain
- dc – Double Crochet
- hdc – Half Double Crochet
- sc – Single Crochet
- sl st – Slip Stitch
Step-by-Step Instructions
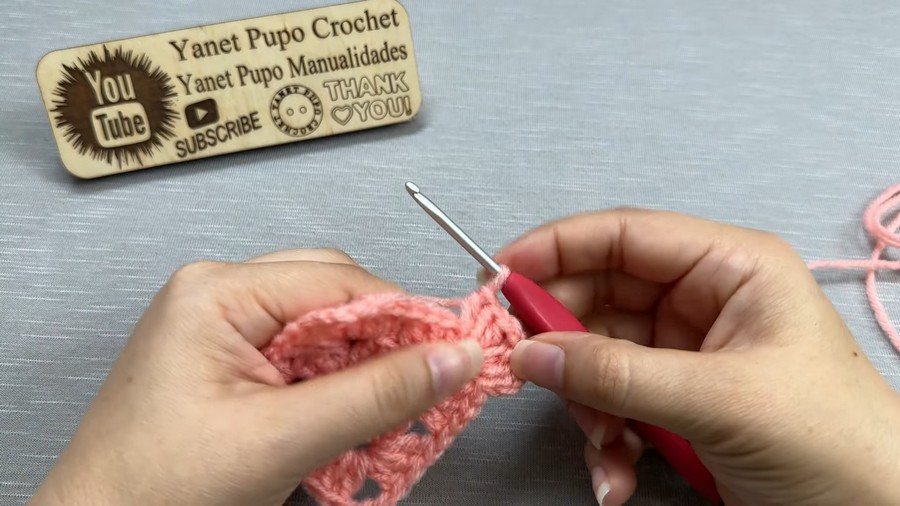
Step 1: Create the Magic Ring and First Round
- Make a magic ring: Place the yarn over your finger, make a knot, and adjust.
- Chain 3 (acts as the first double crochet).
- Make 2 dc, forming a group of three dc.
- Chain 3 to separate each group.
- Repeat the pattern three dc followed by chain 3, until you have 4 groups of three dc, all separated by chain 3.
- Close the center slightly so it doesn’t interfere with your work.
- Finish with chain 3 and join at the first stitch using a slip stitch.
Step 2: Second Round – Four Corners of the Square Base
- Slide your hook to work into the chain space.
- Start by chaining 3 (for the first dc) and then adding 2 dc to form the first group of three dc.
- Chain 3, and in the same space make another group of three dc. This will create the first corner.
- Repeat this sequence (three dc, chain 3, three dc) three more times, creating four corners.
- Finish this round with a sl st to complete the square base.
Step 3: Third Round – Half Double Crochets
- Slide stitch-by-stitch to reach the chain space.
- Chain 2, then make two hdc (half double crochets), forming a group of three hdc.
- Chain 1 to separate, then in the corner space make three more hdc, chain 1, and another three hdc.
- Continue working hdc in each stitch, moving along each chain space until the next corner.
- At the corners, repeat three hdc, chain 1, and three hdc in the same space.
- Join the round by making a slip stitch into the initial chain.
Step 4: Additional Rounds for the Square
- As you continue to make additional rounds, switch to single stitches between chain spaces:
- At corner spaces, work: 1 dc, chain 1, 1 dc.
- Work stitch-by-stitch along the base, ensuring precise rows without skipping stitches.
- Complete four identical squares following this method.
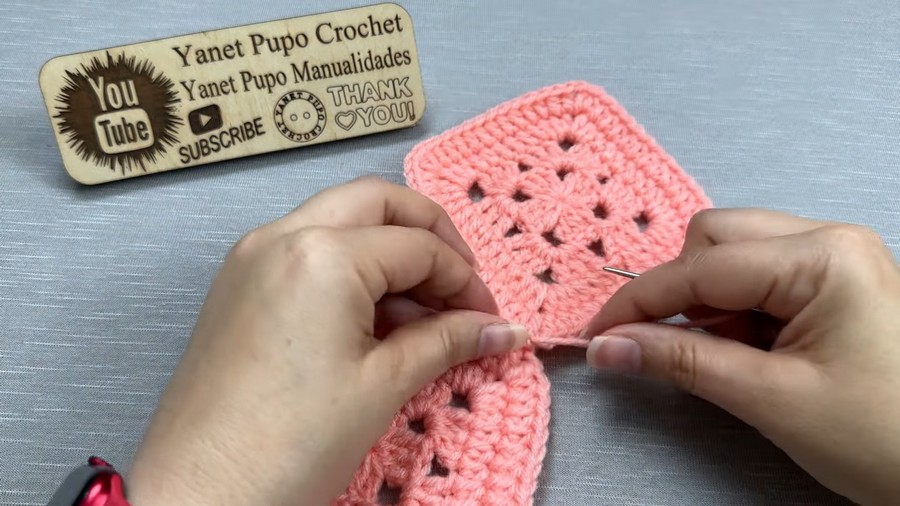
Step 5: Joining the Squares
- Take the wool needle and join two of the squares side by side.
- Use single crochet (sc) to connect one stitch on the first square with its corresponding stitch on the second square.
- Continue this process until the two squares are fully joined.
- Repeat the process to combine the other two squares.
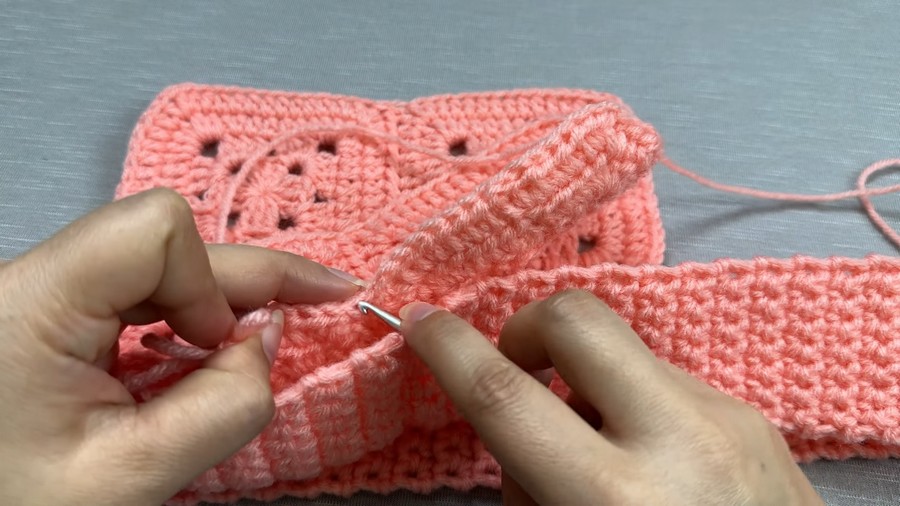
Step 6: Making the Strap
- Begin with 9 chains (you can adjust this width to your preference).
- Work single crochet (sc) into each chain, completing the first row.
- Turn your work and continue working stitch-by-stitch for each row. Always ensure the stitch counts are consistent for straight edges.
- Measure the strap around the bag: the bottom part, sides, and handle length.
- Complete as many rows as required until the strap length is approximately 90 cm.
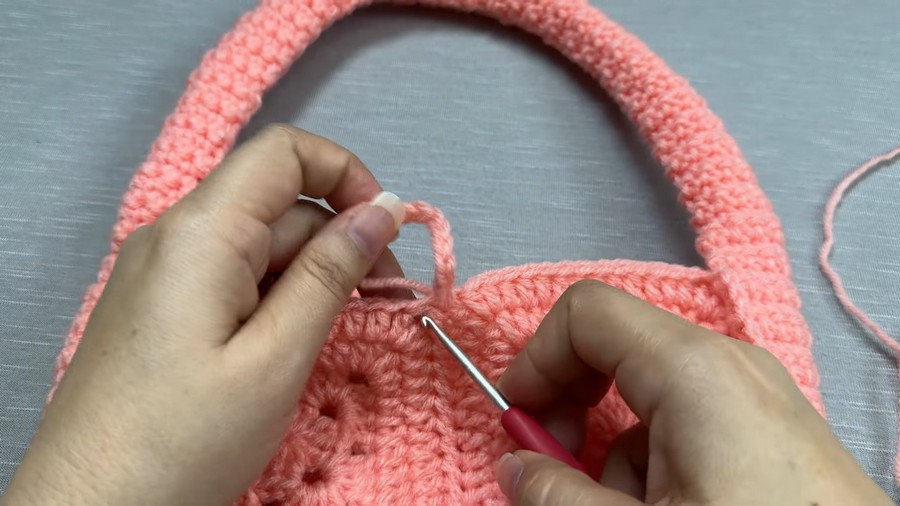
Step 7: Sewing the Strip
- Once the strap is completed, sew it to the edge of the bag.
- Combine one stitch from the strap with one stitch from the bag using single crochet or sewing with a yarn needle.
- Carefully follow the edge of the squares with precise stitching, ensuring both parts are well-connected.
- Tie knots securely at the ends and hide loose threads within adjacent stitches.
Step 8: Adding the Fastener and Button
- Create a chain that will act as the ring for your button closure. Make it long enough to loop around the button.
- Attach the chain securely to the fabric near the top edge.
- Sew the button to the opposite side, ensuring it aligns with the chain.
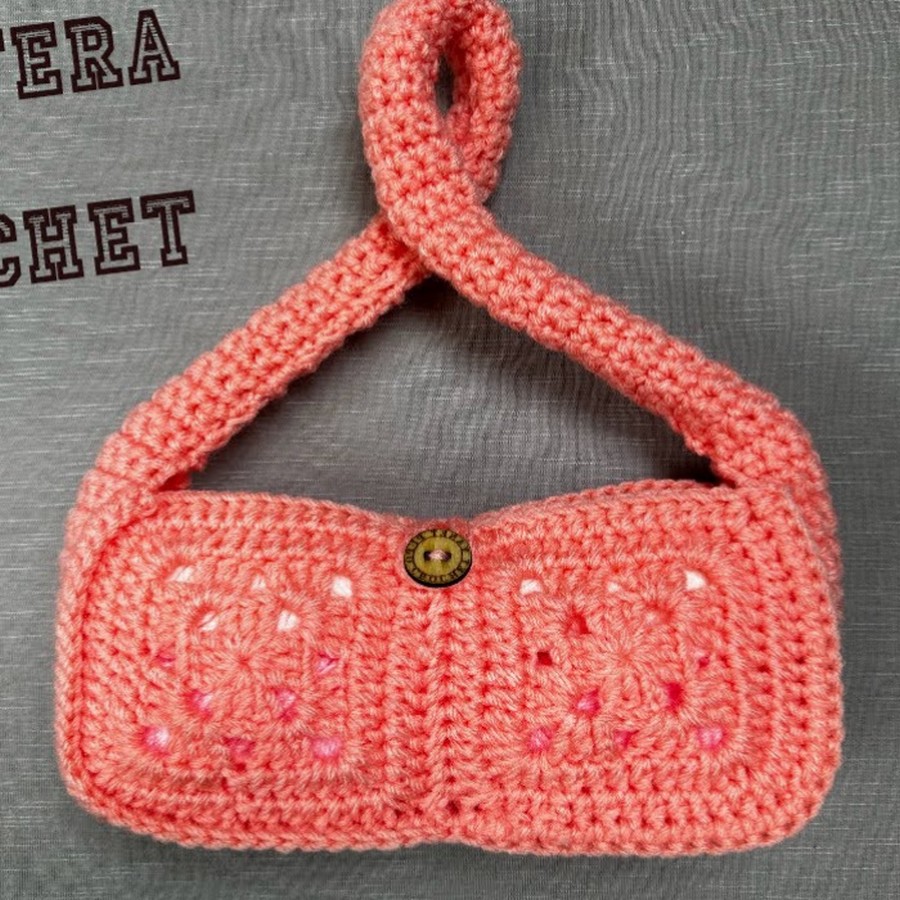
Conclusion
Your beautiful crochet bag is now complete! With its compact and functional design, it’s a perfect accessory that can be styled for various occasions. Whether you use it yourself or gift it to someone special, this handmade accessory will always stand out.



