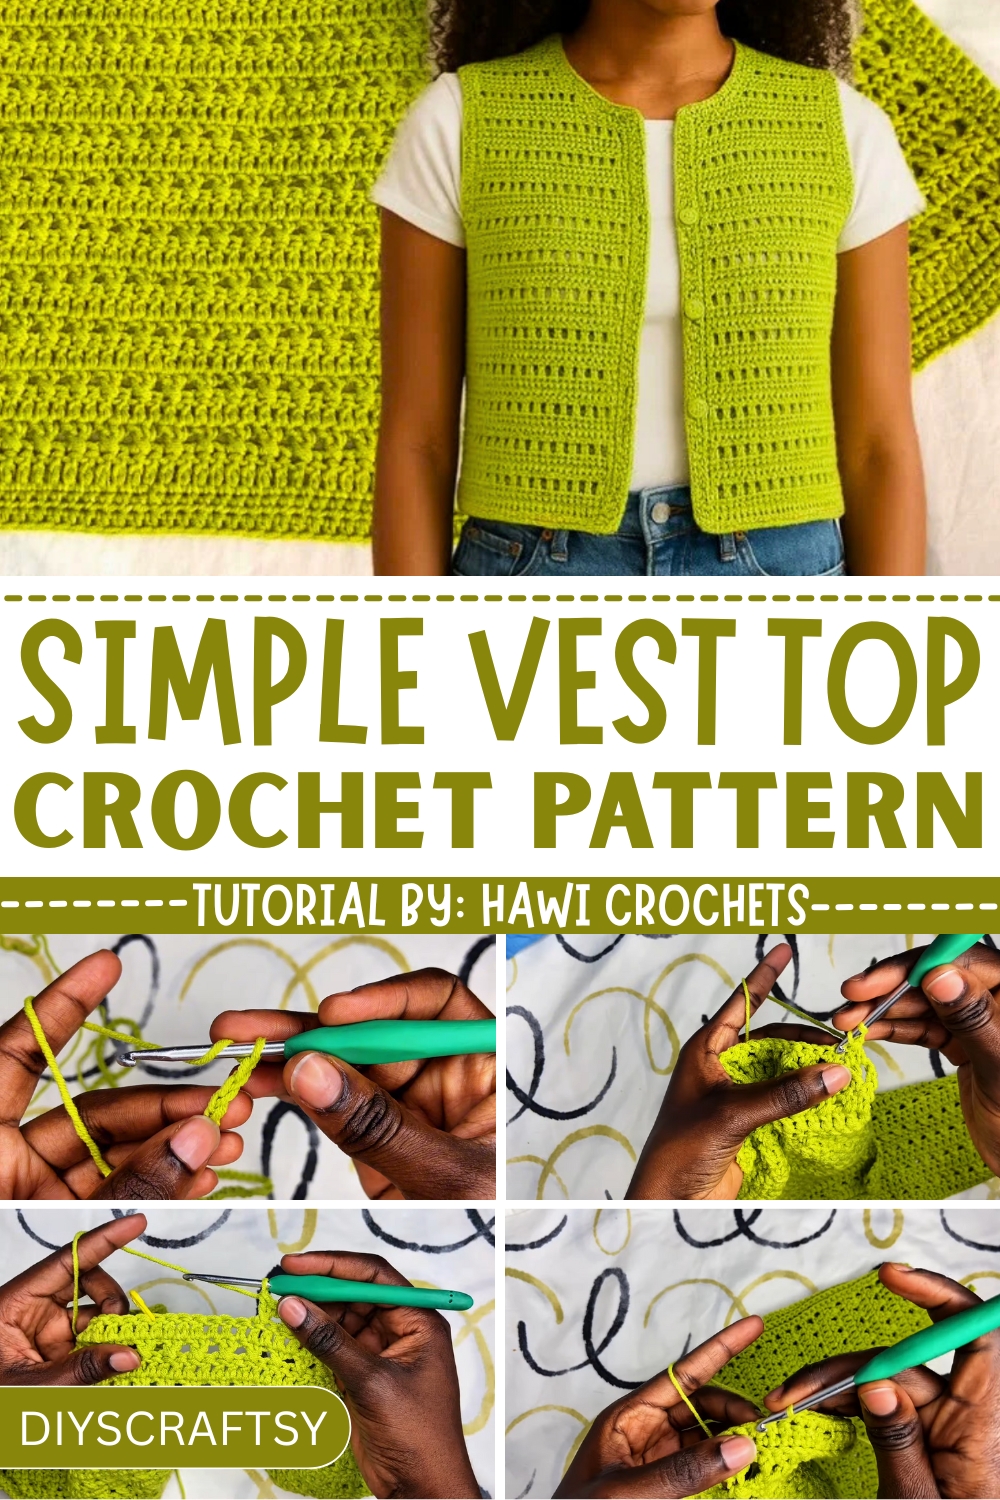
Spruce up your style with a fun crochet vest top pattern that's playful, chic, and perfect for layering your way to fashionably cool vibes.
Once reserved for bohemian wardrobes, crochet vest top has found its place in modern fashion, bridging the gap between timeless artistry and everyday practicality. Picture a breezy summer day where layering feels cumbersome, this versatile garment effortlessly steps in, offering breathable comfort and style. Lightweight yet surprisingly durable, the intricate handwork showcases the limitless possibilities of combining texture and pattern for a statement piece that feels special in every stitch. With options to pair it over a dress or a blouse, or simply layer with contrasting materials, the vest serves its wearer on multiple occasions, whether casual outings or semi-formal events.
Best Crochet Vest Top Pattern to Stay On-Trend
Its uses extend far beyond aesthetics; the crochet vest top is a sustainable treasure, often hand-made and contributing to slow fashion movements. It brings warmth without weight during transitional weather while transforming even the simplest outfits into eye-catching ensembles.
The beauty lies not only in its adaptability but also in its personal touch; many seek the joy of customizing these garments, infusing them with colors and details that resonate deeply with their individuality. It’s more than a garment it’s an opportunity to celebrate heritage, creativity, and practicality while contributing to a style that is enduringly chic.

Step-by-Step Guide for Crocheting a Cropped Vest
Level of Difficulty
- Difficulty Level: Beginner to Intermediate
The tutorial is beginner-friendly as it predominantly uses simple stitches (double crochet and crossed double crochet). However, intermediate-level skills may be helpful for tasks such as shaping, decreasing, and ensuring symmetry.
Materials Needed
- Yarn: Milk Cotton Yarn (Color #62 was used in the video).
- The texture of the yarn should be lightweight and slightly stretchy for flow and comfort.
- Hook: A 4.5 mm crochet hook (larger than the yarn's recommended size) to create a flowy and breathable fabric.
- Measuring Tape: Used to determine sizing and fit.
- Stitch Markers: Essential for segmenting the panels and marking decreases.
- Scissors: For neatening loose ends.
- Buttons: Suitable for fastening the vest (4 medium-sized buttons recommended).
Special Features of the Vest
- One-Piece Design: The vest is crafted as a single panel to avoid joining multiple parts, simplifying the process.
- Custom Sizing: The vest can be tailored to various sizes by adjusting the number of chains and rows based on individual body measurements.
- Repeated Row Pattern: The tutorial employs a simple two-row repeat (double crochet and crossed double crochet) for ease.
- Adjustable Length: The vest can be made cropped or extended to waist-length based on user preference.
- Shaped Neckline: Includes simple decreases to create a curved neckline for a polished and professional look.
Tutor's Suggestions and Tips
- Sizing:
- The tutorial suggests measuring the desired bust size, subtracting 4 inches, and using that measurement for the foundation chain. Always ensure that the number of chains is even.
- For extra-small or small sizes, follow the rows demonstrated in the video. Add 5-10 rows for medium and larger sizes to suit your desired length.
- Testing Fit: Consistently try the vest on as you work to ensure the best fit and make adjustments as needed.
- Hook Size: The tutor recommends using a hook 1 mm larger than the yarn's recommendation for a relaxed, flowy look.
Step Step By Detail
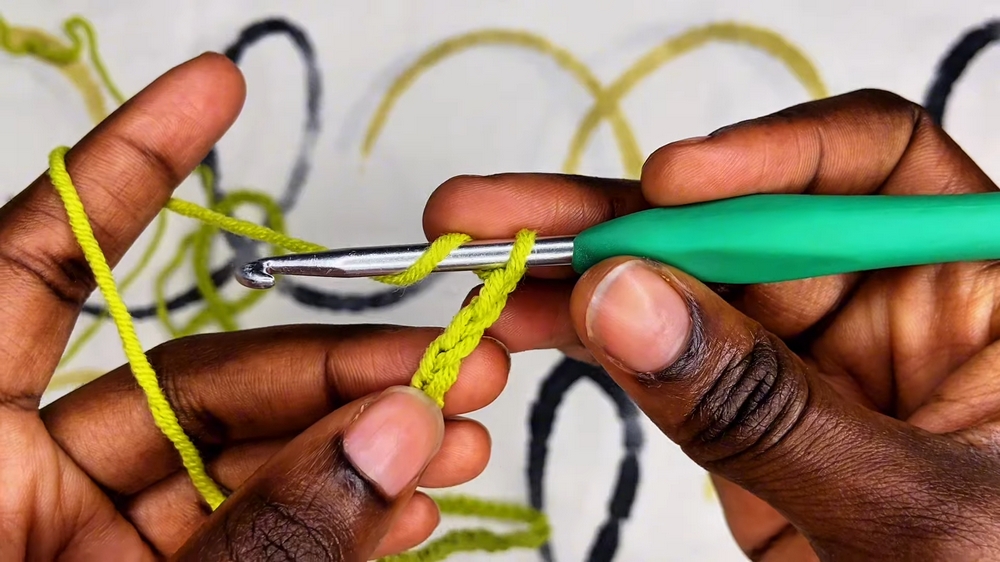
Step 1: Create the Foundation Chain
- Measure your bust size and subtract 4 inches to calculate the width of the foundation chain.
- Chain until the length matches your adjusted measurement (e.g., 30 inches for a 34-inch bust measurement), ensuring an even number of stitches.
- Begin the first row with a chain three (counts as the first stitch).
Step 2: Row 1 - Double Crochet Row
- Skip the first four stitches (chain three counts as a stitch).
- Work double crochet (DC) into each stitch across the foundation chain.
- Ensure the total number of stitches equals the foundation chain minus one.
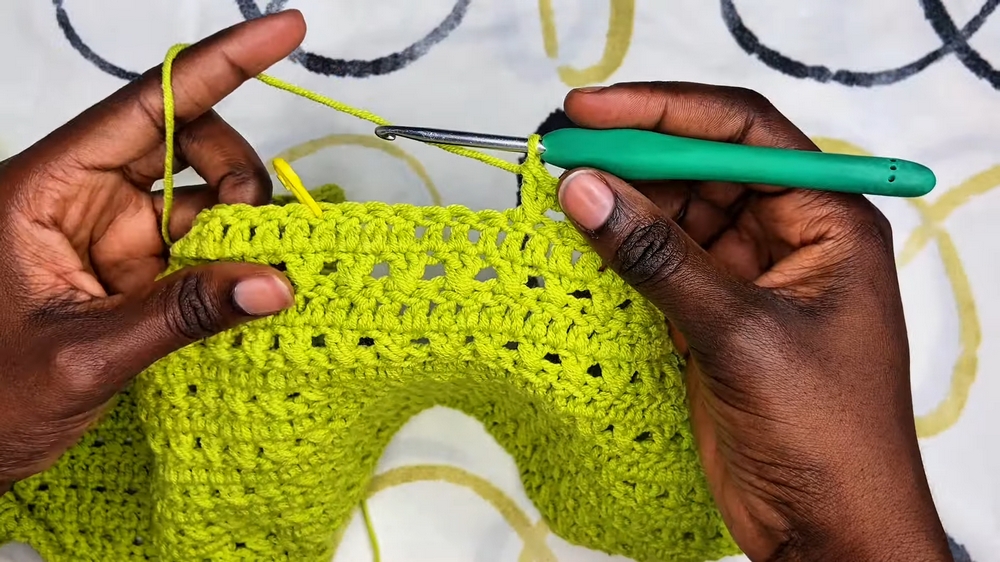
Step 3: Row 2 - Crossed Double Crochet Row
- Chain three and turn.
- Skip the first stitch and work a double crochet into the next stitch.
- Return to the skipped stitch and work a double crochet into it. This creates the crossed double crochet.
- Repeat the crossed double crochet pattern across the row.
Step 4: Repeat Rows
- Alternate between Row 1 (DC) and Row 2 (crossed DC) until the vest reaches the desired height.
- For the cropped length, aim for 15 rows. Add more rows for a longer style.
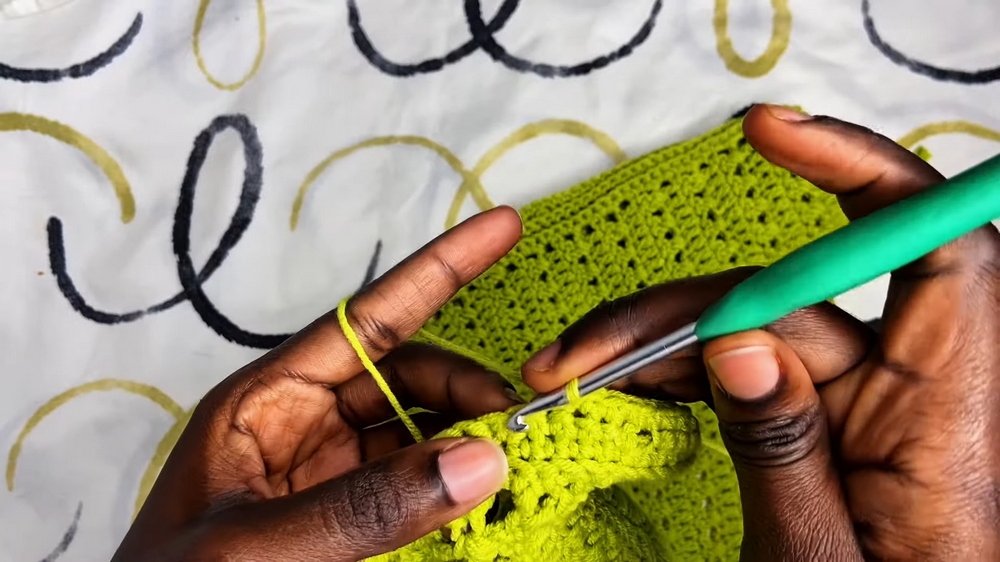
Step 5: Divide the Panels
- Mark the vest into three sections: two smaller front panels and one larger back panel.
- Divide the total number of stitches in half for the back panel.
- Then, split the remaining stitches evenly for the two front panels.
- Place stitch markers to separate the sections.

Step 6: Shape the Front Panels
- Work each front panel individually, leaving spaces for the neckline and armholes.
- Use decreases (double crochet two together) at the edges to shape the curved neckline.
Step 7: Work the Back Panel
- Work evenly for the back panel with no decreases to maintain a straight edge.
- Maintain symmetry with the front panels by matching the total number of rows.
Step 8: Assemble the Vest
- Join the front panels to the back panel using slip stitches or your preferred method.
- Leave space at the sides for the armholes.
Step 9: Add the Edges
- Sleeve Edges: Work three rows of single crochet around each armhole for a neat border.
- Front Edges:
- On the left edge, crochet four rows of single crochet without buttonholes.
- On the right edge, add buttonholes by skipping one stitch (chain one) every 13 stitches during Row 3.
- Neckline: Crochet four rows of single crochet for a polished neckline finish.
- Bottom Edge: Add three rows of single crochet to the hem for extra structure.
Uses of the Vest
- Layering Piece: Perfect for layering over t-shirts, blouses, or dresses for a casual or chic look.
- Summer or Spring Wear: The lightweight texture and sleeveless design make it ideal for warm weather.
- Customizable Gift: A thoughtful handmade gift that can be tailored to fit any recipient.
Tip for Success
- Stay Consistent: Consistency in stitch tension is key to achieving a neat and even look. Use stitch markers liberally and periodically count your stitches to prevent errors.
Conclusion
With its simple design and versatile styling options, this crochet cropped vest is a fun and rewarding project for all skill levels. Whether you prefer it fitted or flowy, short or long, the vest's adaptability makes it a staple addition to your handmade wardrobe.


