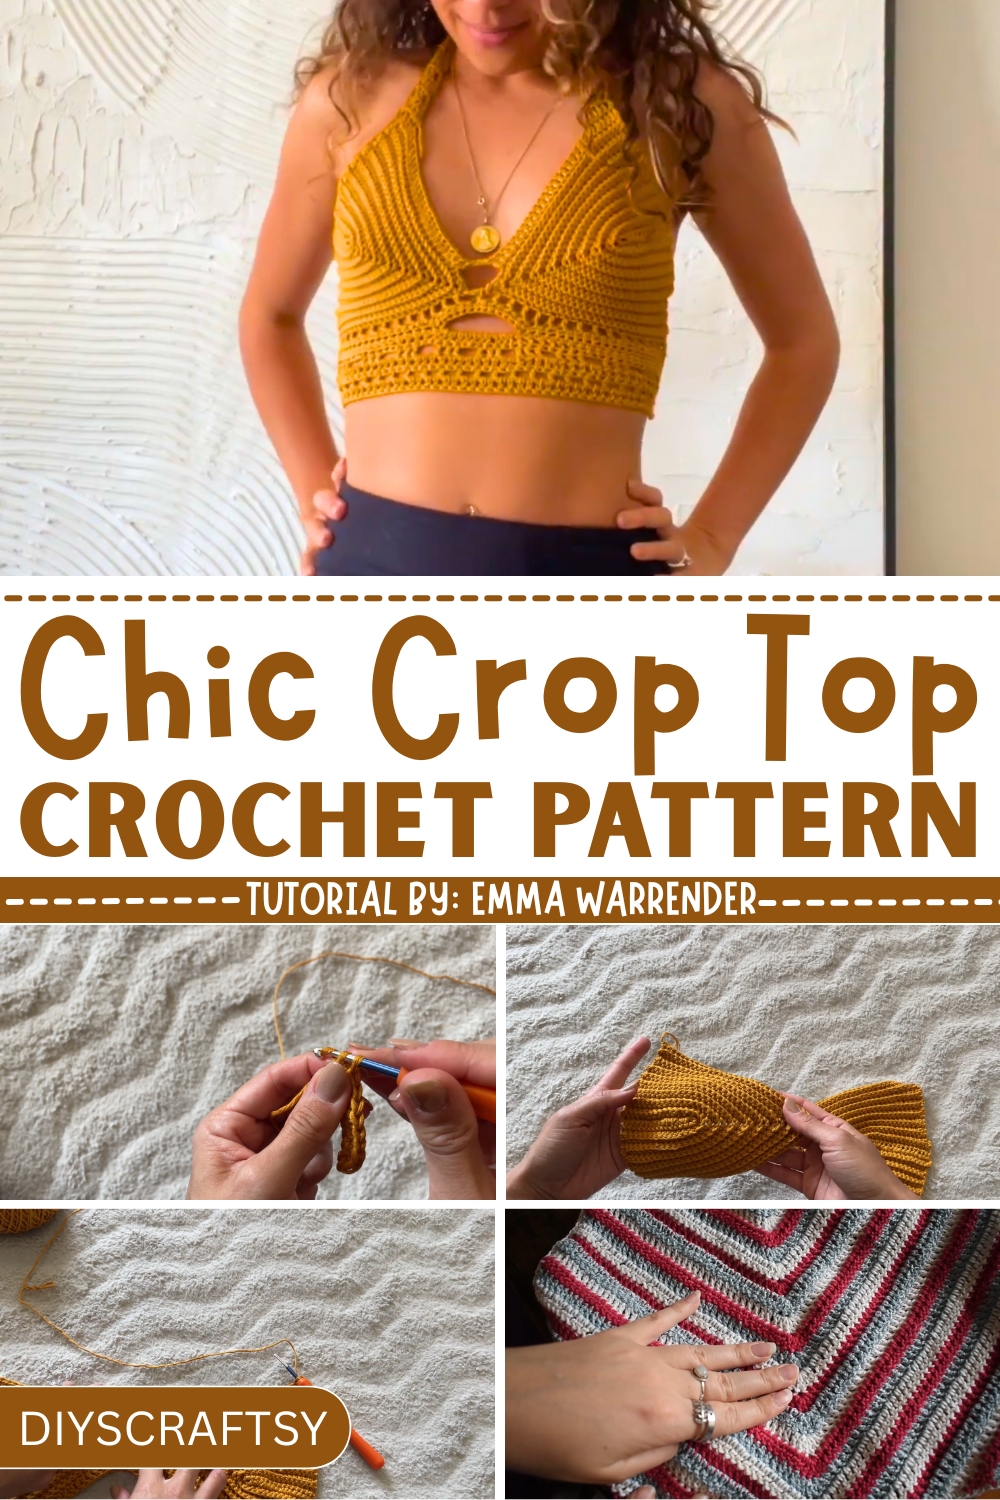
Stitch your way to effortless style with this Crochet Crop Top Pattern, blending charm, creativity, and versatility for every occasion.
A single thread has the power to transform fabric into art, telling stories and capturing moments in its delicate loops. Crochet crop tops embody this magic, merging the centuries-old crochet with modern fashion to create something truly captivating. These charming wardrobe staples go beyond just clothing they symbolize creativity, sustainability, and a connection to artisan heritage. Light enough for warm summer days but endlessly versatile, they pair beautifully with jeans, skirts, or layered ensembles, making them a perfect choice for both casual outings and chic evenings.
Best Crochet Crop Top Pattern You Can Make Easily
Their benefits stretch far beyond their aesthetic appeal. Handcrafted crochet pieces often support skilled artisans, encouraging thoughtful and ethical fashion. The breathable texture of crochet makes these tops practical for warmer climates while ensuring comfort without compromise. Every stitch holds a unique character, offering wearers the joy of owning something personal and authentic.
From the intricate details to the hours of passionate craftsmanship behind each piece, these crop tops invite wearers to embrace individuality and timeless elegance. Whether dressing for a beach day or accessorizing for brunch, their rich combination of style and substance leaves an impression that lingers, making them more than just garments they’re wearable art steeped in tradition and charm.

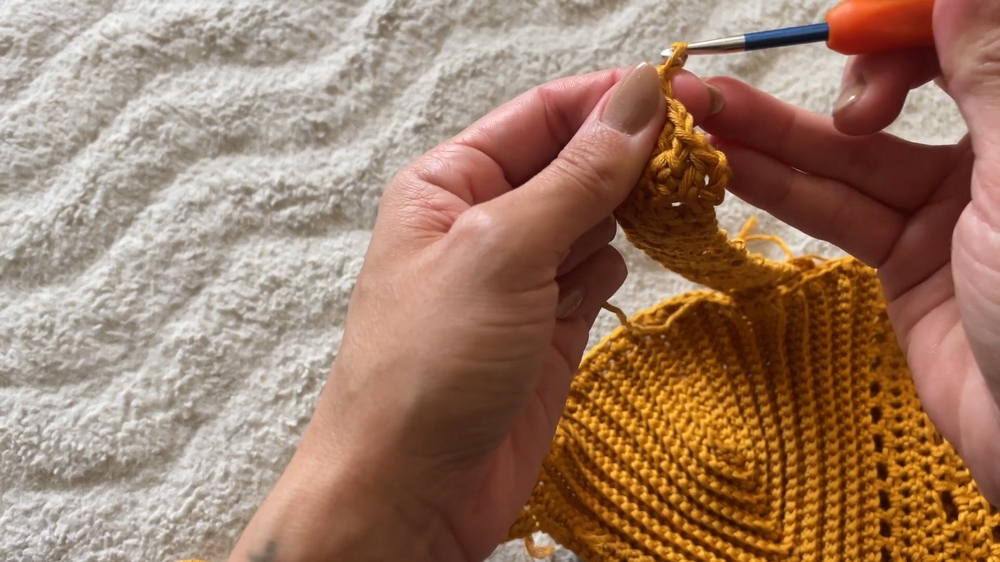
Step-by-Step Guide: Transforming the Sweetheart Crop Top into a Halter Top
1. Materials Needed
To complete this project, you will need:
- The base pattern for the "Sweetheart Crop Top" (available in her first video)
- 4.5mm crochet hook
- Yarn of your choice
- A pair of scissors
- Stitch markers
- Buttons (customizable based on your design)
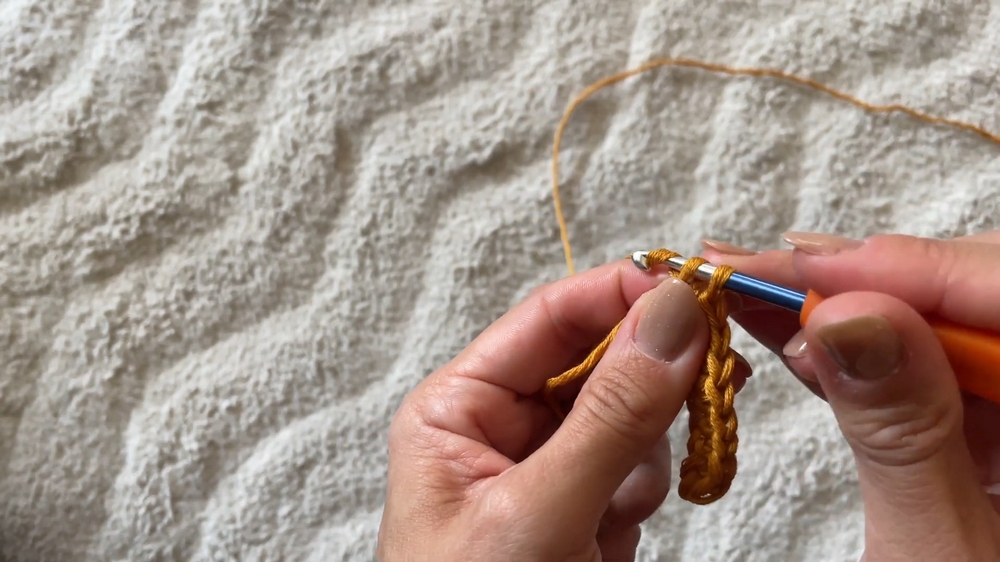
2. Starting the Halter Strap
- Prepare the Base:
- Place stitch markers just past the peak of each breast cup to ensure symmetrical alignment.
- Begin the First Row:
- Create a slip knot and insert your hook.
- Attach the yarn to the first marker and chain 4 (counts as the first double crochet and chain 1).
- Yarn over, skip a stitch, and place a double crochet, chaining 1 afterward. Continue this pattern until 5 stitches remain.
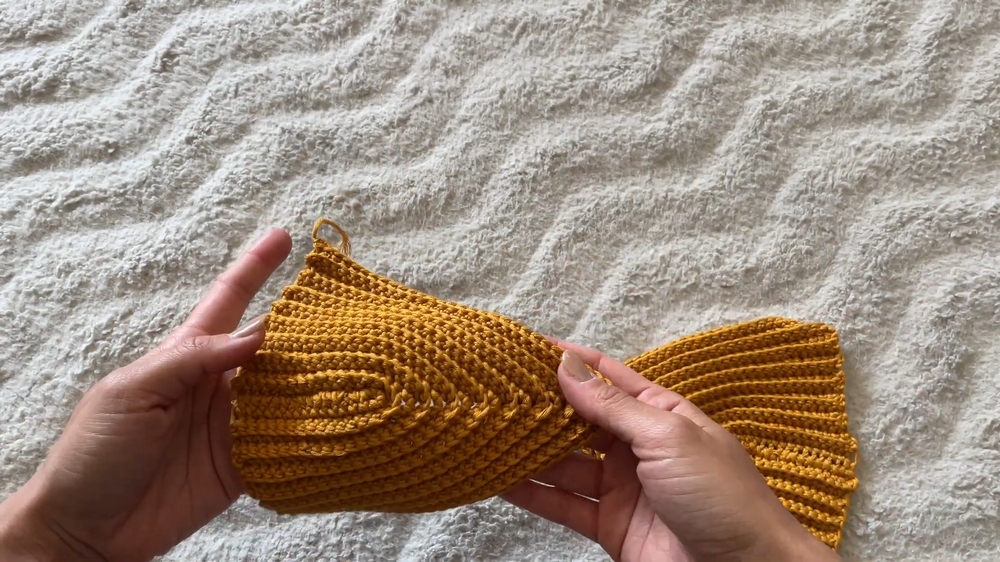
- Connecting the Cups:
- Leave 5 stitches free on both cups to ensure alignment.
- Chain 2, then place a double crochet in the 6th stitch of the second cup.
- Resume the double crochet-chain 1 pattern until reaching the second marker.
3. Working on Subsequent Rows
- Second Row:
- Chain 3, turn your work. Add double crochet into the chain spaces from the previous row. At the center (where the cups were connected), chain 2 before continuing double crochet-chain 1 across the row.
- Third Row:
- Make this a decrease row using half-double crochet. Chain 2, then decrease across the first two chain spaces.
- Work half-double crochet and chain 1 across the row until reaching the center. Chain 2 at the center, then continue the pattern.
- Decrease again at the last two chain spaces of the row.
- Fourth Row:
- Repeat the steps in the third row, but only chain 1 at the center instead of 2.
- Fifth Row:
- Do not chain at all between half-double crochets. Add equal tension and keep the structure snug.
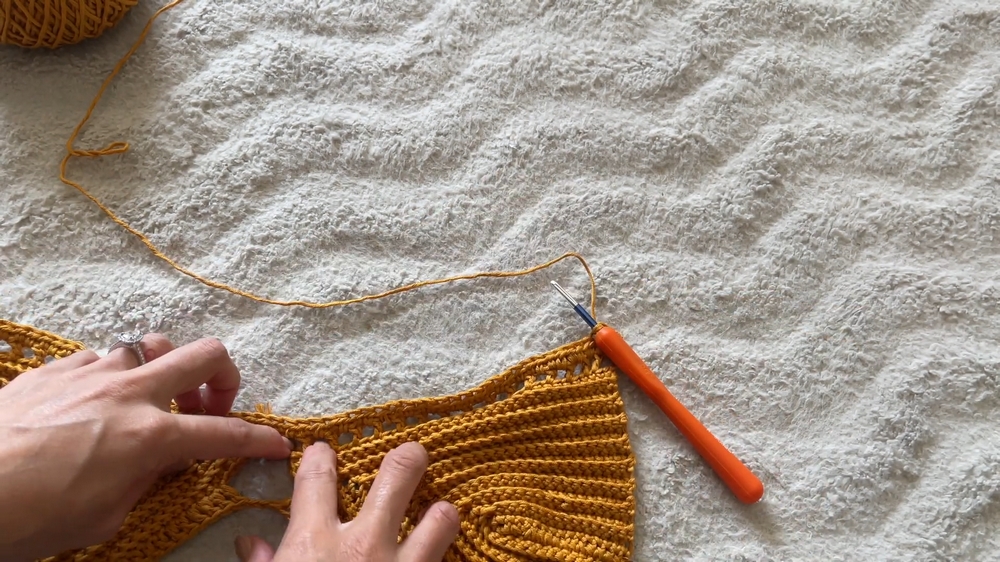
4. Adding Finishing Rows
- Single Crochet Rows:
- Chain 1 and create 3 rows of single crochet for stability and a clean edge.
- Button Bands:
- Begin a new row with an alternating half-double crochet and chain 1 pattern to create buttonholes.
- Repeat this step for 3 rows, customizing the chain length for each buttonhole based on the size of the buttons.
- Final Adjustments:
- Attach buttons and weave in any loose yarn ends for a polished finish.
5. Creating the Neck Strap
- Chain 25 stitches to create the start of the strap.
- Single crochet across the top row, stopping where the strap base begins.
- To complete the strap, chain 26 stitches and single crochet rows for added durability.
- Include buttonholes at the end of the row to secure the strap to the main body.
Additional Information
Special Features
- Customizable buttonholes for different button sizes.
- Stable halter strap design ensures a secure fit.
- Clean finish with single crochet rows for added durability.
Level of Difficulty
- Beginner-Friendly: Straightforward stitching patterns with clear instructions.
- Intermediate: Some reduction (decrease) rows may require extra attention and precision.
Tutor’s Suggestions
- Ensure both cups have the same number of stitches for symmetry.
- Adjust the buttonholes depending on the size of your buttons, increasing or decreasing chains as needed.
- Take your time with decreases to maintain clean, professional stitches.
Uses
- Ideal as a light and trendy summer top.
- Styled with skirts, jeans, or shorts for versatile outfits.
- Can be customized with different colors or yarn textures to suit different occasions.
Crochet Tip
When working on connecting the cups, make sure the tension is consistent. This helps achieve a neat and uniform transition between the two sections, preventing uneven stretching.
Conclusion
Transforming the "Sweetheart Crop Top" into a halter top adds a fresh and trendy variation to an already fabulous design. With easy-to-follow steps and ample customization options, this project caters to crocheters of all skill levels. Once complete, you'll have a stylish and functional summer essential that speaks volumes about your creativity.


