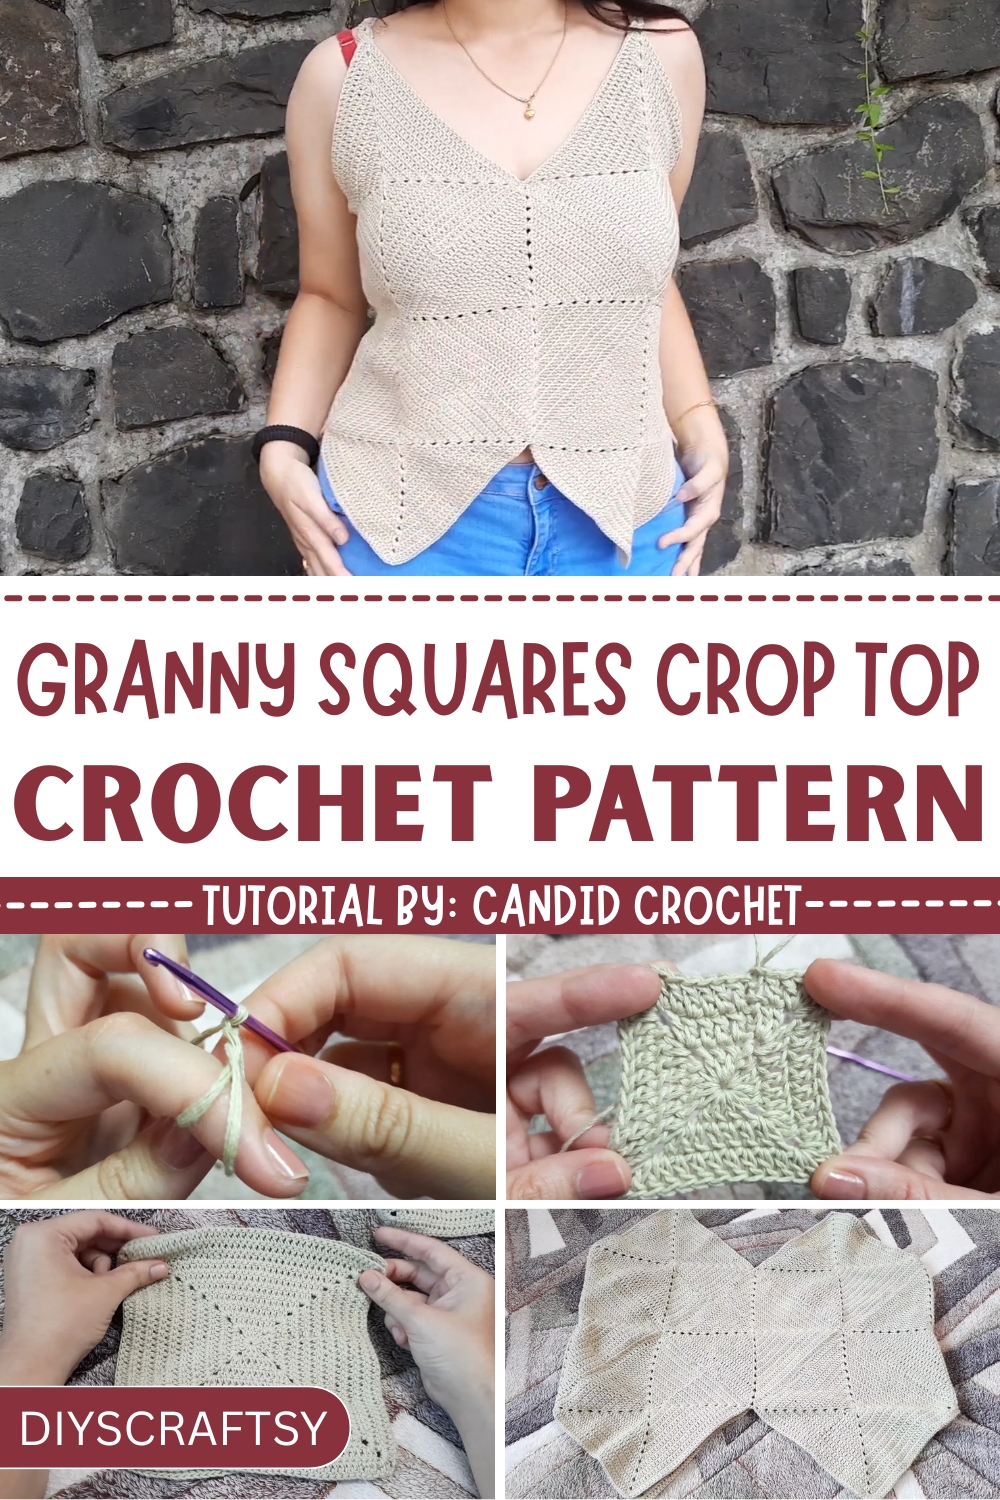
Connect your creative spark to standout style with this Crochet Granny Square Crop Top Pattern because vintage chic deserves a playful twist.
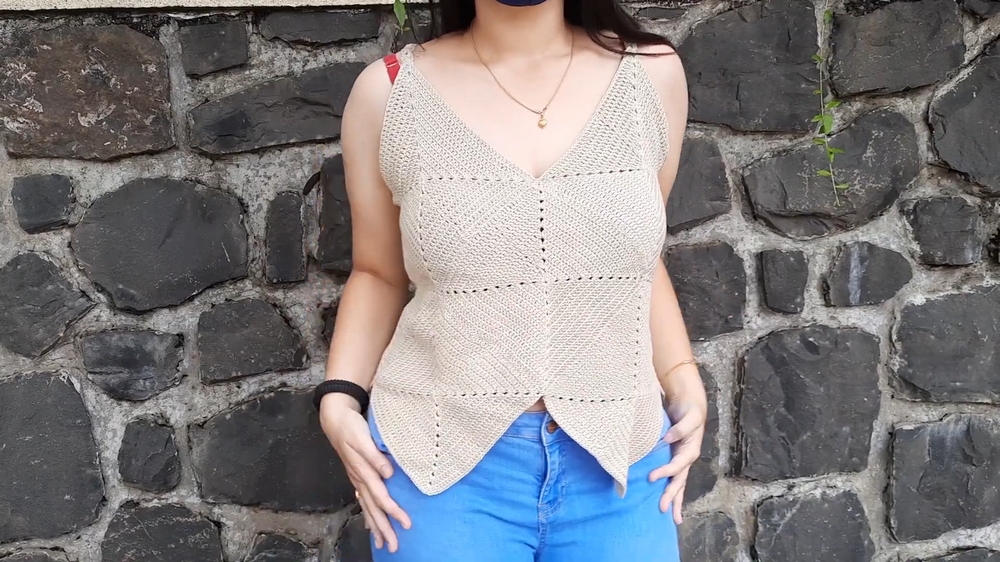
Crochet has long been a treasured craft, combining beauty with tradition, and the granny square crop top brings this timeless art into the world of modern fashion. With its delicate geometric patterns and rich textures, this top exudes effortless charm while offering a touch of individuality. Its versatility makes it a standout piece, perfect for casual outings, cozy gatherings, or even an evening with a hint of bohemian elegance.
How to Crochet Granny Square Crop Top for a Unique Look
The process of making it is just as rewarding as the final piece—an opportunity to slow down, unwind, and create something meaningful by hand. In addition to its style and comfort, this garment aligns with sustainable living, using carefully chosen materials and reducing waste through thoughtful handiwork. Wearing or gifting such a top reflects not just an appreciation for creativity, but also a love for meaningful, handcrafted pieces.
Each stitch tells a story, blending tradition and modern design to create something stylish, personal, and full of character. The granny square crop top isn’t just a fashion statement it’s a reflection of care, artistry, and individuality brought to life in the simplest and most beautiful way.
Here’s a structured summary based on the provided video content:
How to Make a Solid Granny Square Top
Introduction
In this tutorial, you will learn the step-by-step process of creating a stylish Solid Granny Square Top, a crochet project ideal for beginners and intermediates alike. This top design is created using solid granny squares, involving simple stitches that are easy to follow. Whether you're looking for a creative outfit or a chance to hone your crochet skills, this project has you covered.
Materials Needed
- Yarn: Any yarn of your choice; the video recommends 100% cotton yarn for its softness and durability.
- Hook: A 3 mm crochet hook is used in this tutorial.
- Needle: For sewing the granny squares together.
- Scissors: To trim yarn ends.
- Tape Measure: To determine the required width and strap length.
- Optional: Stitch markers for organizing rows.
Special Features
- Solid Granny Squares: This project creates squares with no gaps between stitches, resulting in a sturdy and seamless look.
- Invisible Stitch for Joining Squares: Provides a clean and flawless finish without visible seams.
- Handcrafted Cord Straps: Decorative straps are created using cluster stitches for added uniqueness.
- Customizable Size: The size of the top can be adjusted based on your preference.
Step-by-Step Guide
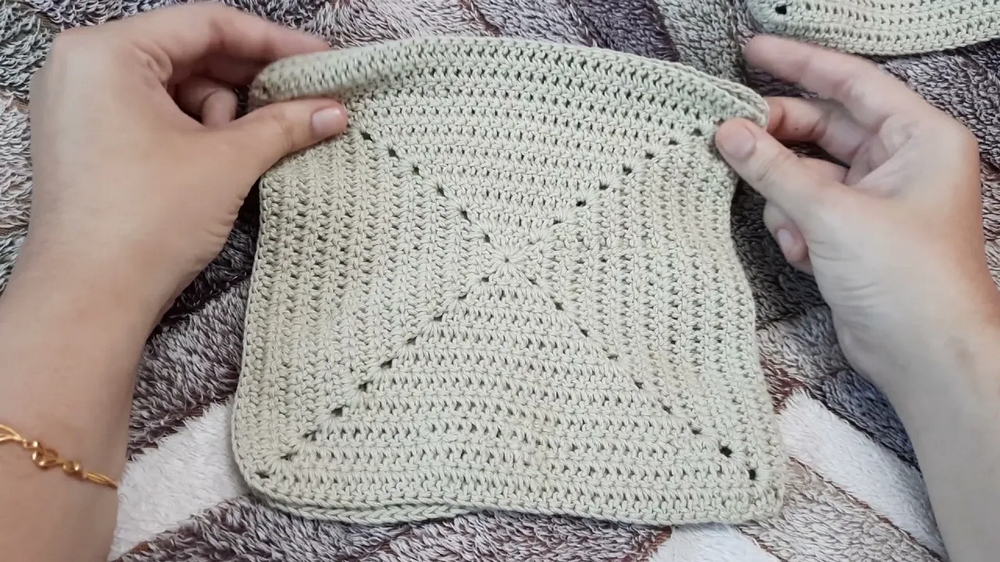
1. Making a Solid Granny Square
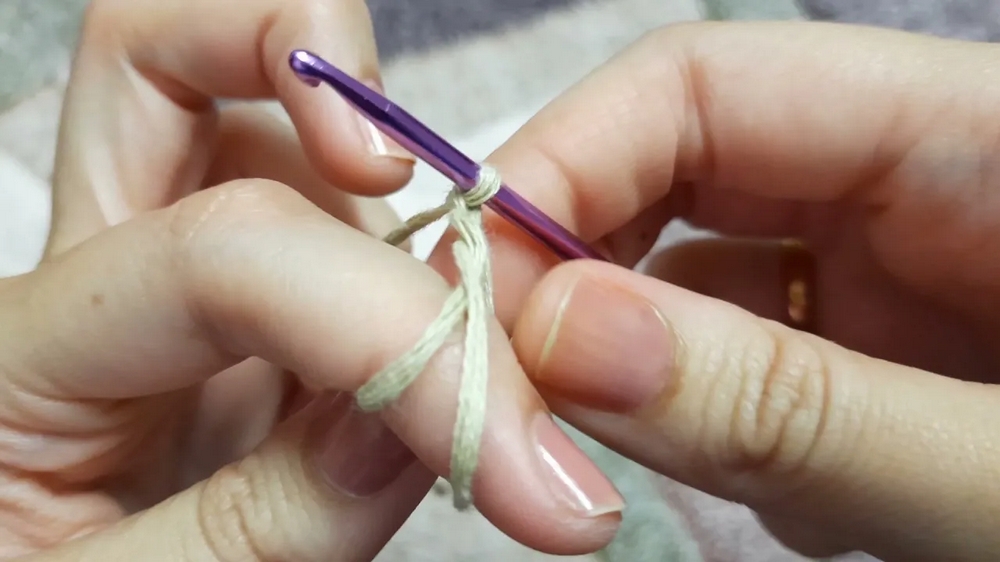
- Magic Ring:
- Start by making a magic ring.
- Foundation Chain:
- Chain 3 within the magic ring. This counts as your first double crochet.
- First Cluster:
- Create a cluster of 4 double crochets within the ring. Follow the tutorial instructions carefully for stitch placement.
- Pull the yarn tail to tighten the ring.
- Corners:
- Chain 2 to form a corner, then work another cluster in the ring. Repeat until you have 4 clusters and 4 corners.
- Finish Row 1:
- Close the circle with a slip stitch at the topmost chain of the initial chain-3.
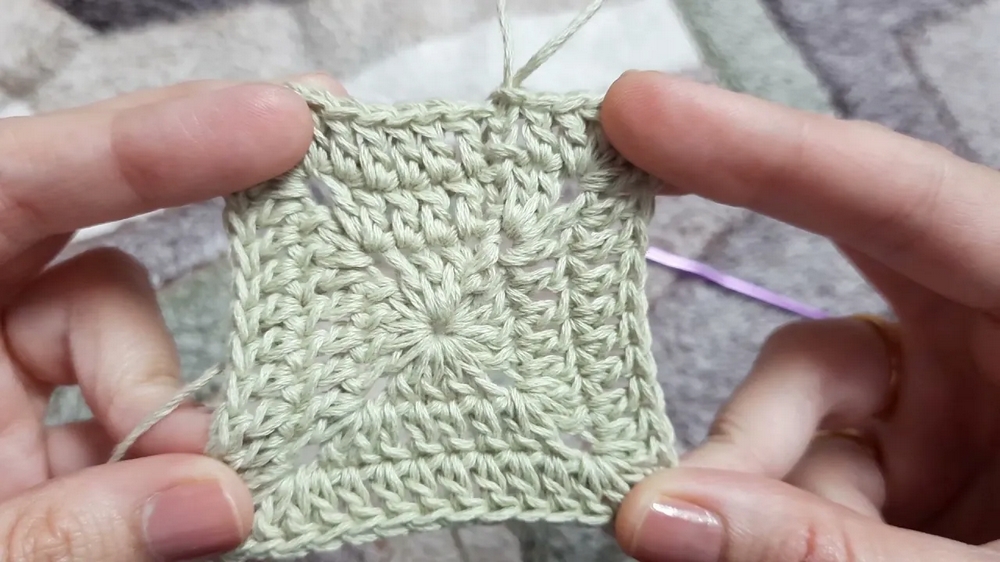
2. Expanding Granny Square
- For Row 2, chain 3 (as the first double crochet), work double crochets on top of existing stitches, and form corners using 2 double crochets, chain 2, and 2 double crochets.
- Continue expanding with additional rows until you achieve the desired size. The creator explains that the square's diagonal measurement will help determine the top’s width.
3. Making 12 Granny Squares
- Create a total of 12 granny squares following the same method. Ensure uniform size and tension for all squares.
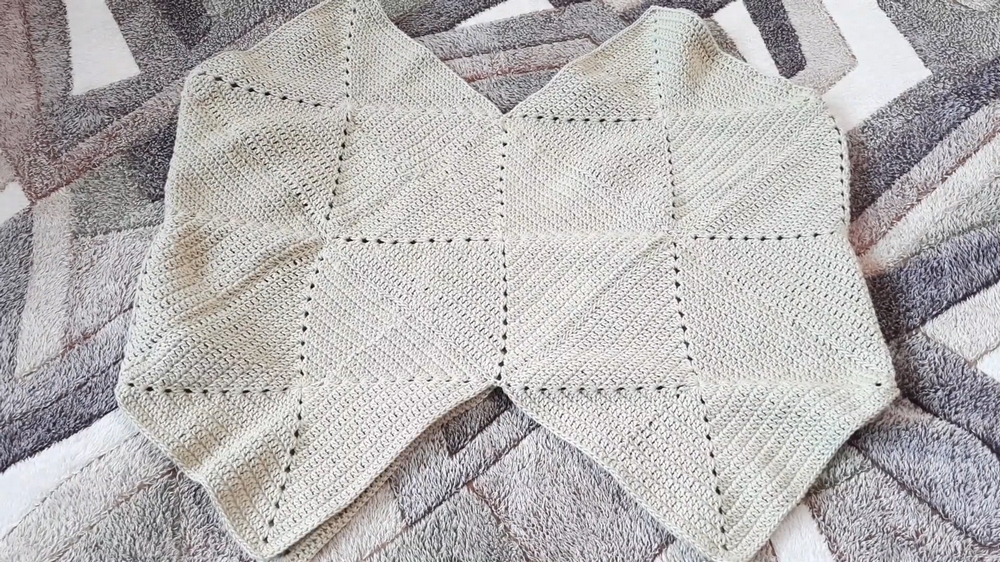
4. Joining the Granny Squares
- Layout:
- Use the provided diagram or arrange your squares in a 3x4 grid for proper alignment.
- Invisible Stitch:
- Place two squares right sides together and sew the edges using invisible stitches. This ensures no visible seams and a polished finish.
- Final Assembly:
- Join the squares according to the diagram, with special attention to attaching the center square.
5. Creating the Straps
- Cord with Cluster Stitches:
- Make a slip knot and chain 5. Form a tiny ring and work cluster stitches by pulling loops to the height of double crochets.
- Continue making clusters in spaces between previous stitches to lengthen the cord.
- Custom Length:
- Adjust the strap length based on your preference (e.g., 9 inches as shown in the video).
6. Attaching Straps
- Sew the straps inside the top’s edges, ensuring stability while maintaining a clean finish.
Uses
- Casual Wear: Perfect for summer or layering with other garments.
- Custom Gifts: A thoughtful handmade gift.
- Skill Development: Ideal for building crochet techniques like cluster stitches, invisible seaming, and solid granny squares.
Level of Difficulty
- Beginner to Intermediate: While the basic stitches are beginner-friendly, attention to pattern details and precise joining requires some experience.
Tutor’s Suggestions
- Magic Ring Alternative: If you struggle with the magic ring, use a standard chain to begin your project.
- Customization: Adjust granny square size and top width for a tailored fit.
- Seam Preference: Although invisible stitch is recommended, you can use other methods like slip stitching if preferred.
Tip
To ensure uniform-sized granny squares, measure your squares periodically and aim for consistent tension while crocheting.
Conclusion
The Solid Granny Square Top is a versatile and fashionable crochet project designed for creativity and customization. From the durable granny squares to decorative cord straps, each step offers new challenges and opportunities for growth. Whether for yourself or as a gift, this handmade crochet is sure to delight both beginners and seasoned crocheters.


