
Learn Crochet Stitch Amigurumi Pattern to create adorable mini characters that add charm and fun to gifts home decor and playful collections with ease.
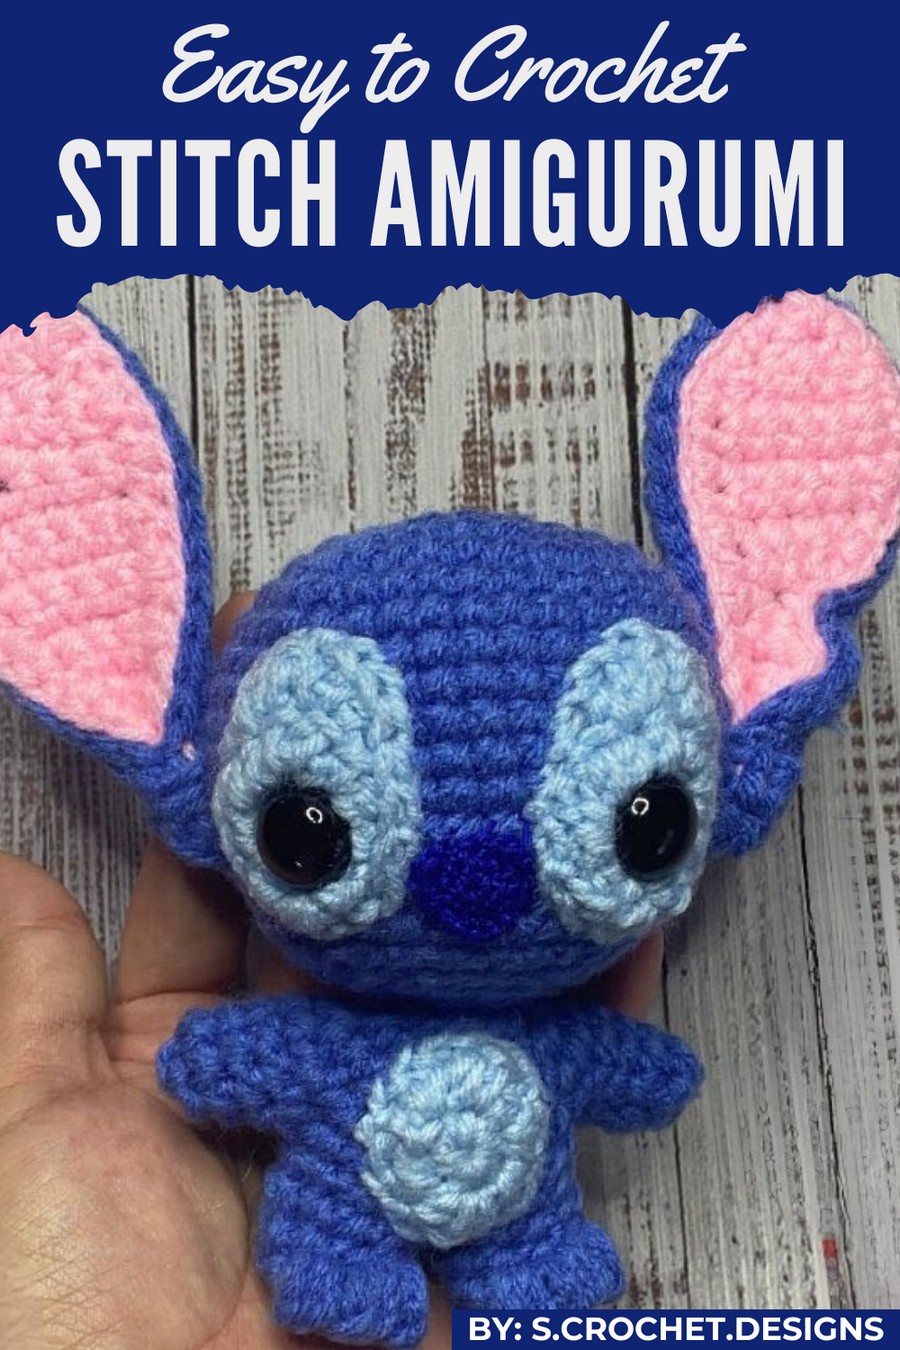
A handmade creation can bring joy and creativity into everyday life. Using soft yarn and simple stitches, you can crochet an adorable figure like a small animal or playful doll. The beauty of this lies in its uniqueness—each piece is customizable with vibrant colors and personal touches, making it perfect for gifts, decorations, or special keepsakes.
Easy Crochet Stitch Amigurumi Pattern You Can Use for Holidays
The intricate textures and charming details add character to every design, giving them a heartwarming appeal. Whether you’re a beginner or experienced crafter, following this process is both enjoyable and rewarding, allowing you to create something memorable and full of personality.
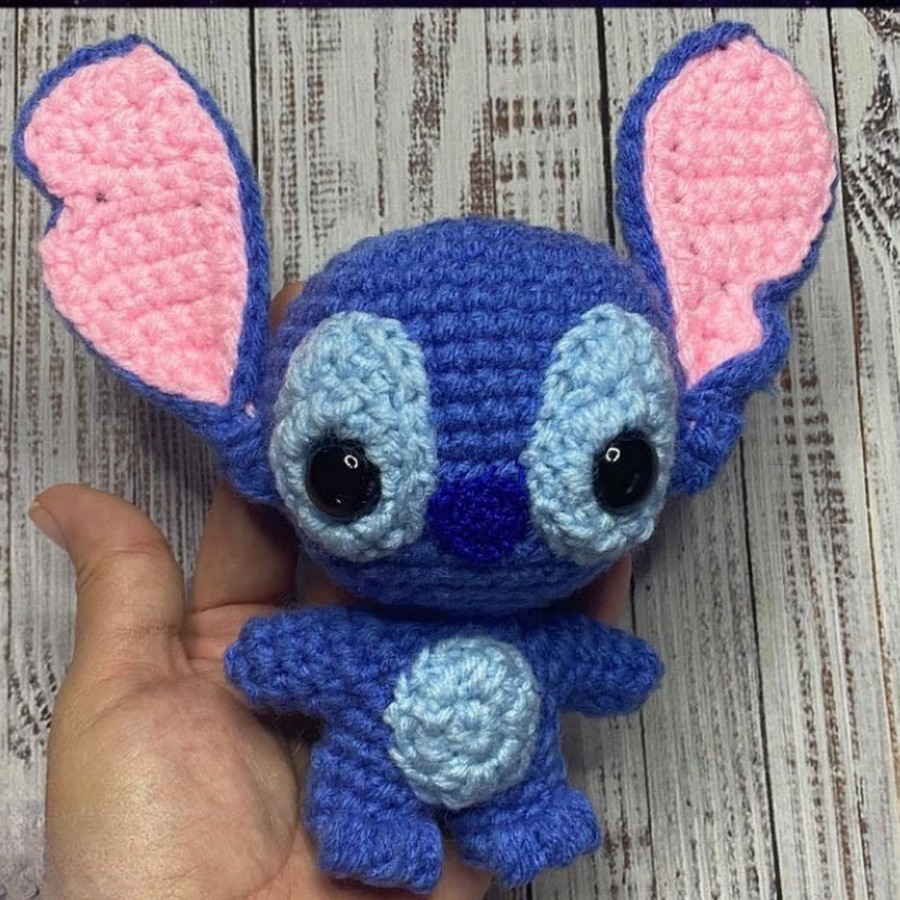
This pattern guides you step-by-step in creating a charming cube-shaped animal, complete with tiny details such as a nose, eyes, ears, toes, and a tail. While the design closely resembles a small plush toy, you have room for creativity and customization to make it your own!
Skill Level
Intermediate to Advanced – This pattern involves a combination of crocheting in rounds, stitching intricate details, using multiple techniques such as decreasing, and handling small parts like facial embroidery and tiny details.
Materials Needed
Yarn:
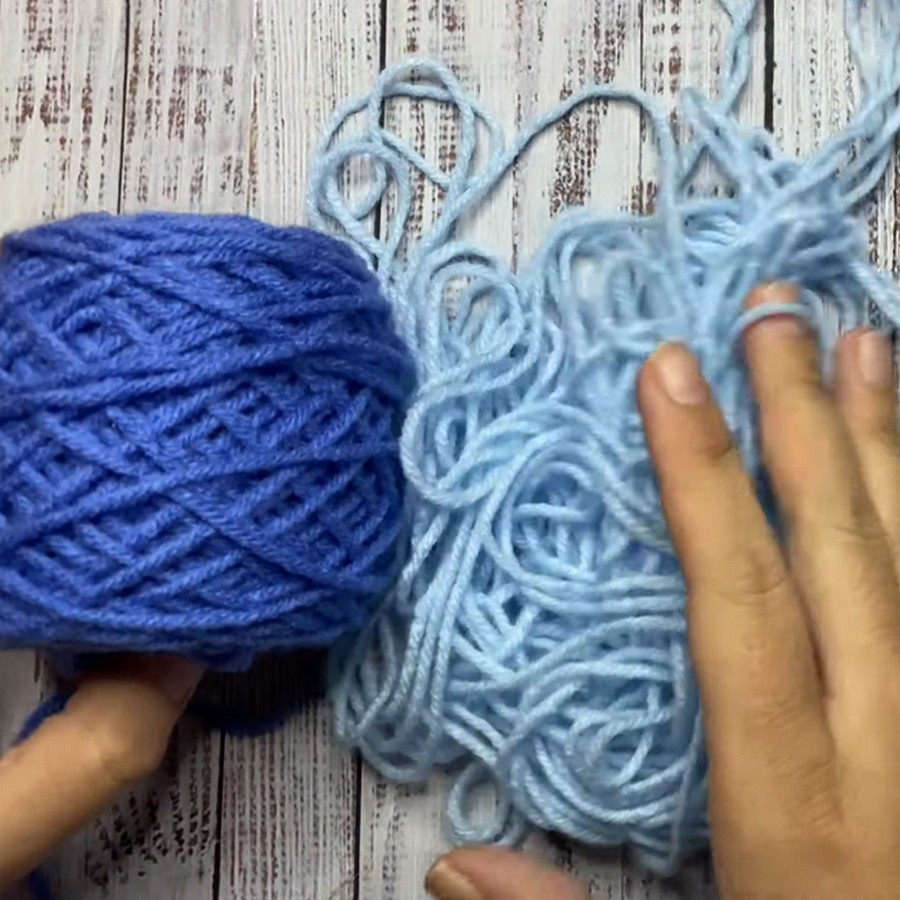
- Medium Shade Blue (Worsted Weight) – For the main body and details.
- Light Blue (Worsted Weight) – For eye details and the tummy.
- Dark Blue (Worsted Weight) – For further detailing (optional).
- Pink (Worsted Weight) – For inside the ears.
Additional Supplies:
- Eyes: 16 mm safety eyes (2 pieces).
- Embroidery Floss (Dark Royal Blue) – Optional (for the nose and back details if not crocheted).
- Stuffing: Polyester fiberfill for shaping the body, arms, legs, and tail.
- Hooks:
- 5 mm crochet hook – For the main construction.
- 1.75 mm crochet hook – For embroidered or tiny features.
- Tapestry Needle – For sewing and embroidery.
- Scissors – For clean trims.
- Stitch Markers – To keep track while working in continuous rounds.
Key Abbreviations (US Crochet Terminology)
| Abbreviation | Meaning |
|---|---|
| ch | Chain stitch |
| sc | Single crochet |
| hdc | Half double crochet |
| dc | Double crochet |
| sl st | Slip stitch |
| inc | Increase (two stitches in the same stitch) |
| dec | Decrease (single crochet 2 stitches together) |
| BLO | Back loop only |
| flo | Front loop only |
Special Notes for Success
- Continuous Rounds: Use a stitch marker to mark the beginning of each round to help you track your progress.
- Stuffing: Ensure proper distribution of stuffing to maintain the cube shape. Avoid overstuffing to prevent distortion or understuffing, which could cause limp edges.
- Small Details: Be patient when working with tiny hooks or embroidery floss for intricate details like the nose.
- Customization: Adjust the colors for the body, details, and facial features to tailor the design to resemble different animals.
Step-by-Step Instructions
Eye Details (Make 2)
- Start with light blue yarn. Work either a magic ring or:
- Ch 2, and work all stitches in the second chain from the hook.
- Round 1:
- In the magic ring, work the following stitches in order:
- 2 sc.
- 1 hdc.
- 1 dc.
- 1 hdc.
- 1 sc.
- (You should have 6 stitches in total.)
- In the magic ring, work the following stitches in order:
- Round 2:
- Chain 1, join.
- Work a single crochet increase (sc inc) in each stitch around. (12 sts total.)
- Round 3:
- Chain 1, join, and make:
- 1 sc inc in the 1st stitch.
- 1 sc in the next stitch.
- Slip stitch (sl st) in the next 4 stitches.
- (1 hdc, 1 hdc, and 1 dc in the same stitch).
- (1 dc, 2 hdc in the next stitch).
- Slip stitch in the next 4 stitches and join.
- Chain 1, join, and make:
- Edging: Slip stitch and leave a long tail for attaching to the body.
- Repeat the steps above to make a second eye detail.
Head
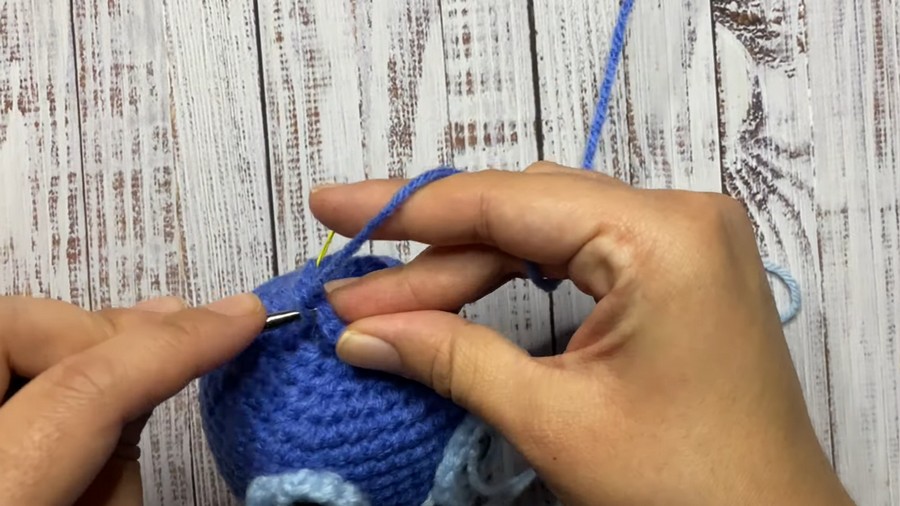
- Start with medium blue yarn. Work either a magic ring or:
- Ch 2, and work into the second chain from the hook.
- Round 1:
- Work 8 sc into the ring. Use a stitch marker to mark the first stitch of the next round.
- Round 2:
- Work 1 sc inc in each stitch around. (16 sts total.)
- Round 3:
- Alternate (sc inc, sc) in each stitch around. (24 sts total.)
- Round 4 (Begin "square" shaping):
- Sc in the first 2 sts, place stitch marker.
- Work sc inc in the next 2 stitches.
- Sc in the next 4 stitches.
- Repeat (sc inc in 2, sc 4) 3 more times.
- End with 2 sc.
- Round 5 (Expand the square):
- Sc in the first 3 stitches, place stitch marker.
- Work sc inc in the next 2 sts.
- Sc in the next 6 sts.
- Repeat until the end.
- Rounds 6–16:
- Sc in each stitch around without changing stitch count.
- Round 17 (Start decreasing and shaping the top):
- Sc in the first 3 sts.
- Dec in the next 2 sts. Repeat as guided for specific counts.
- Continue decreasing until a small top remains.
- Attach Eyes:
- Insert safety eyes into the center of the light blue eye details. Securely attach them to the head following the placement guide in the transcription.
Body
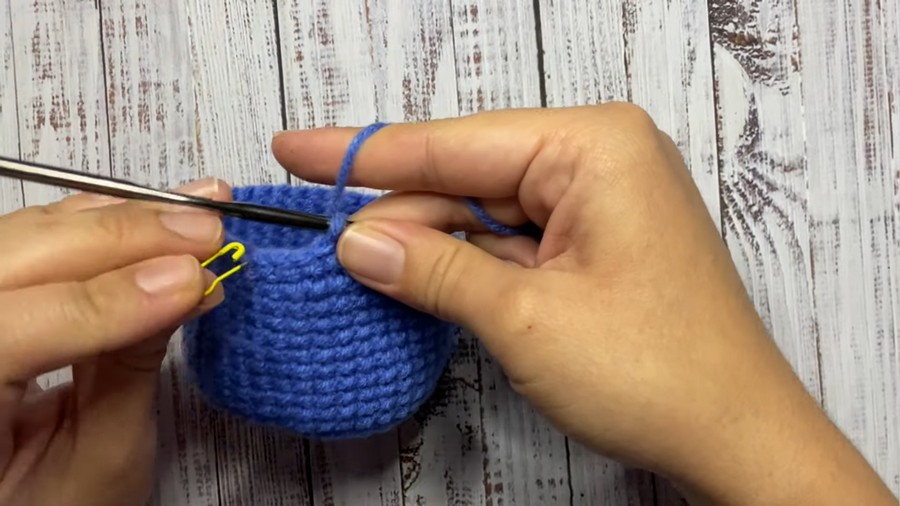
- Join yarn at the base of the head and work in rounds to widen the cube for the body as shown in the transcription: increasing and forming armholes.
- Round 22: Mark armholes by skipping 8 stitches (creating gaps for arms).
Arms and Legs
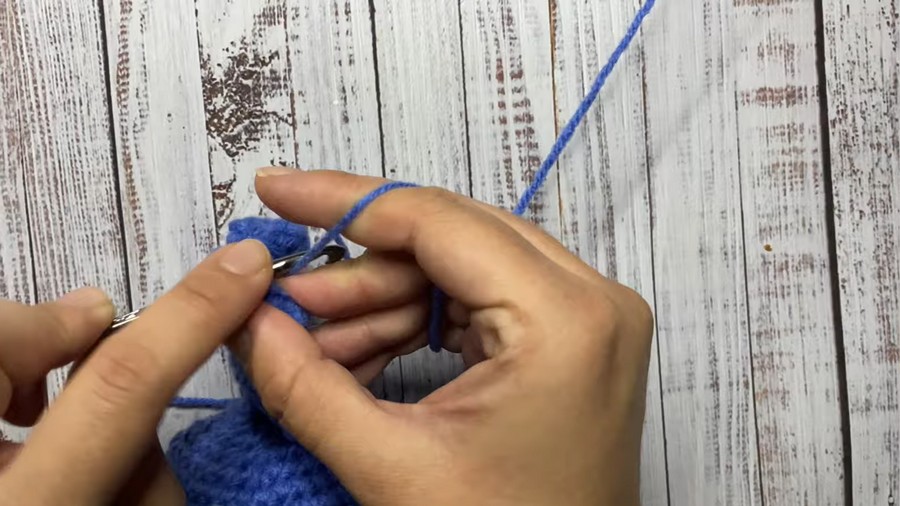
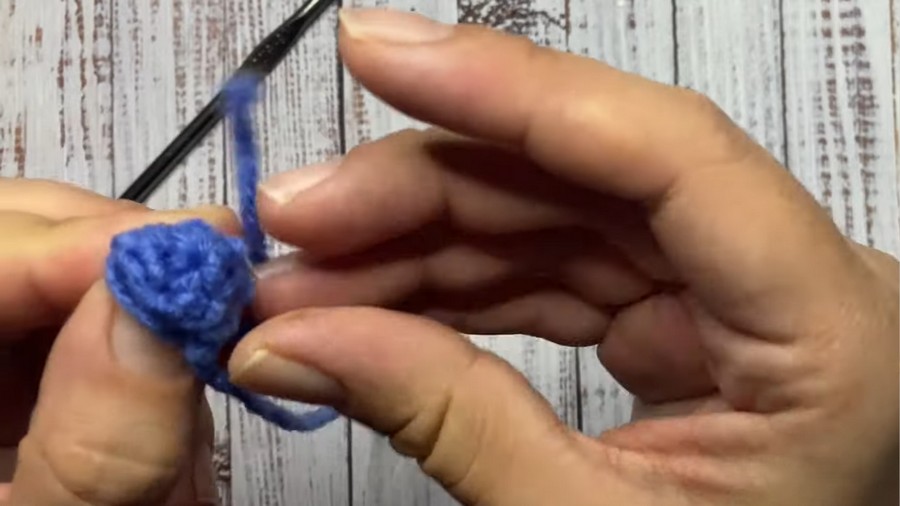
- Using the skipped stitches, crochet the arms and legs evenly using single crochets. Decrease at the tips to create a smooth finish. For toes, work 3-dc bobbles over 3 stitches, as described in the transcription.
- Stuff as you work.
Tail
- Ch 2 or magic ring, and make 5 sc into it.
- Work in continuous rounds for 2-3 rows to shape a small tail.
Ears
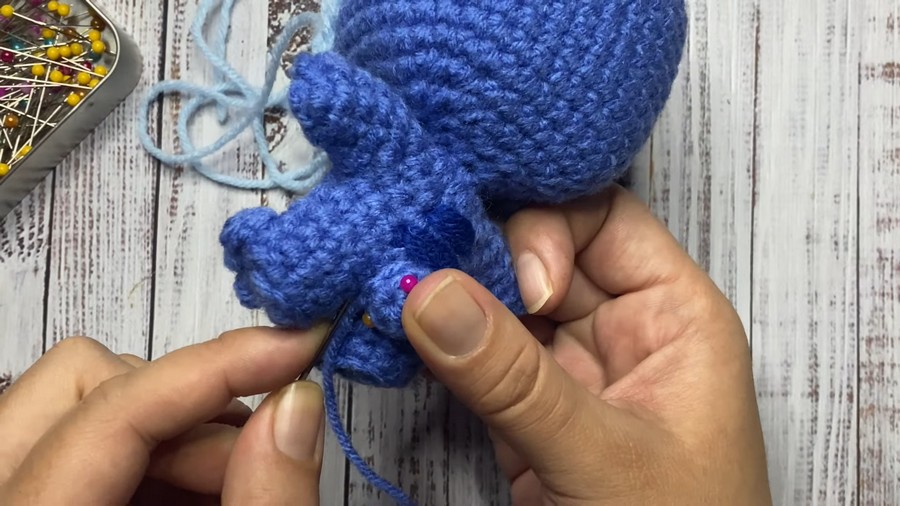
- Work the inner portion in pink yarn and the outer in blue, following the row-by-row ear instructions from the transcription.
- Join the outer and inner ear with slip stitches.
Tummy Patch
- Ch 2 or magic ring, and make an oval patch with light-blue yarn as described.
Final Assembly
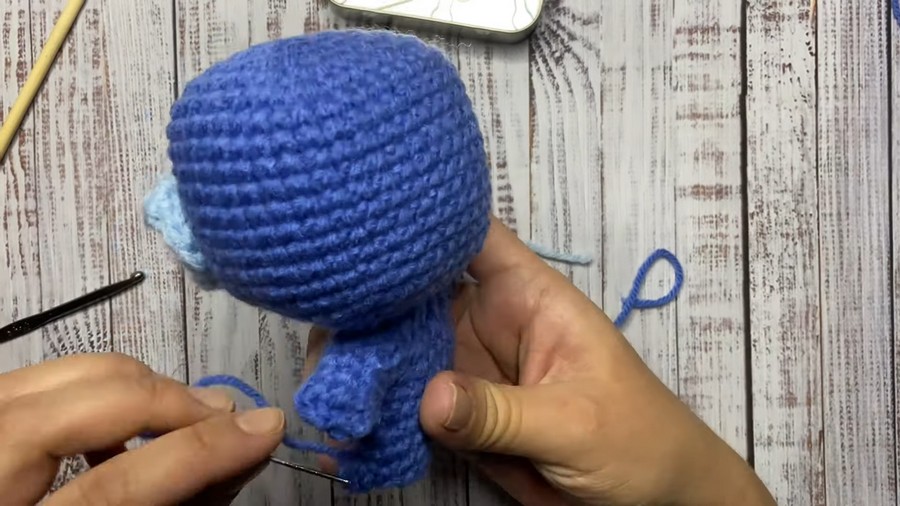
- Sew all parts to the body with a tapestry needle.
- Add embroidered details (like stripes on the back and noodles on the tail) using dark blue embroidery floss or matching yarn.
- Customize as needed to create a unique design!
Pattern Variations
Colors:
- Experiment with color combos to create various animal looks (e.g., brown for a bear, white for a polar bear, black for a panda, or pink for a pig).
- Add stripes, polka dots, or other textures to give your doll personality.
Size Adjustments:
- Use thinner or thicker yarn to create smaller or larger versions of the animal.
- Adjust hook size to match the chosen yarn.
Conclusion
Congratulations! You’ve finished your adorable crochet cube animal! This plushy is perfect for cuddles, gifts, or decorations. Its many details allow for plenty of creative freedom, and you can make a variety of animals by changing colors and features.
Pattern Corrections
- Ensure proper stitch counts in each round, especially when working feet and body armholes, as they can lead to uneven shapes. Use stitch markers liberally.
Tips & Tricks
- Prevent Eye Misplacement: Place pins where the eyes will go first to ensure symmetrical positioning before attaching the safety eyes.
- Practice Patience with Tiny Details: Tiny pieces like the nose might be tricky; take your time. Embroidery or felt alternatives are great substitutes!
- Consistent Stuffing: Stuff as you work and massage the body and limbs to avoid lumps or unevenness.



