
Stay cozy and adorable with a crochet teddy bear balaclava perfect for chilly days while keeping you warm and stylish with a playful touch to your winter look.
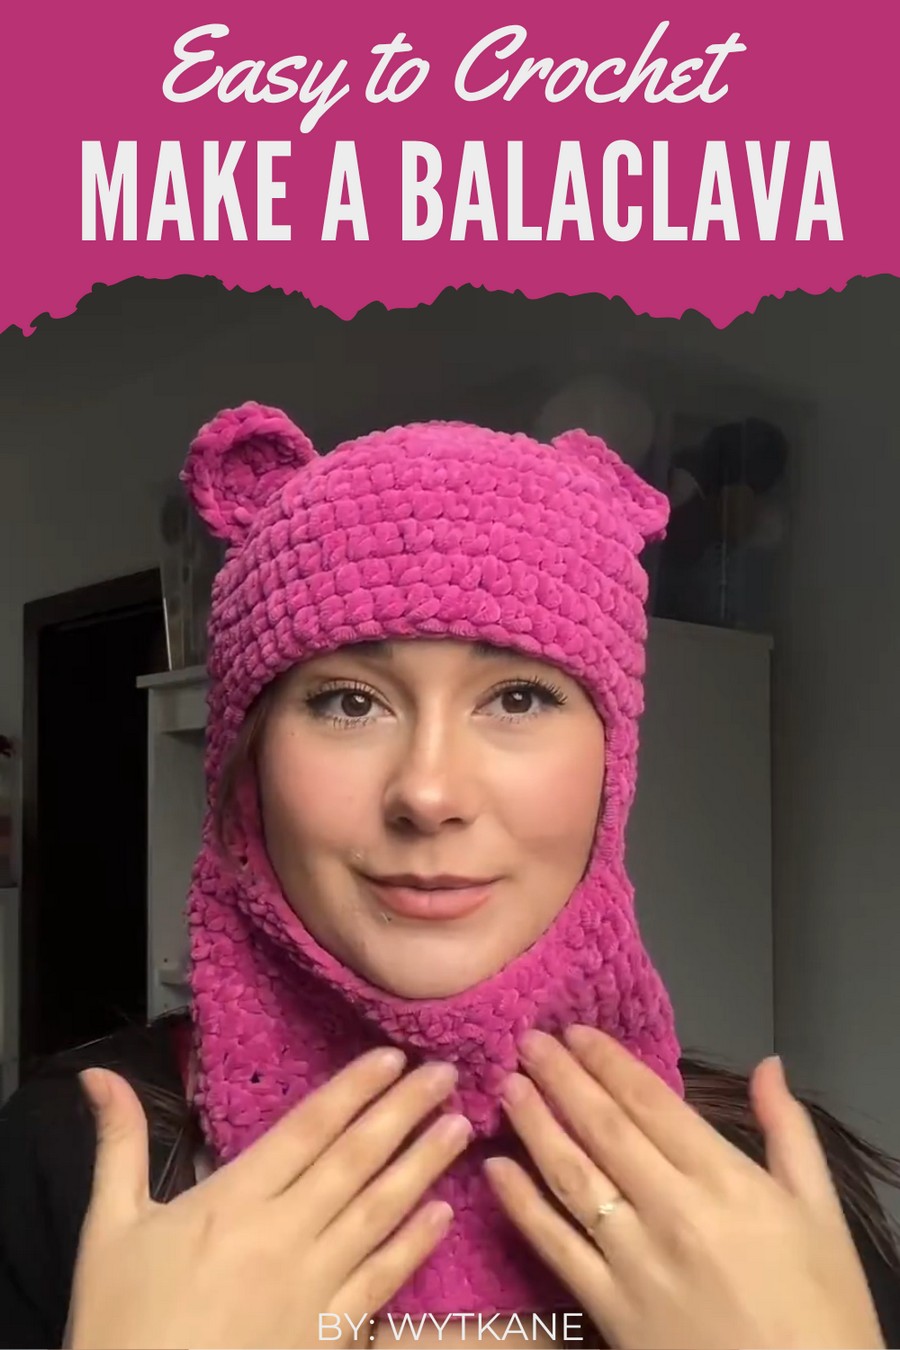
Soft, adorable, and incredibly cozy, this teddy bear balaclava is both fun and functional for all ages. With its cute teddy bear ears and snug fit, it’s perfect for chilly days, keeping you warm while adding a playful touch to your outfit.
Simple Crochet Teddy Bear Balaclava Pattern to Warm Your Heart
Whether you’re heading out for a winter walk, playing in the snow, or simply looking for a unique accessory, this balaclava is a delightful choice. Its creative design not only protects you from the cold but also brings a smile to everyone who sees it. Stay warm, look cute, and enjoy a cozy style that’s truly one of a kind!
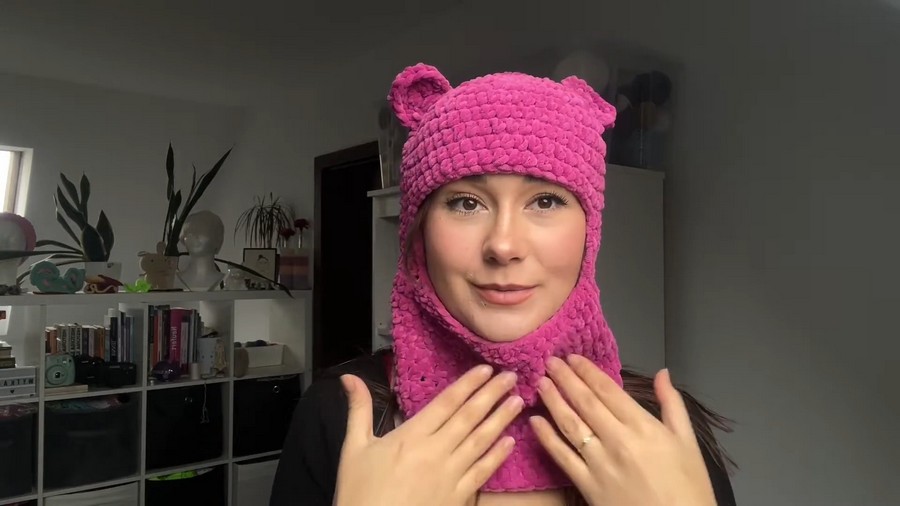
Crochet Bear-Ear Balaclava Detailed Pattern
Materials Needed
Primary Supplies:
- Yarn: Himalaya Dolphin Baby plush yarn (240 m total, approximately 120 m per skein).
- Suggested color: Light (as used in the video, e.g., color #80337).
- Alternates: Plush yarns with similar thickness.
- Optional: Black or contrasting yarn for edges/design details.
- Hook: 4.5 mm crochet hook, as recommended by the yarn manufacturer.
- Scissors: For cutting yarn and finishing ends.
- Stitch markers: Useful for marking key points, such as the face opening.
Optional Supplies:
- Lighter: For securing the ends of the plush yarn to prevent fraying.
- Tapestry needle: To sew ears onto the balaclava and weave in the ends.
Skill Level
Intermediate
While the pattern itself isn’t extremely complicated, it combines essential techniques like circular crochet, stitch increases, and the creation of stand-alone design elements (bear ears). Familiarity with stitch markers and measuring adjustments is recommended. Prior experience with hats or circular projects helps!
Key Abbreviations (US Crochet Terminology)
- ch: Chain
- sc: Single Crochet
- sl st: Slip Stitch
- hdc: Half Double Crochet
- dc: Double Crochet
- yo: Yarn Over
- st(s): Stitch(es)
Special Notes
- This balaclava is worked in rounds. Each round is closed with a slip stitch and begins with chains for height.
- The plush yarn is forgiving and stretchy, but care should be taken to keep stitch counts consistent for a clean result.
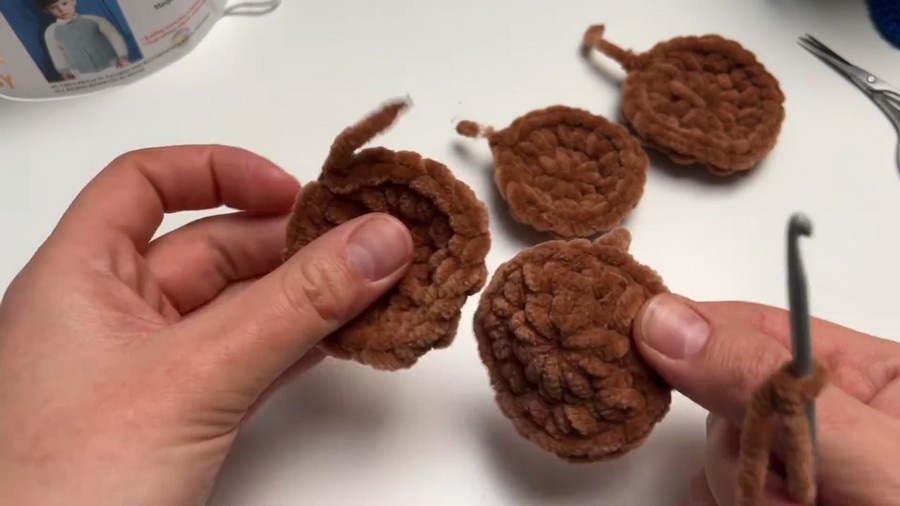
- The bear ears are made by crocheting two circular pieces for each ear and joining them for a double-layer look that holds its shape well.
Crochet Bear-Ear Balaclava Pattern
Step 1: Start with the Crown (Top of Balaclava)
- Create a Foundation Circle:
- Begin with 3 chains and slip stitch into the first chain to form a ring.
- Round 1:
- Chain 2 (counts as the first stitch).
- Crochet 9 hdc into the ring, making a total of 10 hdc (including the chain-2).
- Slip stitch into the second chain to close the round.
- Round 2:
- Chain 2.
- Work 2 hdc into each stitch. This round should end with 20 hdc.
- Slip stitch to close.
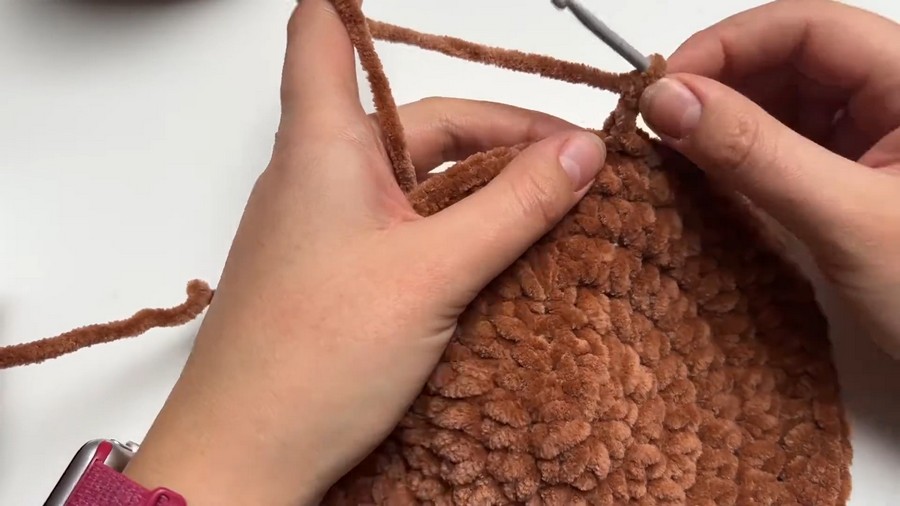
Step 2: Work the Crown Increases
- Round 3:
- Chain 2.
- Increase in the first stitch (2 hdc), then work 1 hdc into the next stitch.
- Repeat these steps around (2 hdc, 1 hdc).
- Total: 30 hdc. Slip stitch to close.
- Round 4:
- Chain 2.
- Increase in the first stitch (2 hdc), then crochet 2 hdc in the next two stitches.
- Repeat this sequence: 2 hdc, 2 single hdc stitches.
- Total: 40 hdc. Slip stitch to close.
- Round 5:
- Chain 2.
- Increase in the first stitch (2 hdc) and crochet three single hdc stitches in the next three stitches.
- Repeat (2 hdc, 3 hdc).
- Total: 50 hdc. Slip stitch to close.
Step 3: Create the Basic Balaclava Shape
- Once the crown size feels correct, continue working hdc evenly, making 1 hdc per stitch:
- Work for 8 rounds or until the balaclava covers just above the eyebrows.
Step 4: Create the Face Opening
- Mark the Opening:
- Use stitch markers or count 15–17 stitches on each side of the balaclava (depends on size). These stitches will remain unworked for the face opening.
- Work Rows:
- Chain 2 at the beginning of each row. Work hdc across the unmarked center stitches for the face opening. Skip stitches marked for the face.
- Repeat for 4 rows. Ensure rows start and end at the same position.
- Adjust the Opening:
- Once rows are completed, measure the opening to ensure a comfortable fit.
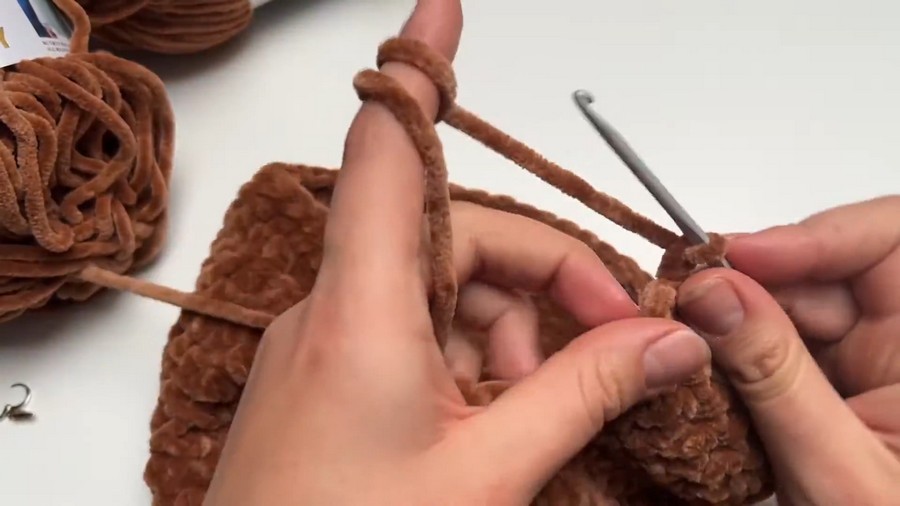
Step 5: Turn Rows Back into Rounds
- Create Chains for the Bottom:
- Chain 18–21 stitches, depending on desired looseness for the neck. Adjust by measuring against your head.
- Resume Rounds:
- Slip stitch into the opposite edge to rejoin the bottom, and continue rounds as before.
- Work hdc into each stitch of the chain and along the edge stitches.
- Work Additional Rounds for Length:
- Crochet 10–12 additional rounds for a slightly longer balaclava. Adjust for personal preference.
- Optional: Add subtle decreases (1–2 stitches) every few rounds to create a more fitted look at the neck.
Step 6: Bear Ears
Make Two Pairs of Circles:
- Circle Foundation:
- Chain 3 and form a ring.
- Round 1: Work 10 hdc in the ring. Slip stitch to close.
- Round 2: Chain 2, and work 2 hdc into each stitch (20 hdc).
- Assemble Ears:
- Place two circles together with wrong sides facing. Work a round of sc around the edge, joining them into one ear.
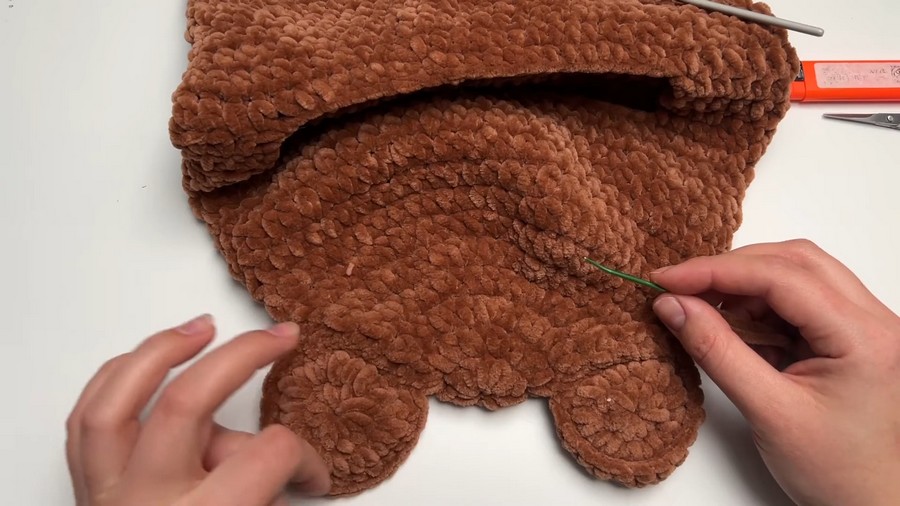
- Attach Ears:
- Fold the balaclava in half and attach ears slightly off-center at the top. Use a tapestry needle and secure tightly.
Conclusion
The bear-ear balaclava transforms functionality into playful winter style, pairing warmth with a dash of cuteness. With detailed rounds and customized sizing, this balaclava makes an excellent accessory for cold weather. The addition of bear ears is perfect for children and adults alike, offering versatility for both practical use and whimsical flair.
Pattern Corrections
- If stitch counts become uneven, recount all hdc at the end of each round or row. Starting and ending points must align for consistency.
- If the neck is too loose, work more frequent decreases or reduce chain stitches when reconnecting the opening to rounds.
Tip for Success
Use stitch markers liberally to track your work—not only for the face opening but also to differentiate starting points for rounds. This prevents confusion and ensures your balaclava retains neat edges and structure.



