
Experience the joy of vibrant crochet hat ideas with cozy textures and stunning looks that bring warmth and style to every outfit and occasion effortlessly.
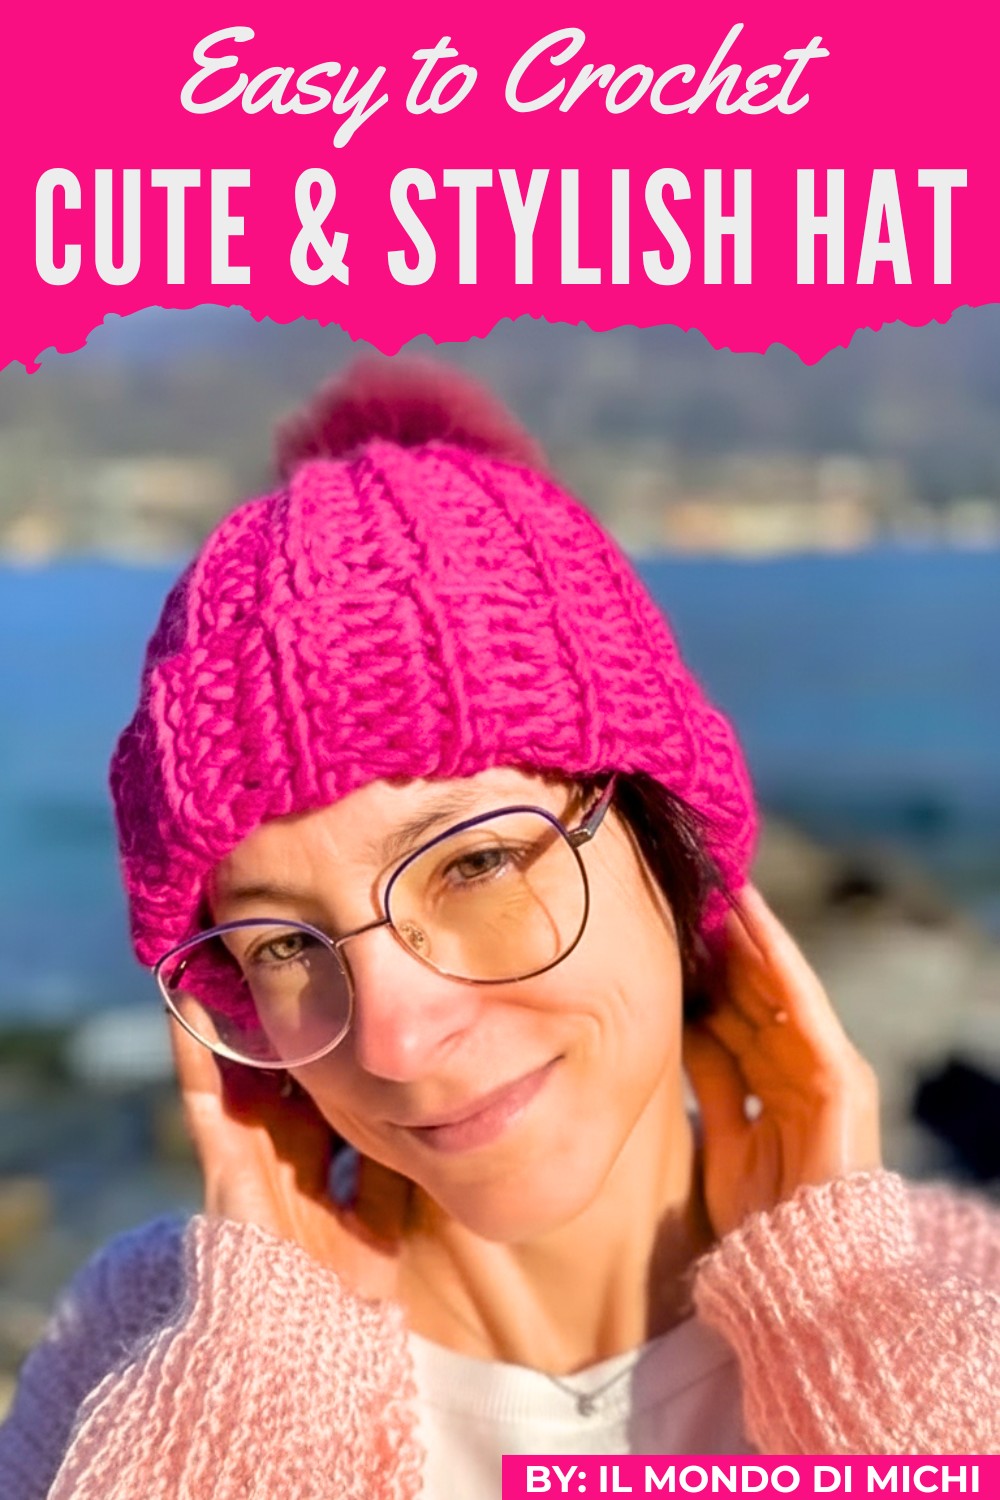
A soft and cozy hat is a delightful addition to any wardrobe, perfect for colder days or as a stylish accessory! Crochet hat patterns offer a wonderful way to create beautiful, handmade hats that showcase your creativity and personal taste. They can be made in endless colors, textures, and designs, giving every hat a unique and stunning appearance.
Soft and Elegant Crochet Hat Pattern That Look Amazing
Whether it’s for keeping warm during the winter or adding a playful touch to your outfit, these hats are versatile and suited for any occasion. The special feature of crochet hat patterns is their ability to blend functionality and beauty effortlessly.

From simple, everyday beanies to decorative, stylish hats, they’re perfect for all ages and can be customized to suit your needs. Crochet hats are also amazing gifts, filled with love and effort, making them even more valuable and appreciated by everyone who receives them!
Materials and Tools
To crochet this hat, you will need the following items:
- Yarn:
- 100g of super bulky yarn (a yarn with a particularly large stitch definition), such as category 6 yarn. Ensure that the yarn is soft and stretchy.
- Hook:
- Crochet hook size 8.0 mm (US L-11).
- Optional:
- One faux fur pompom or a handmade yarn pompom for embellishment.
- A tapestry needle for seaming and weaving in ends.
- Scissors.
Skill Level
Confidence in working with thick yarns, slip stitches & single crochet stitches, and basic assembly is required. Best suited for intermediate crocheters.
Key Abbreviations (US Terminology)
- CH: Chain
- SL ST: Slip Stitch
- SC: Single Crochet
- ST: Stitch
Special Notes
- This hat is worked flat in rows to form a rectangle that is later joined to create the hat’s tubular shape.
- Using slip stitches (SL ST) over the first and last three stitches of each row creates a natural band at the hat’s brim.
- To create neat edges, ensure to work only into the back loops of each ST after the foundation row.
- The pattern specifies approximate measurements (width and height); however, these can be adjusted for different sizes by simply altering the foundation chain length or the number of rows.
Pattern Instructions: Chunky Hat
Step 1: Foundation Row
- Create a slip knot to begin.
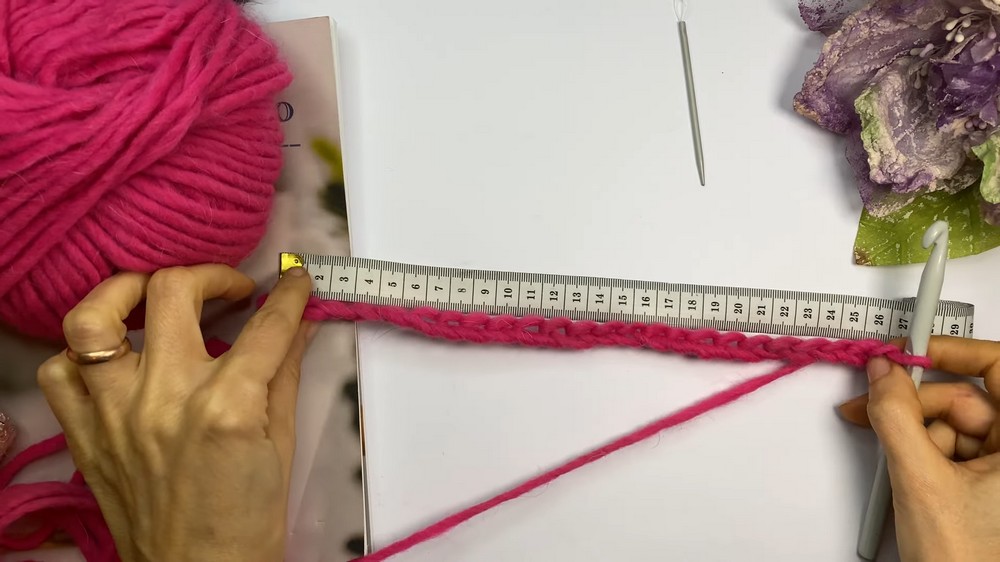
- CH to create a foundation measuring 26–28 cm (10–11 inches) for a women’s medium size hat.
- For a slightly roomier fit, CH to a length of 30 cm (12 inches) for men or adjust the chain accordingly for other sizes.
- Note: The chain should always be loose for better stretch and overall finished appearance.
- Measure the length of the chain to ensure accuracy before proceeding.
Step 2: Row 1
- CH 1 (does not count as a ST).
- Insert the hook into the back loop of the second chain from the hook and create a SL ST.
- Work SL ST into the back loop of the next 2 chains (you now have 3 slip stitches for the brim section).
- For the remaining chains across the row, work SC into the back loop of each CH.
- Turn your work.
Step 3: Row 2 Onwards
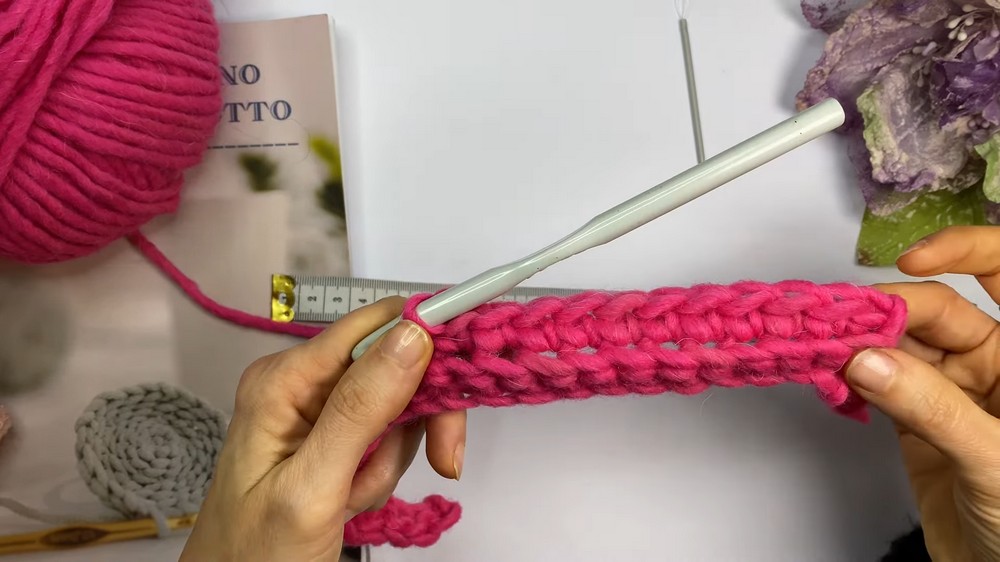
- CH 1 to begin.
- For the first 3 stitches, work SL ST into the back loop only (brim section).
- For the remaining stitches in the row, work SC into the back loop only.
- Turn your work.
Step 4: Repeat Rows
- Continue repeating Row 2 instructions until your work measures approximately 37-38 cm (14.5–15 inches) in width, or long enough to wrap around your head comfortably.
- Note: The stretchy nature of the ribbed pattern will add flexibility to the fit.
Step 5: Seam the Hat
Once the desired width is achieved:
- Fasten off, leaving a long tail of approximately 1 meter (39 inches) for sewing.
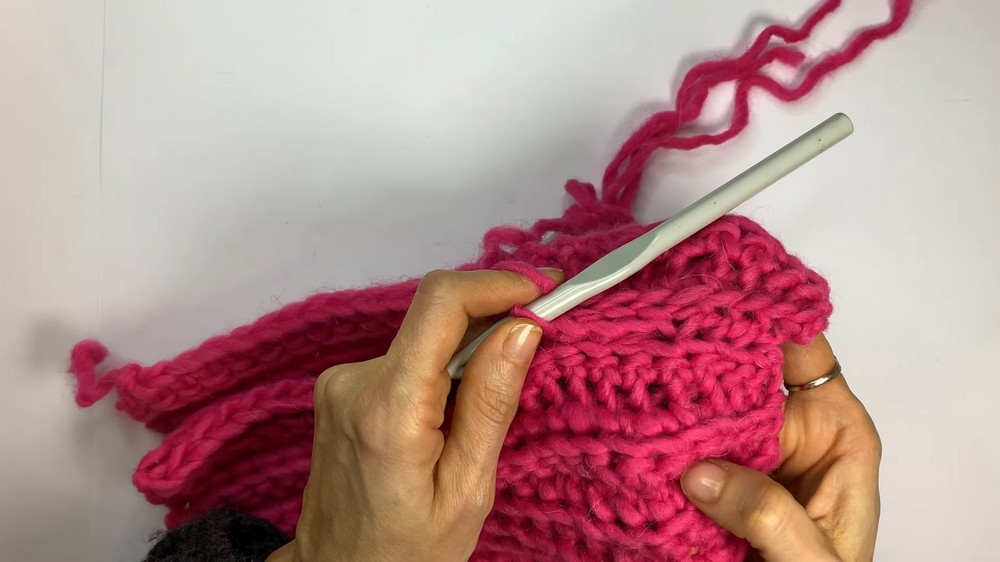
- Use the tapestry needle or a hook to seam the two short edges of the rectangle together.
- To seam with the tapestry needle, use a whip stitch, stitching through every ST at the edges of both sides.
- Optionally, you can join the seam with the crochet hook using SL STs by inserting the hook into one stitch from each edge and pulling through.
Step 6: Close the Top
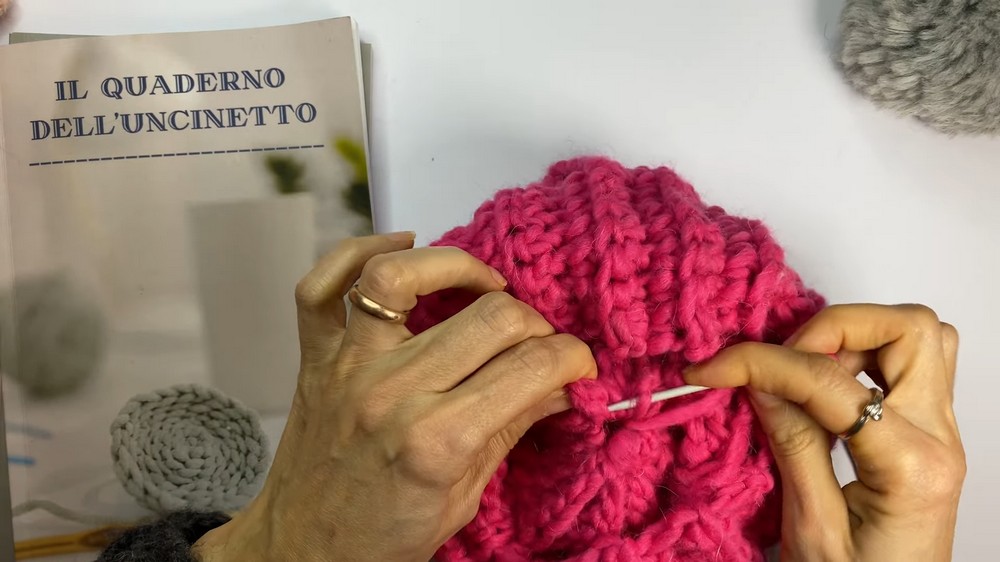
- Thread the yarn tail onto a tapestry needle.
- Sew around the top edge in a basting (running) stitch—passing through the edge of every few stitches evenly around the entire opening. Pull the yarn snugly to cinch the top closed.
- Secure the closure by weaving the yarn through the gathered top several more times to ensure it stays tight.
Step 7: Add Pompom (Optional)
- If using a store-bought pompom, it will typically include a button or loop for attachment. Use the yarn tail to securely fasten the pompom to the center of the hat’s top.
- If you’d like to make a yarn pompom, wrap leftover yarn around your fingers (or a pompom maker) several times to create a fluffy pompom. Secure tightly in the center with a knot, trim the edges, and attach it to the center of the hat.
Step 8: Finishing
- Weave in all loose ends securely into the back of the project.
- Cleanly trim away excess yarn, ensuring no visible tails remain.

Conclusion
You’ve now successfully crocheted a stunning ribbed chunky hat with elegant stretch and optional pompom. This timeless design is practical, fashionable, and perfect for gifting or personal use. The end result will feature:
- A soft, oversized texture.
- Stretchy ribbing for comfort and a snug fit.
- The option to accessorize with or without a pompom for added style.
Pattern Correction and Tips
- If the hat feels too small, increase the foundation chain length to create a taller rectangle or work additional rows to widen the circumference.
- For a neater brim, ensure consistent tension when working SL ST so the ribbing appears uniform.
- For larger sizes (men’s or bigger hairstyles), extend the width of the rectangle to 40 cm (16 inches), or customize the measurements accordingly.
Tips for Success
- Tension: Keep your tension as even as possible, particularly for SL ST rows, as uneven tension can result in visible bulking or gaps.
- Yarn Substitutions: If Neptune super bulky yarn isn’t available, use any soft category 6 yarn that matches a similar super bulky texture.
- Gift Customization: This quick project, taking approximately 2 hours, is ideal for personalization—experiment with various colors or choose pompom styles to match the recipient’s taste.



