
Carry elegance with Crochet Lotus Bag Pattern that features a graceful floral style and a practical design perfect for outings gifts and everyday fashion use.
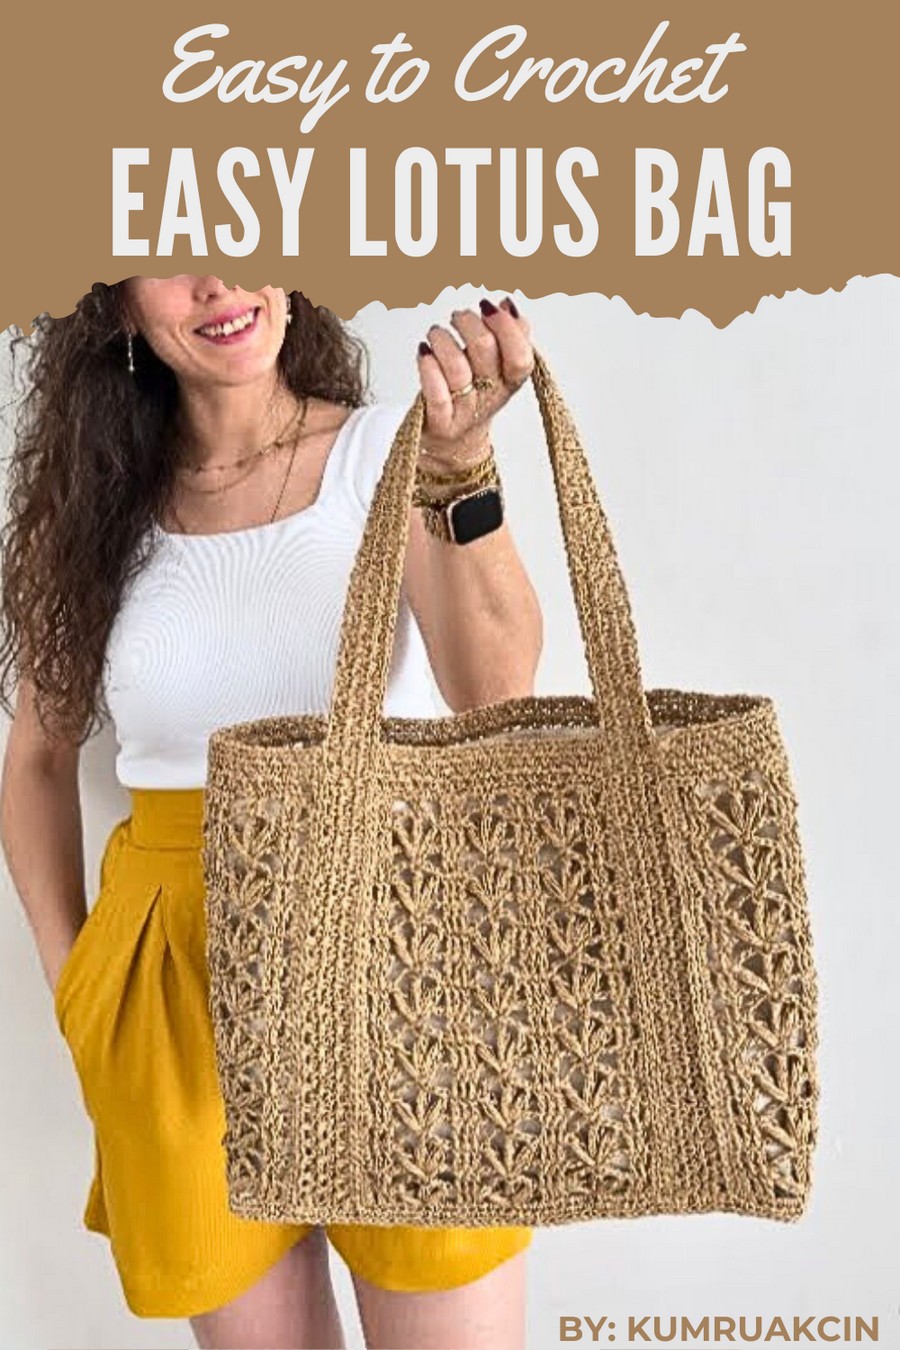
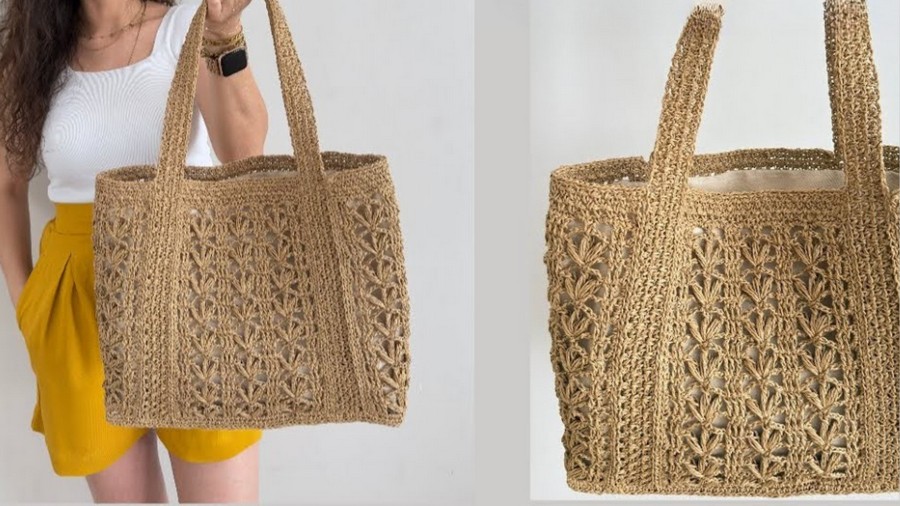
Bring elegance and charm to your look with this stunning lotus-inspired bag featuring a delicate and eye-catching design. Perfect for daily use or special occasions, this Croche Lotus Bag is lightweight yet spacious enough to carry your essentials in style. Its beautiful handcrafted texture and unique floral shape make it stand out as both a practical accessory and a fashionable statement piece.
Simple Croche Lotus Bag Pattern That Looks Beautiful
Whether you’re heading to the market, a casual outing, or dressing up for a party, this bag adds a touch of sophistication to every outfit. You can even customize its colors to suit your personality, making it truly one of a kind.
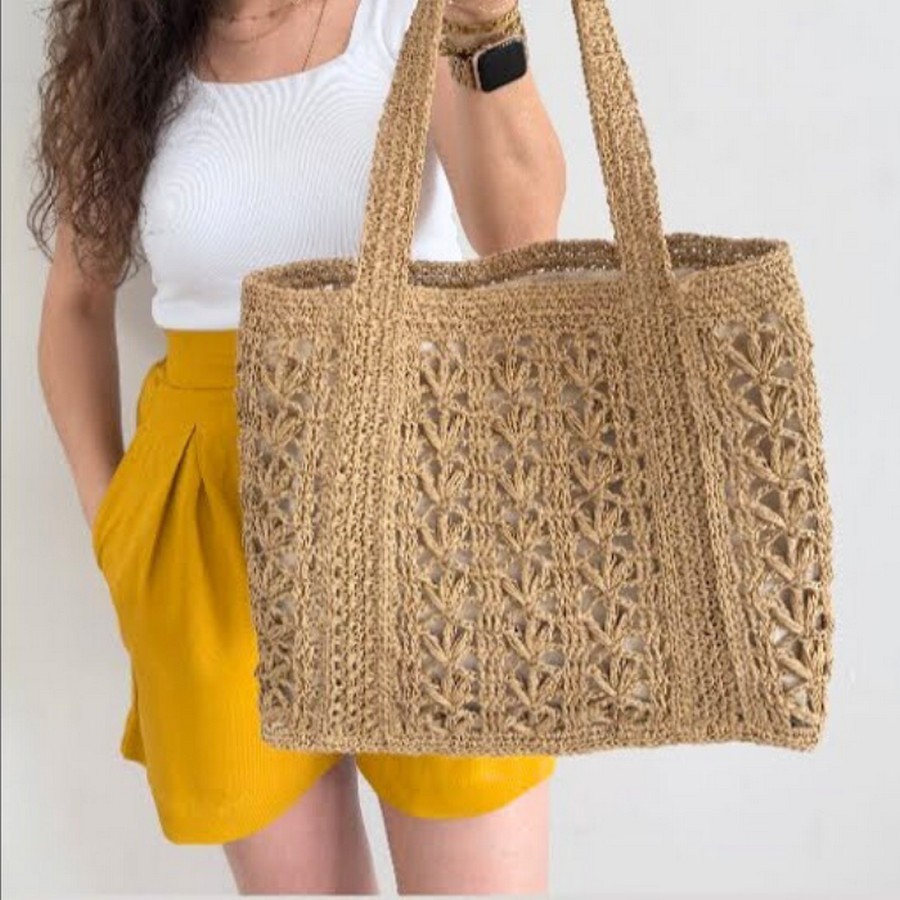
This tutorial walks you through the creation of a beautiful Croche Lotus Bag. Using paper yarn, this bag is sturdy and elegant, making it perfect for daily use, as a beach bag, or even for special occasions.
With its intricate flower-based design, customizable handle, and structured base, it’s sure to become a favorite project.
Skill Level
Intermediate to Advanced
This pattern involves working with paper yarn, Croche Lotus Bag. Attention to detail is required to ensure proper symmetry and construction.
Materials Needed
Yarn:
- Paper Yarn (approximately 400–450 grams): Ideal for rigidity and molding.
- Optional: Macrame cord or raffia yarn for similar stiffness.
- Recommended Color: Neutral tones like milky coffee or beige.
Hook:
- 3 mm crochet hook (or hook suitable for chosen yarn).
Additional Supplies:
- Scissors – For cutting yarn and threads.
- Stitch Markers – To help keep track of corners and sections during assembly.
- Measuring Tape – To ensure dimensions align.
- Metal Needle (or tapestry needle) – For sewing parts of the bag and weaving in ends.
- Canvas Fabric (Optional) – To line the bag for added sturdiness.
Key Abbreviations (US Crochet Terminology)
| Abbreviation | Meaning |
|---|---|
| ch | Chain stitch |
| sc | Single crochet |
| dc | Double crochet |
| sl st | Slip stitch |
| st(s) | Stitch(es) |
| rep | Repeat |
| sp | Space |
Special Notes
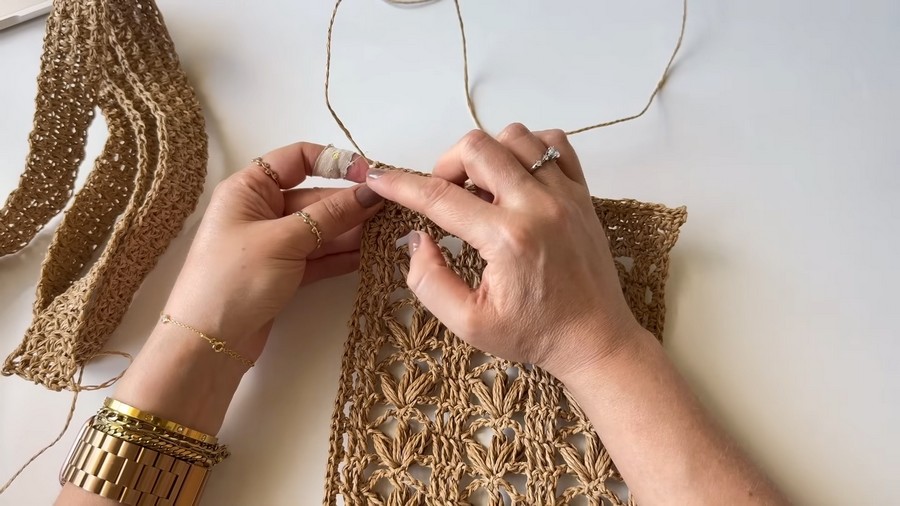
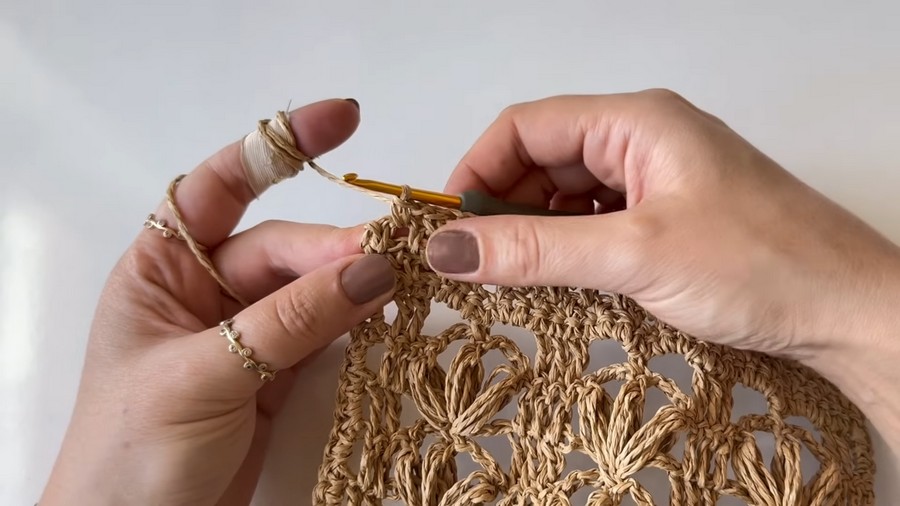
- Comfort with Paper Yarn: Paper yarn can be stiff and tough on fingers. Consider wrapping your finger with a bandage to reduce pain while working with the stitches.
- Keep Measurements Uniform: The bag’s aesthetic relies heavily on proper alignment and consistent measurements.
- Canvas Lining: The bag may be floppy without lining. If using softer materials like macrame cord or raffia, sew a canvas lining for structure.
Step-by-Step Instructions
Step 1: Base Panel
- Foundation Chains:
- Start with 20 chains.
- Row 1:
- Turn your chain over to the back loops of the chains.
- Insert your hook into the second chain from the hook and work 1 sc in each back loop along the row, for a total of 19 sc.
- Next Rows (Row 2–61):
- Ch 1, turn. Work 1 sc in each st across.
- Continue repeating this row for a total of 61 rows.
- Border for Base:
- Work 1 sc evenly along all four edges of the base piece.
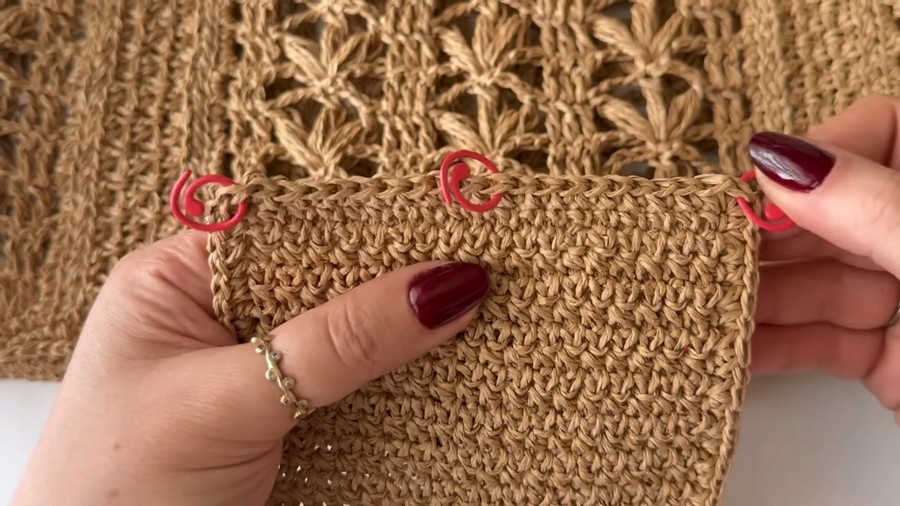
- Make 3 sc in each corner to turn smoothly. Use stitch markers to mark corners for alignment during assembly.
Step 2: Lotus Flower Panel (Make 4 Identical Panels)
- Foundation Chains:
- Start with 35 chains.
- Row 1:
- Turn your chain over to the back loops. Insert the hook into the 4th chain from the hook and work 1 dc.
- In the same chain, work 2 more dc for a total of 3 dc.
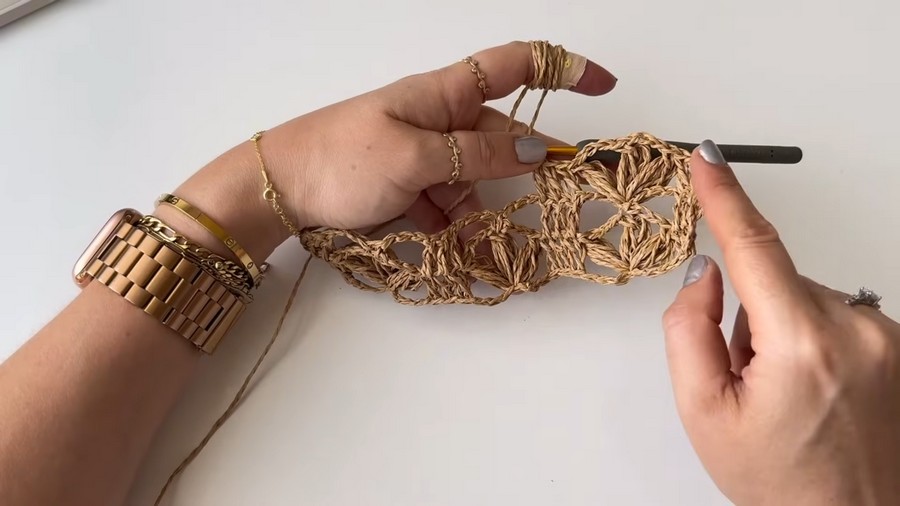
- Peanut (Popcorn) Stitches:
- Skip 3 chains. In the 4th chain, work 3 popcorn stitches, separated by 3 chains:
- For each popcorn stitch: Wrap the yarn, insert your hook into the same chain, and pull up a loop. Make 3 elongated loops into the same chain. Then pull through all loops on the hook, and chain 3 to secure.
- Skip 3 chains. In the 4th chain, work 3 popcorn stitches, separated by 3 chains:
- Alternating Railings and Popcorn Stitches:
- After completing the peanuts (popcorn stitches), skip 3 chains and work 3 dc in the next chain. Repeat the sequence across the row: Popcorn stitches -> chains -> railings until the end.
- Row 2:
- Ch 1, turn. Work 3 dc on top of all railings and 1 sc in the center popcorn stitch. Alternate between railings and single crochets atop peanuts for a consistent look.
- Repeat Rows:
- Continue alternating Row 1 and Row 2 until you’ve completed 16 rows of peanuts.
- Border for Panels:
- Surround each panel with 1 sc along the edges, making 3 sc in the corners.
Step 3: Handle
- Foundation Chains:
- Create 190 foundation chains.
- Row 1:
- Turn the chain over to the back loops. In the 2nd chain, work 1 sc.
- Ch 1, skip 1 chain, work 1 sc in the next chain.
- Repeat the pattern across the row.
- Row 2–6:
- Ch 1, turn. For Row 2, and subsequent rows, alternate between single crochet (sc) stitches in gaps and over previous single crochet stitches.
- Crochet tightly to ensure the handle’s thickness and strength.
Step 4: Assembly
Attaching Panels:
- Aligning Panels: Place panels side by side and align their edges using stitch markers. Ensure secure placement before sewing.
- Sewing:
- Using the yarn left from each border, sew the panels together using the back loops only to create a smooth seam. Start from one edge and work downwards.
Attaching Handles:
- Align Handles: Attach the handles securely to opposite panels. Check alignment and evenly sew the handles using slip stitches into back loops.
Attaching Base:
- Position Base: Align the bag’s base with stitch markers marking the corners for symmetry.
- Sew Base Edges: Secure edges to the panels using back loops only, ensuring clean seams.
Optional Lining
- If using soft yarn, sew a canvas lining for additional structure. Cut a piece of durable fabric to fit the base and sides, ensuring it aligns closely with your bag’s dimensions. Sew it into place after assembly.
Tips for Success
- Test Gauge First: Create a small gauge swatch to test tension and yarn behavior, especially with paper yarn.
- Iron Lightly: Steam or gently iron the bag after assembly to remove creases and enhance structure.
- Mark Alignment: Use stitch markers liberally while attaching panels to ensure symmetry during assembly.
Pattern Variations
- Yarn Substitution: Use macrame cord, raffia yarn, or even chunky cotton for a softer bag.
- Smaller Bag: Reduce the foundation chains and row counts for a smaller handbag or clutch.
- Color Customization: Use bold, vibrant colors or variegated yarn to create a unique look.
Conclusion
Congratulations on completing the Croche Lotus Bag! This intricate yet functional crochet design makes for a stunning accessory, rich in texture and detail. Whether as a beach bag, grocery tote, or everyday companion, its elegance and practicality set it apart. Share your final pieces and continue exploring creative possibilities with this versatile pattern.



