
Turn your ideas into something fun with this crochet working fish pattern that’s perfect for lifelike toys home décor or thoughtful handmade gifts.
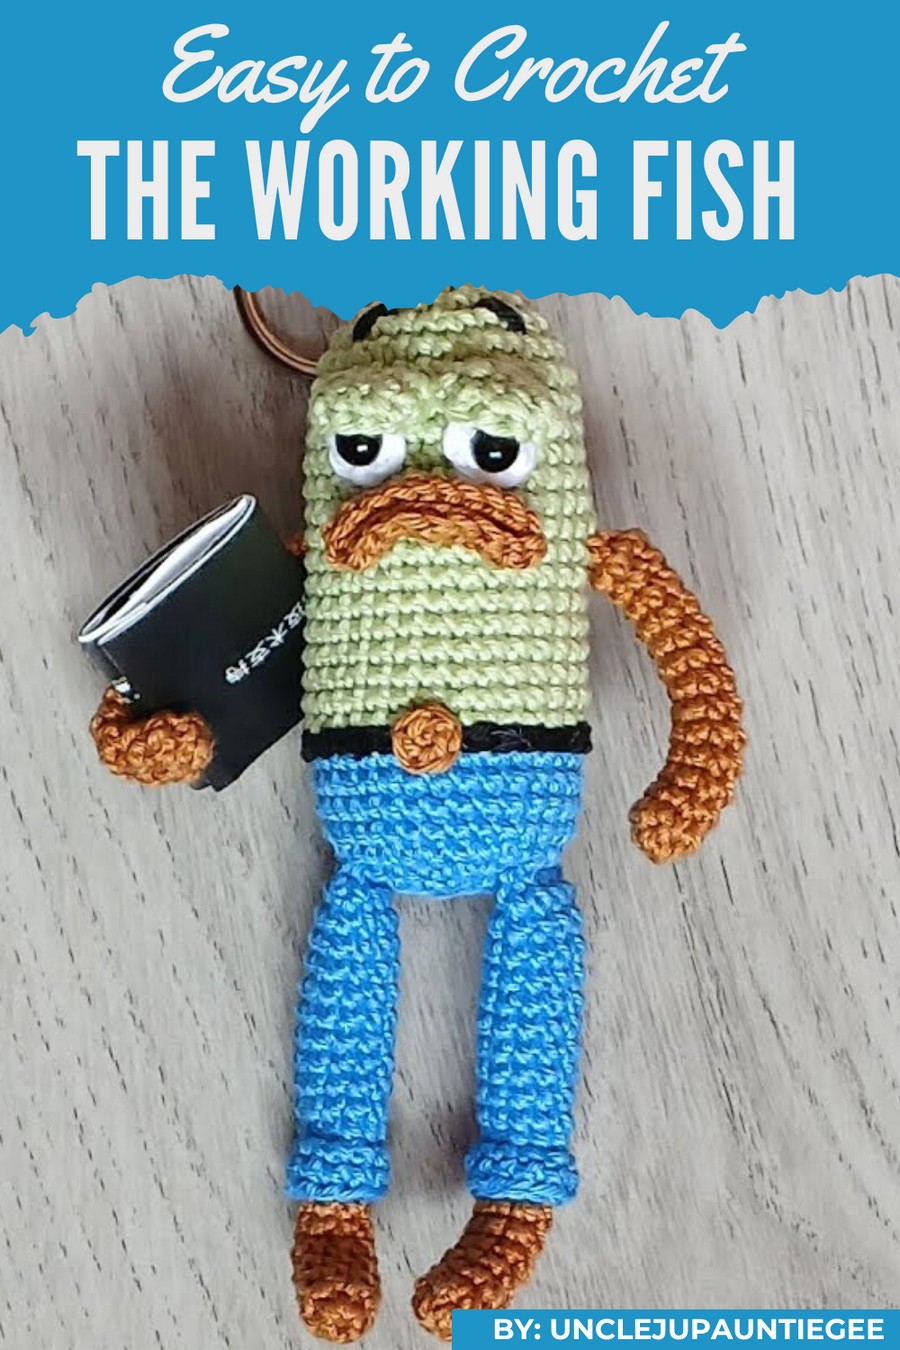
Bring a touch of the ocean into your creations with this charming crochet working fish pattern, designed to look realistic and fun. With its detailed fins, textured body, and vibrant colors, it captures the beauty of underwater life perfectly. This pattern is great for making adorable toys, home décor, or even thoughtful gifts that stand out.
Cute Crochet Working Fish Pattern for Your Home
Its unique feature lies in the intricate stitches that give the fish a lifelike texture, making it visually appealing and satisfying to create. Perfect for all crocheters, this design combines creativity and versatility, inspiring you to craft something truly special and delightful.
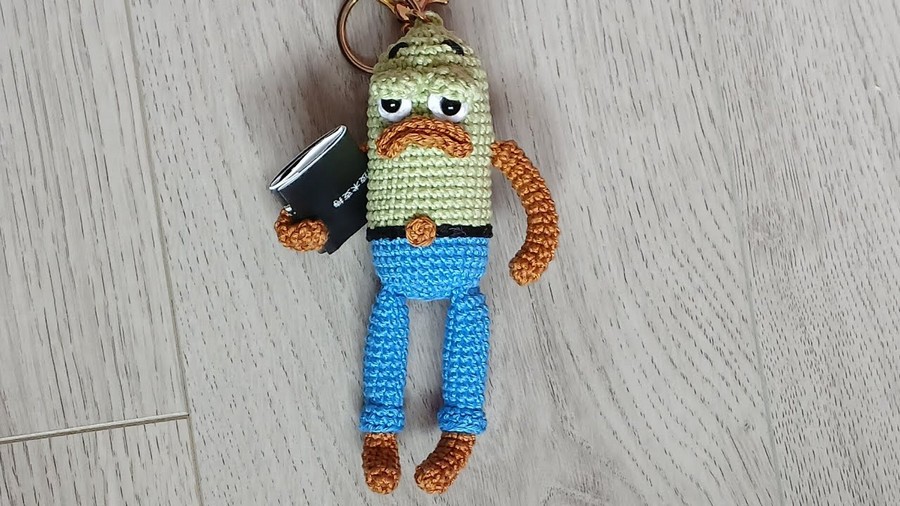
Materials Needed:
- Yarn: 100% Cotton yarn, suitable for a 2mm crochet hook.
- Dark Brown (or Coffee) — for fins and base details.
- White — for small accents (like eyes).
- Green — for parts of the body or customization.
- Blue (or Light Blue) — for the body (customizable).
- Crochet Hook: Size 2mm
- Stuffing: Poly-fil or silicone cotton.
- Wire (Flexible): For articulating the fins and limbs.
- Safety Eyes: 7mm size.
- Keyring with Chain: To turn this into a keychain.
- Scissors
- Tapestry Needle or Wool Needle: For sewing and weaving in ends.
- Optional: Hot glue gun, if needed for assembling or securing parts.
Key Abbreviations (US Terms):
- MR: Magic Ring
- SC: Single Crochet
- INC: Increase (2 SC in one stitch)
- DEC: Decrease (crochet two stitches together)
- SL ST: Slip Stitch
- CH: Chain
- BLO: Back Loop Only
- ST: Stitch
Special Notes:
- Wire Safety: Ensure the ends of the wires are properly covered, bent, or padded to avoid poking through the yarn or injuring the user.
- Customization: The pattern can be customized with different colors or sizes, as guided in the "Pattern Variation" section.
- Crochet Terminology: The pattern uses US crochet terminology.
- Stuffing: Ensure light, even stuffing for stability. Avoid overstuffing to maintain clean shapes.
Step-by-Step Pattern
Body (Main Section, Blue Yarn):
Round 1:
- Start with a Magic Ring (MR), 6 SC into the ring.
Round 2:
- Work 6 INC (2 SC in each stitch). (12 stitches total).
Round 3:
- 1 SC, INC, repeat 6 times. (18 stitches total).
Round 4:
- 2 SC, INC, repeat 6 times. (24 stitches total).
Round 5:
- 3 SC, INC, repeat 6 times. (30 stitches total).
Rounds 6-21:
- Work 1 SC in each stitch (30 stitches per round).
Change yarn color to Blue or another color as desired.
Rounds 22-25:
- Work 1 SC in each stitch (30 stitches per round).
Round 26:
- 3 SC, DEC, repeat 6 times. (24 stitches total).
Round 27:
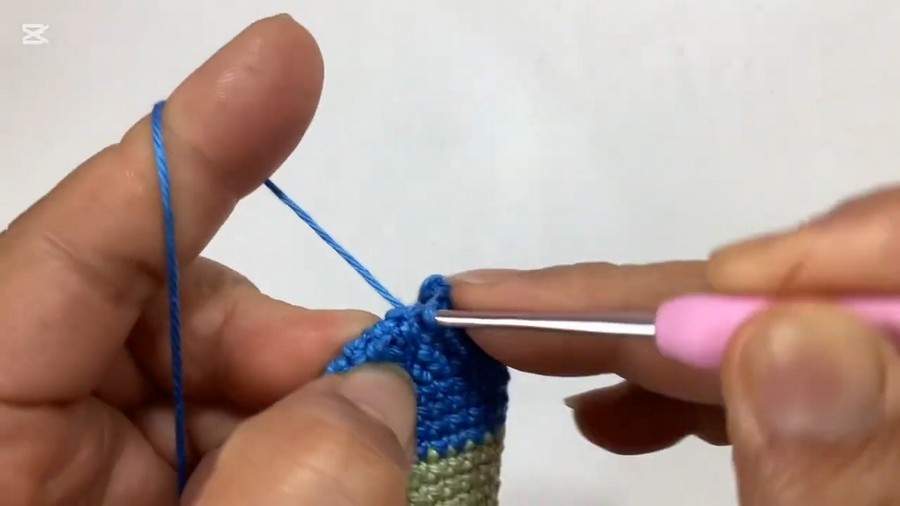
- 1 SC, DEC, repeat 6 times. (18 stitches total).
Round 28:
- 1 SC, DEC, repeat 6 times. (12 stitches total).
Round 29 (Final Body Round):
- 6 DEC. (6 stitches total).
- Finish off, cut the yarn, leaving a tail for sewing.
Stuff the body firmly at this stage and weave the end securely.
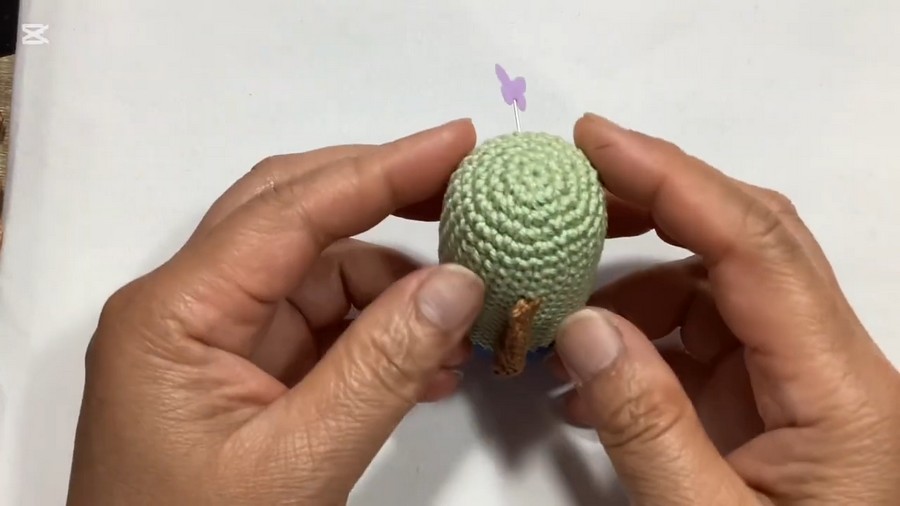
Tail Fin (Dark Brown Yarn):
Step 1:
- Attach Brown Yarn. Start with 12 SC in a continuous row.
Step 2:
- Turn your work. CH 1, 2 SC, 2 DC in the next stitch, repeat across.
Step 3:
- Cut yarn, leaving a tail. Attach and sew the fin to the back of the fish.
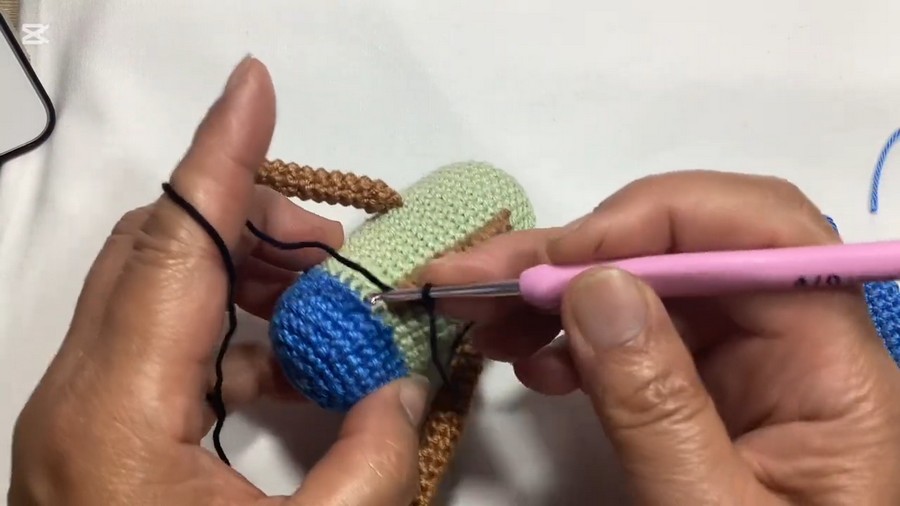
Fins (Make 2, Dark Brown Yarn):
Step 1:
- Start with a Magic Ring, 6 SC.
Rounds 2-8:
- Work 1 SC in each stitch (6 stitches per round).
Step 2:
- Cut leaving a tail for attaching.
Use wire to articulate the fins as desired; bend the ends and insert them through the fins for easy shaping.
Head (Light Brown Yarn):
Round 1:
- Start with a Magic Ring, 7 SC.
Round 2-4:
- Work 1 SC in each stitch.
- Finish off, and lightly stuff before sewing carefully to the front of the body.
Eyes (White and Green):
Step 1 (Make 2):
- With White Yarn:
- MR, 6 SC. Pull tight and secure.
Step 2 (Pupil):
- With Green Yarn:
- CH 5, 3 SC in 2nd CH from the hook.
- Work SC across remaining CH stitches.
Assembly:
Sew the green pupil onto the white eye, then attach the eyes between Round 7 and 8 of the head. Secure tightly.
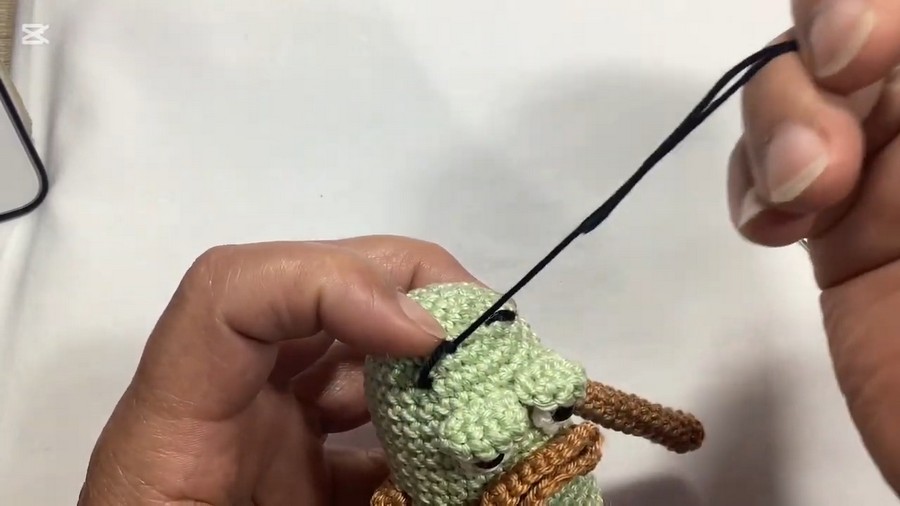
Arms and Legs (Make 2 Each, Brown Yarn):
Arms:
- MR, 6 SC.
- Work 1 SC per stitch for 14 rounds (6 SC total per round).
- Insert wire (if desired). Attach securely to the body.
Legs:
- MR, 7 SC.
- Work 1 SC per stitch for 8 rounds (7 SC total per round).
- Insert wire for articulation if desired.
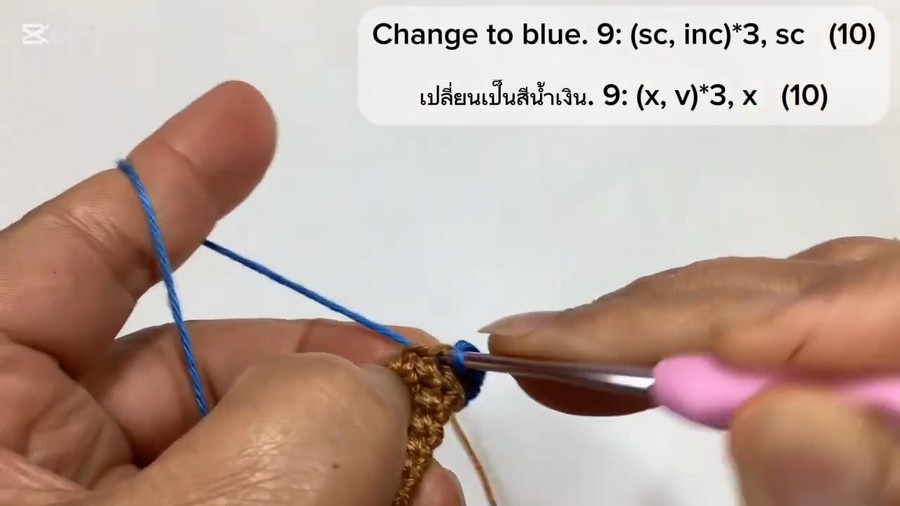
Belt and Buckle (Optional):
The belt is crocheted by working CHAIN stitches to wrap around the body and attaching it across the midpoint. The buckle is crafted separately using a contrasting color like gold or silver. Sew or glue in place.
Final Assembly and Finishing Touches:
- Assemble Parts:
- Attach the fins, arms, and legs securely to the main body using sewing techniques.
- Insert wire if articulation is desired for all limbs and fins.
- Attach Keyring:
- Secure the keyring to the top of the fish using a strong loop of yarn or metal attachment.
- Optional Accessories:
- Add stripes, patterns, or decorative elements using contrasting yarn.
Conclusion:
Your playful articulated fish keychain is now complete! It’s a unique, functional, and interactive crochet project that is both fun and useful. The flexibility of the limbs and fins makes it highly customizable and perfect as a keychain, toy, or gift.
Tips for Success:
- Ensure all limbs are attached securely, especially if using wire.
- Keep stitches tight to prevent stuffing from showing through.
- Use contrasting colors for details like eyes and fins to enhance the visual appeal.
Pattern Variations:
1. Color Variations:
- Use bright, tropical fish colors like orange, yellow, and neon green to make an eye-catching piece.
- Opt for pastel shades for a softer, whimsical version.
2. Size Adjustments:
- Use thicker yarn and a larger hook to create a plush version.
- For a smaller version, use lighter thread and a smaller hook (e.g., 1.75mm).
3. Custom Designs:
- Add decorative scales or embroidered stitches to mimic fish patterns.
- Create a glittery effect by using metallic thread for certain sections, such as fins or the belt.



