
Add elegance and warmth to your wardrobe with a stylish crochet puff stitch poncho that’s perfect for layering and brings cozy comfort to any occasion.
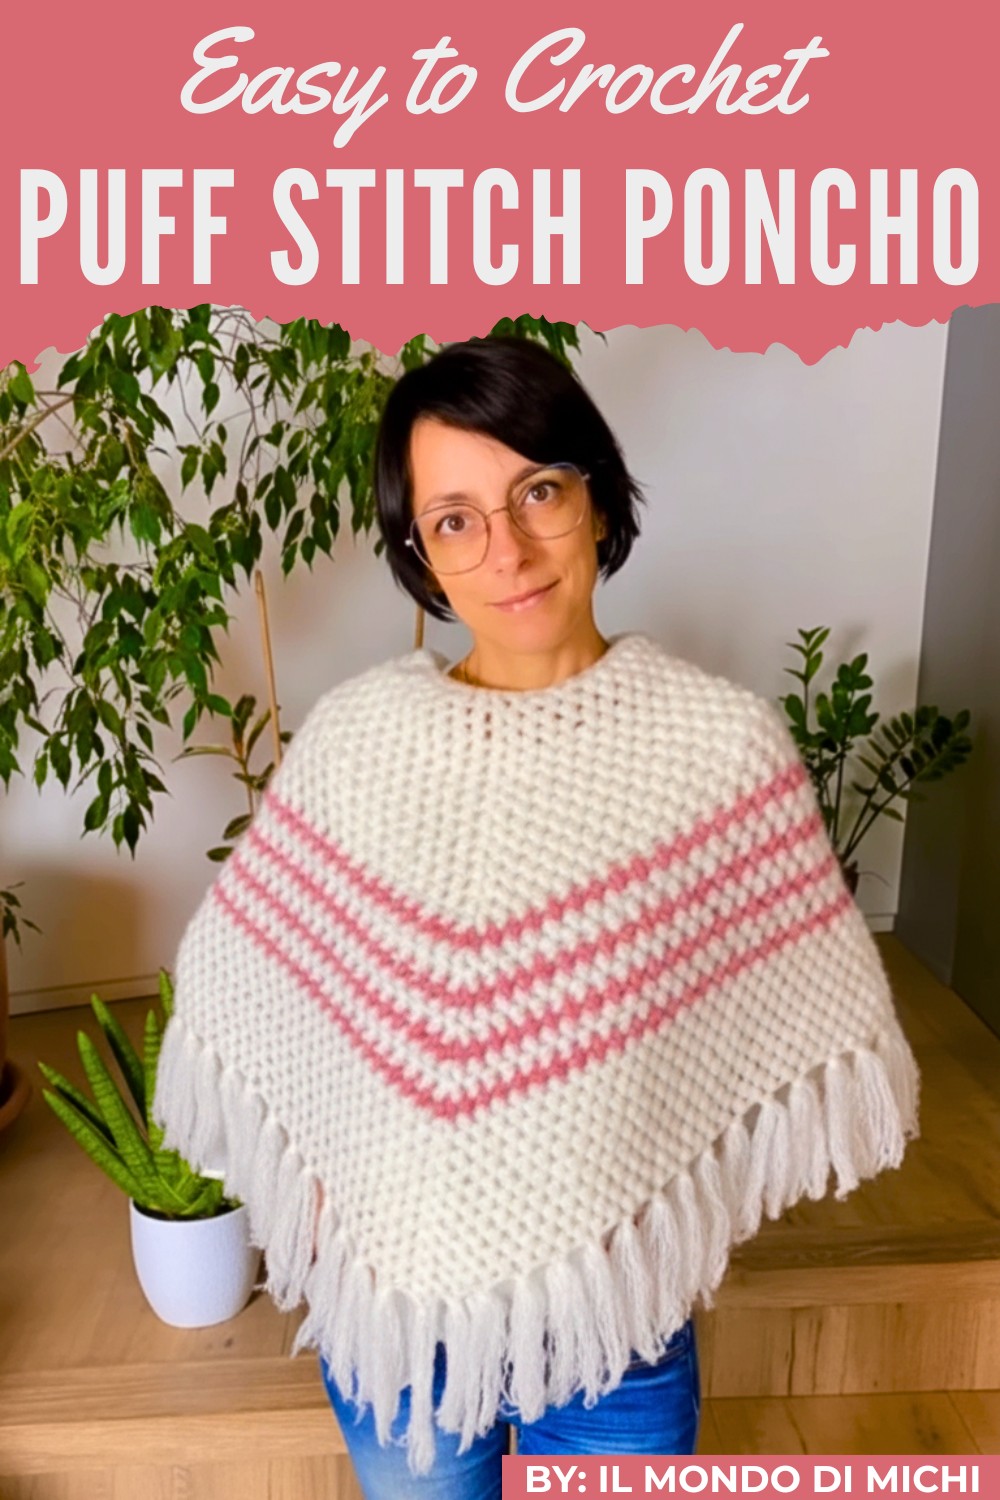
Ponchos are stylish, cozy, and perfect for adding charm to any outfit. Crochet puff stitch poncho patterns stand out because of their textured, elegant design created by soft puff stitches that look stunning and feel warm.
Unique Crochet Puff Stitch Poncho Pattern for a Bold Look
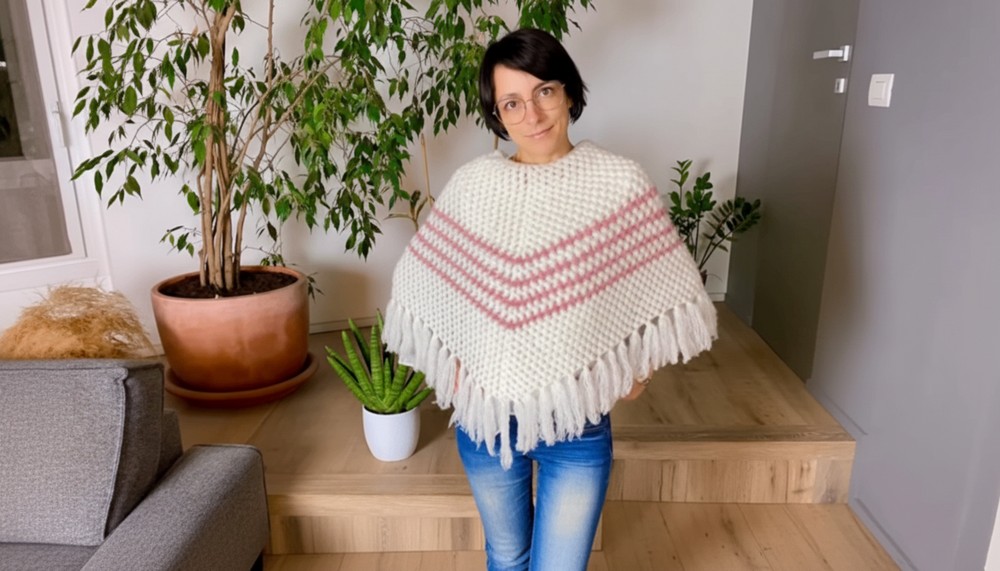
This poncho is perfect for layering in cooler weather, making it ideal for casual outings, cozy evenings, or even special events. The beauty of this poncho lies in its versatility—choose your favorite yarn colors, play with sizes, and create something that’s truly personalized.
Materials Needed
- Yarn:
- Main Color: 200g of Kid Mohair or similar thin, furry yarn (held double for consistency).
- Contrast Color: Approximately 20–30g of the preferred color (add ~50g for each larger size).
- Optional: Use a single color or mix hues for creative flair.
- Hook Size: US J/10 (6 mm) crochet hook
- Additional Items:
- Scorekeepers or stitch markers
- Scissors
- Notebook or sturdy item (16 cm tall) for fringe measurement
- Yarn needle for weaving in ends
Key Abbreviations:
- Ch: Chain
- Sl st: Slip stitch
- SC: Single crochet
- Puff st: Puff stitch (insert hook and pull yarn through 3 times, then yarn over and close all loops together)
- Inc: Increase stitch
- Rep: Repeat
Special Notes:
- This poncho uses puff stitches, chain spaces, and increases. The pattern is worked in the round starting with a foundation chain. Separate front and back halves are created using stitch markers and increases.
- Adjust measurements (+3 rows for each size up) to create larger sizes.
Poncho Pattern Instructions
Step 1: Base Foundation
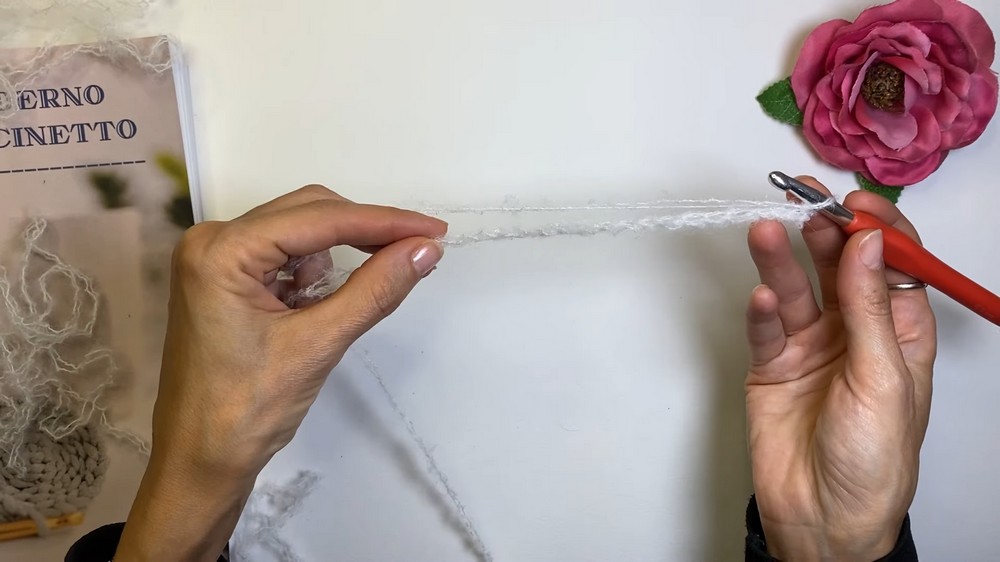
- Start with a foundation chain that has a multiple of 8.
- Example for size S: Crochet a chain measuring approximately 55 cm (adjust for sizes M, L, XL by adding length). Ensure the chain can comfortably pass over your head.
- Join to work in the round: Use a sl st into the first ch to form a circle.
Step 2: Row 1 – Puff Stitch Foundation
- Ch 1 to lift the thread.
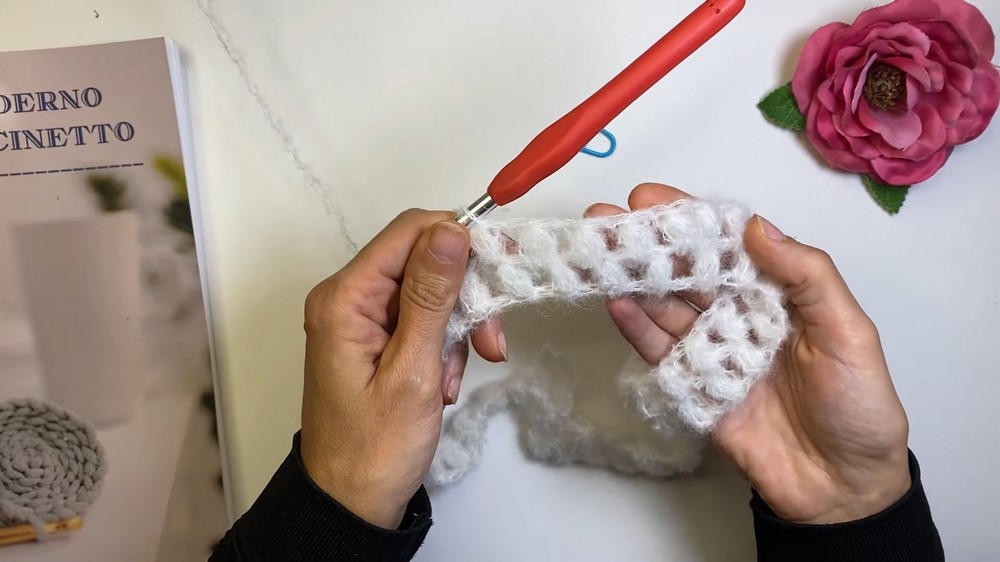
- Work your first puff stitch:
- Insert hook into the next ch.
- Pull up a loop slightly.
- Repeat this process 3 times (there will be multiple loops on the hook).
- Yarn over and pull through all loops, closing the puff st.
- Ch 1 for separation.
- Skip 1 ch and work the next puff st into the subsequent ch.
- Continue this pattern (puff st, ch 1, skip 1 ch) for the entire row.
Step 3: Row 2 – Divide Work & Begin Increases
- Mark the halfway point using stitch markers to differentiate the front and back halves.
- Move to the next row:
- Use a sl st to reach the underside of chain spaces from the previous row.
- Start the puff stitch pattern again, beginning with an increase:
- Work 2 puff stitches into the first ch space, separated by ch 1 (Inc).
- Continue working puff stitches into the chain spaces from the previous row.
- At the marked center point, work another increase:
- Insert 2 puff stitches into the ch space, separated by ch 1.
- Finish the row and join with a sl st.
Step 4: Repeating Rows
- From Row 3 onward, continue:
- Work puff stitches into every chain space.
- Place increase stitches under the chain spaces at the marked center points.
- Repeat the pattern until the poncho reaches a length of 17 cm for size S. (Add 3 rows for each larger size before switching to striped yarn sections.)
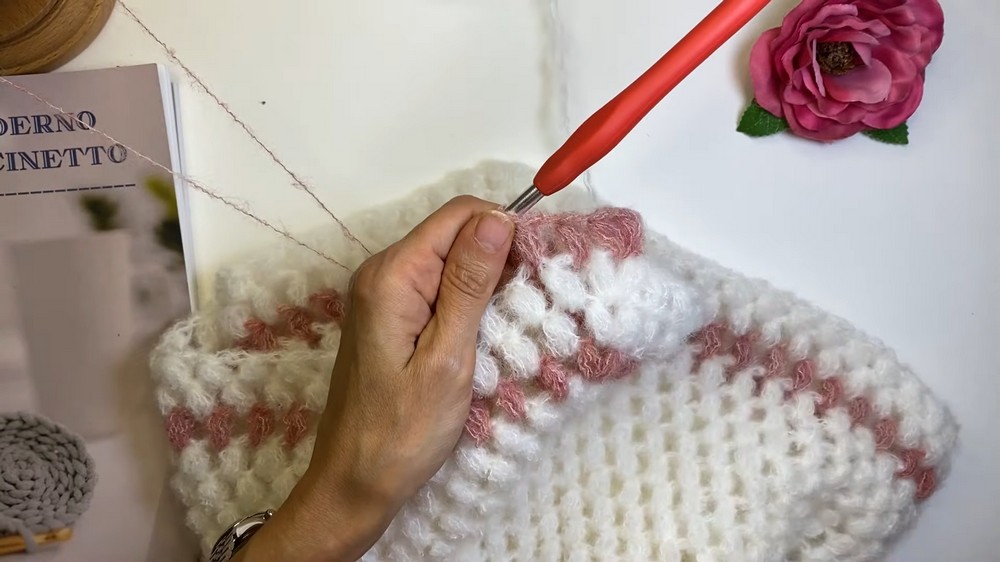
Step 5: Stripe Sections
- At the end of the length required for solid color, begin with contrast color yarn:
- Drop the main color and insert the hook into the first puff st.
- Yarn over with the new color and close the stitch.
- Work one full round using the contrast color and then switch back to the main color:
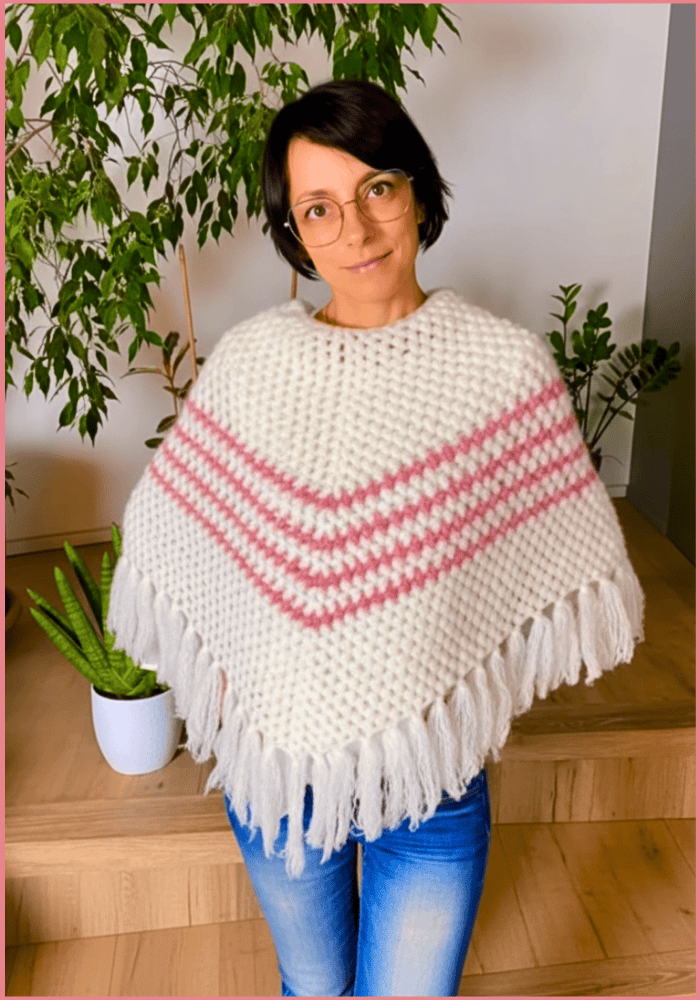
- Continue alternating 2 rows of main color, 1 row of contrast color for a total of 4 striped rows in size S.
- Cut the contrast color yarn and continue working in the main color to match the initial section length.
Step 6: Finishing the Body
- Once the poncho reaches the desired length (44 cm for size S), fasten off:
- Cut the yarn and pull the tail through the last loop.
- Weave in the loose ends using your yarn needle.
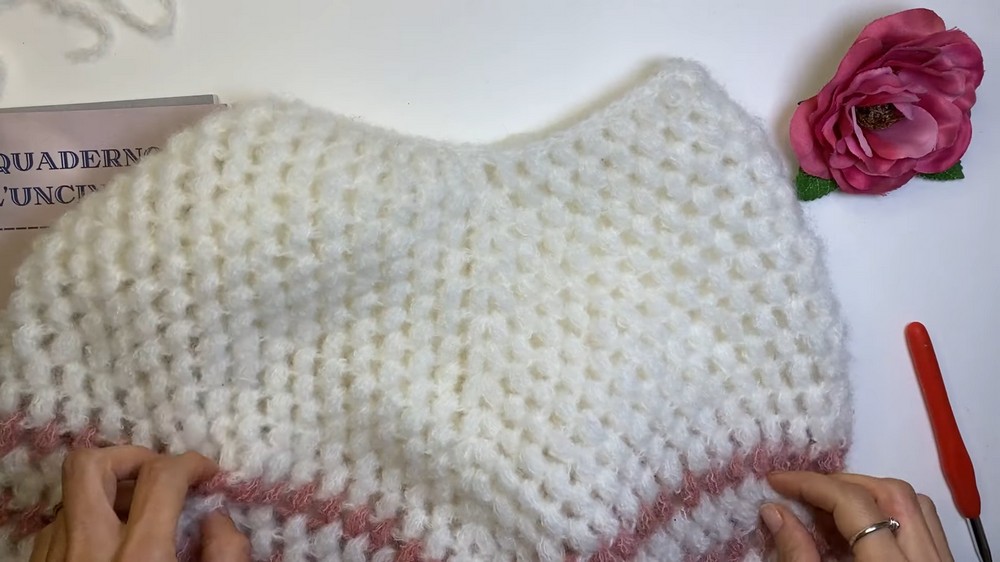
Step 7: Adding Fringes
- Create fringe pieces:
- Wrap yarn around a notebook (16 cm tall) 7 times.
- Cut the wrapped yarn at the bottom and slide the loops off the notebook.
- Attach fringes:
- Insert hook into the edge of the poncho.
- Fold fringe yarn in half and pull through the stitch using the hook to create a loop.
- Pull ends of the fringe through the loop and tighten.
- Repeat this process 1 stitch on, 1 stitch off around the edge.
Step 8: Optional Neck Stabilization or Collar
- To stabilize the neck, work a round of SC evenly around the neckline.
- For a collared poncho, continue working multiple rows of double crochet stitches until the neck reaches the desired height.
Conclusion
Your stunning, cozy poncho is now complete! Enjoy wearing it or gifting it as a thoughtful handmade item. Choose colorful yarn combinations to personalize the stripes or fringe design further.
Pattern Corrections
If the puff stitches feel bulky, reduce the number of yarn pulls from 3 to 2 for a more compact look. Test neckline fit before adding a collar to ensure it works comfortably over your head.
Tips for Success
- Ensure the foundation chain fits comfortably over your head before starting the body of the poncho.
- Use stitch markers liberally for clear section separation and to track increases.
- During stripe sections, carry the contrast color yarn loosely along the inside to avoid unnecessary tangling.
- Block the poncho after completion to shape it perfectly and achieve the desired drape.



