
Bring to life cute creations with a Crochet Amigurumi Seed Pattern that lets you make tiny charming seeds full of personality and fun for your collection.
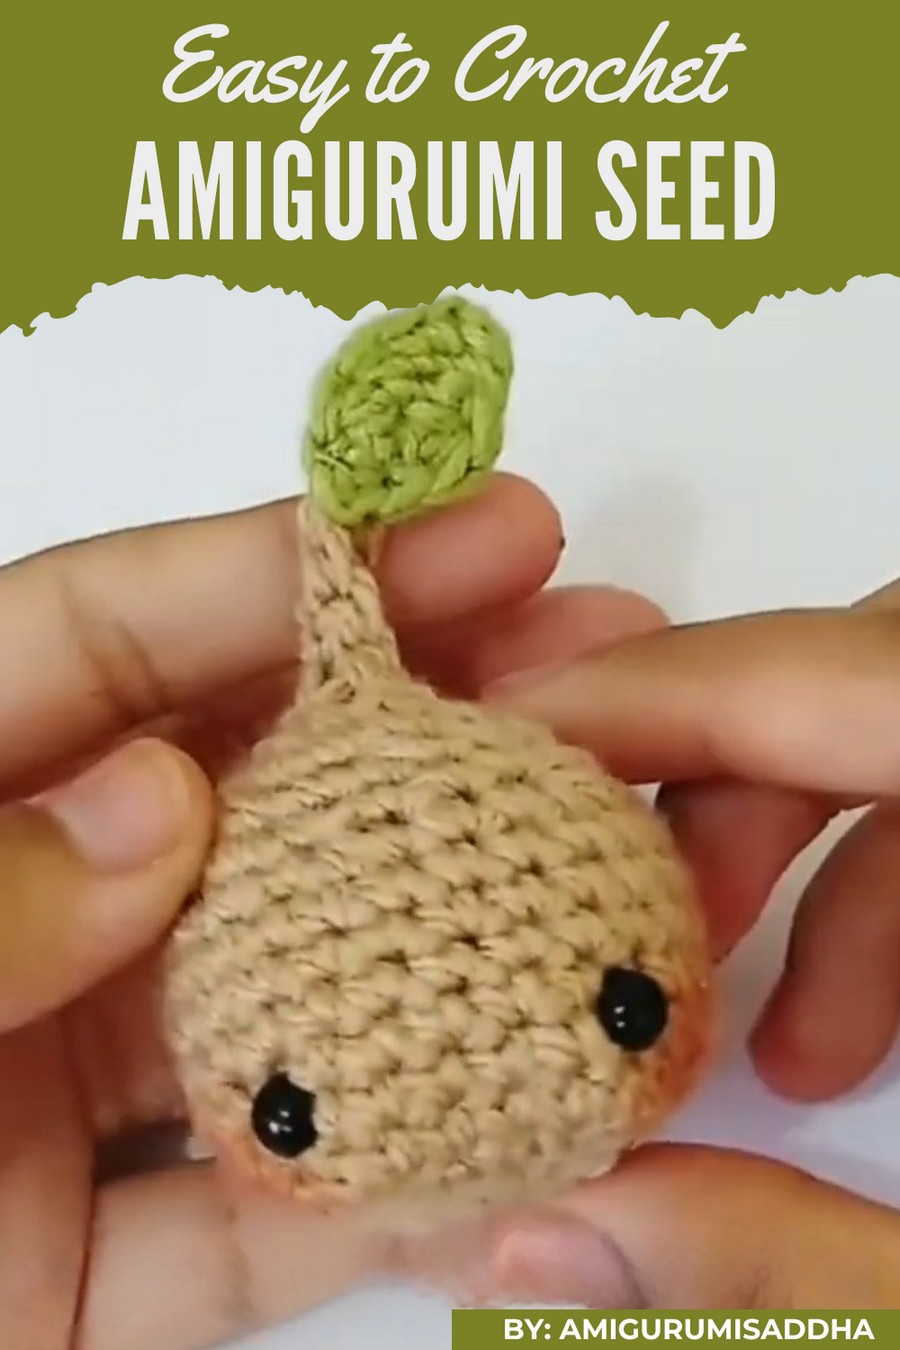
Ever wondered how to create something small, cute, and full of charm? A crochet amigurumi seed pattern is the perfect way to crochet your own adorable designs. With its soft textures and playful shapes, it adds a touch of creativity to your home decor or makes a thoughtful handmade gift.
Crochet Amigurumi Seed Pattern That Sparks Joy
What makes it truly unique is its ability to capture intricate details in a tiny, easy-to-hold design, making it fun and versatile. Whether you’re a beginner or experienced, these patterns are easy to follow, offering endless possibilities for creating something truly special and heartwarming.
Materials Required
Yarn
- Cappuccino Acrylic Yarn: For the seed body (Weight: #4 Medium).
- Green Cotton Yarn: For the stem and leaf (Weight: #3 Light or similar).
Hook Size
- 2.5 mm crochet hook for the body.
- 3 mm crochet hook for the stem and leaf (use hook size appropriate for the yarn).
Additional Supplies
- Stitch Markers (optional): To mark the beginning of rounds.
- Scissors: For cutting yarn.
- Stuffing: Cotton or silicone stuffing (you can also use leftover yarn scraps).
- Safety Eyes (6 mm) or alternative designs such as embroidered eyes.
- Tapestry Needle: For sewing and weaving in ends.
- Highlighter/Blush or Eyeshadow: To add rosy cheeks for decoration (optional).
Skill Level
- Intermediate
Key Abbreviations
- MR: Magic Ring
- SC: Single Crochet
- Inc: Increase (2 SC in the same stitch)
- Dec: Decrease (single crochet two stitches together)
- SL ST: Slip Stitch
- HDC: Half Double Crochet
- DC: Double Crochet
Special Notes
- The amigurumi is worked in continuous rounds; use a stitch marker to track the start of each round.
- Stuff the seed lightly for a firm yet soft shape.
- Safety eyes should be securely fastened after the 5th round.
Pattern Instructions
1. Seed Body (Cappuccino Yarn)
Step 1. Magic Ring
- Create a magic ring.
- Round 1: Work 6 SC into the ring. Tighten the ring and place a stitch marker at the first stitch. (6 stitches)
Step 2. Increasing Rounds
- Round 2: Work Inc in each stitch around. (12 SC)
- Round 3: 1 SC, Inc, repeat around. (18 SC)
- Round 4: 2 SC, Inc, repeat around. (24 SC)
Step 3. Straight Rounds
- Rounds 5-9: Work SC in every stitch. (24 SC per round)
Step 4. Placement of Safety Eyes
- Attach safety eyes along Round 5 or 6, spaced 5 stitches apart. Ensure they are evenly placed across the front of the seed body.
Step 5. Decrease Rounds
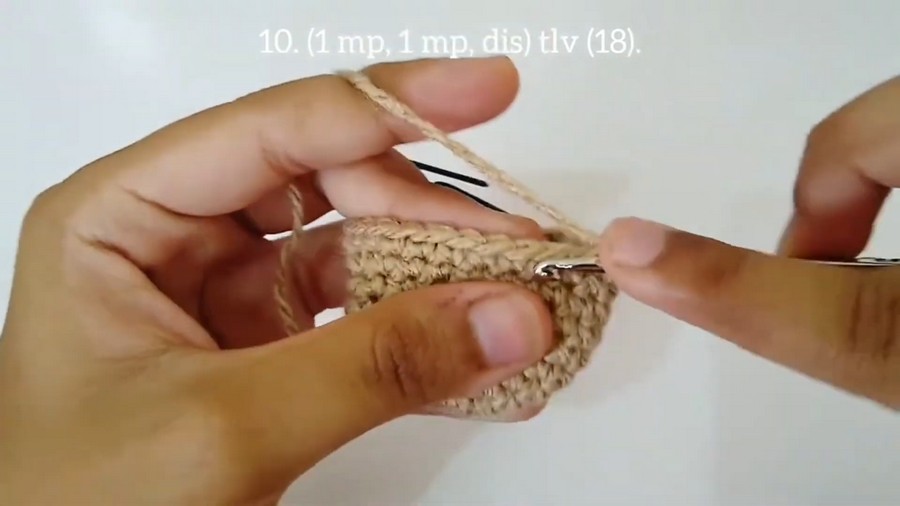
- Round 10: 1 SC, Dec, repeat around. (18 SC)
- Round 11: Work SC in each stitch around. (18 SC)
Step 6. Stuff the Body
- Lightly stuff the body with silicone stuffing or yarn scraps. Ensure it holds shape but does not bulge.
- Round 12: 1 SC, Dec, repeat around. (12 SC)
- Round 13: Work SC in every stitch. (12 SC)
Step 7. Final Decrease Round
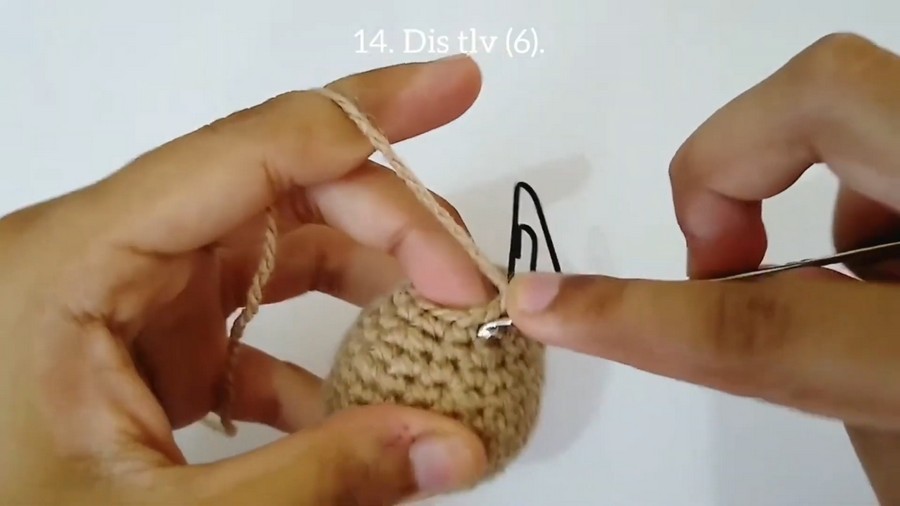
- Round 14: Work Dec all around. (6 SC)
- Pull the yarn gently, sew the last stitches together using a tapestry needle, and close the body securely.
2. Stem (Green Yarn)
Step 1. Attach and Set Up
- Attach green yarn at the center of the top of the seed body using a SL ST.
- Skip 3 stitches, then attach yarn in the 4th stitch with another SL ST.
Step 2. Stem
- Chain 5, and start back down the chain:
- Skip the first chain from the hook.
- SC in the next 4 chains.
- At the base of the stem, work a single decrease across the remaining skipped stitches to secure the stem in place.
- Fasten off and weave the yarn tail securely.
3. Leaf (Green Yarn)
Step 1. Leaf Foundation
- Create a slip knot and chain 5.
- Skip the first chain. In the second chain:
- SL ST in the second chain.
- HDC in the third chain.
- DC in the fourth chain.
- 2 DC in the fifth chain.
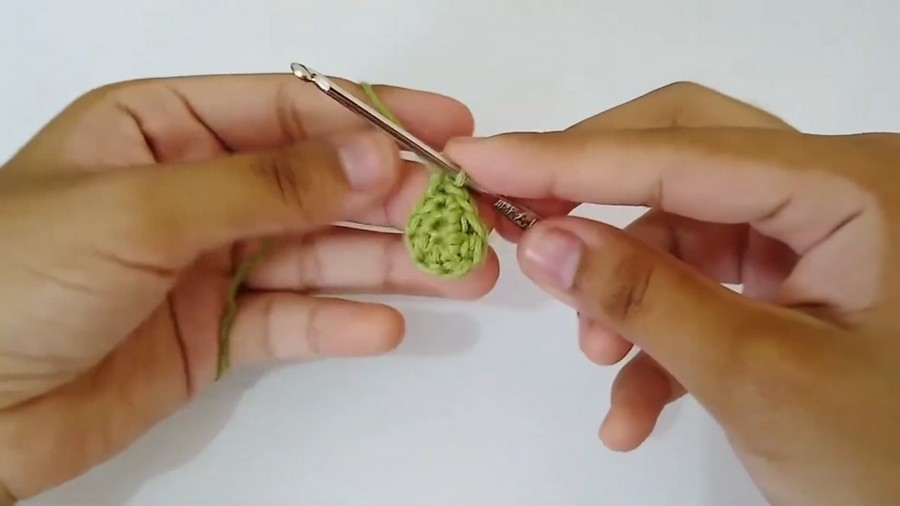
Step 2. Leaf Reverse Side
- Turn to work across the opposite side of the chain:
- 2 DC in the same stitch (as previous DC increase).
- DC in the next chain.
- HDC in the next chain.
- SL ST in the last chain.
- Leave a long tail for sewing.
Step 3. Attach Leaf
- Attach the leaf to the top of the stem using the long yarn tail.
- Secure with small stitches to the base of the stem, ensuring the leaf sits firmly.
4. Finishing Touches
- Use blush or highlighter to add rosy cheeks beneath the safety eyes.
- Weave in all yarn ends securely.
- Optional: Add a keyring or loop through the top of the stem to turn the seed into a keychain.
Tips for Success
- Stitch Counting: Use a stitch marker to accurately track increases, decreases, and rounds.
- Secure Eyes: Ensure safety eyes are tightly fastened before stuffing.
- Stuffing: Avoid overstuffing to maintain the seed's soft and round finish.
- Custom Finishes: Personalize your seed by embroidering a smile or details like freckles.
Pattern Variations
Color Variations
- Spring Theme: Use pastel colors for the body and bright greens for the stem and leaf.
- Winter Seed: Try a white body and frosty blue stem/leaf for a winter-inspired look.
Size Variations
- Use thicker yarn and larger crochet hooks to make a larger version as a plush toy.
- Use thinner yarn for smaller seeds to create earrings or charms.
Conclusion
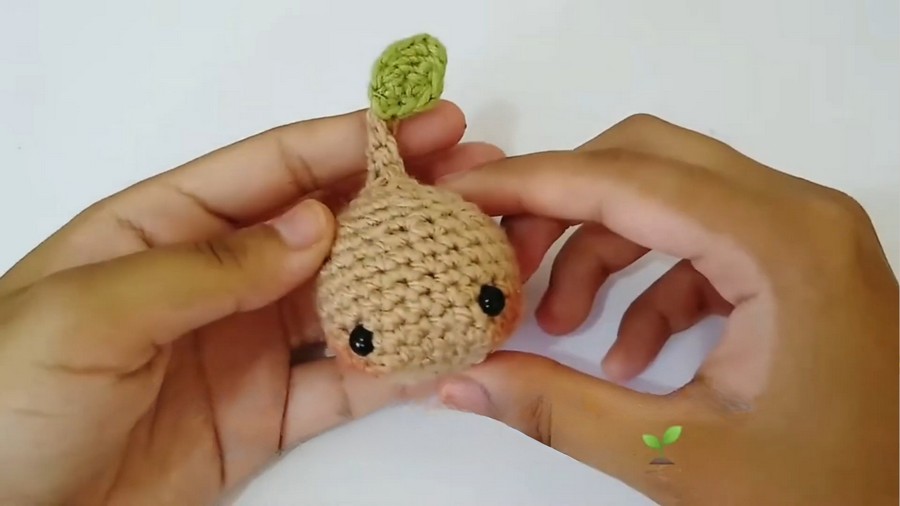
Congratulations! You’ve completed the mini seed amigurumi. This delightful project is versatile, making it perfect as a desk companion, keychain, or gift for fellow plant lovers. The whimsical stem and leaf add personality, while safety eyes and optional cheek blush bring the seed to life.
Final Look:
The seed should have a rounded body (around 7 cm tall), a small green stem, and a matching leaf. Experiment with ways to display or wear this adorable creation!



