
Freshen up your accessory game with a detailed crochet hat & scarf set pattern, crafted to bring charm and warmth to every outfit.
Perfect for chilly days, this crochet hat and scarf set offers both style and comfort. Designed with warmth in mind, the set pairs functionality with aesthetic appeal, ensuring that you’ll look great while staying cozy. The intricate stitches deliver a textured, timeless look that works for any season. The versatility of the pattern allows room for personalization, whether in color choices or design details. Ideal as a thoughtful handmade gift or a reliable addition to your wardrobe, this set is a winter essential.
Crochet Hat & Scarf Set Pattern
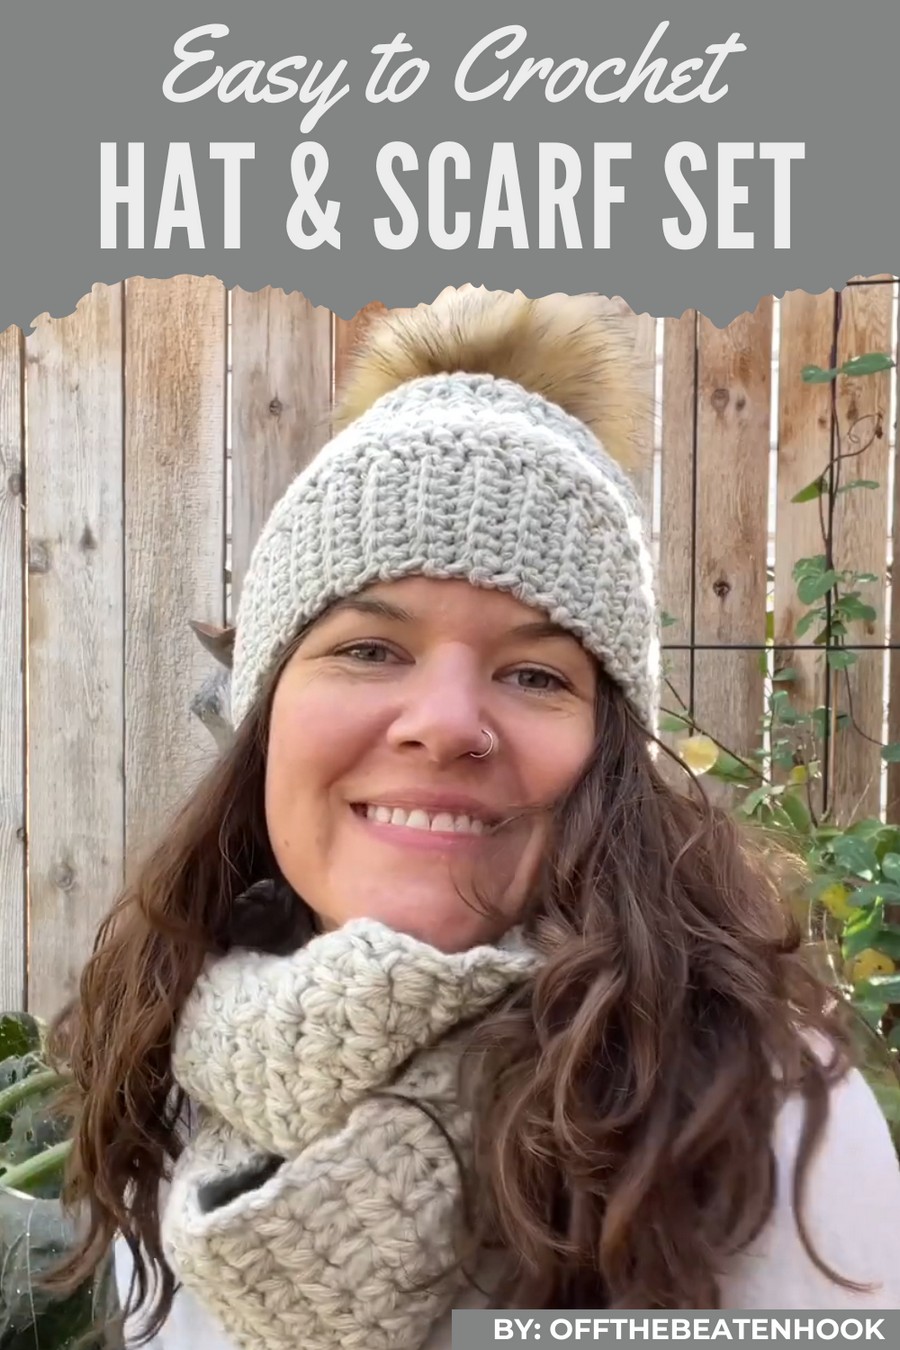
Crochet Hat & Scarf Set Pattern
The pattern is a cozy Hat and Scarf Set, characterized by the split puff stitch that creates a thick, squishy, and reversible fabric. It's ideal for cold weather, combining warmth with intricate texture. This warm hat pattern is beginner-friendly and includes step-by-step instructions for crafting both the hat and the scarf using the same method.
Materials
- Yarn: Size 5 bulky weight yarn (suggested: wool or any size 5 bulky yarn).
- Crochet hooks:
- 6.5 mm hook for scarf and hat body.
- 6.0 mm hook for ribbing (if making the hat).
- Tapestry Needle: For seaming the hat and attaching the pompom.
- Optional: Pompom (purchased or handmade).
Abbreviations of Stitches
- ch: Chain
- sc: Single Crochet
- dc: Double Crochet
- sl st: Slip Stitch
- sp puff: Split Puff Stitch
Step-by-Step Pattern
Foundation Row: Foundation Single Crochet
- Begin with 22 foundation single crochets for the scarf (the count varies for the hat based on size).
- How to create a foundation single crochet:
- Chain 2.
- In the first chain, insert hook into the back bump, yarn over, pull up, yarn over, pull through one, yarn over, pull through two.
- Continue this process until you’ve made 22 foundation single crochets.
Note: The foundation row doesn’t count as Row 1. It serves as the base for the pattern.
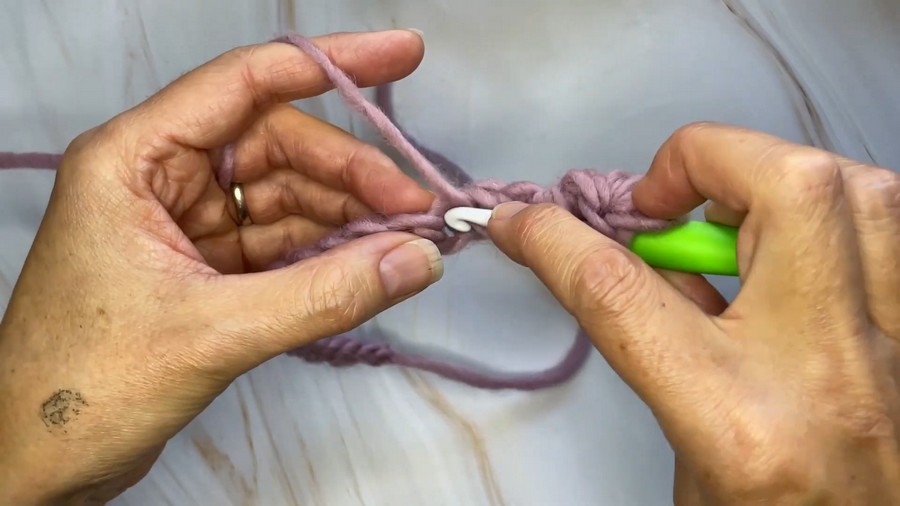
Split Puff Stitch Pattern: Rows
This consists of repeating Row 1 (setup row), and alternating Rows 2 & 3 for the rest of the scarf or hat body.
Row 1: Setup Row
- Chain 2 (counts as a stitch).
- Begin right into the first stitch with a split puff stitch.
- Yarn over, insert hook into first stitch, pull up a loop. Repeat this once more in the same stitch (2 loops made in the same stitch).
- Skip the next two stitches and insert hook into the fourth stitch. Yarn over twice and pull up loops.
- You should now have 9 loops on your hook. Yarn over and pull through all 9 loops.
- Chain 2:
- First chain closes the puff (called the ‘eye’).
- Second chain spaces out the stitches.
- For all subsequent split puff stitches:
- First leg starts in the same stitch where the second leg of the previous puff ended.
- Skip two stitches and work the second leg in the fourth stitch.
- Yarn over and pull through all loops (9 loops). Chain 2.
- Repeat the process across the row. At the end:
- Finish with a double crochet in the last stitch.
- Turn your work to start Row 2.
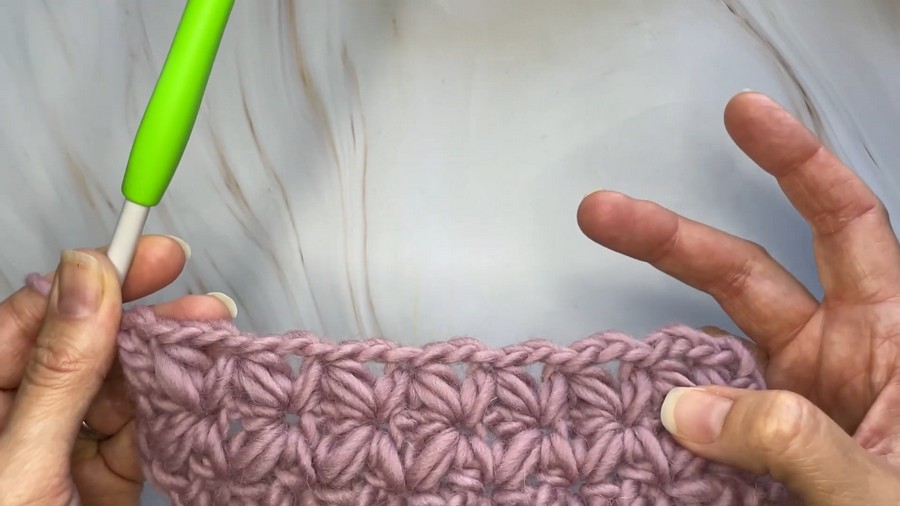
Row 2: Puff and Split Puffs
- Start with Chain 2.
- Make a single puff stitch into the eye from the last row.
- Yarn over, insert into that eye, pull up a loop twice. Yarn over and pull through all 5 loops.
- Chain 2.
- For split puff stitches across the row:
- First leg goes into the same eye as the single puff stitch.
- Second leg into the next eye from the previous row.
- For split puff stitches across the row:
- Continue this method across the row. At the end:
- Finish with a puff stitch instead of a split puff stitch.
- Chain 1 and work a double crochet into the turning chain of the previous row. Turn your work for Row 3.
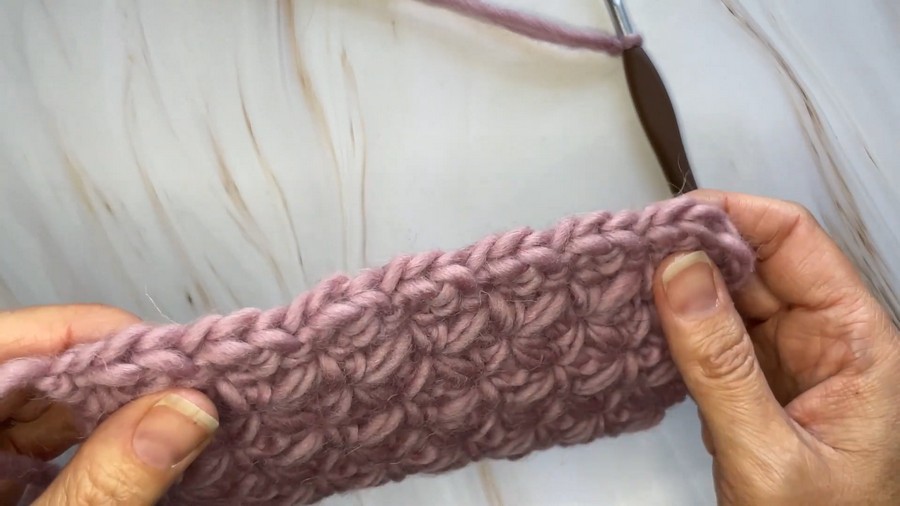
Row 3: Split Puffs Only
- Begin with Chain 2 and go directly into the first eye from the previous row.
- Work split puff stitches across the row:
- First leg goes into the current eye, second leg goes into the next eye from the previous row.
- End with Chain 1 and finish with a double crochet into the turning chain of the previous row.
Repeat Rows 2 & 3
Repeat Rows 2 & 3 alternately until the scarf or hat achieves the desired length or width.
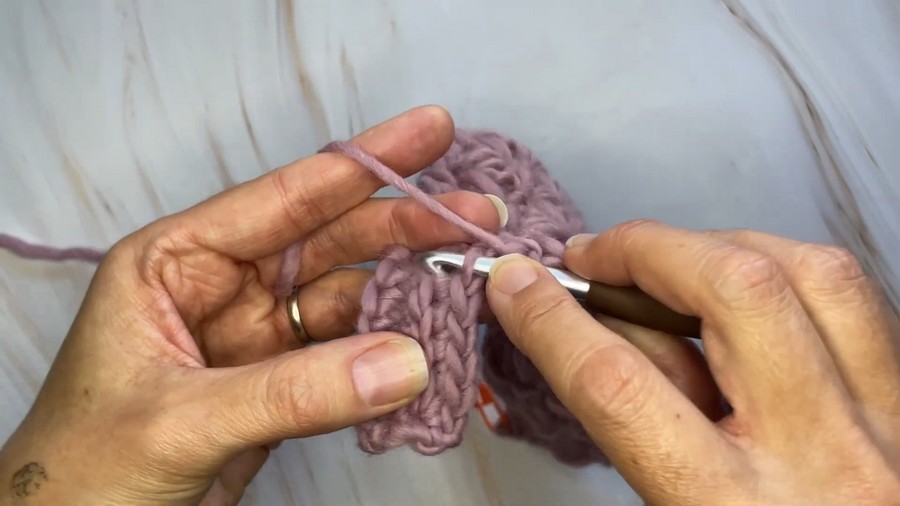
Ribbing for the Hat
- Switch to a smaller hook (6.0 mm).
- Rejoin yarn at the base of the hat, working into the foundation row.
- Chain the desired length for the ribbing (typically 1 more than the ribbing width; e.g., chain 7 for 6 stitches of ribbing).
- First row: Work single crochet stitches down the chain into the back bumps (skipping the first bump).
- Attach to the foundation row using slip stitches into the next two chains on the foundation row. Turn your work.
- Work single crochets back up the ribbing (in the back loop only, except the first and last edge stitches).
- Chain 1 and repeat, continuing for the length of the foundation row.
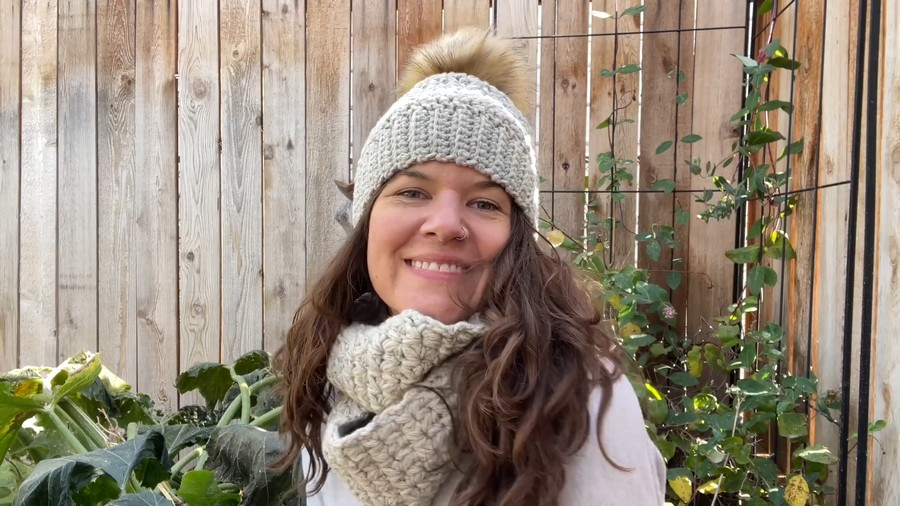
Finishing the Hat
- Once the ribbing is complete, leave a long tail to seam and cinch the hat.
- Fold the hat in half with right sides together.
- Using the long yarn tail and tapestry needle, whip stitch along the side to seam the hat into a tube.
- At the top of the hat: Weave the yarn in and out around the edge. Pull tightly to cinch the hat closed. Tie securely.
- Attach a pompom to the top of the hat using the yarn tail.
Conclusion
Both the hat and scarf boast a thick, textured fabric with a cozy, reversible appearance. The split puff stitch adds a unique charm, making this a beautiful accessory set for colder weather. With straightforward instructions, this pattern is accessible for both beginners and experienced crocheters looking for a fun, detailed design



