
Decorate your space with a colorful crochet mini tulip pot that’s easy to make and adds a charming touch to tables, shelves, or as a gift for loved ones.
Brightening up your space with a cute and colorful crochet decoration is always fun! The mini tulip pot is a wonderful little project that adds a splash of spring charm to any room. Using a free crochet pattern, you can create tiny pots filled with soft, yarn tulips that look absolutely adorable. The design is small, making it ideal for shelf displays, desks, or as a cheerful gift for someone special.
Crochet Mini Tulip Pot Pattern for Spring Decor and More
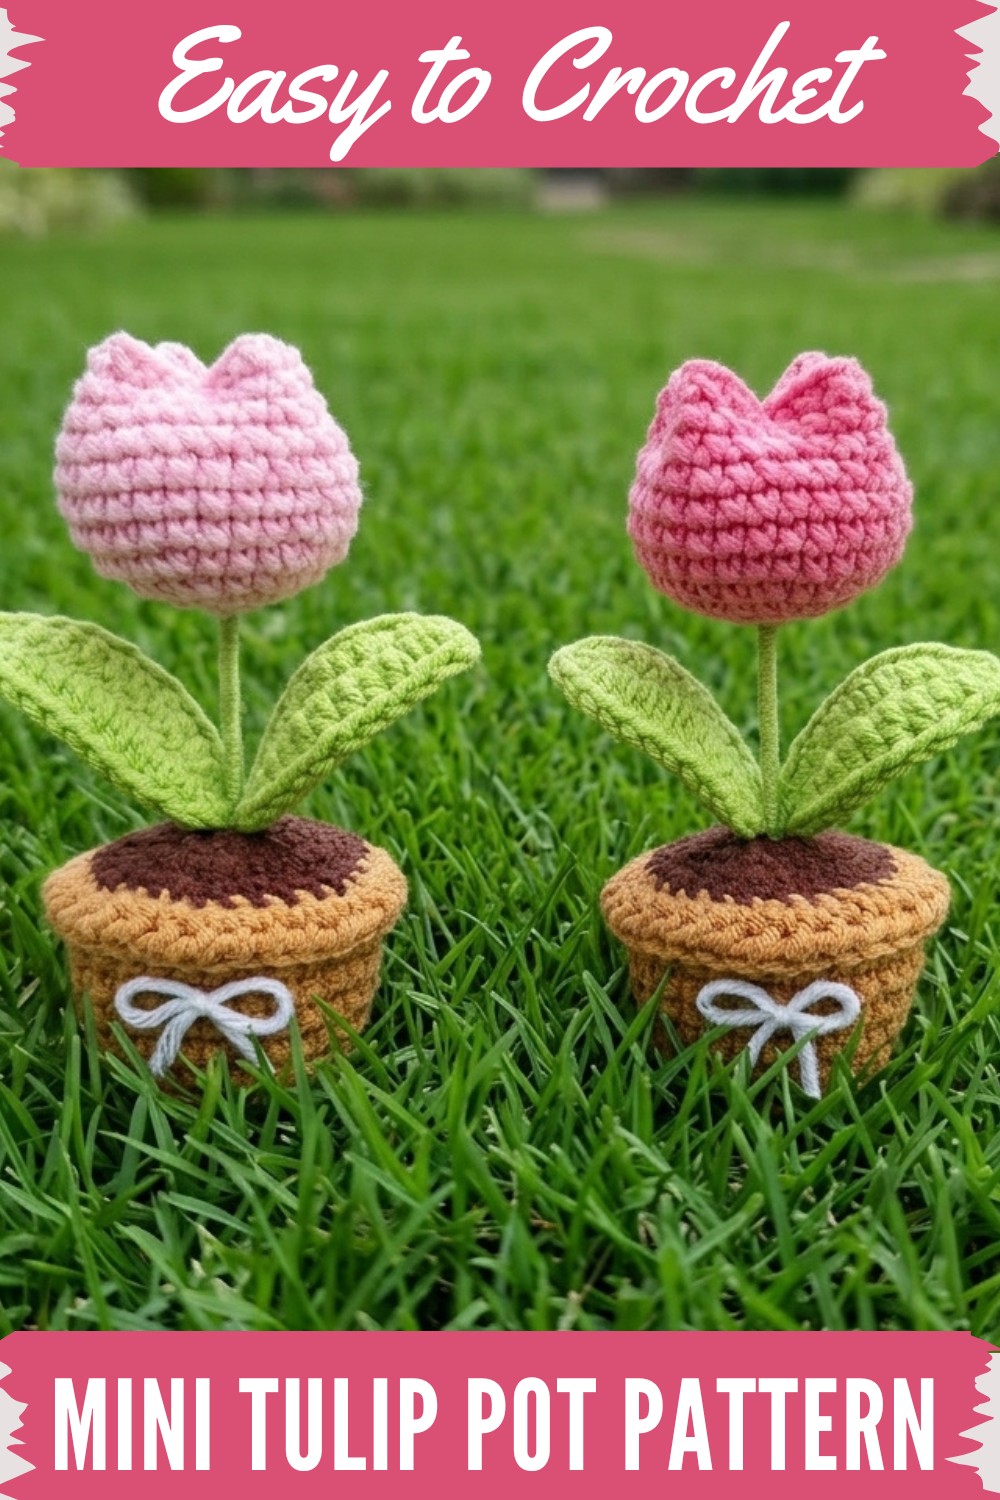
These mini tulip pots showcase vibrant yarn flowers sitting snugly in a neat crochet base, giving them a tidy and polished appearance. Their compact size makes them perfect for adding life to small dull areas, like a bedside table or a study desk. Plus, the soft texture of the yarn gives the flowers a warm and cozy effect that pairs beautifully with all decor styles.
This crochet project is also great for beginners and a creative way to personalize your surroundings with bright and cheerful colors. Whether you add it to your home or hand it out as a thoughtful handmade gift, the mini tulip pot brings joy and charm wherever it goes. With a free crochet pattern, making this sweet little addition is both simple and exciting!
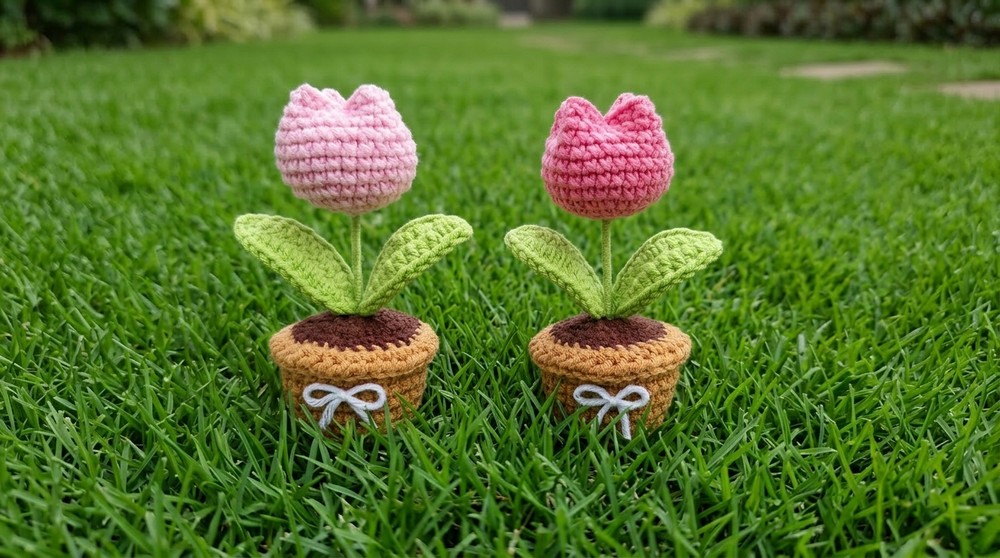
Mini Crochet Tulip Pot Pattern
This tutorial provides detailed step-by-step instructions to create an adorable mini tulip in a pot. Perfect for decorating your space or gifting to someone special, this project utilizes amigurumi techniques, includes wire-supported leaves for realism, and allows room for customization.
Materials
- Yarn:
- Brown for the pot
- Green for leaves and stem
- Color of choice for tulip bud
- Small amount of black/dark brown (optional, for details)
- Crochet Hook: 2.5–3.5 mm or as appropriate for your yarn weight
- Stitch Marker: For marking rounds
- Polyester Fiberfill: For stuffing bud and pot
- Craft Wire: 15 cm (for leaves and stem support, 0.4–0.6 mm preferred)
- Scissors
- Yarn Needle: For sewing and weaving in ends
- Glue: Hot glue or craft glue (for attaching and wrapping wire)
- Optional: Hot glue gun for assembly
Gauge
Gauge is not essential for this project, as the finished size is small and decorative. Using the recommended hook and DK/light worsted weight yarn, the finished pot with tulip measures approximately 3–4 inches (7–10 cm) tall.
Pattern Instructions
1. Pot
Round 1:
- Make a magic ring.
- 6 sc in ring. (6 sts)
- Pull the yarn tight to close the ring.
- Sl st in first st to join.
- Ch 1 to start next round.
Round 2:
- Inc in each st around (2 sc in each st) – 12 sts.
- Sl st in first st to join.
Round 3:
- Ch 1.
- (1 sc in next st, inc in next st) – repeat 6 times (18 sts).
- Sl st in first st to join.
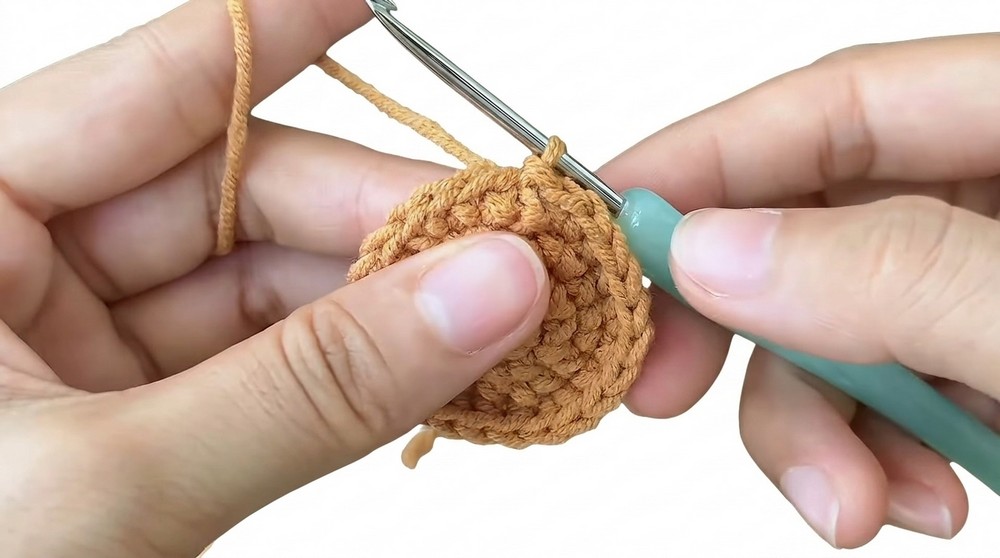
Round 4:
- Ch 1.
- (1 sc in each of next 2 sts, inc in next st) – repeat 6 times (24 sts).
- Sl st in first st to join.
Round 5:
- Ch 1.
- Work sl st BLO (back loops only) in each st around (24 sl sts).
- Sl st in first st to join.
Round 6:
- Ch 1.
- (1 sc in each of next 3 sts, inc in next st) – repeat 6 times (30 sts).
- Sl st in first st to join.
Round 7:
- Ch 1.
- Sc in each st around (30 sts).
- Sl st in first st to join.
Rounds 8–11:
- Repeat Round 7 (sc in each st, sl st to join).
Round 12:
- Ch 2.
- Hdc FLO (front loops only) in each st around (30 hdc).
- Sl st in first st to join.
- Fasten off and weave in ends.
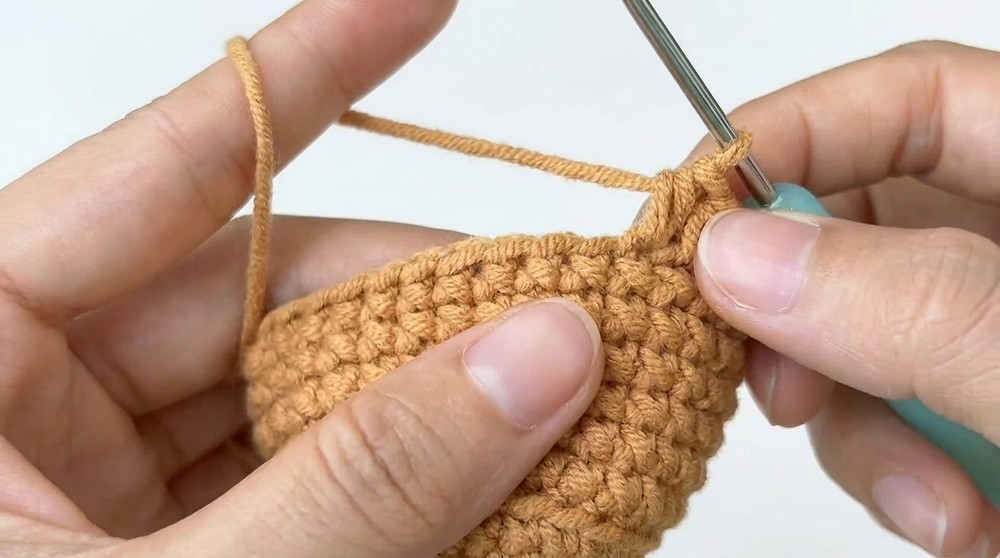
2. Soil
Round 1:
- Magic ring, 6 sc into ring (6 sts).
- Pull tight, but leave a small hole in the center for later assembly.
- Sl st to first st to join.
Rounds 2–4:
- Follow the first four rounds of the pot (increases to 24 sts).
- Fasten off, leaving a long tail for sewing.
- Lightly stuff with fiberfill before attaching to the pot.
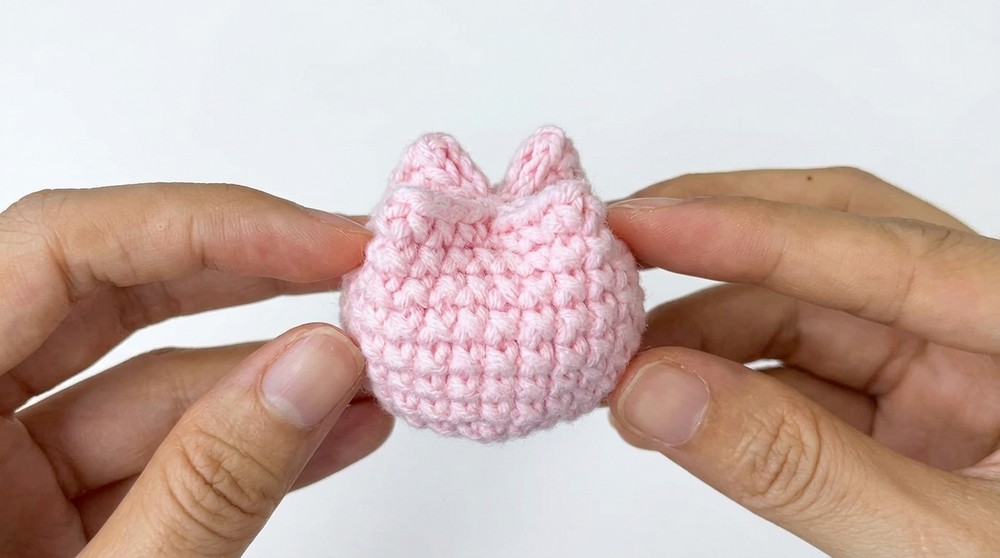
3. Tulip Bud
Round 1:
- In tulip color, magic ring, 7 sc in ring.
- Pull closed.
Round 2:
- Inc in each st around (14 sts).
- Crochet in continuous spiral, using a marker.
Round 3:
- (1 sc in next st, inc in next st) – repeat 7 times (21 sts).
Round 4:
- (1 sc in next 2 sts, inc in next st) – repeat 7 times (28 sts).
Round 5:
- Sc in each st around (28 sts).
Rounds 6–11:
- Repeat round 5.
Finish:
- Sl st in next st, ch 1, fasten off, leaving a long tail for sewing.
- Stuff the bud with fiberfill.
- Weave tail through final round in a cross-stitch manner to close and shape the top.
4. Leaves (Make 2)
- Begin with green yarn and a slip knot.
- Ch 12.
- Prepare a 15 cm piece of wire.
- Crochet over the wire for stability:
- Hold wire along the chain; insert hook into the 2nd ch from hook and pull yarn around wire.
- Sc in first chain.
- Hdc in next ch.
- Hdc in next 7 chains.
- Sc in last 2 chains.
- Ch 2.
- In the same end stitch, make another sc (this creates the tip of the leaf).
- Work along the other side of the chain:
- Sc in next st.
- Hdc in next 8 sts.
- Sc in last st.
- Sl st to first sc to join.
- Fasten off.
- Wrap yarn around remaining exposed wire for a neat finish.
- Make a total of two leaves.
5. Stem/Branch Assembly
- Use green yarn to wrap around a piece of wire (~7–9 cm for the stem), applying glue as you go.
- Insert one wired end into the base of the tulip bud; glue in place.
- Continue wrapping yarn along the stem for 3–4 cm.
- Tie leaves to the branch, continue wrapping yarn to cover the leaf wires and make a natural-looking stem.
- Secure the end with glue.
6. Assembly
- Stuff pot lightly with fiberfill.
- Sew or glue the soil circle to the top of the pot.
- Leave the small center hole for the stem wire.
- Insert the stem/branch (with tulip and leaves attached) into the center hole of the soil.
- Secure with glue inside the pot or by sewing the base of the stem to the inside of the soil (optional for extra durability).
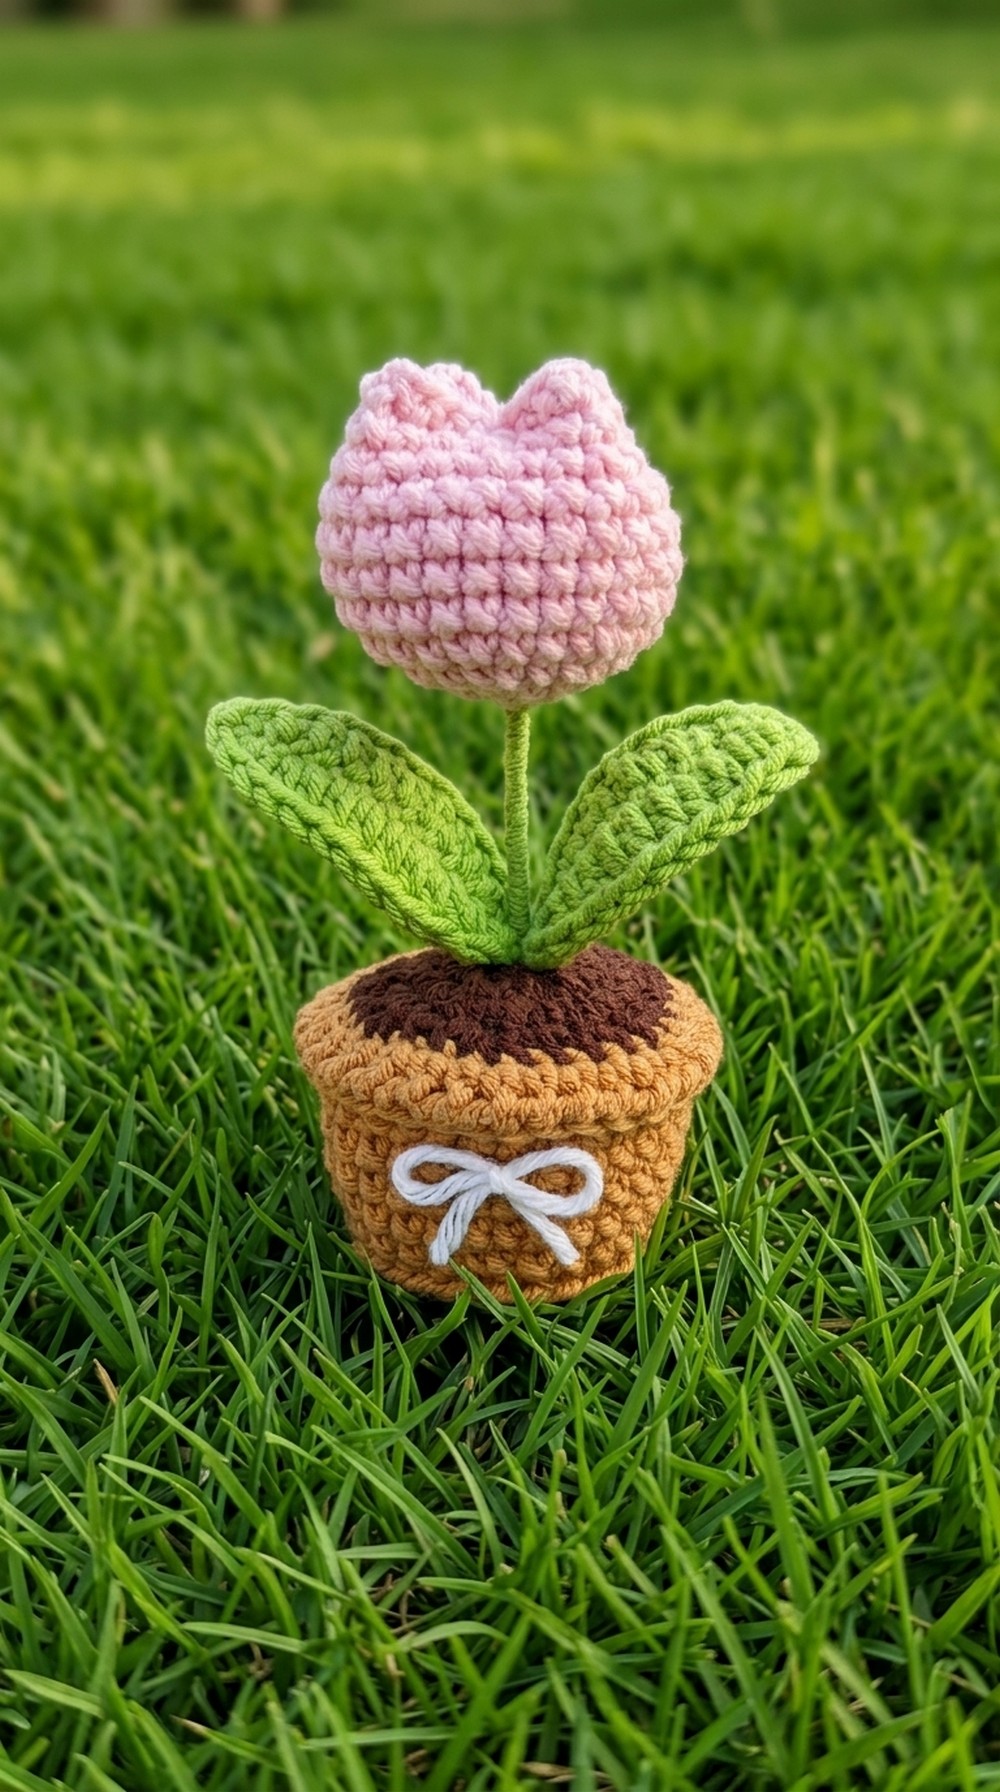
Finished Size
- Height: Approx. 3–4 inches (7–10 cm)
- Pot diameter: ~1.5–2 inches (4–5 cm)
- Tulip bud: ~1–1.5 inches (2.5–4 cm) across
Tips & Customization Ideas
- Color: Customize with different bud colors, pot colors, or add embroidery for details.
- Size: Adjust yarn weight and hook size to create larger or smaller decorations.
- Gifting: Makes a sweet desk or shelf accent; great as a handmade gift.
- Leaf Variation: Change leaf length or shape for other flower types.
- Bouquet: Group several together for a bouquet in a larger “pot.”
Special Techniques
- Magic Ring: Ensures a closed, tidy center.
- Crocheting Over Wire: Gives structure and poseability to the leaves and stem.
- Front/Back Loop Only: Used for shape and definition in pot and soil.
- Cross-Stitch Closing: For a natural tulip tip.
Conclusion & Final Remarks
Congratulations! You have created a mini tulip in a pot with realistic details and charm. This project offers room for creativity (color, size, embellishments) and is a wonderful way to practice amigurumi and construction techniques. The finished tulip is sturdy, visually delightful, and sure to brighten any space or recipient's day.



