
Sew tiny cozy footwear with Crochet Baby Shoes Pattern that keeps little feet snug and stylish while filling gifts and keepsakes with charm and cuteness.
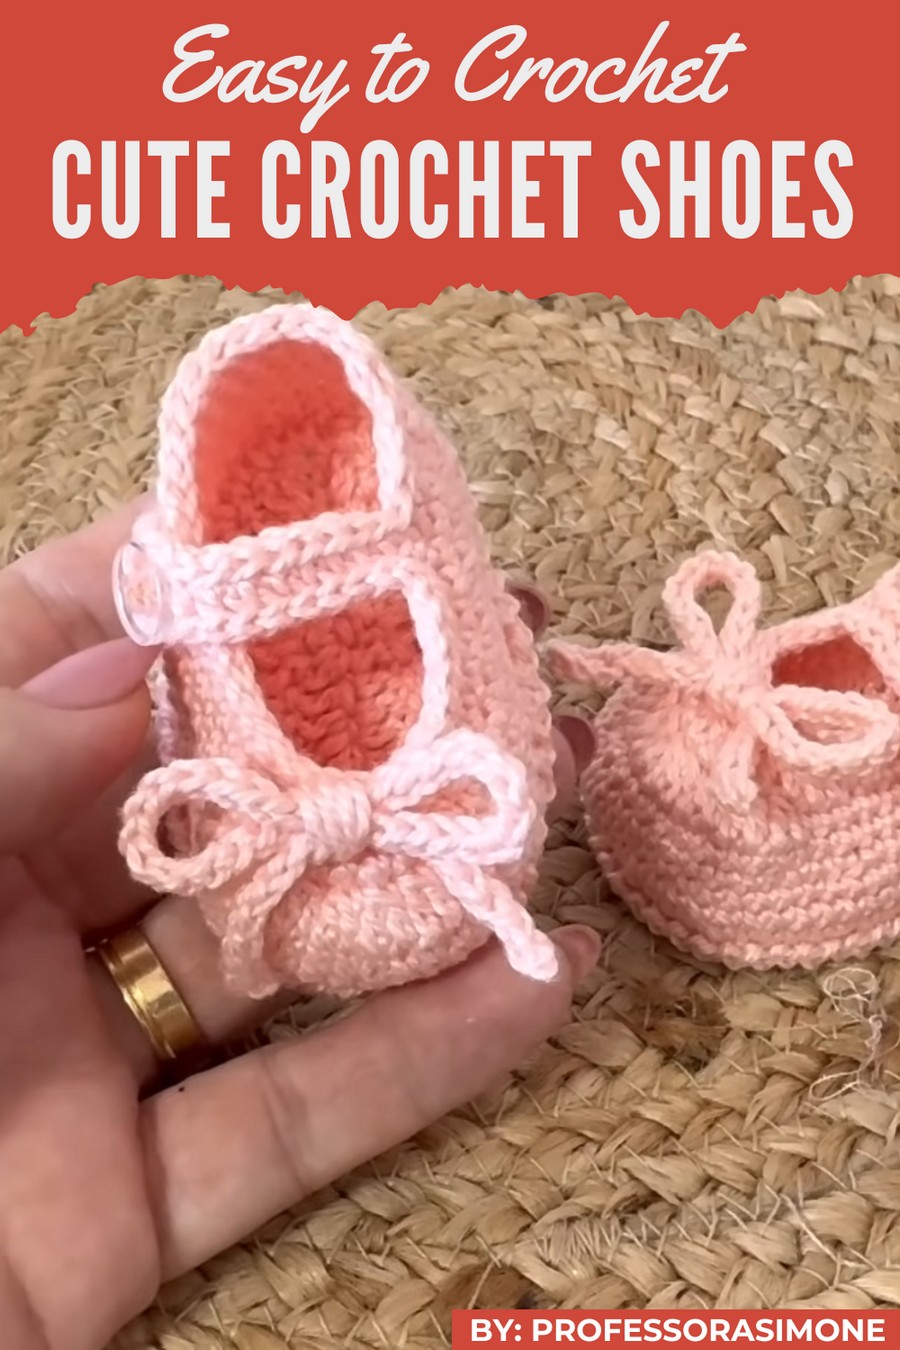
Tiny feet deserve something soft, warm, and full of charm, and this little creation brings just that to life. The Crochet Baby Shoes pattern shows delicate handmade shoes with soft yarn, neat stitches, and gentle colors that make them look cozy and inviting.
Charming Croche Baby Shoes Pattern for Tiny Toes
They can hug newborn feet, become a thoughtful gift, or even brighten a baby’s room as a sweet decoration. The most special features are their soft texture, snug fit, and adorable design, which make shoes unique, durable, and comforting, giving every baby a touch of handmade love and cozy warmth wherever they go.
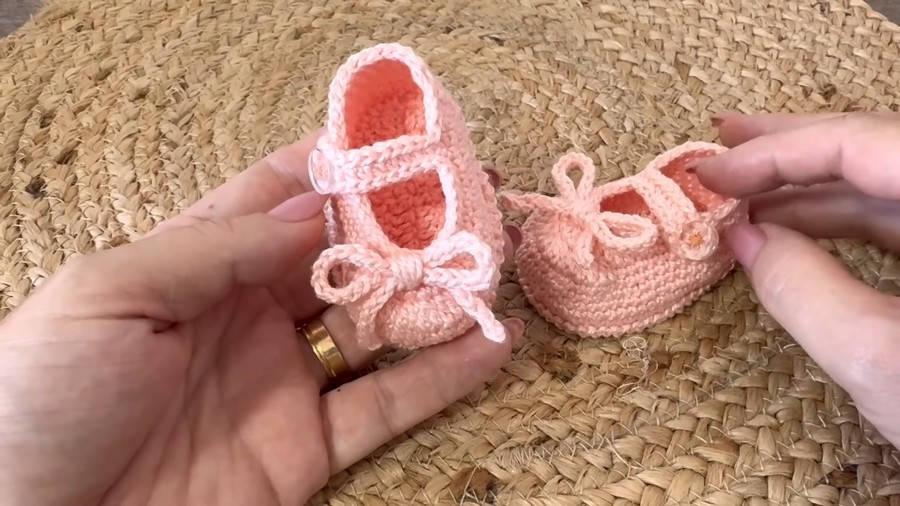
This detailed pattern guides you step-by-step through creating a pair of charming Crochet Baby Shoes using just 15g of yarn. They are perfect for newborns, quick to make, and a thoughtful handmade gift or a profitable item to sell.
You can customize using different colors and embellishments, but even in their basic form, they are absolutely adorable.
Materials List
Yarn and Supplies
- Yarn: Anne 100% cotton yarn is recommended, but any lightweight or sport-weight yarn will work.
- Crochet Hook: 2.5mm and 1.75mm hooks. A 2.5mm hook is used for the main body, while the 1.75mm ensures a neat and structured finish.
- Button: Small decorative buttons for closures.
- Sewing Needle: For sewing buttons and finishing loose ends.
- Tape Measure: To ensure proper length and sizing of the sole and bow.
- Fabric Glue or Liquid Silicone Glue (optional): For securing finished ends.
Skill Level
Intermediate: This pattern includes shaping, working in continuous rounds, simple increases and decreases, and additional finishing techniques.
Key Abbreviations (US Crochet Terminology)
| Abbreviation | Meaning |
|---|---|
| ch | Chain |
| sc | Single Crochet |
| dc | Double Crochet |
| hdc | Half Double Crochet |
| sl st | Slip Stitch |
| inc | Increase (2 stitches in one) |
| dec | Decrease (2 stitches together) |
Special Notes
- Continuous Rounds: Unless otherwise stated, this pattern uses continuous rounds. Use a stitch marker to mark the start of the round if needed.
- Ensure Same Size for Both Soles: Tension can vary, so work both soles on the same day to maintain uniform size.
- Base Chart for Sizing: If adjustments are needed, refer to a baby shoe sole size chart in centimeters. The sole described in this pattern is for newborn size (foot length ≈ 8cm).
Step-by-Step Pattern
Part 1: Sole
- Foundation Chain:
- Chain 12 ch.
- Round 1:
- Starting from the third chain from the hook, work:
- 5 sc (these form the heel),
- 6 dc (working along the remaining chain).
- In the last chain of the foundation, work 6 dc (all in the same stitch to form the front of the sole).
- Returning along the opposite side of the foundation chain:
- Work 6 dc back toward the heel.
- Finish with 5 sc (mirroring the first half).
- Join with a sl st to the first sc.
- Starting from the third chain from the hook, work:
- Round 2:
- Chain 3 (counts as dc).
- Work 1 dc in each stitch until reaching the first increase from Round 1 (the 6 dc cluster at the front of the sole).
- In each of these 6 dc, work 2 dc in each stitch (12 stitches total remain at the front curve).
- Continue with 1 dc in each stitch around the heel to the last 4 stitches of Round 1.
- Work 2 dc in each of these last 4 stitches.
- Join with a sl st to the initial chain 3.
- Round 3:
- Chain 2 (counts as hdc).
- Work 1 hdc in each stitch until reaching the increased section.
- In the first of the 12 front stitches: 1 hdc,
- In the next 8 stitches: 2 hdc in each,
- In the last 3 stitches: 1 hdc in each stitch.
- Continue with 1 hdc in each stitch until arriving at the 8 stitches near the heel.
- For the first and last of the 8 stitches: make 1 hdc each,
- In the center 6 stitches: 2 hdc in each.
- Finish the round by joining with a sl st to the 2nd chain from the start.
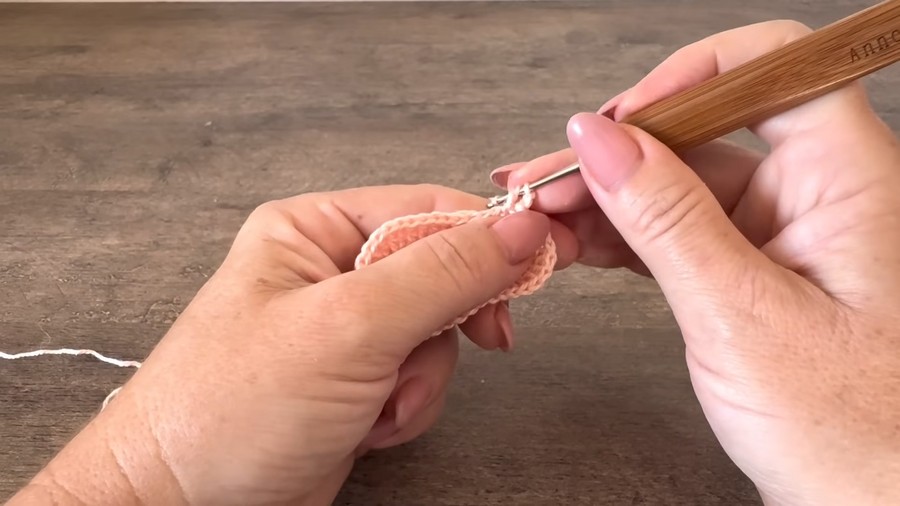
Part 2: Upper Foot (Body of Bootie)
- Setup Row:
- Chain 1. Work 1 sc in the back loop only (BLO) of each base stitch for ONE row.
- Join with a sl st to complete the round.
- Rows 2-5:
- Chain 1. Work 1 sc in each stitch of the base (through both loops).
- Repeat until you have 5 total single crochet rows.
- Start Decreasing (Shaping Front of the Bootie):
- Place stitch markers to mark 16 front stitches (evenly spaced).
- Work 1 sc in rest of the base stitches until a stitch before the marker.
- Decrease Across the Front (16 stitches become 7):
- Work successive dc2tog in the 16 marked stitches.
- Continue with 1 sc in each base stitch until the end of the row. Join with a sl st.
- Second Decrease Round:
- Work 1 sc in each stitch before the decreased section from the previous row.
- Begin dc2tog decreases, leaving 2 sc before and after the front decrease section.
- Continue with 1 sc in the remaining rounds.
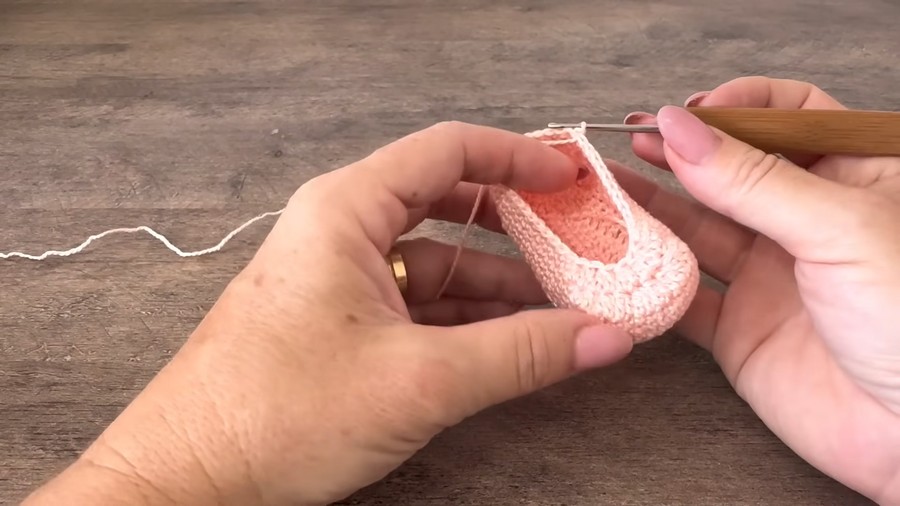
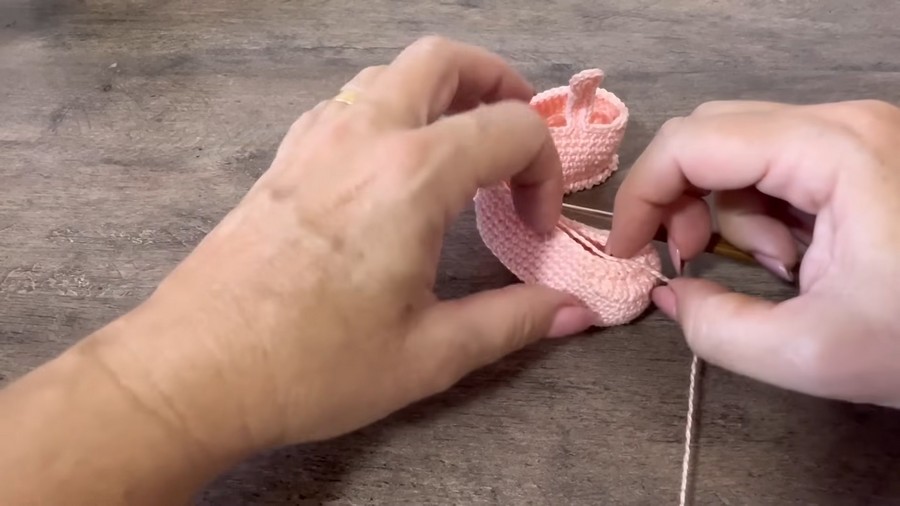
Part 3: Strap and Button
- Strap:
- Chain 14. Skip 6 stitches on one side of the bootie for the button strap. Attach opposite the skipped stitches.
- Work hdc across all chains, stopping to work 1 sc in each stitch around the bootie’s body.
- Finish the strap and secure for closure.
- Button:
- Sew a small button on the opposite side of the bootie for the strap closure.
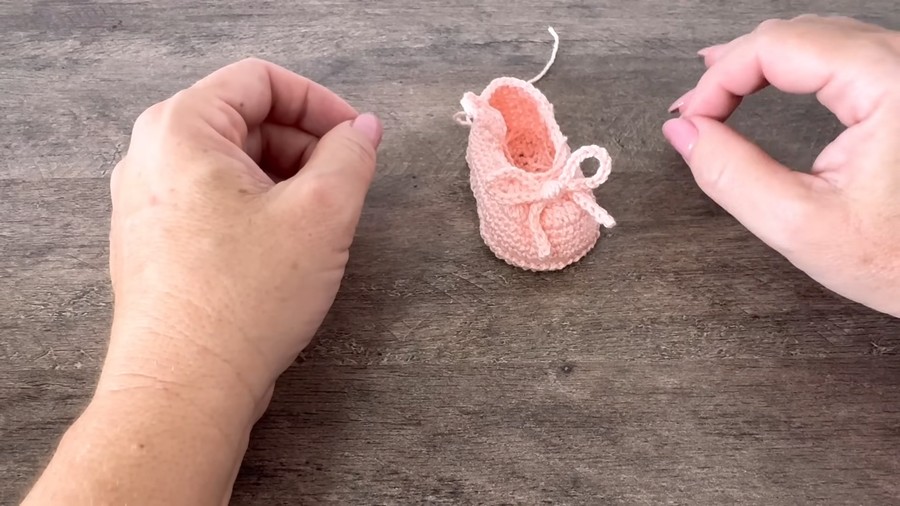
Part 4: Bow Decoration (Optional)
- Bow Cord:
- Use a tricotin technique or crochet a chain cord approximately 15cm long.
- Wrap and shape the cord into a bow. Secure the center by wrapping yarn around it 10 times.
- Attach the bow with either fabric glue or sewing.
Conclusion
This pair of Crochet Baby Shoes is quick and easy to make, perfect for gifting or selling. Using just 15 grams of yarn, the same skein can yield additional pairs or other matching baby items such as hats or mittens. The smooth shaping and thoughtful finishing create a professional-quality product.
Pattern Correction
If your shoe becomes too small or too large, modify the foundation chain and follow the sole size chart provided in the description for accurate dimensions.
Tips
- Avoid Mismatched Sizes: Make both soles and uppers on the same day to account for tension consistency.
- Pricing: Accurately calculate yarn usage (measure in grams) to ensure fair pricing for your products.



