
Build Crochet Mini Spiderman Pattern to bring a tiny superhero to life adding fun charm to your gifts decorations and collection.
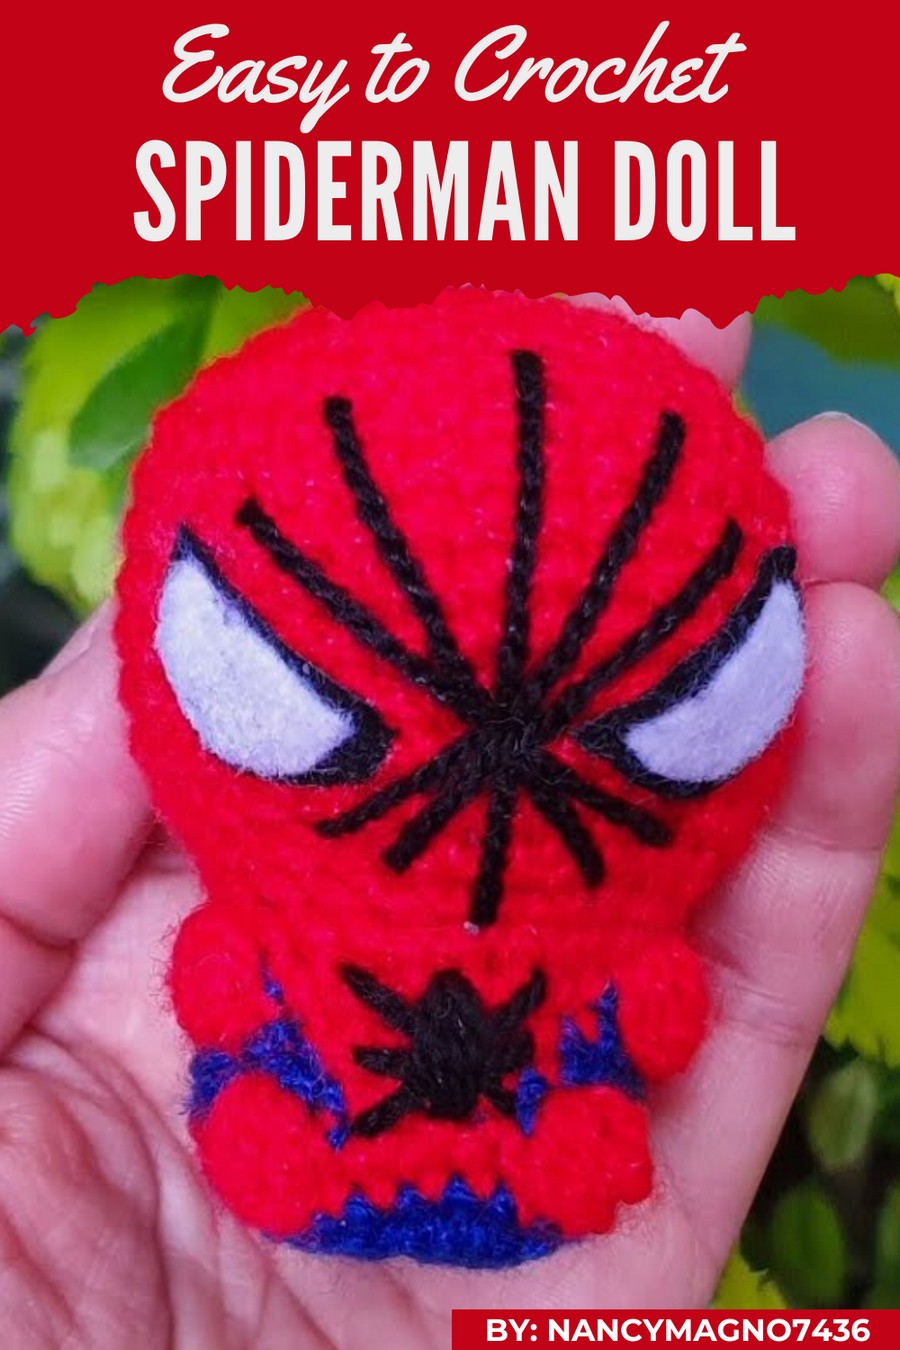
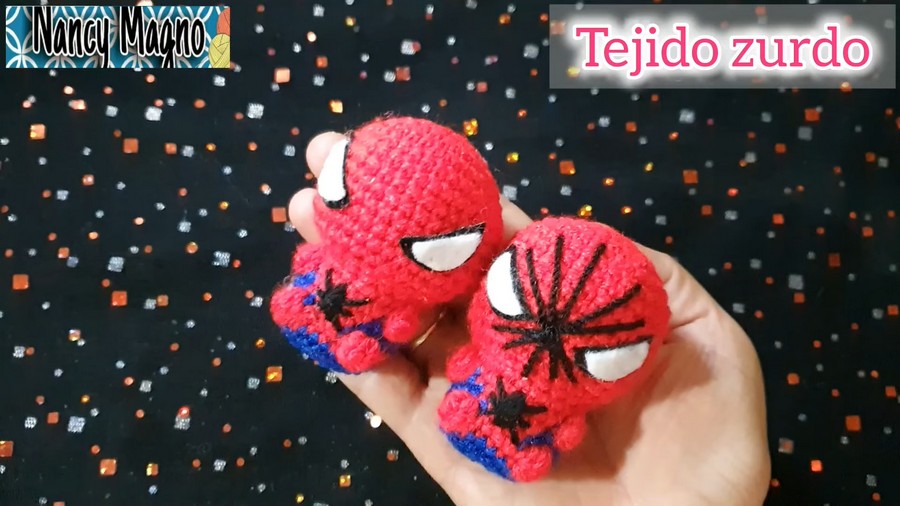
Many superhero toys are bulky and hard to carry, but this tiny version is full of charm and energy. The Crochet Mini Spiderman pattern shows a little figure with bright red and blue colors, tiny stitched web details, and a cute, round shape that instantly makes you smile.
Must-Have Croche Mini Spiderman Pattern for Marvel Fans
It can be hung on keys, backpacks, or even used as a small room decoration, and it also makes a sweet handmade gift. Its unique features are the miniature size, soft yarn feel, and accurate costume details, which make it stand out, fun to hold, and perfect for bringing a playful superhero touch anywhere.
Materials List
Required Materials
- Yarn:
- Thin red yarn: For the main body.
- Thin blue yarn: For accents like legs and lower body.
- Black yarn/thread: For embroidering the spider and web.
Suggested yarn: Omega “Nevado” or similar thin-weight yarn.
- Crochet Hook:
- 2.70mm crochet hook.
- Other Supplies:
- Black felt or velvet: For eye detailing.
- White felt: For the inner eye pieces.
- Synthetic stuffing: To fill the head and body.
- Cold or hot silicone glue: To attach felt pieces.
- Scissors: For trimming yarn and felt.
- Tapestry needle: To embroider details and for weaving in ends.
Skill Level
Intermediate
This pattern includes amigurumi techniques, color changes, basic embroidery, and finishing details requiring moderate experience with crochet and assembly.
Key Abbreviations (US Crochet Terminology)
| Abbreviation | Meaning |
|---|---|
| ch | Chain |
| sc | Single Crochet |
| hdc | Half Double Crochet |
| dc | Double Crochet |
| st(s) | Stitch(es) |
| inc | Increase (two sc into one st) |
| dec | Decrease (sc two sts together) |
| sl st | Slip Stitch |
Pattern Notes
- Continuous Rounds: The body and head sections are worked in spiral rounds. Use a stitch marker to track the start of each round.
- Felt Alternatives: If felt is unavailable, embroider the eye details directly onto the fabric.
- Spider Detail: Spider embroidery is optional but enhances the thematic elements.
Step-by-Step Pattern
Part 1: Spider-Man’s Head
Round 1:
- Using red yarn, create a magic ring, work 7 sc into the ring. Tighten to close. (7 sts)
Round 2:
- Work inc in each st around. (14 sts)
Round 3:
- Work 1 sc, inc around. (21 sts)
Round 4:
- Work 2 sc, inc around. (28 sts)
Round 5:
- Work 3 sc, inc around. (35 sts)
Rounds 6–12:
- Work 1 sc in each st around for 7 rounds. (35 sts per round)
Round 13:
- Work 3 sc, dec around. (28 sts)
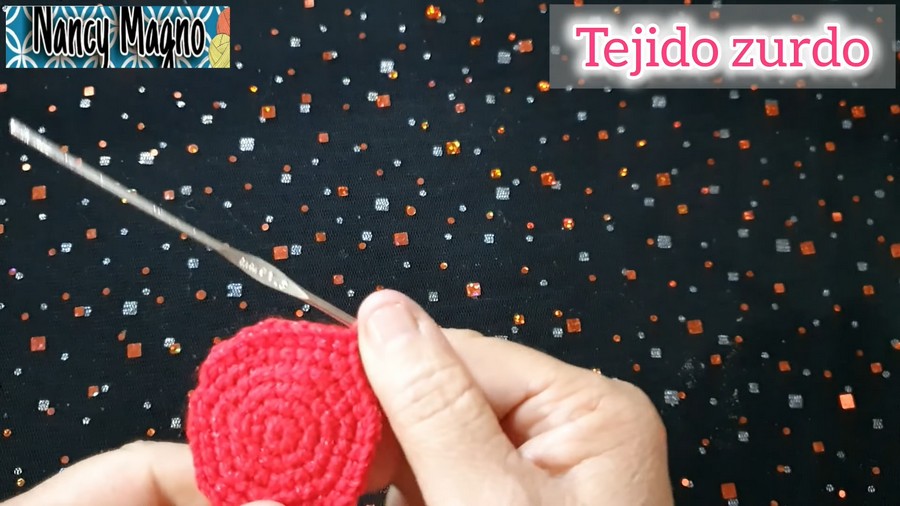
Round 14:
- Work 2 sc, dec around. (21 sts)
Round 15:
- Work 5 sc, dec around. (18 sts)
Round 16:
- Work 1 sc, dec around. (12 sts)
Round 17 (Final Round):
- Work 6 dec around. (6 sts)
- Finish: Use a tapestry needle to weave through the final 6 sts and pull tight to close. Leave a long tail for sewing if desired.
Part 2: Spider-Man’s Body
Round 1:
- Using blue yarn, create a magic ring, work 7 sc into the ring. Tighten to close. (7 sts)
Round 2:
- Work inc in each st around. (14 sts)
Round 3:
- Work 1 sc, inc around. (21 sts)
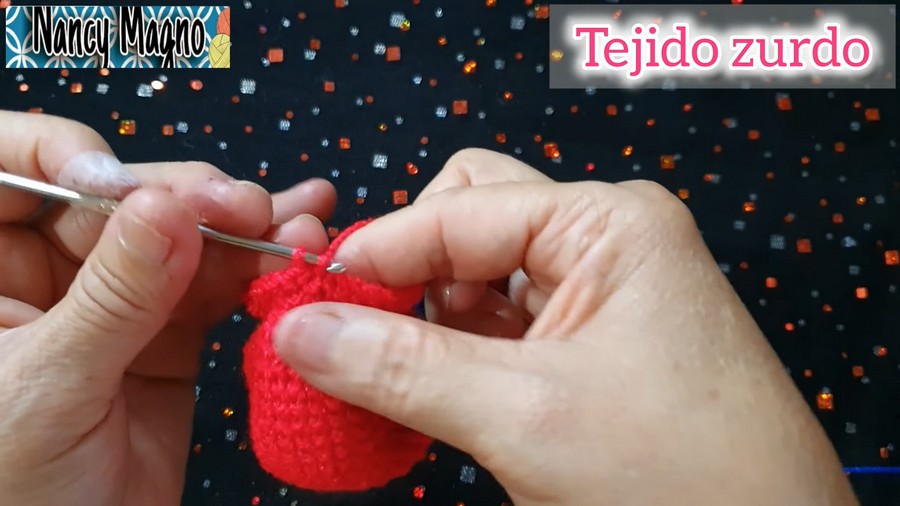
Round 4:
- Work 2 sc, inc around. (28 sts)
Rounds 5–9:
- Work 1 sc in each st around for 5 rounds. (28 sts per round)
Round 10:
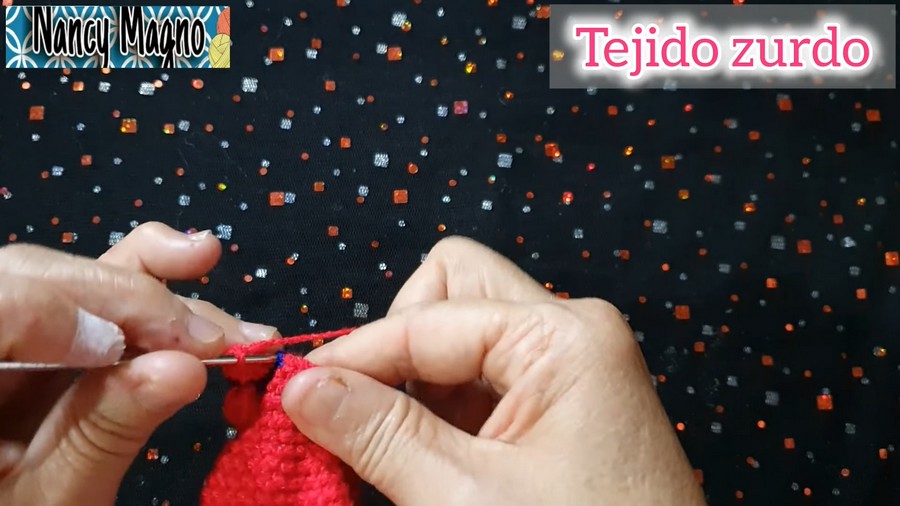
- Begin color changes:
- Blue to Red: In the first stitch of the round, switch to red yarn.
- Work 1 sc in red, switch back to blue for the next stitch, and continue alternating colors every stitch.
Rounds 11–13:
- Repeat alternating red and blue stitches for 3 rounds to create a striped pattern.
Round 14 (Decreasing):
- Work 2 sc, dec around. (21 sts)
Round 15:
- Continue alternating between red and blue stitches while working 1 sc, dec around. (18 sts)
Round 16 (Final Round):
- Work 6 dec around. (6 sts)
- Finish: Use a tapestry needle to close.
Part 3: Filling
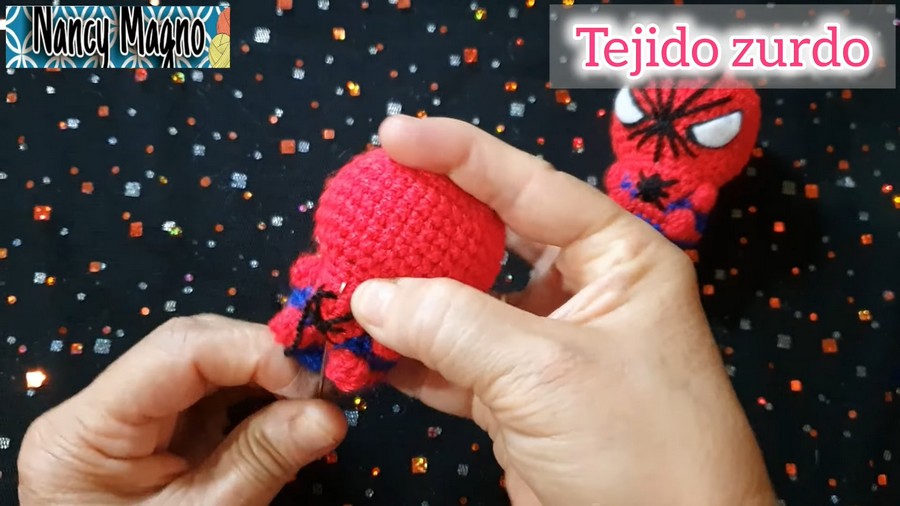
- Add synthetic cotton fill before fully closing each section of Spider-Man's body and head. Ensure firmness while maintaining the smooth roundness of each section.
Part 4: Spider Detail
- Embroidery Instructions:
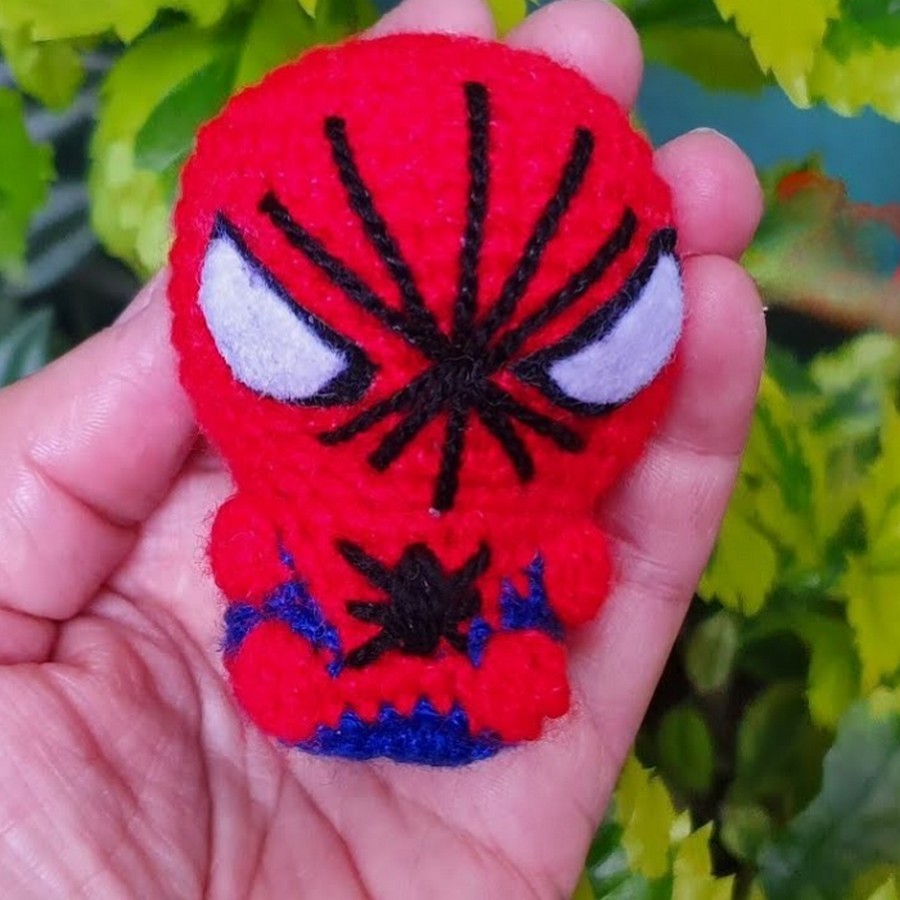
- Use black yarn/thread to embroider the spider shape on the red portion of Spider-Man's chest.
Spider Technique:
- Start by embroidering an "X" with six points of equal length.
- Add vertical lines through the center of the “X” to create spider legs.
- Pull all threads to the back of the fabric and secure them with knots.
- Spider Web on Head (Optional):
- Embroider thin black lines extending from the front of the head toward the back to resemble spiderweb strands.
Part 5: Eyes
- Create Felt Eyes:
- Cut two small ovals from black felt for the eye outlines.
- Cut slightly smaller white felt ovals to place inside the black outlines.
- Attach Eyes:
- Glue the white felt onto the black felt using silicone glue.
- Position and glue the finished eyes onto the face (approximately two rows above the color change for alignment).
Part 6: Assembly
- Sew Head to Body:
- Using a tapestry needle, attach the head securely onto the body, ensuring symmetry.
- Attach Keychain Ring:
- Sew or glue a keychain ring to the top of the head.
- Finishing Details:
- Use black thread or felt to add any additional designs like spider legs or mask accents.
Conclusion
Congratulations on completing your Spider-Man-inspired keychain/amigurumi! This vibrant creation perfectly captures the iconic colors and design of Spider-Man while transforming it into a lovable and small accessory. Ideal for fans of Marvel or those looking for a charming handmade gift!
Pattern Corrections
- Tighten Color Changes: Be mindful to pull yarn strands gently so color joins are seamless.
- Even Stitches: Maintain consistent tension throughout for a smooth, rounded body.
Tips
- Spider Detail Precision: Use embroidery pins to outline the placement of the spider on the chest before stitching.
- Stuffing: Gradually add filling to avoid a lumpy appearance.
- Customization: Personalize Spider-Man's appearance by using metallic or glitter yarn for bold accents.



