
Hook a cute mini accessory with Crochet Tomato Keychain Pattern that adds a playful fruity touch to keys and bags while staying simple and fun for beginners.
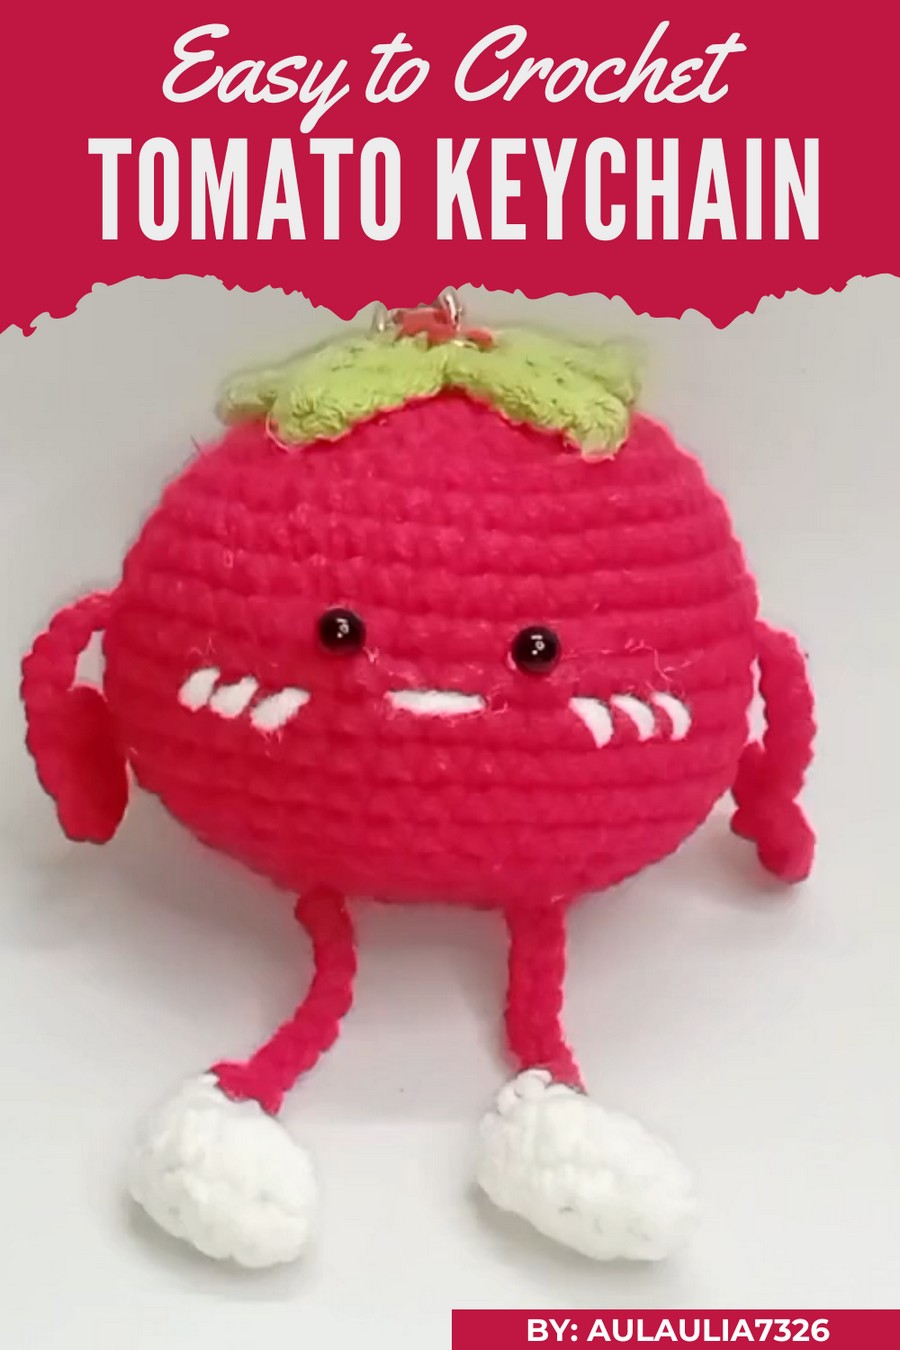
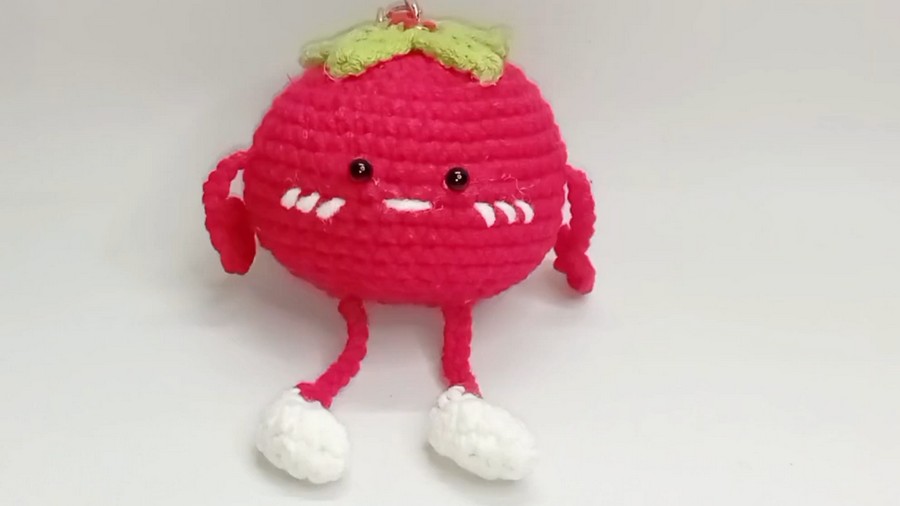
Bright, cheerful, and full of charm, this adorable tomato-shaped keychain is a perfect little accessory to add fun to your everyday life. Its vibrant red and green colors make it stand out beautifully, bringing a playful and unique touch to your keys, bags, or even as a decoration.
Creative Crochet Tomato Keychain Pattern for Your Collection
Lightweight and easy to carry, it’s not only practical but a great conversation starter wherever you go. Whether you’re gifting it to a loved one or keeping it for yourself, this keychain is a delightful way to add personality and a pop of color to your belongings, making it both fun and functional.
Skill Level
Intermediate to Advanced
This pattern involves several crucial techniques like working in the round, increasing, decreasing, and assembling parts. Some sewing and embroidery skills are also required.
Materials Needed
- Yarn:
- Main Body Color: 5-ply Milk Cotton thread in red.
- Leaf: 5-ply Milk Cotton thread in green.
- Legs: 5-ply Milk Cotton thread in white and red.
- Mouth Embroidery: Any soft white thread.
- Crochet Hook: 3.0mm (US Size D/3) or as recommended for your yarn.
- Safety Eyes: 5mm size.
- Stuffing: Polyester fiberfill (e.g., dacron).
- Tapestry Needle: For sewing and weaving in thread ends.
- Iron Hanger: For final assembly and hanging.
- Scissors: For cutting yarn.
- Stitch Markers: Optional but helpful for marking your rounds.
Key Abbreviations (US Terminology)
- MR: Magic Ring.
- sc: Single Crochet.
- inc: Increase (2 single crochets in the same stitch).
- dec: Decrease (single crochet 2 stitches together).
- sl st: Slip Stitch.
- ch: Chain.
- st(s): Stitch(es).
Special Notes
- Work in Continuous Rounds: Unless otherwise specified, do not join at the end of each round. Use a stitch marker to mark the first stitch of each round.
- Tension: Maintain tight stitches to prevent stuffing from showing.
- Gauge: Not crucial for this project. However, ensure that your stitches are firm to hold stuffing securely.
- Assembly Tip: Having pins will help in positioning arms, legs, and leaves symmetrically on the body.
Pattern Instructions
Body
Step 1: Magic Ring Foundation
- Create a magic ring (MR).
- Work 6 sc into the MR.
- [6 sts]
Step 2: Rounds for Expanding the Circle
- Round 2: Work 1 inc in each stitch around.
- [12 sts]
- Round 3: (1 sc, 1 inc) repeat around.
- [18 sts]
- Round 4: (1 sc, 1 inc, 1 sc) repeat around.
- [24 sts]
- Round 5: (3 sc, 1 inc) repeat around.
- [30 sts]
- Round 6: (2 sc, 1 inc, 2 sc) repeat around.
- [36 sts]
- Round 7: (5 sc, 1 inc) repeat around.
- [42 sts]
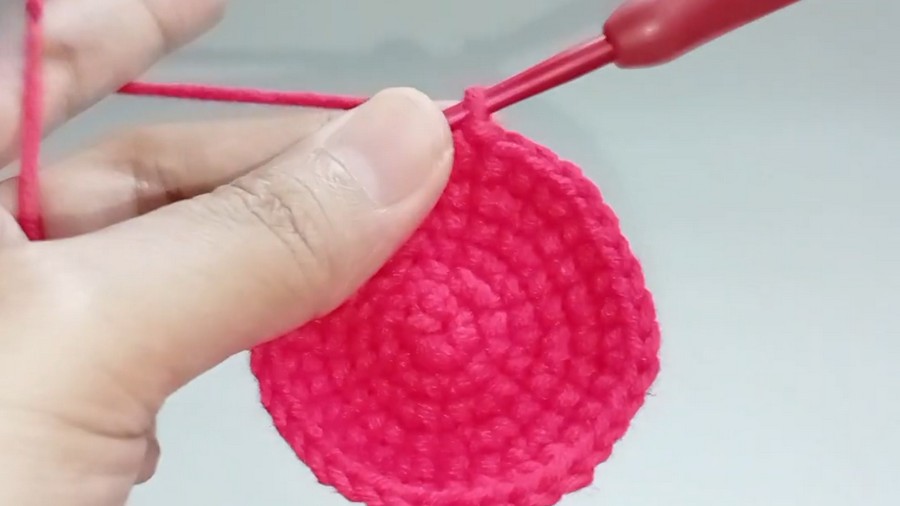
Step 3: Rounds for Maintaining Shape
- Rounds 8–14: Continue working 1 sc in each stitch around.
- [42 sts per round]
Step 4: Rounds for Shaping the Bottom
- Round 15: (5 sc, 1 dec) repeat around.
- [36 sts]
- Round 16: (2 sc, 1 dec) repeat around.
- [30 sts]
- Round 17: (3 sc, 1 dec) repeat around.
- [24 sts]
- Round 18: (1 sc, 1 dec) repeat around.
- [18 sts]
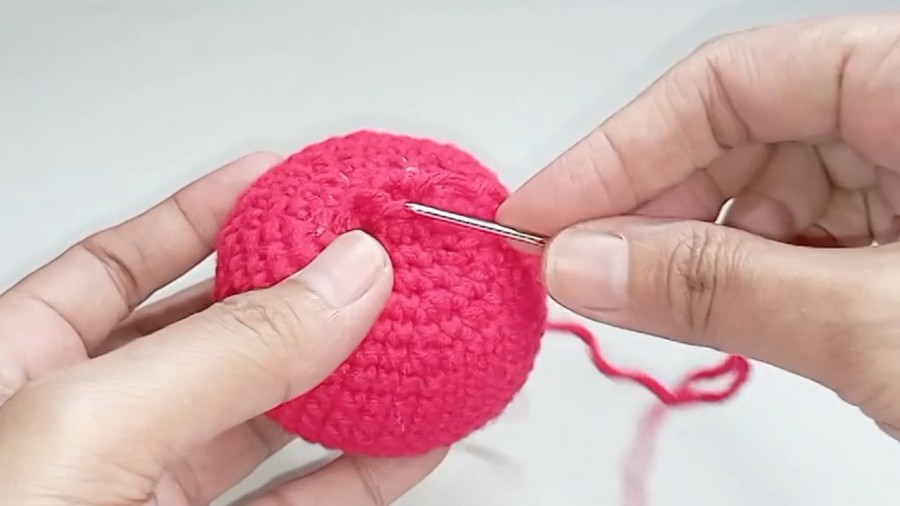
Step 5: Filling and Closing
- Stuff the body firmly with dacron (fiberfill).
- Round 19: Work (1 sc, 1 dec) repeat around.
- [12 sts]
- Round 20 (Final Round): Work 6 dec around.
- [6 sts]
- Finish by pulling the yarn through and closing with a slip stitch (sl st). Leave a long tail for attaching the hanger.
Arms (Make 2)
- Foundation:
- Start with a MR, working 6 sc into the ring.
- [6 sts]
- Start with a MR, working 6 sc into the ring.
- Slip stitch in the first sc and add 1 chain.
- Continue by working 1 sc into each stitch in the next round. Do this for the desired arm length.
- Cut the thread, leaving a tail for sewing. Tidy up the end using a tapestry needle.
Legs (Make 2)
Step 1: Foot (White Thread)
- Chain 5. Starting from the second chain:
- Row 1: 3 sc, 3 sc into the last chain, turn work to the other side of the chain, 2 sc, and 1 inc in the last stitch.
- [10 sts]
- Row 1: 3 sc, 3 sc into the last chain, turn work to the other side of the chain, 2 sc, and 1 inc in the last stitch.
- Work in rounds:
- Round 2: 1 sc, 1 inc in the next stitch, 1 sc, and finish with an inc in the final stitch.
- Round 3: (3 sc, 2 dec) to get 8 sts.
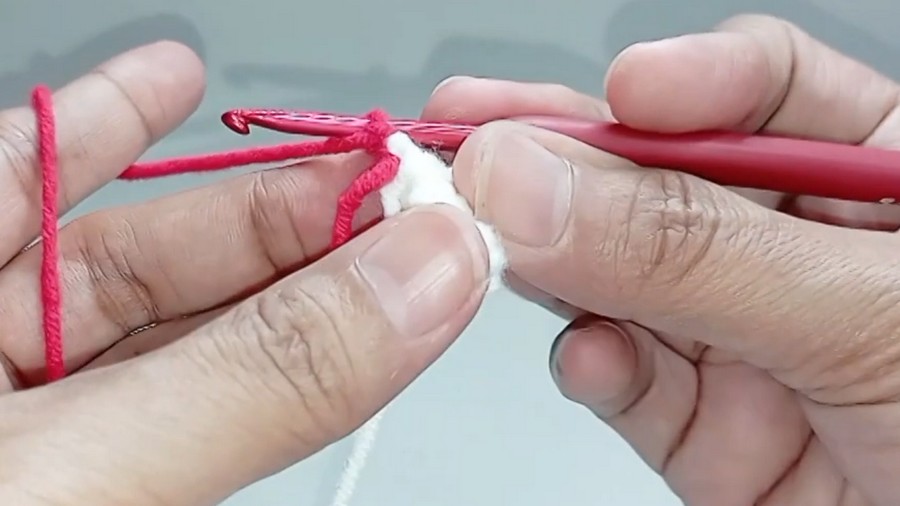
Step 2: Adding the Leg (Red Thread)
- Change to red yarn. Work 1 round of 1 sc in each stitch.
- Continue working 4 rounds with 1 sc per stitch. Cut the thread, leaving a long tail for sewing.
Leaf
- Start with a MR.
- Work 5 sc into the MR.
- For each leaf:
- Chain 5, work:
- Starting in the 2nd chain: (1 sc, 1 tr, 2 dc in the next chain).
- Slip stitch into the next base stitch (MR) to anchor.
- Chain 5, work:
- Repeat for a total of 5 petals. Secure and cut the thread.
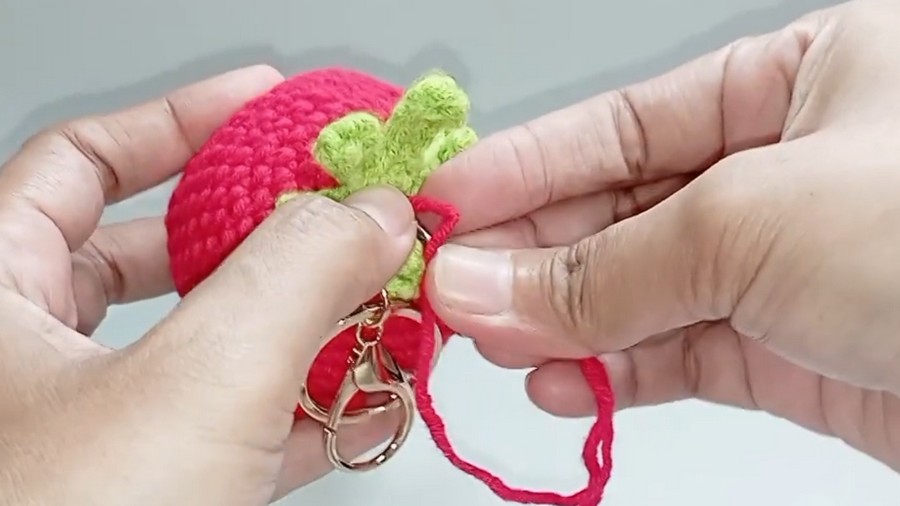
Final Assembly
- Insert Safety Eyes:
- Place 5mm safety eyes between Rounds 10–11, evenly spaced.
- Sew Arms and Legs:
- Attach the arms one row below the eyes using the tapestry needle.
- Position legs at the bottom of the body and sew them securely.
- Attach Leaf and Hanger:
- Attach the leaf at the top of the tomato.
- Insert and secure the iron hanger through the leaf and tie it in place.
- Embroider the Mouth:
- Use white thread to embroider a small smile just below the safety eyes.
Conclusion
Your adorable crochet tomato is now complete! This charming amigurumi can serve as a cute decoration, toy, or gift. Its compact size and structured assembly make it a delightful project for intermediate crocheters looking to enhance their craft.
Pattern Corrections
- For best results, ensure Round 7 of the body expands correctly to 42 stitches. Incorrect stitch counts at this stage may affect tomato shaping.
- Legs may appear uneven if foot shaping is skipped—follow foundation rows as instructed.
Tips for Success
- Use stitch markers to keep track of your rounds—especially helpful during rounds with increases and decreases.
- Stuff firmly but evenly to maintain the tomato’s round shape.
- For leaves and details, block gently with steam for a polished finish.



