
Adjust your style with Crochet Letter A Keychain Pattern that offers a unique touch and endless possibilities for gifts, accessories, or daily use.
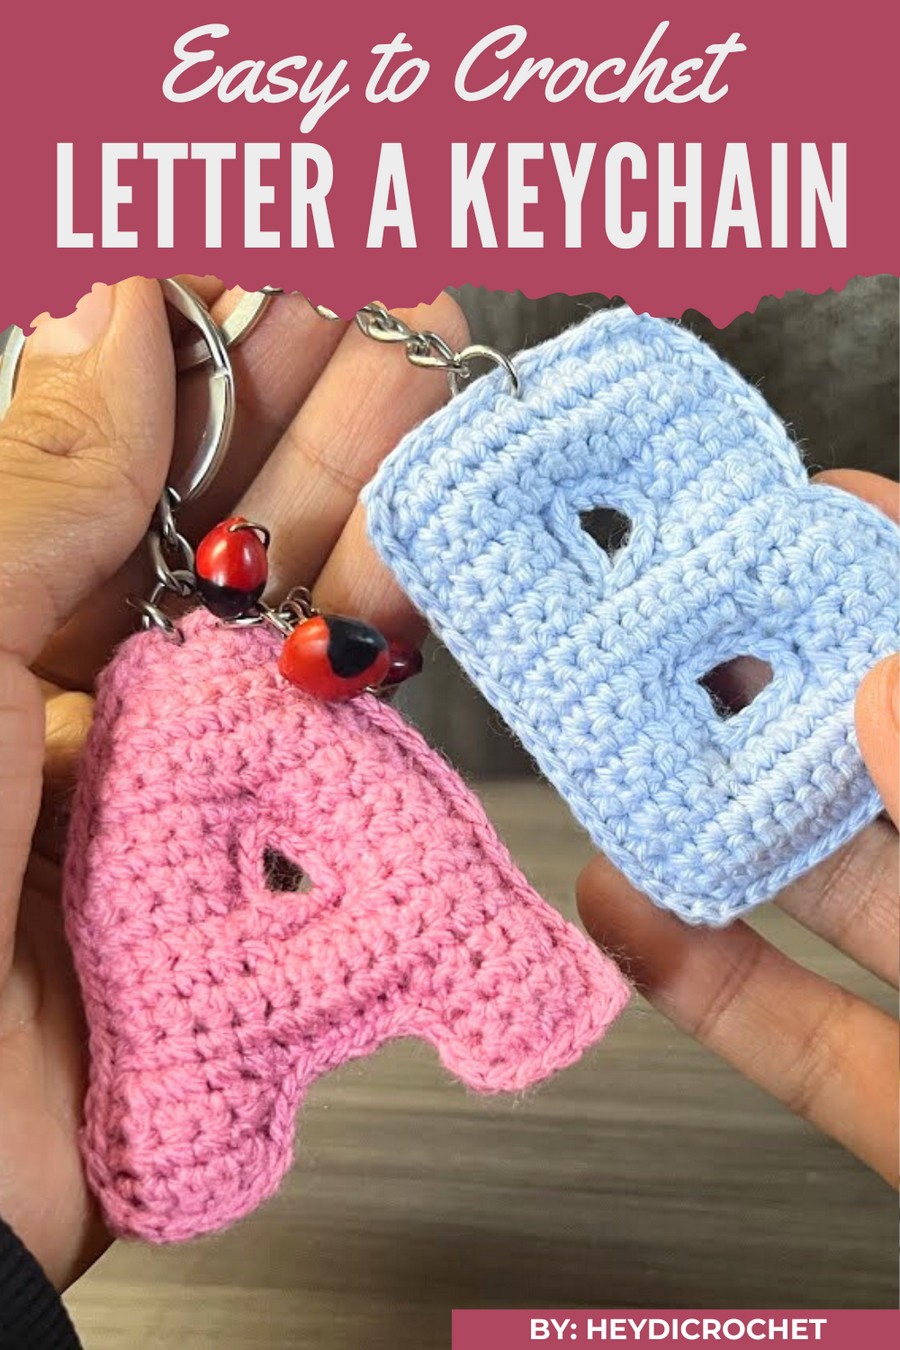
Personalized accessories always hold a special charm, and this Crochet Letter A Keychain Pattern makes it even more unique and meaningful. Its simple yet elegant design captures attention with the precision of every stitch, offering a blend of beauty and utility.
Colorful Crochet Letter A Keychain That Sparks Joy
Perfect to use as a bag tag, a gift for loved ones, or something special for yourself, it stands out for its handmade appeal. The flexibility to choose colors and customize makes it even more special, while its lightweight and durable structure ensures it lasts. This pattern effortlessly combines creativity and practicality in the form of a charming keepsake.
Materials Needed
- Yarn: 2mm thread (cotton or acrylic, according to preference)
- Hook: 1.5mm crochet hook
- Stuffing: Siliconized cotton or polyester fiberfill
- Tools:
- Stitch markers
- Tapestry needle
- Scissors
Key Abbreviations
- ch – Chain
- sc – Single Crochet
- inc – Increase (2 sc in the same stitch)
- dec – Decrease (typically invisible decrease)
- st (or sts) – Stitch(es)
- sl st – Slip Stitch
Special Notes
- Working in Rows: Follow the instructions carefully as the letter is worked in rows and assembled later.
- Stuffing: Gradually stuff the letter to avoid uneven shaping.
- Assembly: Two identical pieces are made and stitched together for a completed look.
Step-by-Step Pattern Instructions
Making the Letter ‘A’ (Make Two Pieces)
- Foundation and Row 1:
- Foundation: Chain 5.
- Row 1: Starting from the 2nd chain from the hook, work 4 sc across. (4 sts)
- Row 2:
- Chain 1, turn. In the first and last st of the row, work an inc.
- Work 2 sc in the middle sts. (6 sts)
- Row 3:
- Chain 1, turn. In the first and last st, work an inc.
- Work 4 sc in the middle sts. (8 sts)
- Row 4:
- Chain 1, turn. Work 1 sc in each st across the row. (8 sts)
- Row 5:
- Chain 1, turn. In the first and last st, work an inc.
- Work 6 sc in the middle sts. (10 sts)
- Row 6:
- Chain 1, turn. Work 1 sc in each st across the row. (10 sts)
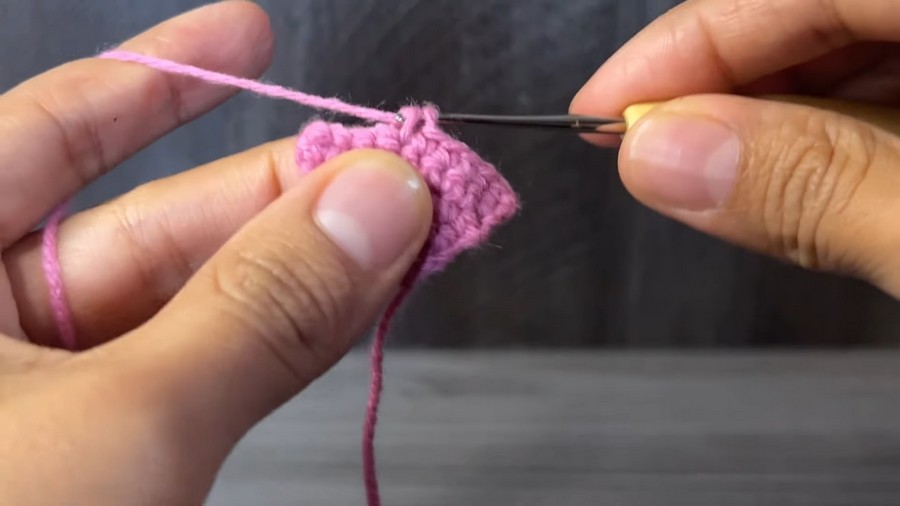
Forming the Upper Branch of ‘A’
- Row 7:
- Chain 1, turn.
- Work 1 sc, 1 inc, 5 sc, then 1 dec. (8 sts)
- Row 8:
- Chain 1, turn. Work 1 sc in each st across. (8 sts)
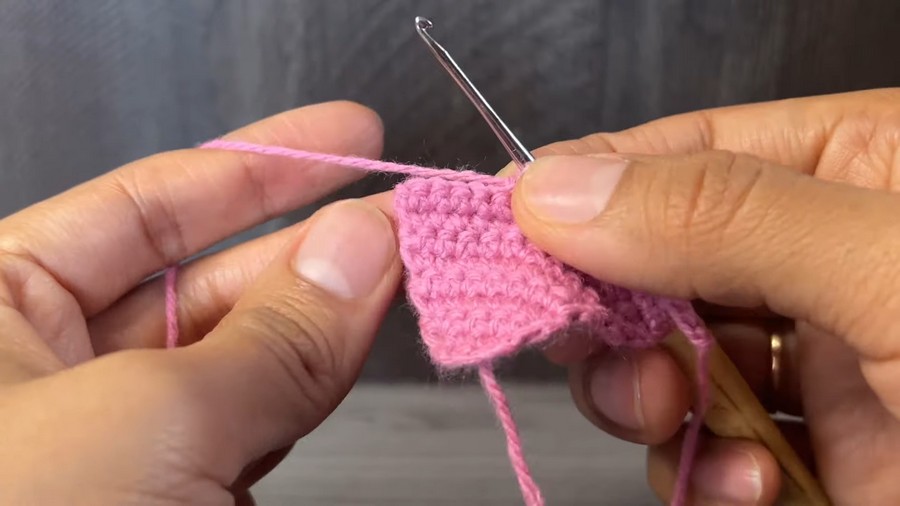
Working the Left and Right Branches
- Row 9:
- Chain 1, turn. Work 1 sc, 2 inc, and 1 dec to create separation of the branches. (5 sts)
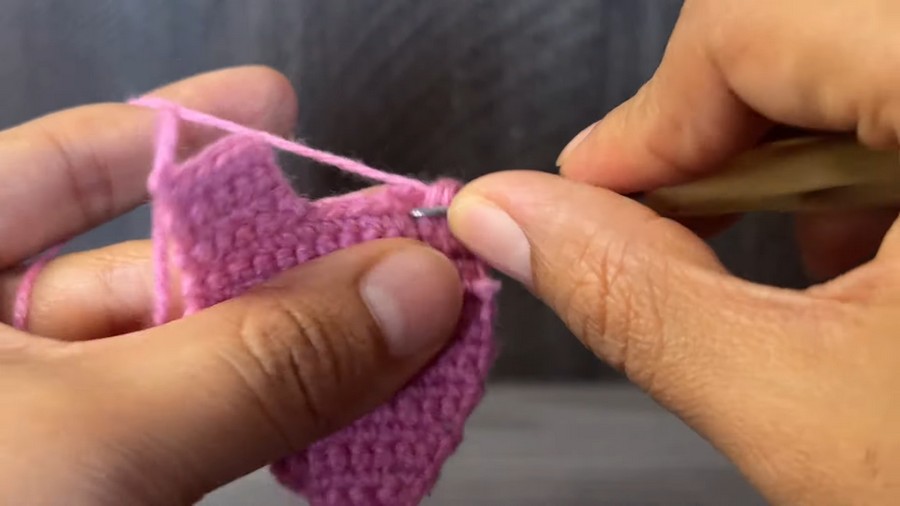
- Rows 10–13 (Left Branch):
- Continue working 1 sc in each row for 4 rows.
- At the end of row 13, chain 5 to connect to the opposite branch and fasten off.
- Rows 10–13 (Right Branch):
- Reattach the yarn to the other side of Row 9 where separation begins.
- Work 1 sc across the row for 4 rows. (5 sts per row)
- Ensure the chain 5 connects to meet the opposite side of the letter structure.
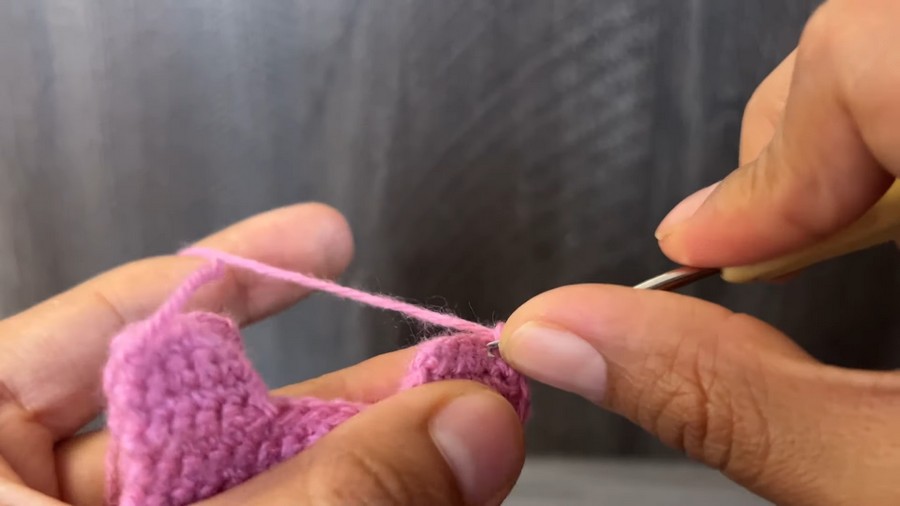
Joining the Two Pieces
- Place the two identical pieces together with the wrong sides facing inward.
- Attach yarn at the top corner. Work sl st or sc through both pieces, joining them side by side.
- Gradually stuff the letter with siliconized cotton as you go. Ensure stuffing is firm but not overfilled.
- Close the edges entirely and secure the yarn.
Closing the Central Hole
- Close the triangular opening in the middle of the letter A with sl st.
- Ensure all pieces are even and smooth before stitching entirely closed.
Conclusion & Remarks
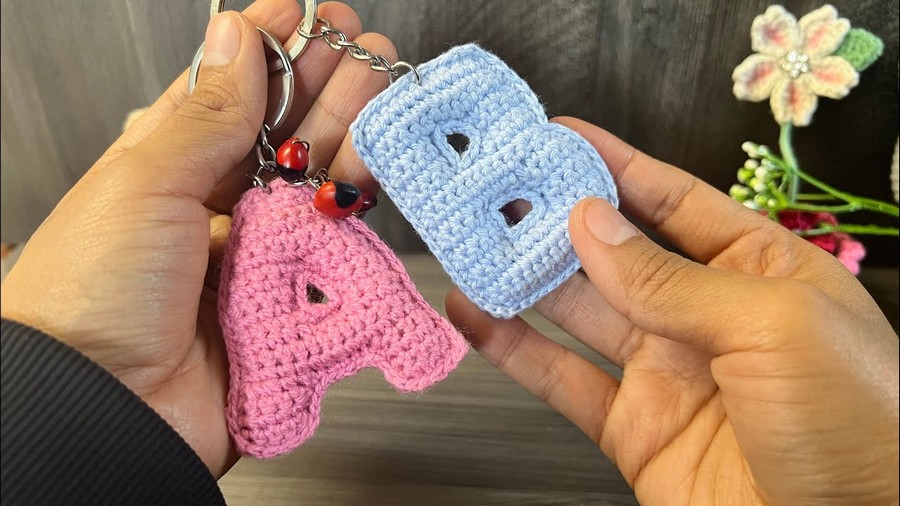
Congratulations! Your crochet letter "A" is complete. This keychain-sized letter measures roughly 8 cm and is ideal for personalization, gifting, or selling. It’s compact, sturdy, and visually impactful with its clean lines and vibrant shape.
Keep experimenting with colors and yarn types to customize the letter for different occasions or themes.
Pattern Variations
- Color Adjustments:
- Create dual-color letters by alternating yarn at the halfway point.
- Size Alteration:
- Use thicker yarn and larger hooks for larger letters. Conversely, thinner yarn and smaller hooks can help create miniatures.
- Embellishments:
- Add beads, appliqués, or even embroidered initials for an extra touch of personalization.
Tips for Success
- Track Rows: Use a stitch marker or note progress to avoid confusion with increases/decreases.
- Stuff Gradually: Stuff the letter as you go to maintain shape and avoid lumps.
- Secure Seams: Firmly secure seams, especially if the item will be used frequently.
Pattern Corrections
While adapting this pattern, ensure that no row is skipped during formation. The structured rows (left/right branches) are critical for maintaining the recognizable "A" shape.



