
Unwind with the charm of a crochet sweater pattern that’s simple, stylish, and for showcasing your creativity and personal flair effortlessly.
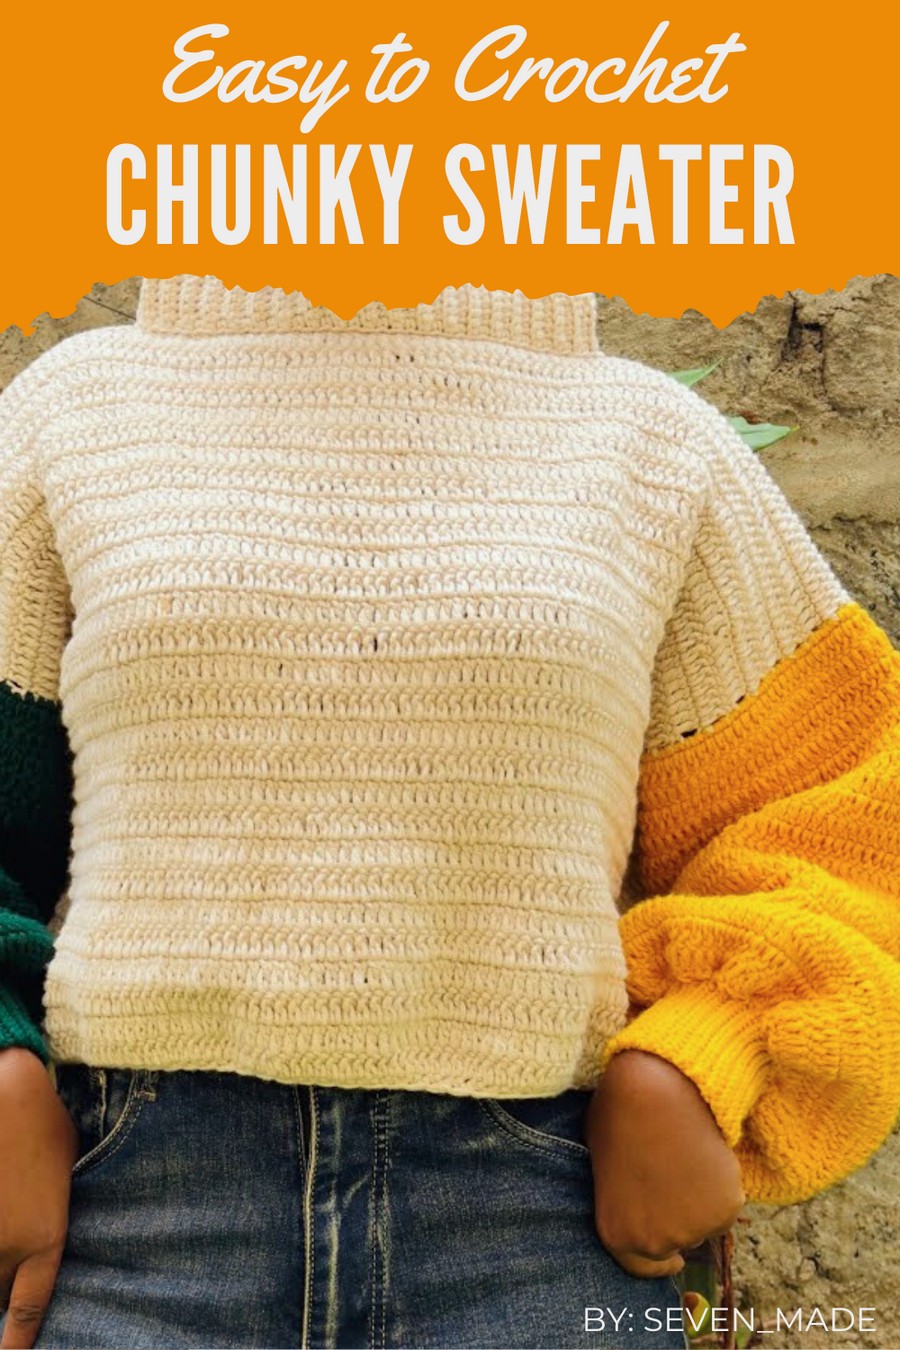
Nothing compares to the warmth and charm of handmade clothing, and this Free Crochet Sweater Pattern is your chance to create something truly special. Whether you need a cozy pullover for chilly days or a lightweight cardigan to complete your look, this pattern has you covered with endless style options.
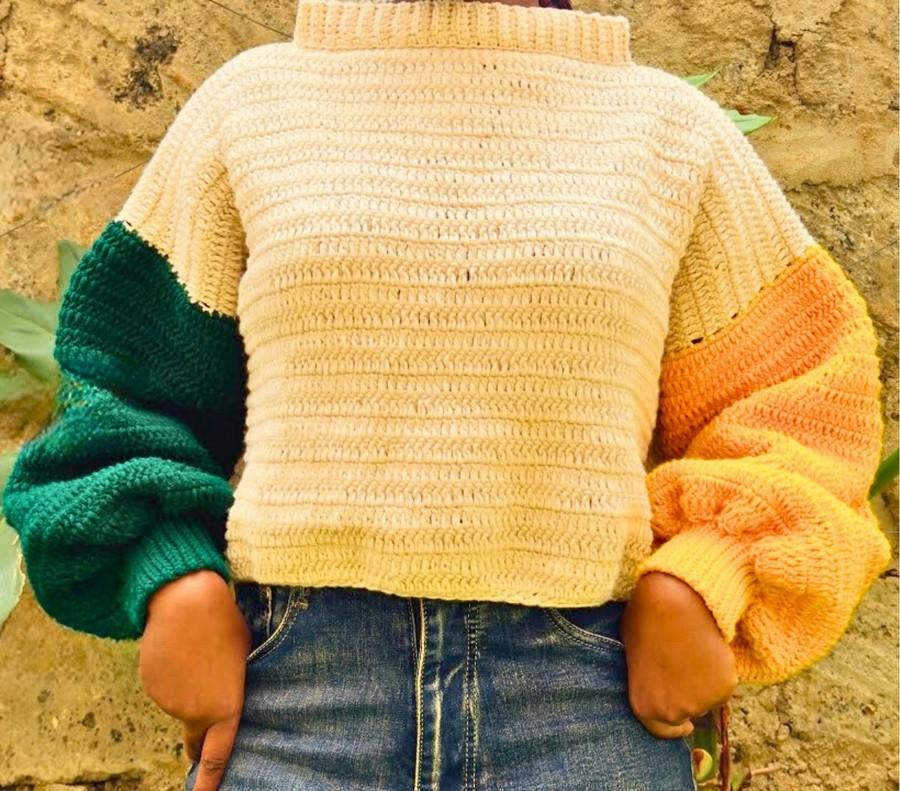
Cozy Crochet Sweater Pattern You Must Try
It’s practical and beginner-friendly, yet offers room for creativity, allowing you to customize colors, fits, and textures. Perfect for layering, gifting, or adding a unique touch to your wardrobe, this project is both rewarding and versatile.
Follow the simple steps to crochet a sweater that’s beautifully yours and built to last!
Materials Required
Yarn
- Super Saver yarn or a similar worsted weight yarn.
- Yardage:
- Nude: Approximately 2 balls.
- Green: Approximately 1 ball.
- Mustard: Approximately 1 ball.
- Note: Yards per ball may vary by brand, so ensure you have enough yarn.
Hook
- Crochet Hook: 3.0 mm.
Additional Supplies
- Tapestry Needle: For weaving in ends.
- Stitch Markers: Useful for marking stitches and rows.
- Scissors.
Skill Level
Beginner to Intermediate.
Abbreviations (US Terminology)
- ch: Chain
- sl st: Slip Stitch
- sc: Single Crochet
- dc: Double Crochet
- yo: Yarn Over
Description of the Finished Sweater
The sweater features a comfortable fit, double crochet rows, and color changes for a vibrant look. It is designed for a medium size but can be adjusted for other sizes by following the instructions given for customizing measurements.
Pattern Instructions
Step 1: Back Panel
Foundation Chain
- Begin with a slip stitch.
- Chain 100 (or adjust to your measurements).
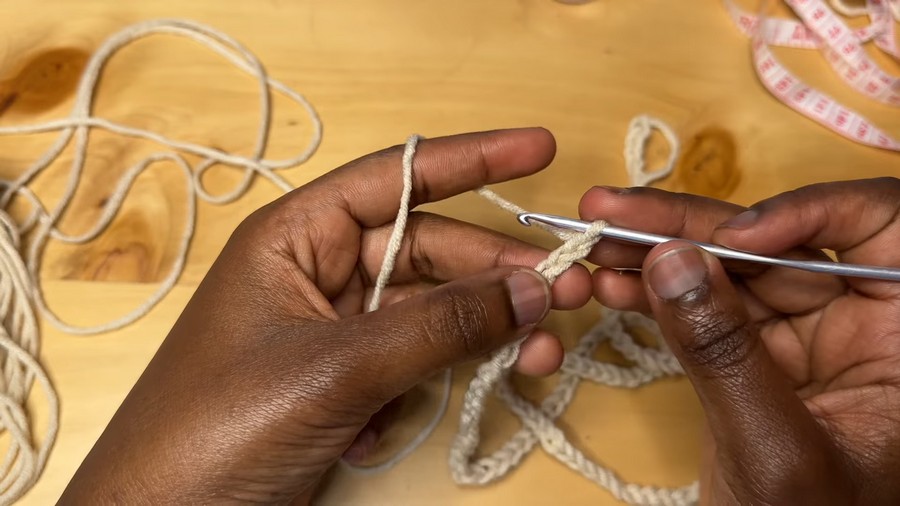
Row 1: Establishing Double Crochet Foundation
- Ch 3 (counts as the first dc), skip 3 chains from the hook.
- dc in the 4th chain.
- dc in every chain across (total: 100 dc).
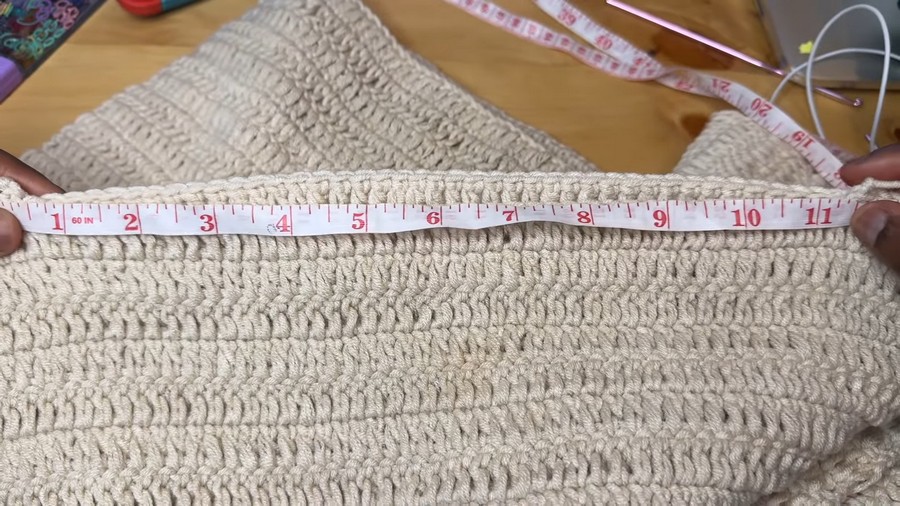
- Measure to ensure the width is approximately 23 inches (adjust based on your measurement; see notes below).
Notes:
- To determine your starting chain, measure the widest part of your body (hips, bust, etc.), divide by 2, then add 2-3 inches for a comfy fit.
- e.g., Hips measurement 40 inches: 40 ÷ 2 = 20 inches + 3 inches = 23 inches.
Row 2 and Beyond
- Ch 3 (counts as a dc), turn.
- Skip the first stitch, dc in the next stitch.
- Continue dc across all stitches.
- Repeat Row 2 until the piece measures 16 inches (28 rows).
Step 2: Front Panel
- Make two identical front panels following the same method as the back panel.
- Each front panel should be 100 stitches wide and 28 rows (16 inches) high.
Step 3: Joining Panels at the Shoulders
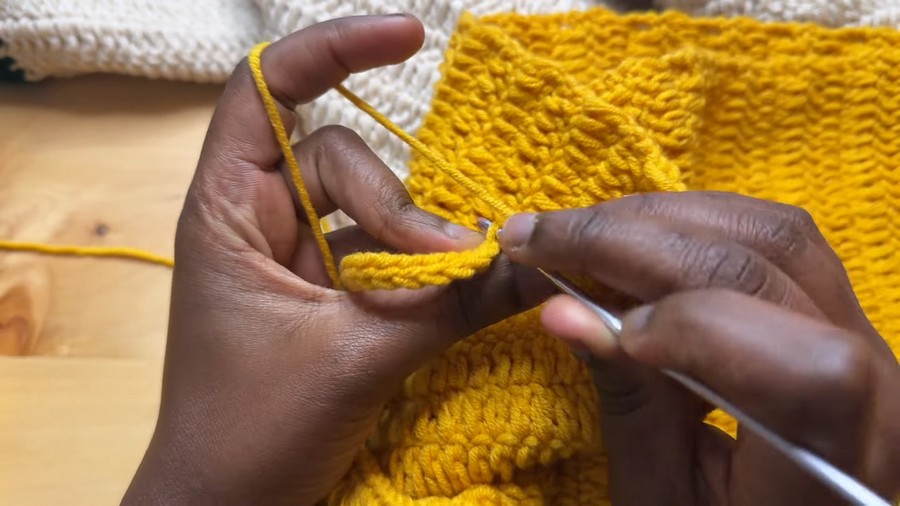
- With panels facing right-side up, count 30 stitches from each edge of both front panels.
- Mark the 30th stitch with a stitch marker.
- Attach yarn with a slip stitch at the beginning of the marked section.
- Sc through the back loop of one panel and both loops of the other to join.
- Continue joining until you reach the stitch marker.
- Fasten off and repeat for the second shoulder.
Notes:
- Neck opening: Leave about 11 inches unworked in the center.
Step 4: Joining Side Seams
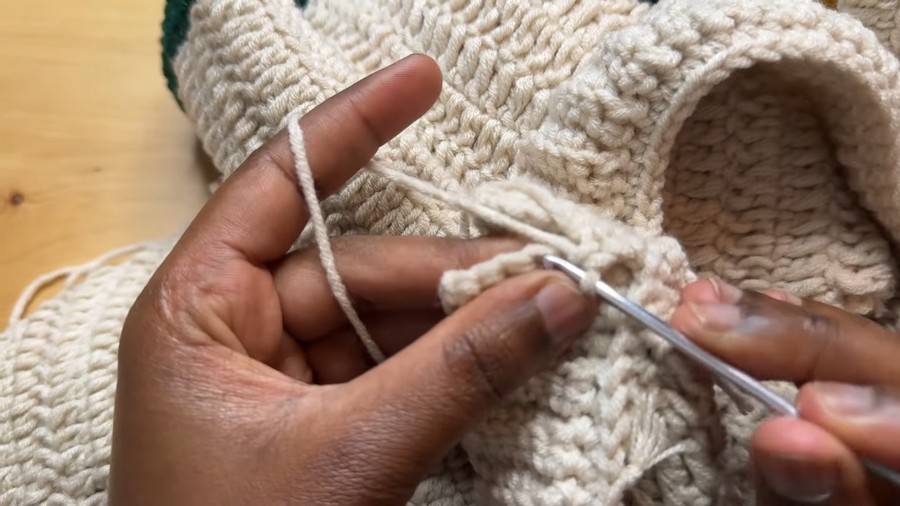
- From the bottom edge, count 14 rows upward and mark with a stitch marker on the right side.
- Attach yarn at the top of the marked section, ensuring alignment with the other panel.
- Sc through both loops from the top marker down to the bottom edge (ensure 8.5 inches for sleeve hole).
- Fasten off and repeat for the other side.
Step 5: Sleeves
Foundation Chain
- Change to mustard color.
- Attach yarn at the armpit point.
- Chain 3 (counts as first dc), and work around the armhole.
- Sc 2 times in every double crochet stitch and single crochets at joining points. (Total: 84 stitches).
Building the Sleeve
- Row 1: Ch 3, skip 1st stitch, turn. dc in each stitch (total: 84 dc).
- Repeat Row 1 until you have 28 rows of double crochets.
- Fasten off and weave in ends.
Step 6: Ribbing for Cuffs
Foundation Chain
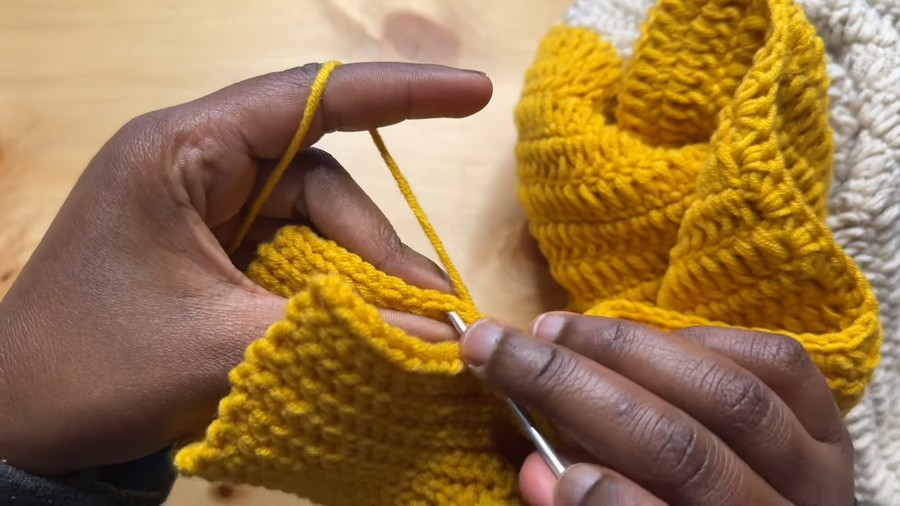
- Attach yarn at the base of the sleeve.
- Chain 16, slip stitch in 2nd chain from hook and sc across (total: 15 stitches).
- Join with a slip stitch to the sleeve edge, skip one stitch, slip stitch into the next two stitches along the edge.
- Turn, and repeat this ribbing pattern until complete.
- Seam the ribbing ends together.
Step 7: Neckline Ribbing
Foundation Chain
- Chain 6, turn, sc in 2nd chain and across (total: 6 stitches).
- Repeat Rows: Continue back loop only sc until you have 80 rows.
- Attach ribbing around the neckline with appropriate spacing, using slip stitches or sc.
Step 8: Bottom Ribbing
Foundation Chain
- Begin by sc along the bottom edge of the sweater.
- Skip one stitch, sc in the next, repeat.
- Measure around the bottom edge for accurate fit.
- Chain 16, turn, sc in 2nd stitch, work across (total: 15 stitches).
- Repeat sc along bottom edge until the required length.
- Seam ends together.
Pattern Variation
Size Adjustments
- Custom Sizing: Adjust the number of foundation chains based on personal measurement, ensuring the final stitch count allows for even shaping.
- Length Adjustments: Modify the number of rows for panels as needed.
Color Variations
- Ombre Effect: Use gradient yarns or transition colors gradually.
- Striped Pattern: Alternate colors every few rows for a striped effect.
- Block Pattern: Utilize color-blocking techniques for the sleeves and body.
Conclusion
Your crochet sweater is now complete! With its tailored fit, vibrant colors, and cozy ribbing, this piece is perfect for layering during any season. Whether you use it for casual wear or dress it up, your handmade sweater will be a stylish addition to your wardrobe.



