
Master the art of crochet with this 3D Heart Square pattern offering a unique and charming way to express warmth and love in every stitch.
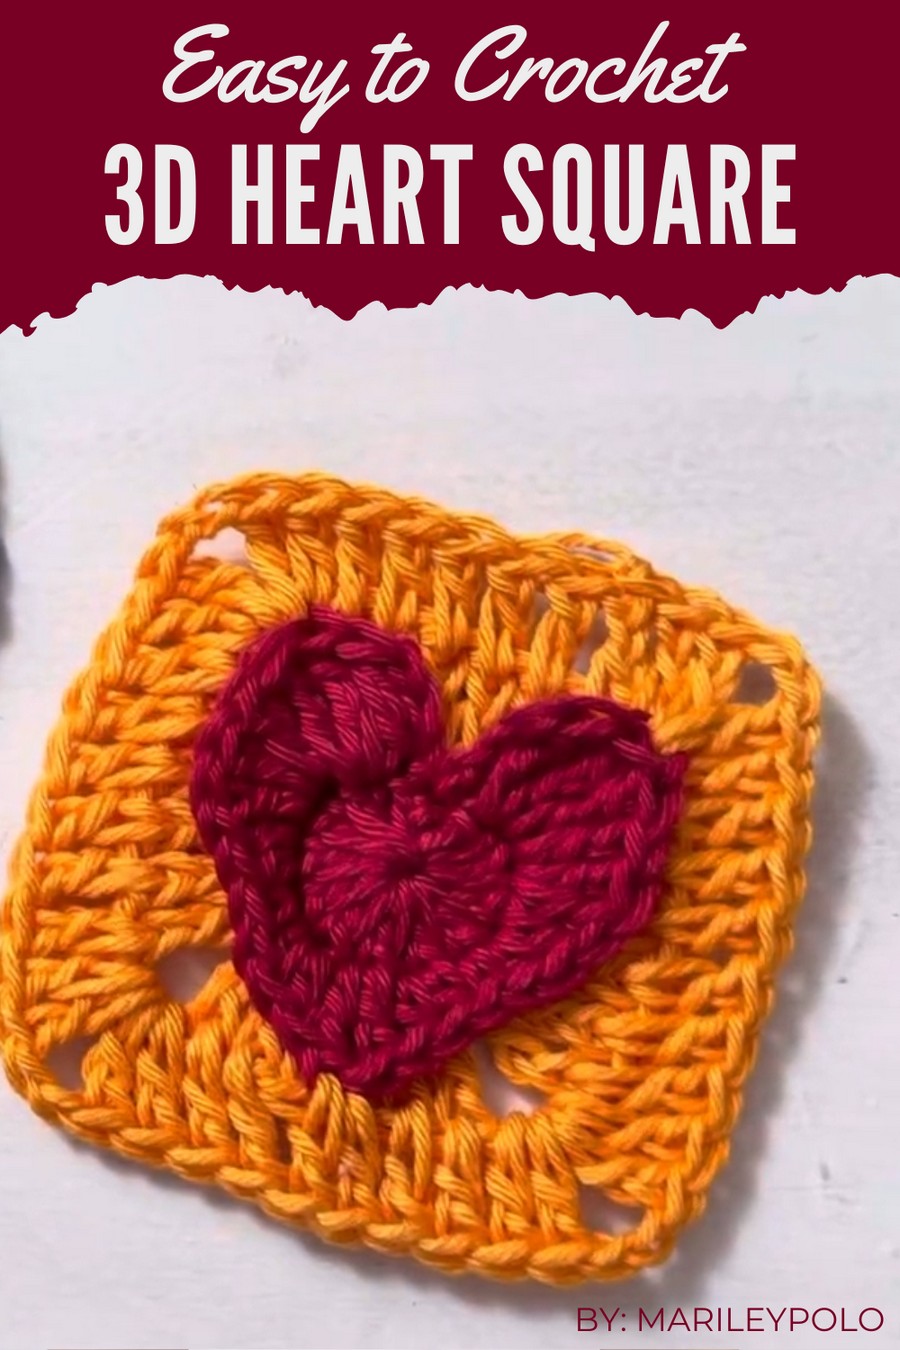
If you’ve ever wanted to create a crochet project that’s heartfelt and unique, this Free Crochet 3D Heart Square Pattern is just the inspiration you need. Perfect for beginners and experienced crocheters alike, this pattern combines simplicity with charm, resulting in a raised, textured heart centerpiece encased in a square. Whether you’re making blankets, pillows, or romantic gifts, this versatile design elevates any project with its handmade warmth.
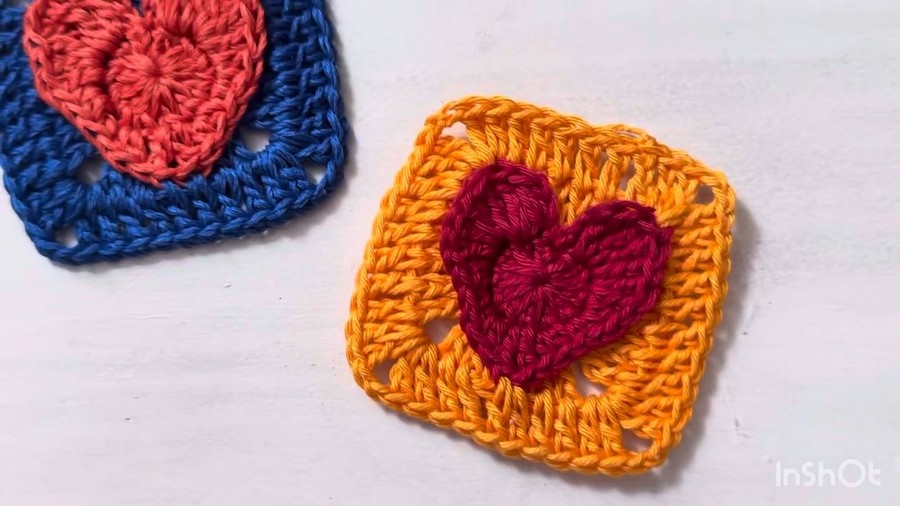
Unique Crochet 3D Heart Square for Blankets and More
Using basic stitches and minimal materials, it’s beginner-friendly yet deeply rewarding for seasoned crocheters. Ready to stitch something meaningful? Follow along, and bring your 3D heart square to life with ease and creativity.
Materials
- Yarn: Charme yarn (or any medium-weight yarn). You will need two contrasting colors:
- Color 1 (Heart): A bold or vibrant shade for the heart.
- Color 2 (Square): A complementary or neutral shade for the square.
- Hook size: 3.5 mm crochet hook.
- Optional:
- Tapestry needle for weaving in ends.
- Scissors.
Skill Level
Intermediate – This pattern requires knowledge of basic stitches, working in the round, changing colors, and advanced shaping techniques.
Abbreviations (US Terminology):
- ch – Chain
- sc – Single Crochet
- hdc – Half Double Crochet
- dc – Double Crochet
- tr – Treble Crochet
- sl st – Slip Stitch
- sp – Space
- yo – Yarn Over
Special Notes
- The heart shape is made first, and the square frame is built around the heart.
- This pattern uses front loops only and back loops only in some stitches. Follow the instructions carefully.
- The pattern incorporates two colors, but you may choose to use just one color for a uniform look.
- Weave in your ends as you go for a clean finish.
Pattern Instructions
Heart Center
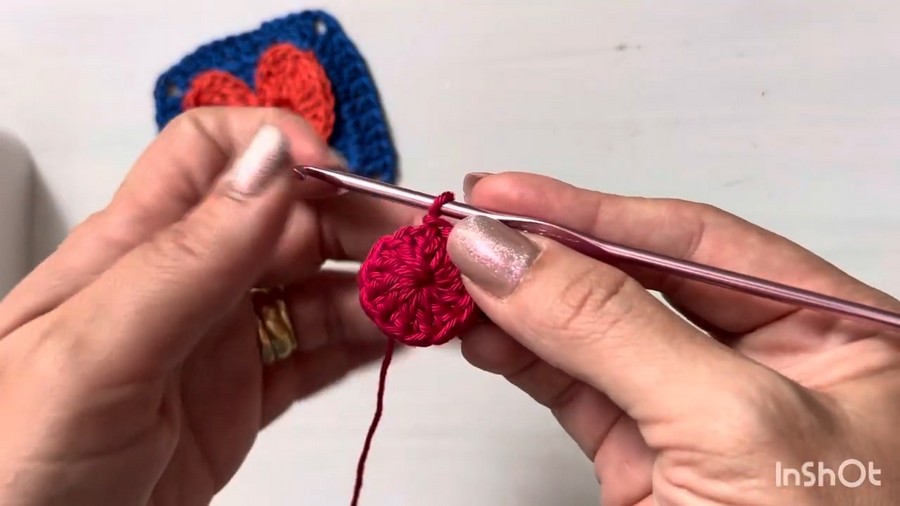
Round 1: Magic Ring
- Start with a magic ring.
- Ch 3 (counts as the first dc) and work 12 dc into the ring.
- Pull the magic ring tight.
- Join with a sl st to the first dc to form a circle. (12 dc total)
Round 2: Forming the Heart
- Ch 3, and work into the front loops only:
- In the next stitch: 3 dc.
- In the next stitch: 3 dc.
- In the next stitch: 2 hdc.
- In the next stitch: 1 sc.
- In the next stitch: 2 hdc.
- In the next stitch: (1 dc, ch 1, 1 dc) (this creates the pointed tip of the heart).
- Continue on the other side:
- Next stitch: 2 hdc.
- Next stitch: 1 sc.
- Next stitch: 2 hdc.
- Next stitch: 3 dc.
- Next stitch: 3 dc.
- Ch 3 and join with a sl st to the first stitch.
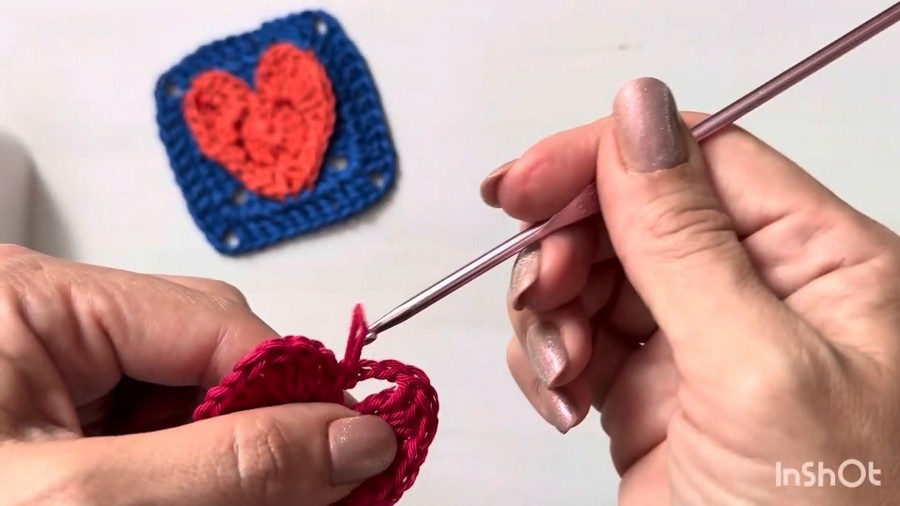
Cut the yarn and fasten off. (Heart is complete.)
Square Frame
Working the Back Loops
- Attach Color 2 to the back loops of Round 1 (remaining from earlier).
- Pick one of the loops behind the top portion of the heart to begin.
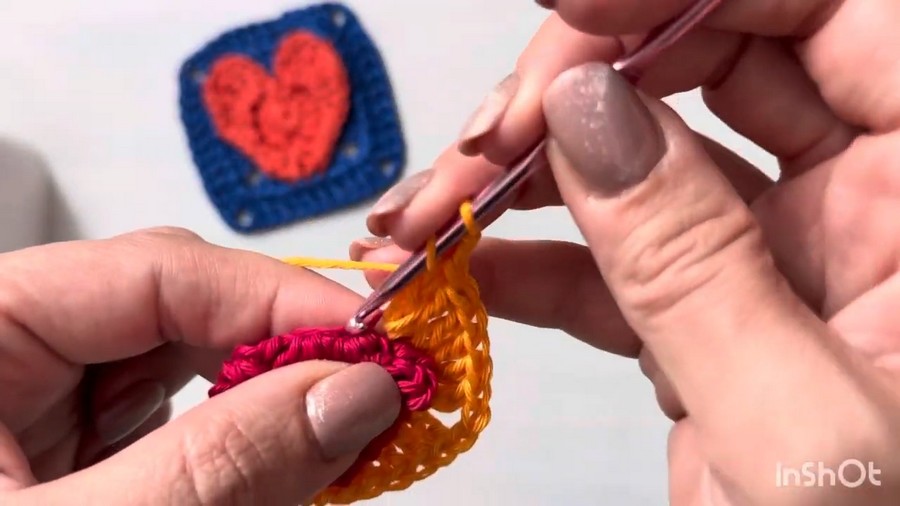
Round 3: Outlining the Square
- Work 2 dc in each of the next 3 loops.
- Ch 2, then repeat the process (2 dc in each of the next 3 loops, followed by a ch 2).
- Continue until all back loops are worked. (You’ll have a rough square outline).
- Join with a sl st to the first dc and fasten off.
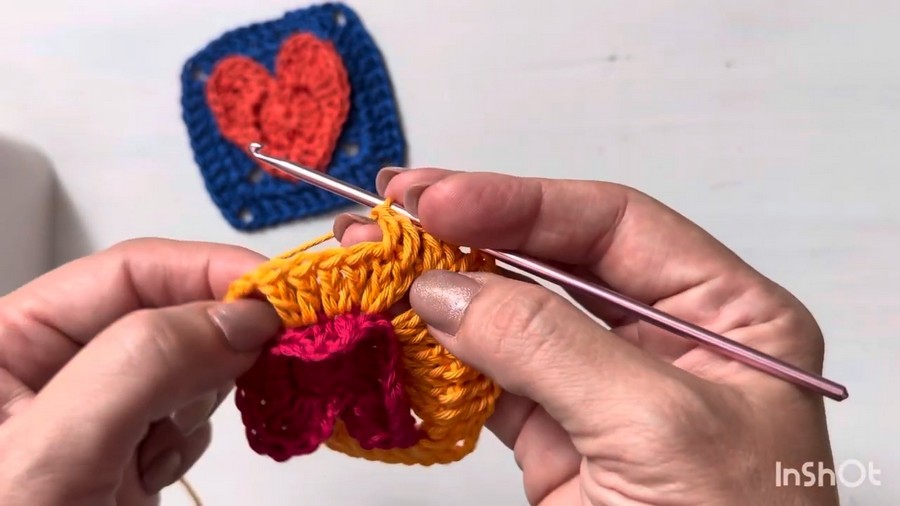
Squaring the Shape
Round 4: Defining the Corners
- Attach Color 2 to one of the corner spaces (ch 2 gaps).
- Work into each dc from the previous round:
- In each corner space, work (2 dc, ch 2, 2 dc) to form a sharp corner.
- At the heart's tip, secure the heart by working through the exposed loops of the heart.
- Continue around the square, joining with a sl st to complete the round.
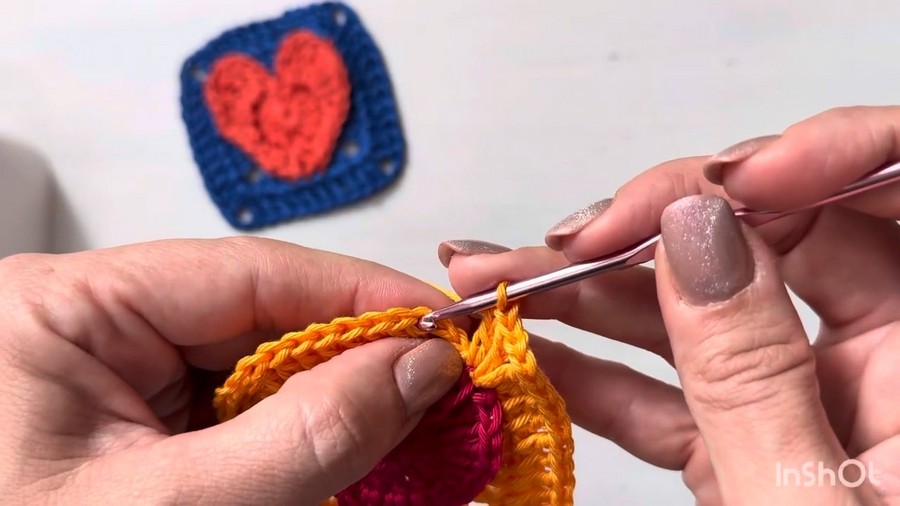
Round 5: Final Touch
- Start with a ch 3 in any corner space.
- Work 1 dc in each dc and (2 dc, ch 2, 2 dc) in each corner space.
- At the tips and loops of the heart, secure them by incorporating the front loops of the heart into your stitches.
- Continue working around and join with a sl st to the first dc.
Conclusion
Your Heart-Highlighted Granny Square is complete! Whether you’re assembling a blanket or using it as a standalone motif, this versatile square brings a vibrant and unique look to any project.
Pattern Corrections
If at any point your square feels uneven:
- Adjust your stitch tension.
- Ensure that the corners have the correct (2 dc, ch 2, 2 dc) structure for symmetry.
Tips:
- Use stitch markers to mark the corners or key points (like the heart’s tip) to ensure consistent alignment.
- Block your finished square to perfect its shape.
- Experiment with colors for a unique and personalized look!



