
Sprinkle joy by making adorable crochet mini hearts with this free pattern that's for gifts, decorations, or adding charm wherever you like.
Small crocheted hearts are delicate, charming, and perfect for adding a meaningful touch to various projects. Their lovely simplicity and graceful appeal make them a favorite choice for personalizing gifts, accessorizing outfits, or decorating homes. Using a crochet mini heart pattern, you can fashion these timeless symbols of love in just a short amount of time, making them versatile additions to your collection of handmade items.
Dainty Crochet Mini Heart Pattern for Special Occasions
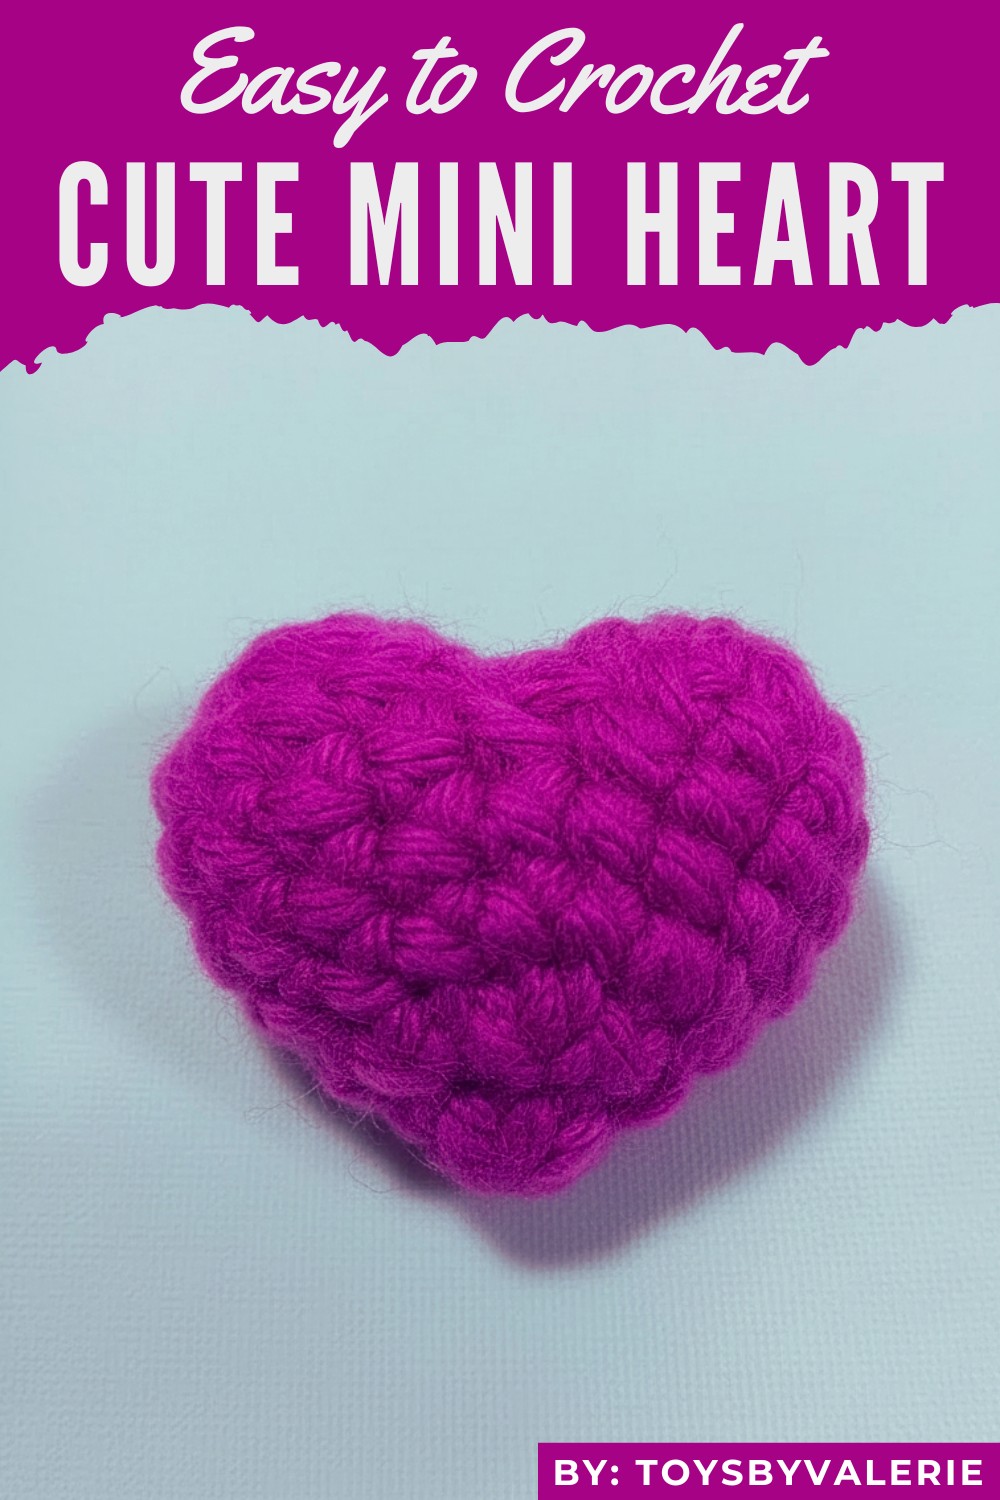
Crocheted Mini Heart Tutorial (7-Row Style)
Learn to crochet a quick and charming miniature heart using simple Amigurumi techniques. This project, which takes only about seven rows, is a perfect, fast gift or decoration and can be sized up or down by simply changing your yarn weight.
Uses
-
Create a Valentine's Day token.
-
Use it as a small Decoration or gift embellishment.
-
Attach it to a chain to make a Keychain or charm.
Materials
-
Yarn: Use any size yarn, such as cotton, DMC, or larger sport weight (like Eagle Prime or Vanara Summer). The finished heart size depends directly on your yarn thickness.
-
Hook: A crochet hook appropriate for your chosen yarn size.
-
Stuffing: Synthetic fiberfill.
-
Tools: Tapestry needle for sewing, scissors.
Special Features
-
Quick Project: You complete the heart in only seven rows, making it ideal for bulk production.
-
Size Versatility: A single pattern works for miniature hearts (using fine yarn) up to medium-sized hearts (using thick yarn).
-
Unique Closure: The pattern employs a specific, non-standard method to close the bottom hole, which helps form a defined point at the base of the heart.
Level of Difficulty
This project is Easy. It requires knowledge of basic stitches (single crochet) and simple Amigurumi shaping (increasing and decreasing).
Tutor's Suggestions
-
Yarn Choice: Experiment with different yarn sizes (e.g., fine DMC thread versus a thicker cotton yarn) using this exact pattern to produce a variety of heart sizes.
-
Stuffing: Adjust the amount of fiberfill to control the final shape. Stuff firmly if you desire a plump, puffed-out heart.
-
Joining Pieces: When joining the two half-pieces, ensure you sew the three skipped stitches on the sides tightly to prevent a gap or hole from forming between the curves of the heart.
Step-by-Step Details
Stitch Abbreviations: X = Single Crochet (SC), V = Increase (INC), A = Decrease (DEC)
A. Crochet the Two Half-Circles (Make 2)
-
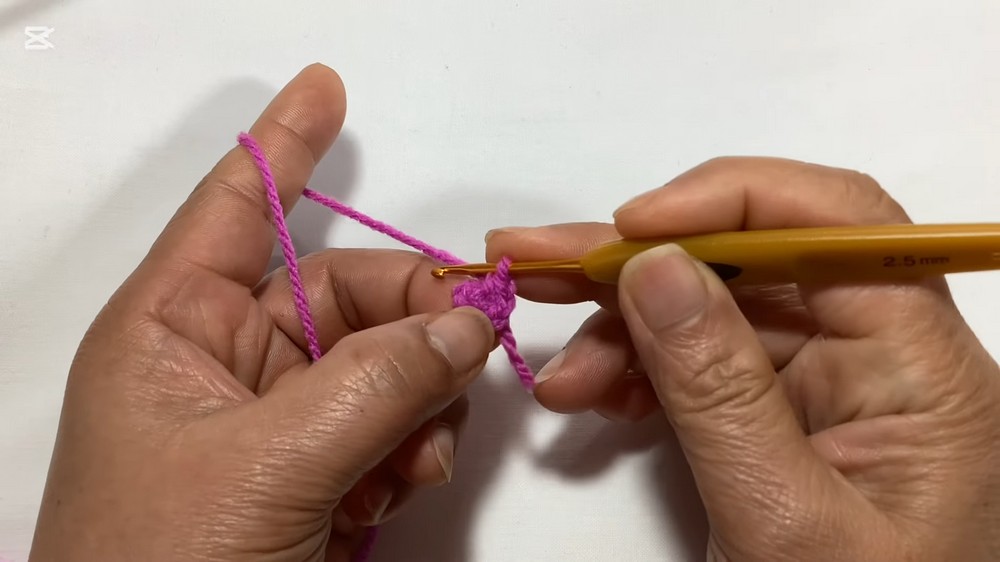
Round 1: Create a Magic Ring (MR) and work 6 X into it (6 stitches total).
-
Round 2: Work 6 V (2 X in each stitch) (12 stitches total).
-
Round 3: Work 12 X around.
-
Finish: On the first piece, cut the yarn, leaving a long tail for sewing. On the second piece, do not cut the yarn, as you will immediately join it to the first piece.
B. Join the Pieces (Round 4)
-
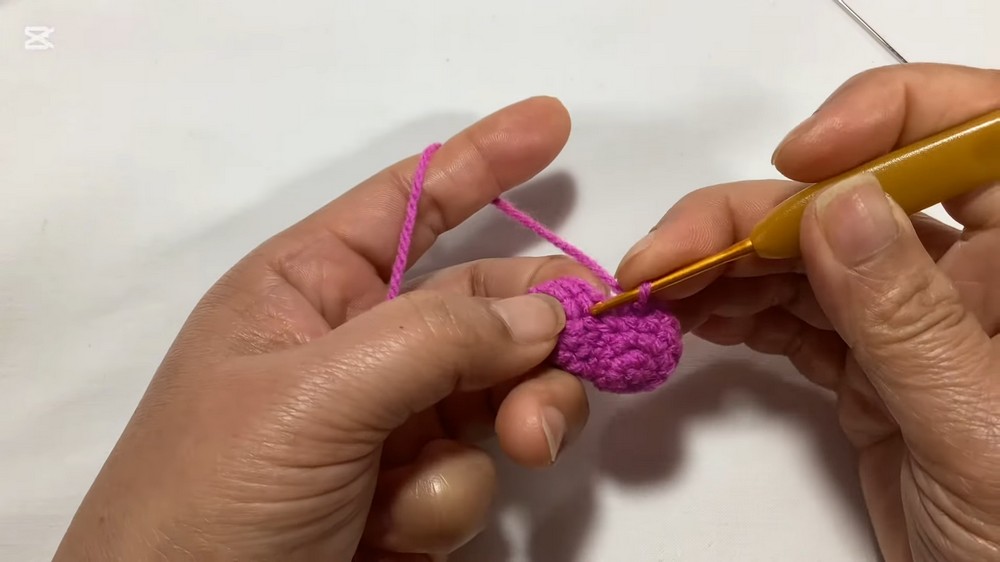
Prepare: Locate the last stitch on the second piece (where your hook is). On both pieces, mark or count the three stitches closest to the side edge where the pieces will meet; you will skip these three stitches on both pieces.
-
Start Joining: Work 9 X on the second piece. You will stop three stitches before the side edge.
-
Cross Over: Skip the three marked stitches on the first piece. Work the first X of the new set into the fourth stitch of the first piece.
-
Continue: Work 9 X on the first piece.
-
Stitch Count: The new, large round (Round 4) now has 18 stitches (9 X from the second piece + 9 X from the first piece).
-
Close the Gap: Use the long tail from the first piece to sew the skipped three stitches on the side of the first piece to the skipped three stitches on the side of the second piece. Pull the thread tight to close the small hole at the center of the heart.
C. Shape the Heart (Decreasing Rounds)
-
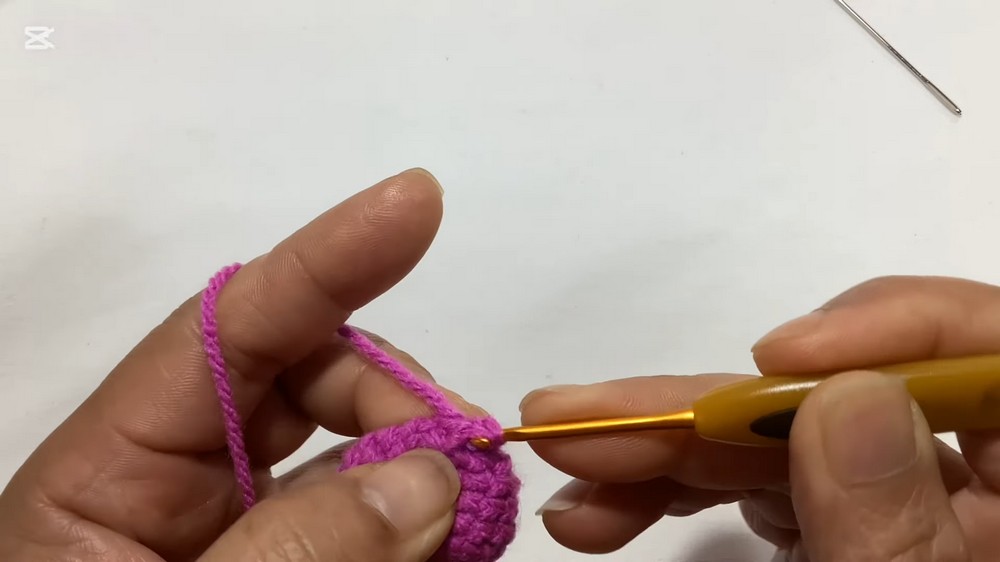
Round 5 (Decrease): Work the pattern: 3 X, 1 A, 7 X, 1 A, 4 X (16 stitches total).
-
Stuff: Stuff the heart firmly with fiberfill.
-
Round 6 (Decrease): Work the pattern (2 X, 1 A) and repeat 4 times (12 stitches total).
-
Round 7 (Final Decrease): Work 6 A (6 stitches total).
D. Final Assembly and Shaping
-
Final Stuffing: Add any remaining fiberfill, ensuring the heart is well-shaped.
-
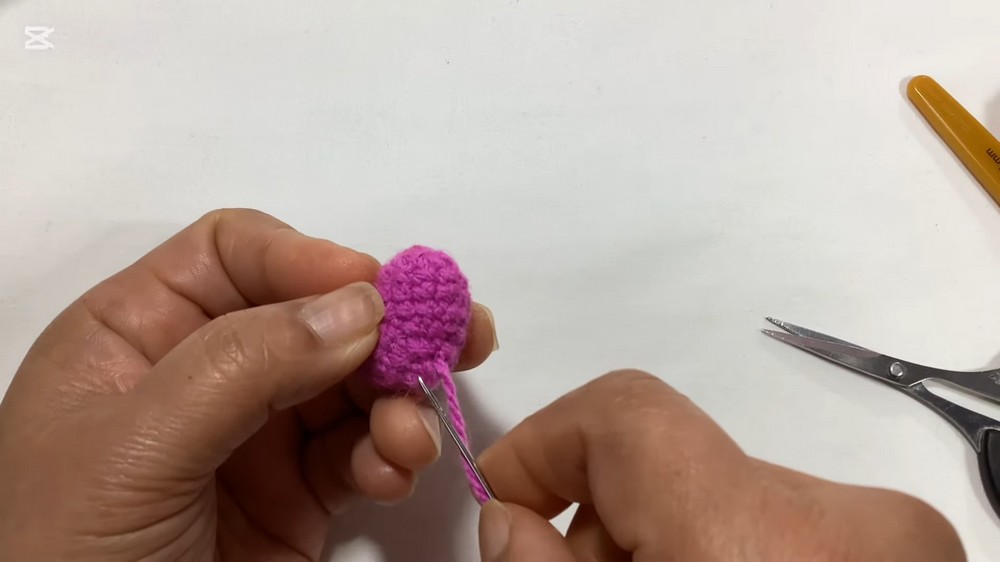
Unique Closure: Cut the yarn, leaving a long tail. Thread the tail onto a tapestry needle. Instead of weaving through every remaining stitch, weave the needle through every third remaining stitch (the tutor demonstrates doing this 3 times).
-
Pinch and Pull: Pull the tail thread tight to close the small remaining hole. This specific technique pulls the fabric inward to create a distinct, sharp point at the bottom of the heart.
-
Weave: Weave the tail end back through the heart body to hide the yarn.
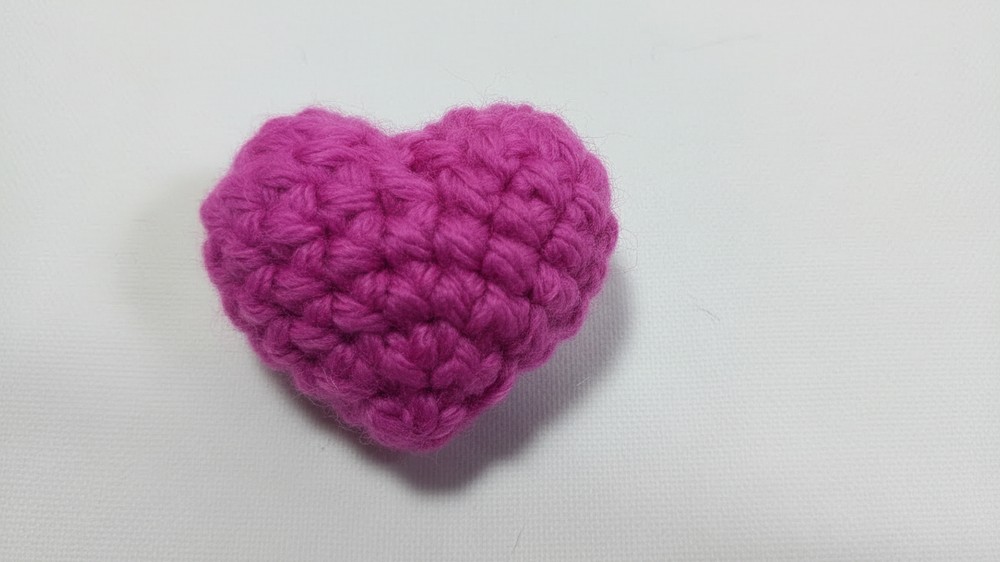
These tiny hearts are ideal for those seeking quick and fulfilling projects, regardless of skill level. Beginners can practice fundamental stitches, while more experienced crocheters can play with textures, colors, and embellishments to suit different occasions. Whether used as gift tags, sewn onto blankets, or strung together as garlands, they add warmth and personality to the things you cherish most.
Conclusion
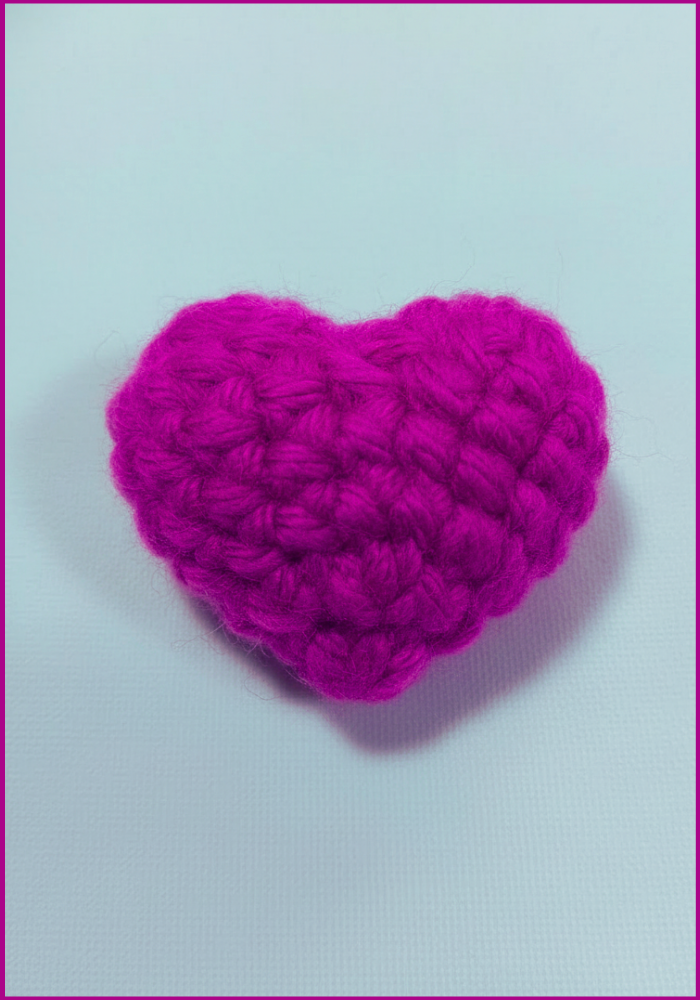
You have completed your mini heart! This pattern successfully creates a well-shaped, symmetrical heart that serves as a lovely, handmade touch for any occasion.
Tip
Check Your Point: After using the unique closure method for the base, gently push and mold the stuffing up towards the top curves and down into the bottom point. This helps accentuate the heart's shape and ensures a smooth, pleasing silhouette.



