
Keep your coins safe in a unique crochet coin purse filled with elegance and charm that is perfect for everyday use or as a heartfelt gift for someone special.
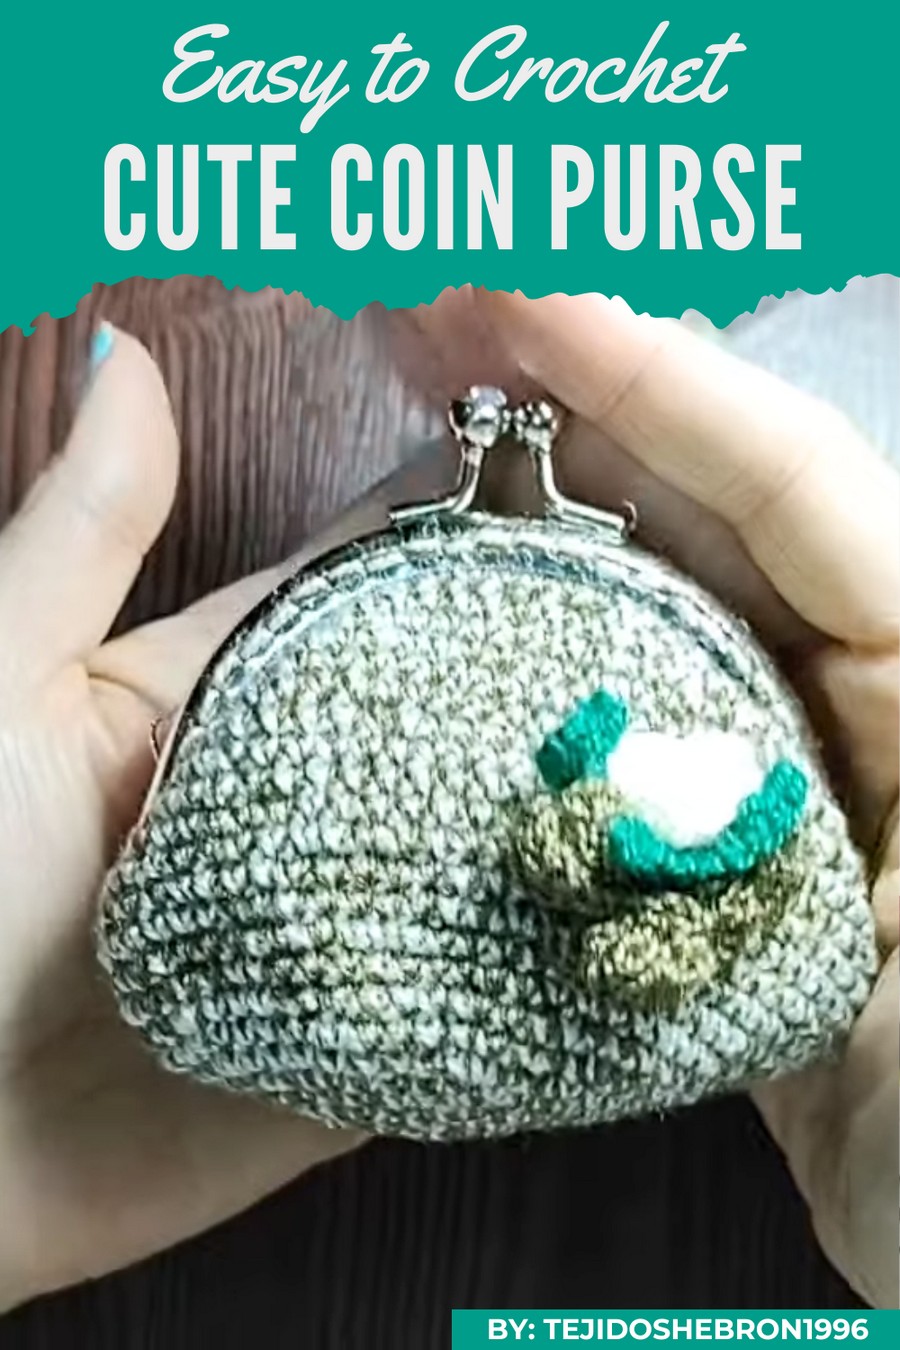
Carry your coins in style with a charming handmade accessory that’s perfect for organizing small essentials, and the crochet coin purse pattern makes it even more delightful. This purse is beautifully designed with intricate stitches that give it a unique and elegant look, making it stand out wherever you go.
Easy Crochet Coin Purse Pattern You’ll Love
Lightweight yet durable, the pattern allows you to create a purse in your favorite colors and size, making it a thoughtful gift or a personal treasure. Its secure closure keeps your coins and tiny items safe, blending beauty, practicality, and creativity in a fun and easy-to-make project you’ll adore.
Materials
- Crochet Hooks:
- 2.75 mm hook for the main body.
- 1 mm hook for the flowers and leaves (thin hooks help with delicate designs).
- Thread:
- Perlé cotton (fine yarn) in two colors for the body of the wallet, worked with double strands for durability.
- Mercerized cotton in green for leaves and additional thread colors for flowers as desired.
- Metal Wallet Clasp: A nozzle clasp. The size can vary; adjustments in the pattern will ensure it fits well.
- Scissors: For trimming threads.
- Tape Measure: To measure the wallet dimensions and ensure fit.
- Metal Tapestry/Wool Needle: Thin and blunt-pointed needle, suitable for threading through narrow clasp holes.
- Hot Silicone Glue: For securing embellishments like flowers and leaves.
- Optional Felt Piece: Used for hiding knots or securing decorations.
Step-by-Step Instructions
Wallet Base
- Slip Ring Creation:
- Using two strands of perlé cotton (cream and secondary color), create a slip ring and secure it tightly.
- Chain 1 and crochet 6 single crochet (SC) stitches into the ring. Close tightly.
- Increase Rounds (Adjust size as per clasp requirements):
- Round 1: Crochet 6 increases (2 SC into each stitch) to create a total of 12 SC stitches.
- Round 2: Work 1 SC, 1 increase around, finishing with 18 SC stitches.
- Round 3: Work 2 SC, 1 increase around, finishing with 24 SC stitches.
- Round 4: Work 3 SC, 1 increase around, finishing with 30 SC stitches.
- Continue increasing following this pattern (4 SC, 1 increase; 5 SC, 1 increase, etc.), measuring frequently against the clasp until the diameter fits perfectly.
- For the tutorial example:
- Final round: 9 SC, 1 increase with a total of 66 SC stitches.
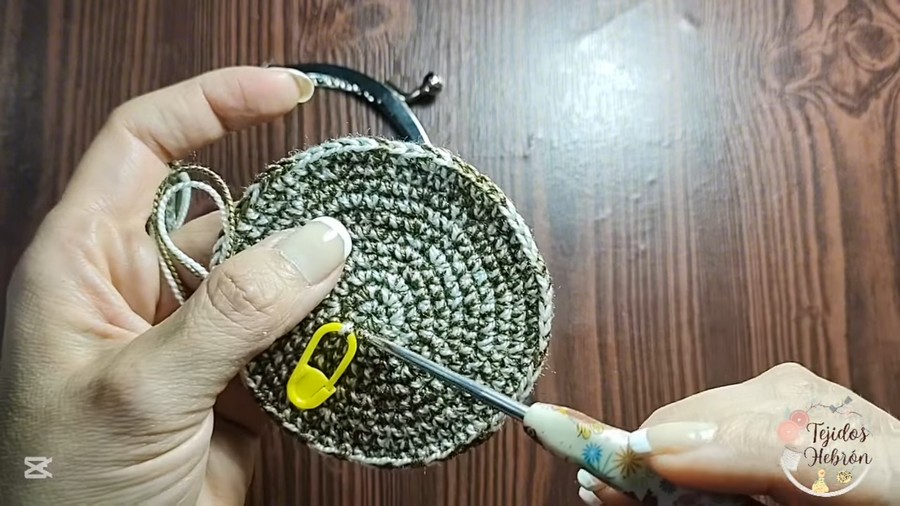
- Transition to Height (Body):
- Decide whether to crochet into the back loop only for a defined edge between the base and body or continue straight for a seamless design.
- Crochet straight without increases for a height of 5–7 cm (or as desired). For the tutorial, the height reached was 6.8 cm.
Floral Embellishments
Roses (Small Flowers)
- Create the Base:
- Take a single strand of perlé cotton (cream or preferred color) and chain 12 stitches.
- Start from the 2nd chain and crochet 4 half double crochet (HDC) stitches into the same space.
- In the next chain, work 1 slip stitch.
- Alternate between 4 HDC and 1 slip stitch across the chain to create 6 petals.
- Finish the Petal Spiral:
- Chain 2, slip stitch into the first stitch, and fasten off.
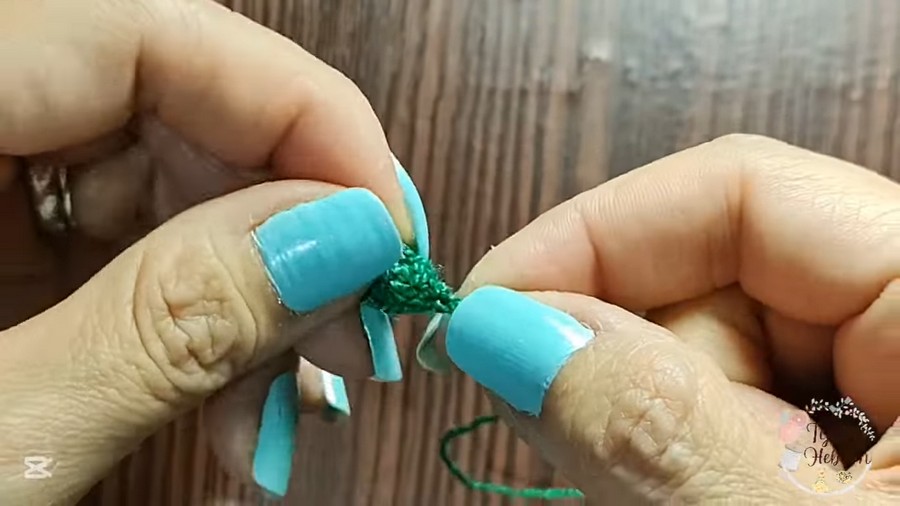
- Spiral the petals tightly to create a rose shape. Secure the shape by sewing using the leftover thread ends.
- Repeat: Make 3–4 roses in different colors for decoration.
Leaves
- Create the Base:
- Using green mercerized cotton, chain 6 stitches.
- Crochet the following on one side of the chain:
- 2 single crochets (SC).
- 3 half double crochets (HDC).
- Flip and Mirror:
- Chain 1 at the tip, then work the same sequence backward on the opposite side of the chain:
- 3 HDC, 2 SC.
- Chain 1 at the tip, then work the same sequence backward on the opposite side of the chain:
- Finish: Slip stitch into the base and fasten off.
- Make 2–3 leaves for decoration.
Assembly and Decoration
Attaching the Clasp
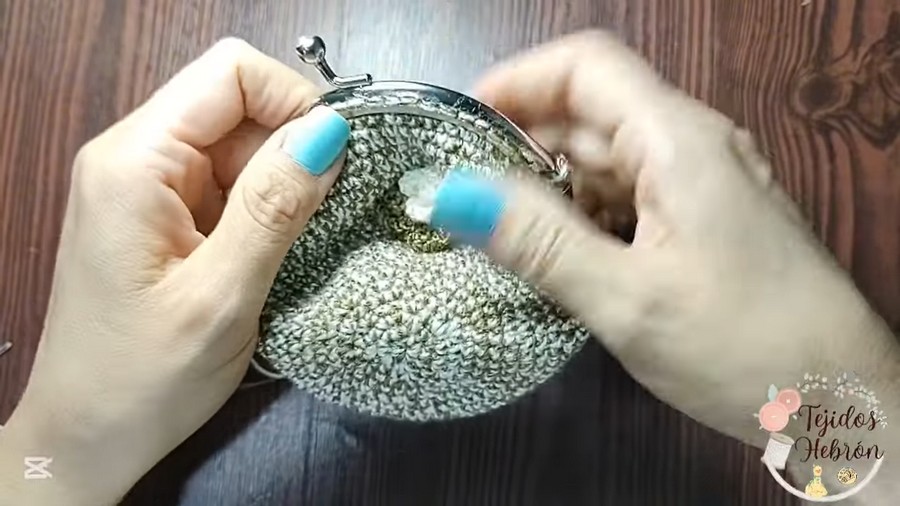
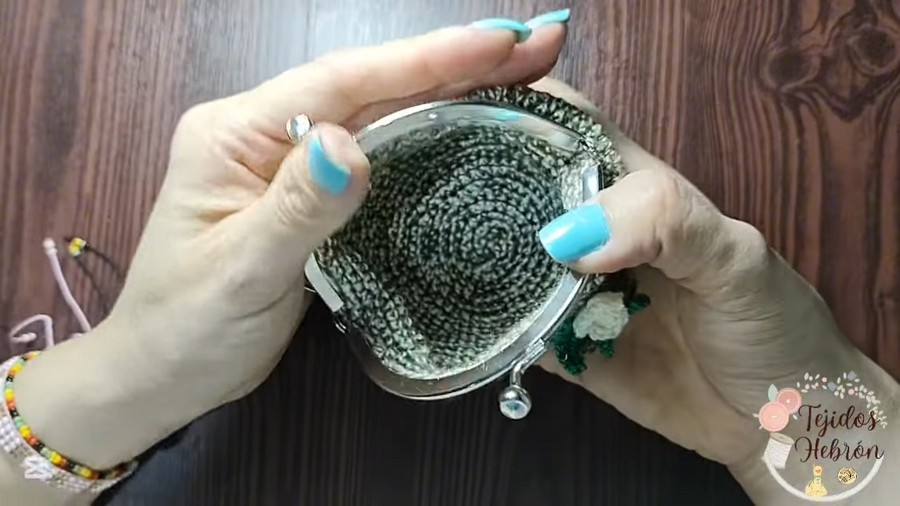
- Position the Clasp: Test the fit of the nozzle clasp over the crocheted base. Most clasps have fewer attachment points than wallet stitches. Adjust by attaching 2 SC stitches per clasp hole in sections where needed.
- Sew the Clasp:
- Use the metal tapestry needle and matching thread to sew the clasp securely.
- Work a straight stitch through clasp holes and weave through adjacent wallet stitches.
- Center Securing: Use extra stitching or thread reinforcement for riveted clasp centers to ensure durability.
Adding Decorations
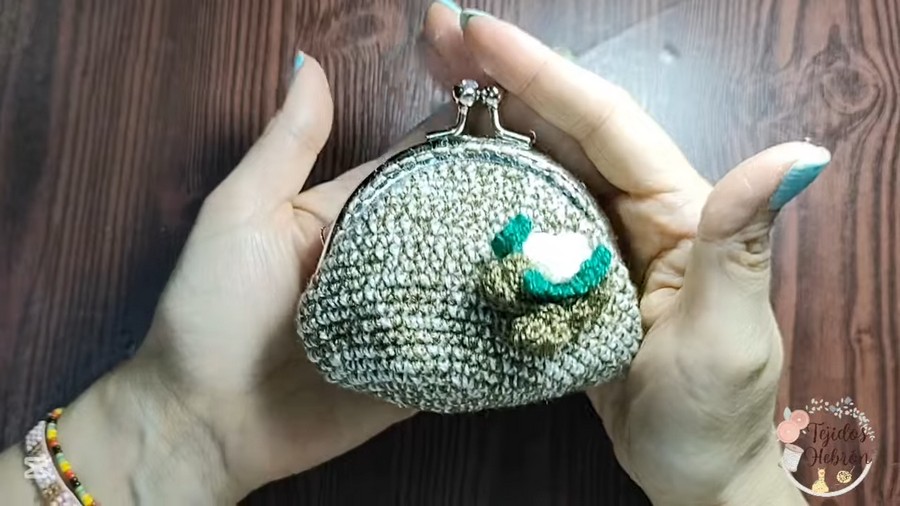
- Attach Roses and Leaves:
- Arrange the flowers and leaves as desired near one side of the wallet.
- For subtle elegance, place them along the edge.
- For highlighted decoration, center them atop the wallet.
- Secure using leftover yarn threads and hot silicone glue for additional hold.
- Arrange the flowers and leaves as desired near one side of the wallet.
- Finish with a Felt Patch (Optional):
- To hide thread knots or secure glued leaves and flowers, attach a small piece of felt to the wallet's interior where decorations connect.
Suggestions
- Measure Constantly: Ensure the wallet diameter matches the clasp size by measuring frequently. Adjust stitches or rounds if needed.
- Test Stretch: Tightly crocheted wallets hold better structure but can be tricky to stretch when attaching the clasp.
- Neat Assembly: Use a needle appropriate for the clasp-hole size to avoid damaging fabric or uneven stitching.
- Flower Color Selection: Choose vibrant or contrasting colors for roses and leaves to enhance the decoration.
Variation ideas
- Color Variations: Experiment with multicolor yarns for a unique marbled wallet.
- Size Adjustments:
- Larger wallets can hold cards and other items. Simply increase the number of base rounds before switching to height.
- Smaller wallets can work as coin purses; use fewer base increases and adjust height accordingly.
- Design Details: Include bows, buttons, or embroidery on the wallet exterior for a personalized touch.
Closing
This wallet combines functionality with artistry, creating a meaningful item that’s perfect for gifting (especially Mother’s Day), selling, or everyday use. With proper color choices and careful craftsmanship, the final product is elegant and practical—a thoughtful handmade accessory.
Notable notes
- The wallet’s size and decorations can be adapted to suit personal preferences or customer demands.
- This project is suitable for beginners, as the techniques used are straightforward and easy to master.
- Its versatility allows you to sell it at fairs or use it to showcase your crochet skills on social media platforms.



