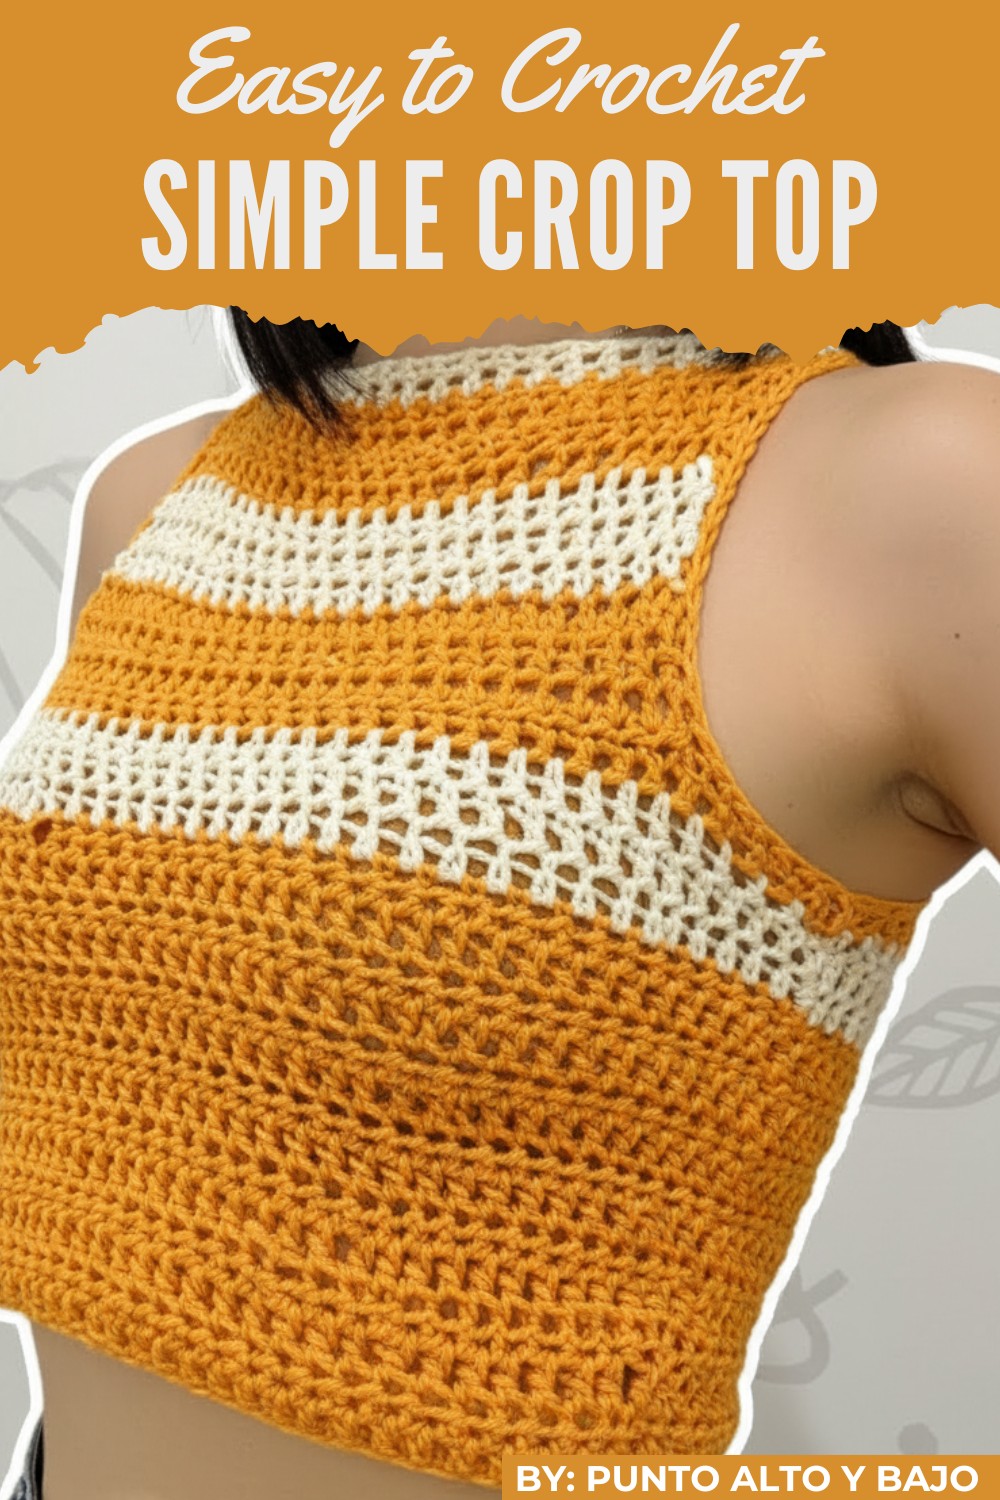
Begin crocheting a stylish crop top with free, simple instructions perfect for all skill levels, blending comfort and charm with every stitch for everyday wear.
There’s something magical about wearing a garment that shows individuality and effort. A crochet crop top is a stunning, lightweight garment perfect for sunny days or layering in cooler weather. This free pattern allows you to showcase textures and shapes that add elegance and personality to your outfit. The crop top stands out with its soft, airy fabric, making it comfortable and perfect for casual or semi-formal occasions.
Free and Easy Crochet Crop Top for All Seasons
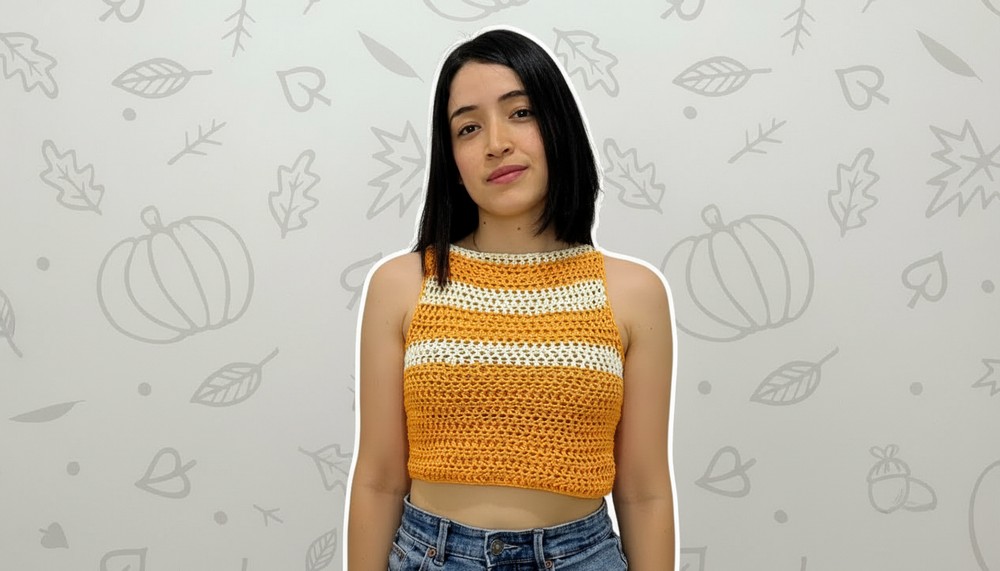
Its beauty lies in its ability to suit various body types and styles, letting you express yourself effortlessly while staying fashionable. Pair it with shorts, skirts, or flowing pants for a laid-back look, or layer it with jackets for a smart ensemble. The texture of the yarn and simplicity of the design give the garment a unique handmade charm, unlike anything found in stores.
From beginners to seasoned crocheters, this pattern offers an opportunity to create something wearable that holds sentimental value, proving that simplicity can be sophisticated. A handmade crochet crop top doesn’t just complement your wardrobe—it adds a story to what you wear, helping you stand out while enjoying the comfort and style it provides.
Crochet Blouse: Step-by-Step Pattern
Materials
Yarn:
- Main Yarn: 100% cotton, 2 mm thick.
- Example Colors: Bright yellow and bone (or any two contrasting colors for the stripe pattern).
- Amount needed: Approximately 110 g of yarn.
Hook Size:
- 6 mm crochet hook
Additional Tools:
- Scissors: For cutting threads.
- Tapestry Needle: To weave in loose ends.
Optional Items:
- Stitch Markers: Helpful for marking armhole divisions.
Skill Level:
Beginner to Intermediate
- Crocheters should know how to work chains, slip stitches, and half-double crochet stitches.
Key Abbreviations
- Ch: Chain
- Sl st: Slip Stitch
- Hdc: Half-Double Crochet
- St: Stitch
- Rep: Repeat
- Rnd(s): Round(s)
Special Notes
- Gauge: Not critical for this project, but ensure that your blouse circumference fits comfortably based on the chain foundation.
- Adjustment: Measure your bust or waist circumference before starting. Additional chains can be added for larger widths.
- Construction: The blouse is worked bottom-up in rounds before being divided into sections for the front, back, and armholes.
Pattern Instructions
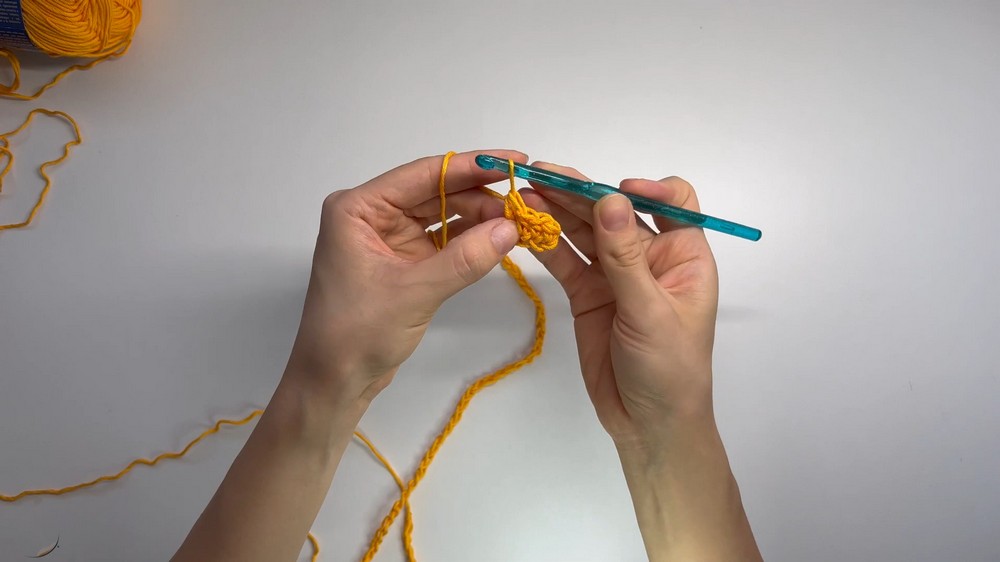
Foundation Chains (Blouse Bottom Edge):
- Start with chains:
- Crochet ch(s) to match your desired width. For reference: 78 chains (~62 cm).
- Add 1 extra chain for turning at the end.
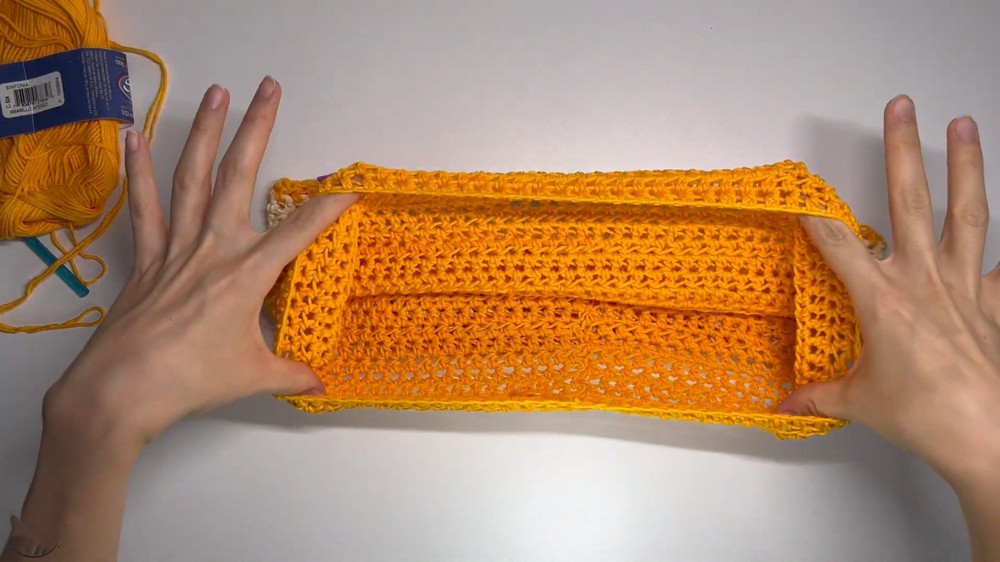
Part 1: Bottom Section (Rounds)
Round 1:
- Skip the last chain and work 1 hdc into the second chain from the hook.
- Work 1 hdc into each chain across.
- Check measurement: The first row will stretch slightly (e.g., from 62 cm to ~65 cm). Adjust if needed.
- Join ends with a sl st into the first hdc.
Tip: Ensure the foundation chain is not twisted before joining.
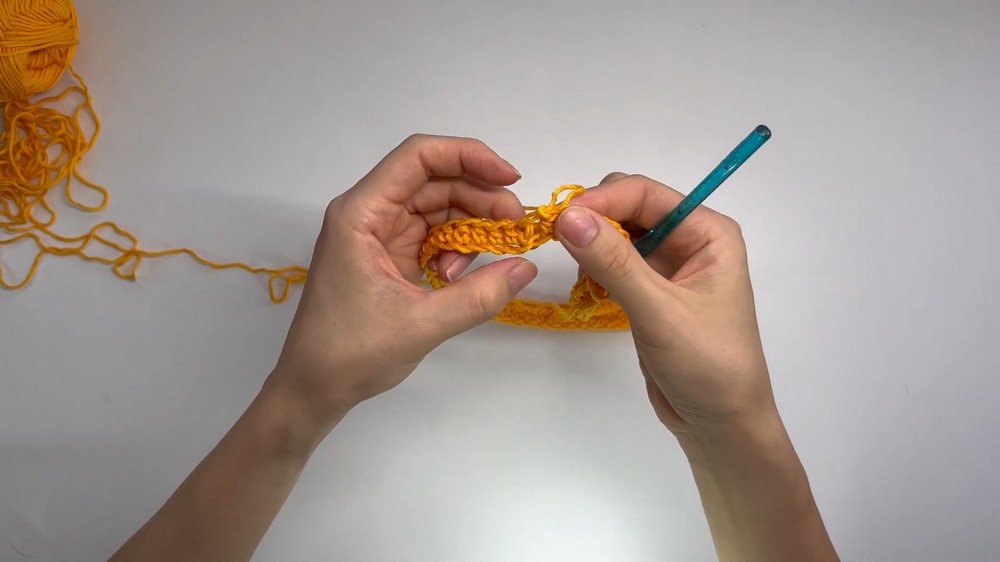
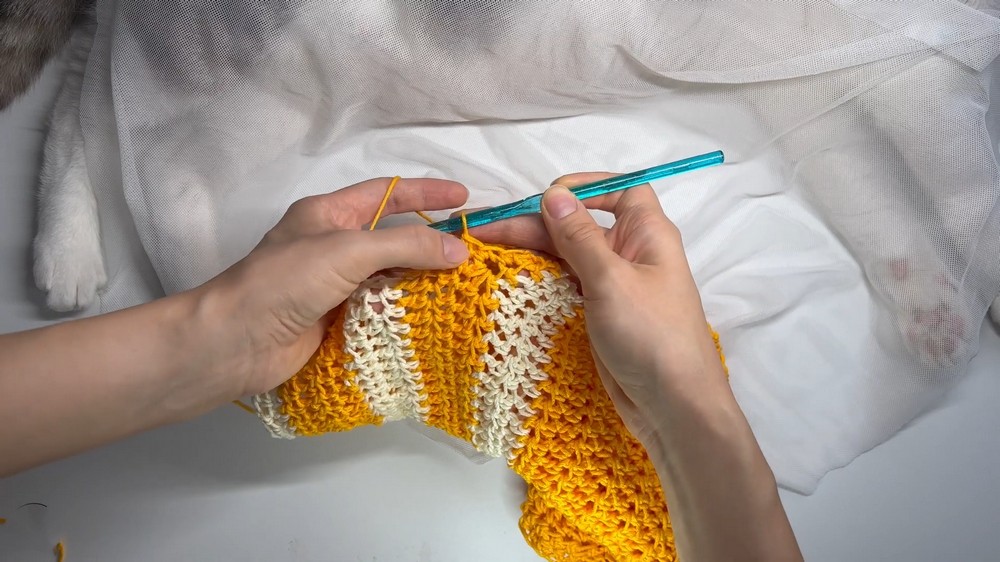
Round 2 and Onwards:
- Ch 1 to lift, turn your work, and begin the next round.
- Work 1 hdc into each stitch around.
- At the end of each round, close with a sl st into the first hdc.
Repeat for the required length.
Striping Pattern (Optional):
You can alternate yarn colors in the stripe sequence of your choice. In the example:
- Rows 1–14: Yellow
- Rows 15–17: Bone
- Row 18: Yellow
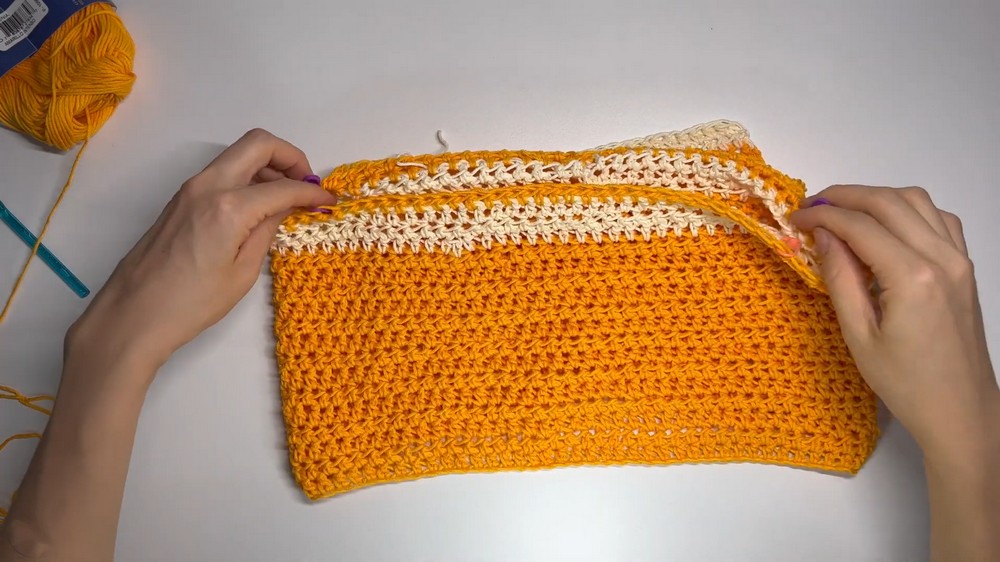
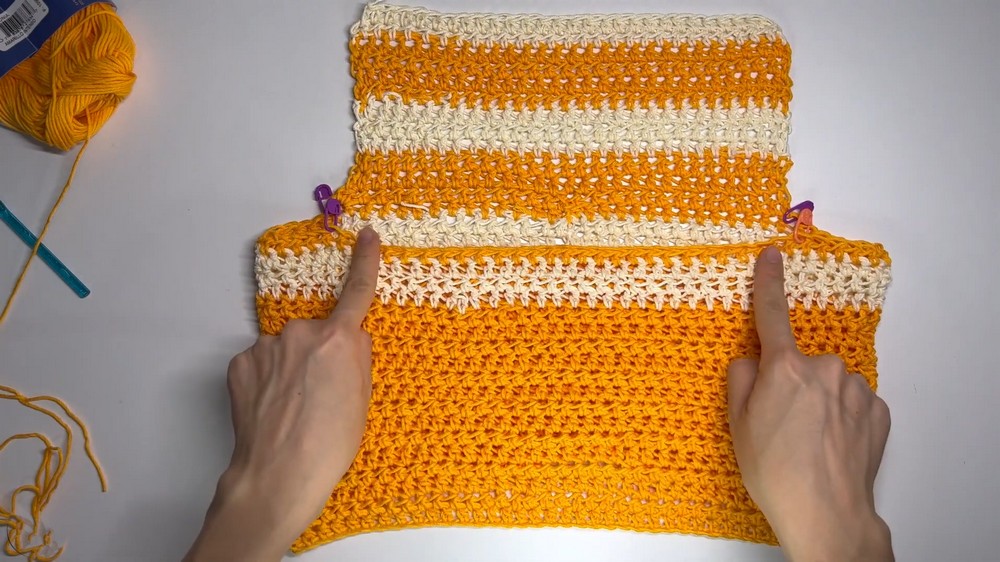
Part 2: Dividing for Front and Back
Step 1: Mark Armholes:
- Place stitch markers on either side to denote the armhole openings.
- Example: Leave 11 stitches (~11.5 cm) open for armholes on each side.
- The remaining stitches in the center will form the front and back panels.
Step 2: Back Panel:
- Join yarn at the stitch marker for the back panel.
- Work 1 hdc across all stitches between the markers:
- Example: 28 stitches for the back panel.
- At the end of each row, ch 1, turn your work, and continue hdc stitches.
Repeat for desired length.
- Example: Work 12 rows (~14 cm) for the back panel.
Step 3: Front Panel:
- Repeat the same process for the front panel using the remaining 28 stitches.
- Ensure matching striping: Alternate yarn colors consistently between the front and back if desired.
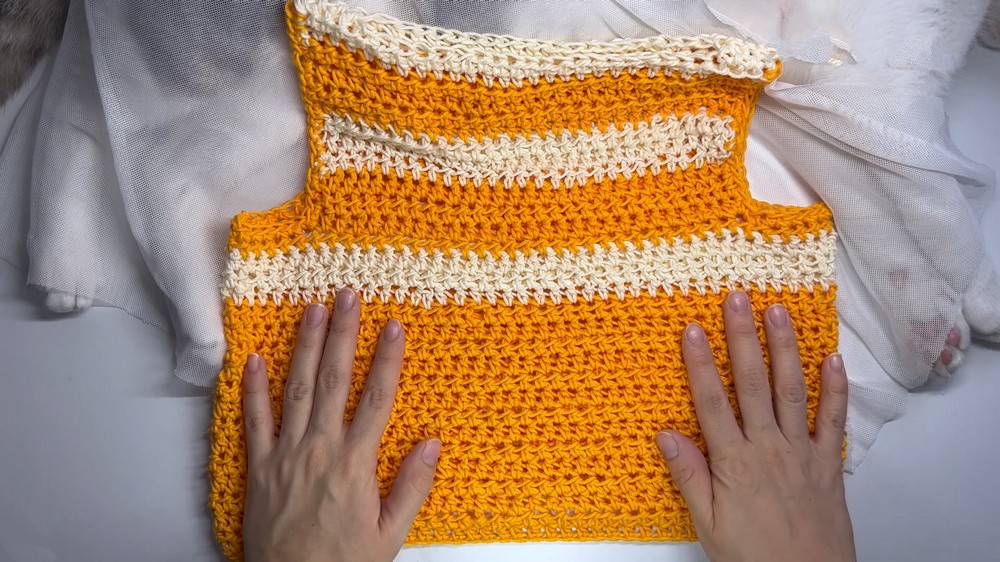
Part 3: Joining Front and Back Panels at Shoulders
- Turn the blouse inside-out to join shoulders neatly on the wrong side.
- Join the last row of the front panel with the back panel using sl st.
- Example: Join 4 stitches on each shoulder for a small neck opening.
- Optionally, join more or fewer stitches depending on how wide you want the neck opening.
- When finished, fasten off and weave in ends.
Part 4: Armhole Edging
- Attach yarn to the armhole edge.
- Work 1 sc into each stitch around the armhole edge:
- Aim for even spacing throughout. For example, work 1 sc in each row end along the sides.
- Close with a sl st at the beginning of the round, ch 1, and fasten off.
Repeat on the other armhole.
Part 5: Neck Edging
- Attach yarn at any point along the neckline.
- Work 1 sc into each stitch around the neckline for a cleaner edge.
- Close with a sl st, ch 1, and fasten off.
Part 6: Weaving In Ends
Using a tapestry needle:
- Thread loose strands and weave them through the fabric horizontally.
- Add a small knot to secure before trimming any excess thread.
Final Measurements
- Length: ~32 cm.
- Width: ~66 cm (after stretching).
- Armhole Depth: ~11.5 cm.
- Shoulder Depth: ~13 cm from neckline to shoulder edge.
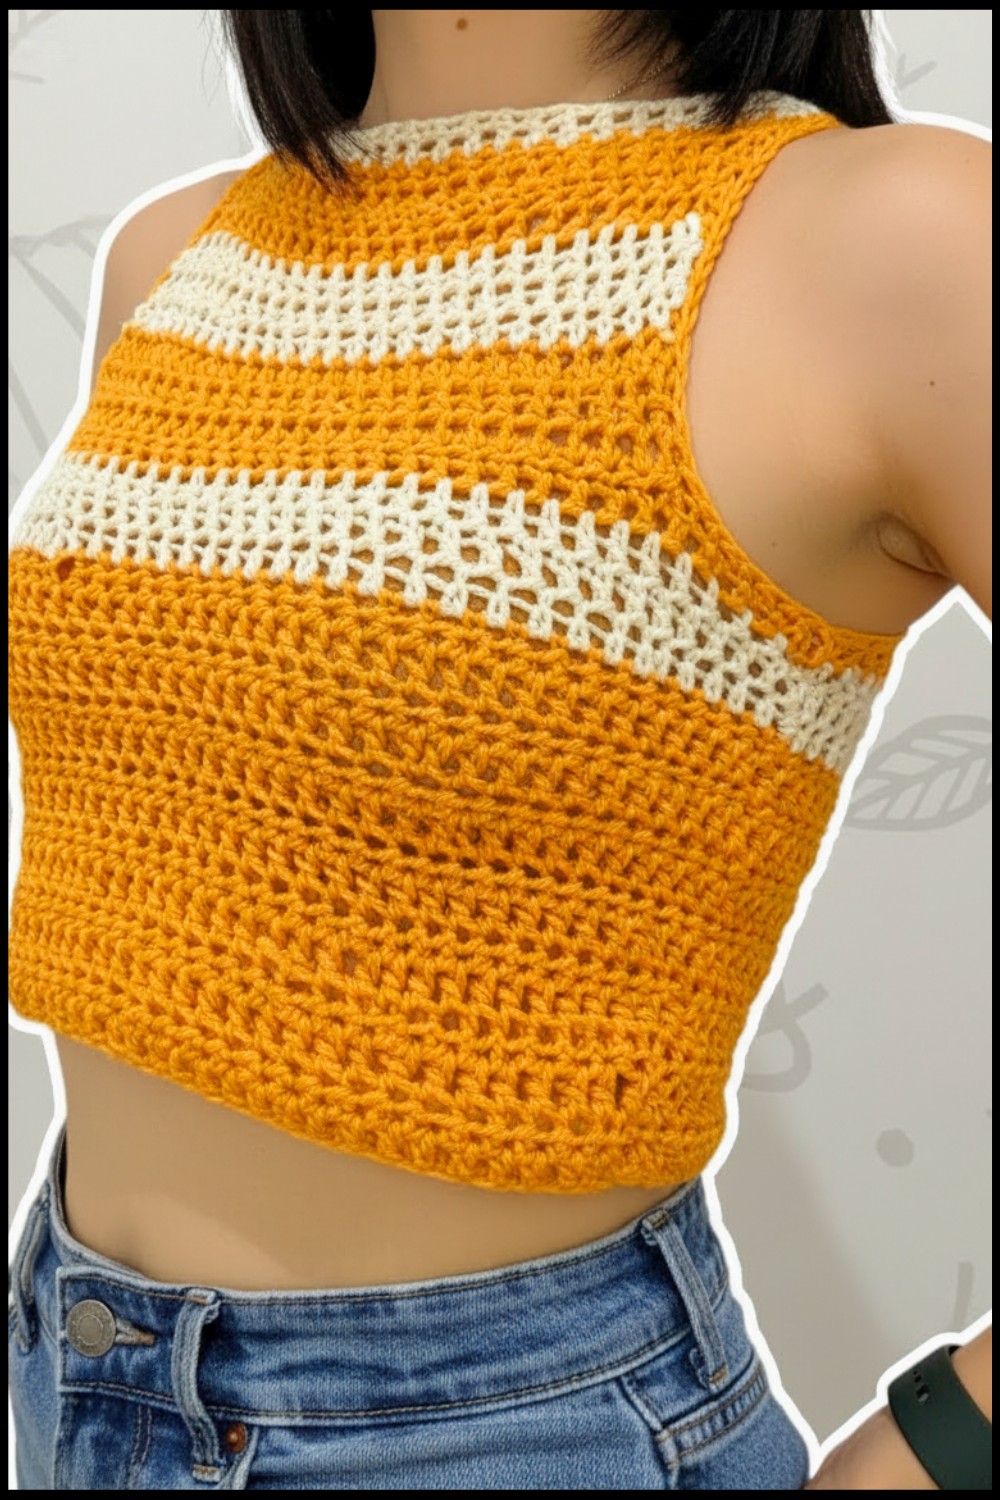
Conclusion
This Beginner-Friendly Crocheted Blouse is a great project to refine your crochet techniques while making a versatile garment. Perfect for layering or summer wear, this piece is customizable in both size and color pattern design.
Pattern Correction
- Stitch Count: Ensure you maintain the original stitch count (~78 stitches) all through the rounds to prevent uneven shaping.
- Division Adjustment: The number of stitches for back and front panels should fit your chosen blouse width.
Tips for Success
- Tension: Maintain consistent tension throughout to ensure the fabric remains smooth and uniform.
- Customization: Adjust stripe widths or alternate colors to match your style.
- Seamless Joining: If visible joins at the shoulders are distracting, try invisible seaming techniques for a more polished look.
- Blocking: Lightly block your finished blouse to enhance its shape and drape.