
Carry your essentials in a stunning Crochet pick snap bag that offers both beauty and practicality with endless ways to match your unique style everyday.
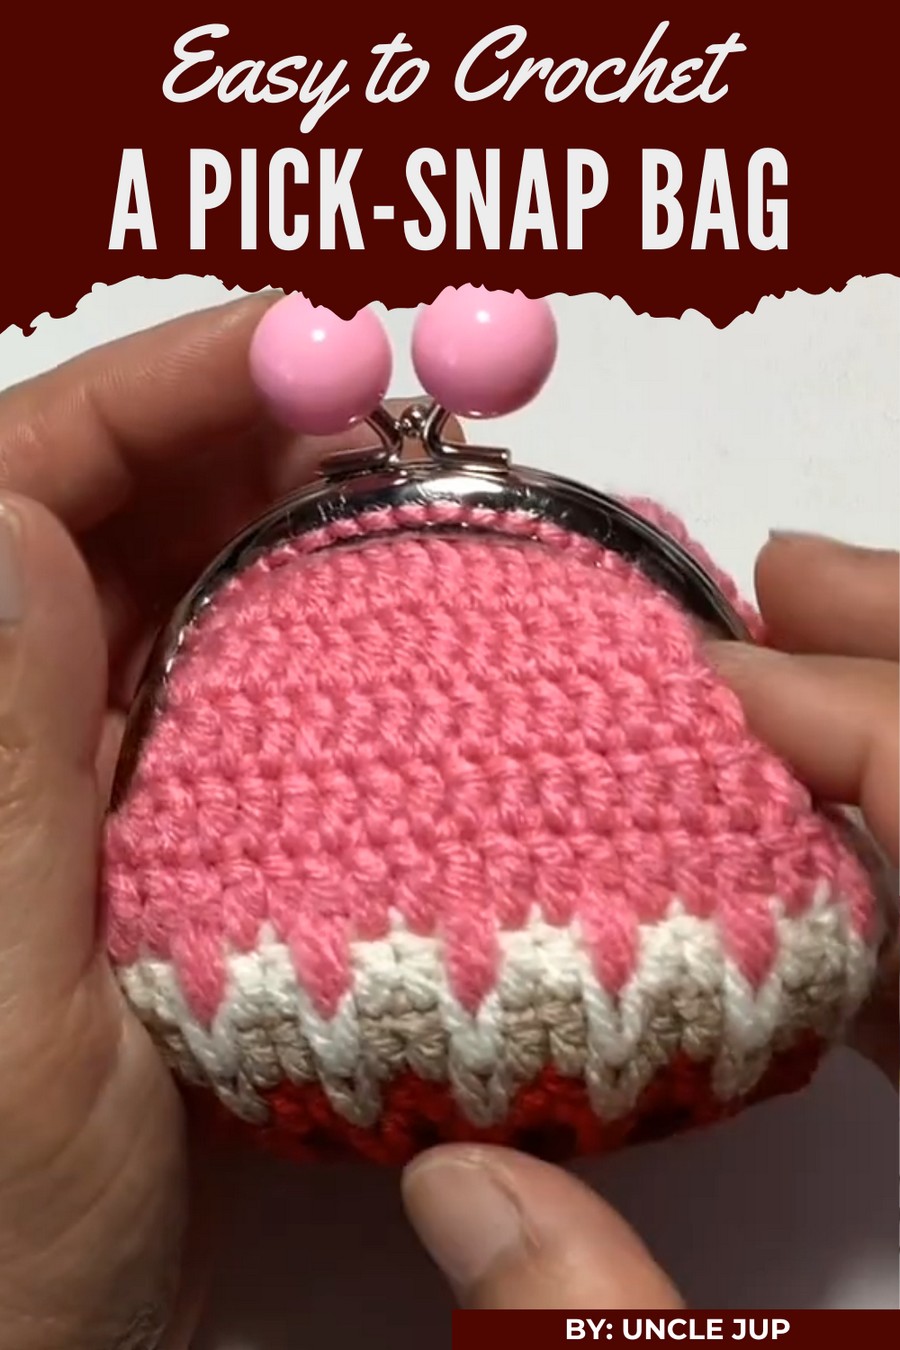
Having a bag that combines charm and practicality in such a simple way. This Crochet pick snap bag pattern is perfect for carrying small items like accessories or cosmetics while adding a handmade touch to your daily life. Its compact size and elegant snap closure make it both functional and stylish.
Charming Crochet Pick Snap Bag Pattern for Any Occasion
The finely crocheted texture brings a timeless beauty that suits any occasion. The best part is its versatility, you can customize the colors and design to match your style, making it truly unique. Whether at home or on the go, this bag is a delightful blend of beauty and usefulness.
Materials Needed:
- Yarn: Cotton yarn or cotton-blended yarn in 5 colors of your choice (recommended: #3 DK or lightweight).
- For thinner yarn, you may double your strands to match gauge.
- Crochet Hook: Size 2mm
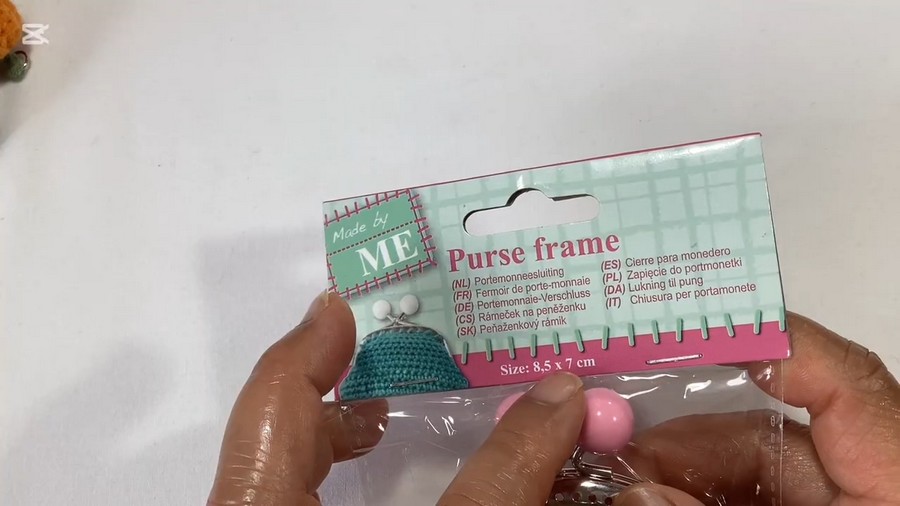
- Frame Clasp (Closure): 8.5 cm frame clasp
- Can be adjusted for different bag sizes; ensure stitch count reflects changes.
- Optional: Lining fabric for inner bag support.
- Additional Tools:
- Scissors
- Tapestry needle for sewing/weaving yarn ends
- Stitch marker (optional for marking rounds)
- Hot glue or sewing materials (if attaching lining).
Key Abbreviations (US Terminology):
- MR: Magic Ring
- SC: Single Crochet
- HDC: Half Double Crochet
- DC: Double Crochet
- SL ST: Slip Stitch
- CH: Chain
- BLO: Back Loop Only
- F Short (F): Standard stitch worked in the current row.
- F Long: Long stitch worked into the row below.
Special Notes:
- Crochet Terminology: The pattern uses US crochet terminology.
- Gauge: Ensure your crocheted fabric aligns with the width of the clasp when starting. Adjust your hook size or yarn thickness to match.
- Customization: Consider adding extra rows or modifying colors based on your aesthetic preferences.
- Joining Yarn Colors: Always secure and neatly weave in ends when changing colors.
Pattern Instructions
Base of the Bag (Start with Yarn Color 1):
Round 1:
- Start with a Magic Ring (MR).
- Work 8 SC into the MR. Pull tight to close. (Total: 8 SC)
Round 2:
- 1 INC (2 SC in each stitch), repeat 8 times. (Total: 16 stitches)
Round 3:
- 1 SC, INC, repeat 8 times. (Total: 24 stitches)
Round 4:
- 2 SC, INC, repeat 8 times. (Total: 32 stitches)
Round 5:
- 3 SC, INC, repeat 8 times. (Total: 40 stitches)
Round 6:
- 4 SC, INC, repeat 8 times. (Total: 48 stitches)
Round 7:
- 5 SC, INC, repeat 8 times. (Total: 56 stitches)
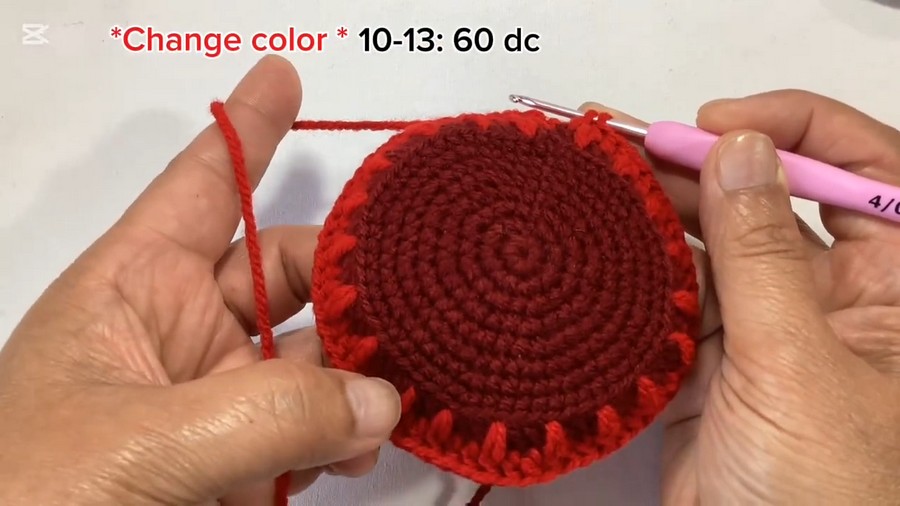
This marks the base of your bag. Measure the base against your frame clasp before proceeding to ensure it aligns. Adjust stitch counts if necessary.
Building the Sides of the Bag:
Round 8 (Adding Texture with Wider Stitches):
- CH 1, work 13 SC, then work 1 INC (1 SC, 1 SC) in the next stitch. Repeat 13 SC, 1 INC around the row.
- You now have 60 stitches for this round.
Tip: After completing Round 8, measure the bag against the clasp to ensure the size is correct. If adjustments are needed, increase or decrease evenly across.
Round 9 (BLO - Back Loop Only):
- CH 2 (counts as the first HDC), then HDC in BLO of all 60 stitches.
Round 10-15:
- Alternate between F Short (working into the current row) and F Long (working into the row below) to create a textured pattern:
- Pattern: F Short in the first two stitches, F Long into the one below, repeat around.
- This creates a total of 6 textured rounds. Each round contains 60 stitches.
Adding Color Changes:
- From Round 16 onwards, change colors every 2–3 rounds to create a striped or colorful pattern, as per your preference. Secure each new yarn color before proceeding.
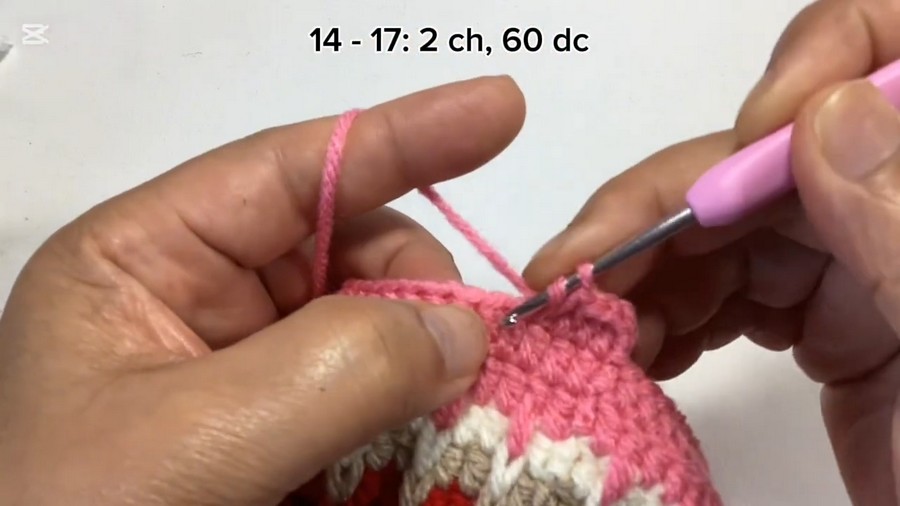
Round 16-20 (Optional):
- Work simple HDC or SC stitches in each round to emphasize the textured base design before closing.
Round 21-22 (Optional):
- For structural firmness, work one additional round of SL ST or tight SC around the opening of the bag.
Preparing for Frame Attachment:
- Complete the bag opening by fastening off and weaving in all loose ends.
- Lightly steam or block the piece to eliminate uneven edges.
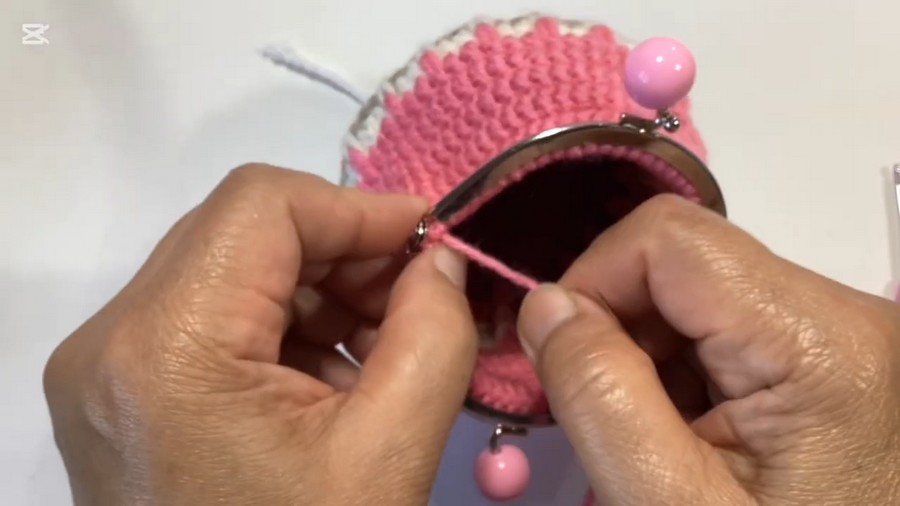
Frame Assembly:
- Align the top opening of the crocheted piece with the clasp frame.
- If the opening is slightly larger than the clasp, evenly pleat the fabric and pin it in place.
- Using a sturdy needle and matching yarn, sew the bag securely to the clasp.
Tips for Frame Sewing: Avoid pulling yarn too tightly to prevent puckering.
Optional Lining Assembly:
- Cut a piece of fabric slightly smaller than the crocheted bag.
- Fold and sew the edges neatly, then attach the lining to the inside of the crocheted bag using fabric glue or a needle and thread.
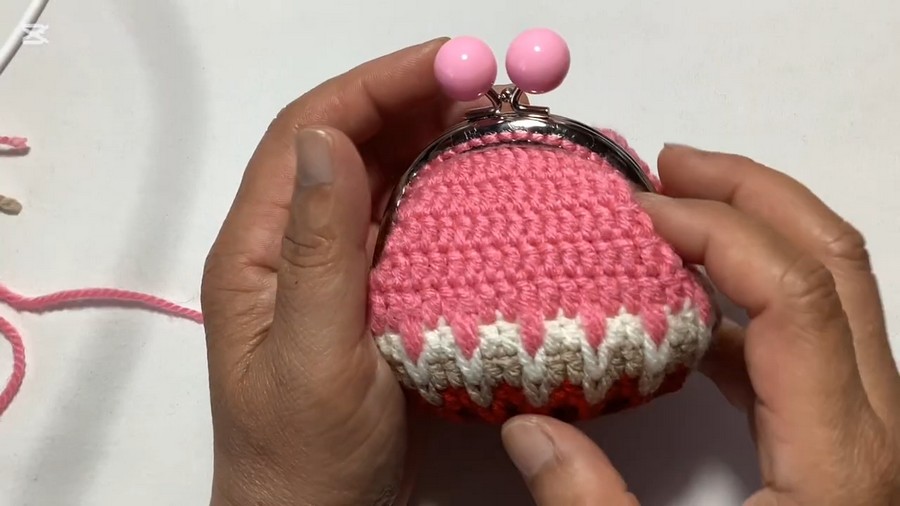
Conclusion:
Your 8.5 Frame Closure Handbag is now complete! With its sturdy base, beautiful texture, and frame accent, it’s both functional and stylish. Personalize it further with embellishments like flowers, beads, or tassels for an added flair.
Pattern Corrections:
- Ensure stitch counts are consistent across rounds. Always double-check when adding INC stitches.
- Pay attention to spacing when aligning with the clasp frame; adjust if gaps appear during assembly.
Tips for Success:
- Test Fit: Always measure your progress against the frame at different stages to achieve the perfect fit.
- Neat Color Changes: Neatly secure new yarn for seamless transitions.
- Durability: Use stronger yarn or double threads for sewing the bag to the frame.
Pattern Variations:
- Size Adjustments:
- For a larger bag, increase the base diameter by repeating rounds with additional INC stitches, ensuring even spacing.
- Color Creativity:
- Experiment with gradients, stripes, or contrasting colors to create unique designs.
- Strap Options:
- Add a crocheted or metal chain strap for carrying your bag as a crossbody or shoulder bag.



