
Bring life to your home with a delightful crochet flower pot pattern that adds charm and elegance, making every space feel warm, stylish, and inviting.
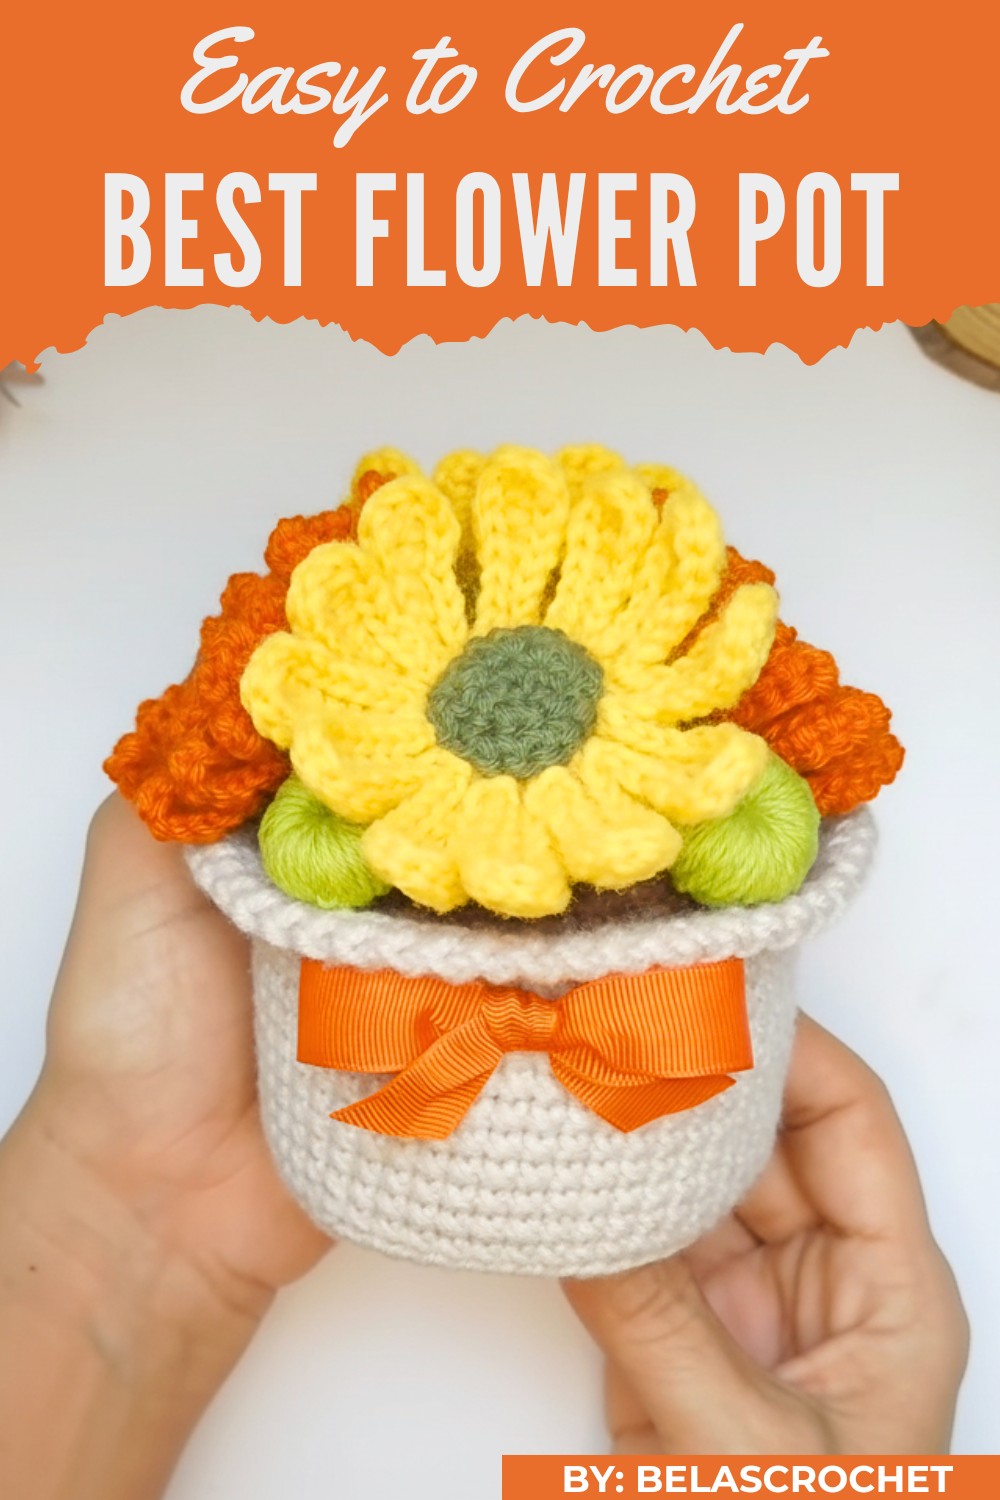
Brighten up your space with the charm of a crocheted flower pot pattern that adds a handmade touch to your home or garden. This beautiful creation is not only practical but also stunning in appearance, giving your pot a colorful and decorative look. Whether you use it as a cute plant holder, table decor, or a thoughtful gift for a loved one, its versatility makes it perfect for any occasion.
The Best Crochet Flower Pot Pattern for Any Decor
The unique feature of this pattern is how it combines creativity and functionality, allowing you to style a plain pot with endless designs, from vibrant colors to delicate textures. You can also create matching accessories like table mats or coasters to complete the look.
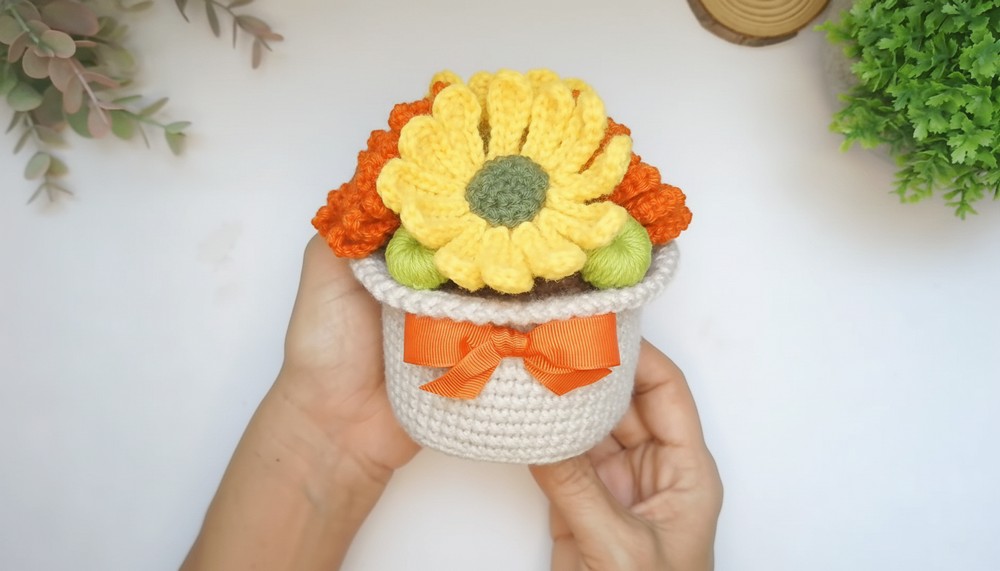
Its beauty lies in the intricate details that turn a simple pot into an eye-catching piece of decor. Make your space cozy and artistic with this timeless and easy crochet idea.
Materials and Tools
Yarns:
- Acrylic yarns in the following colors:
- Pot: Brown
- Dirt/Soil: Dark Brown
- Flowers: Bright shades such as yellow, orange, or red for petals, and green for the leaves and flower base.
- Buds: Complimentary colors for smaller flower buds.
- Important Note: Do not use mercerized cotton yarn as it is too soft for structural elements like petals. Acrylic yarn ensures firmness and structure.
Tools:
- Crochet hook size: 2.50 mm
- Scissors: To trim yarn ends.
- Tapestry needle: For assembling and weaving in ends.
- Cold silicone glue: To secure details and add stability.
- Synthetic cotton or polyfill: To stuff the pot for structure.
- Small weights (optional): Rice or small stones enclosed in a plastic bag.
- Wooden sticks: For flower stems.
Skill Level
Intermediate: Familiarity with magic rings, single crochet, double crochet, slip stitches, and working in the back loop (BLO) is required.
Key Abbreviations (US Terminology)
- CH: Chain
- SC: Single Crochet
- DC: Double Crochet
- SL ST: Slip Stitch
- INC: Increase (2 SC into the same stitch)
- BLO: Back Loop Only
Pattern Instructions
Flowerpot Base
Step 1: Bottom Circle
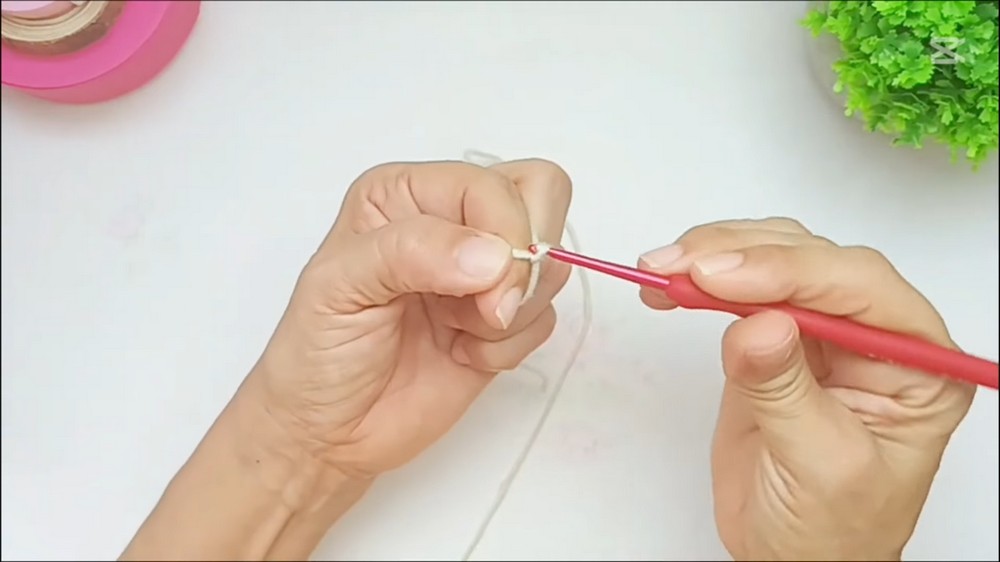
- Begin with a magic ring. Secure with a chain.
- Round 1: Work 6 SC inside the ring. Pull the yarn tail to close the loop.
- Round 2: Work 6 INC (2 SC in each stitch of the previous round). You should end with 12 SC.
- Round 3: Work 1 SC, 1 INC all around (repeat pattern). You should have 18 SC at the end.
- Round 4: Work 2 SC, 1 INC all around (repeat pattern). You should have 24 SC.
- Round 5: Work 3 SC, 1 INC all around (repeat pattern). End with 30 SC.
- Round 6: Work 4 SC, 1 INC all around. End with 36 SC.
- Round 7: Work 5 SC, 1 INC all around. End with 42 SC.
- Round 8: Work 6 SC, 1 INC all around. End with 48 SC.
- Round 9: Work 7 SC, 1 INC all around. End with 54 SC.
Step 2: Establish Height
- Round 10: Work 1 SC in BLO around (54 SC total). This creates the fold for transitioning into the vertical sides of the pot.
- Rounds 11–19: Continue crocheting 54 SC in each round to build the height of the pot.
Flowerpot Soil (Dirt)
- Follow the exact steps of the Flowerpot Base, stopping at Round 9 with 54 SC.
- Finish with a slip stitch, fasten off, and hide the yarn tail.
Filling the Flowerpot
- Optional Weighting: Insert a small lid (e.g., from a container) to stabilize the base.
- Add weight with rice, stones, or other fillers inside a plastic bag. Tie the bag securely to avoid spillage.
- Flatten the filling to distribute weight evenly.
- Stuffing: Use synthetic cotton or polyfill to fill the pot, leaving enough room for the soil layer, the flowers, and the stems.
- Attach Soil to Pot:
- Match the soil layer’s stitches to the pot base (54 SC each).
- Use a single crochet joining method: Pick up one stitch from the pot and one from the soil and work a SC. Repeat all the way around.
- Do not cut the yarn, as you will continue working the pot border.
Pot Border
- Round 1 (Half Double Crochet Edge): CH 2 and work HDC all around (54 HDC).
- Round 2 (Zigzag Edge): Alternate 1 slip stitch and 1 chain stitch all around (zigzag effect).
- Join with a final slip stitch. Fasten off and weave in the ends neatly.
Flowers (Daisy Pattern)
- Foundation Petals:
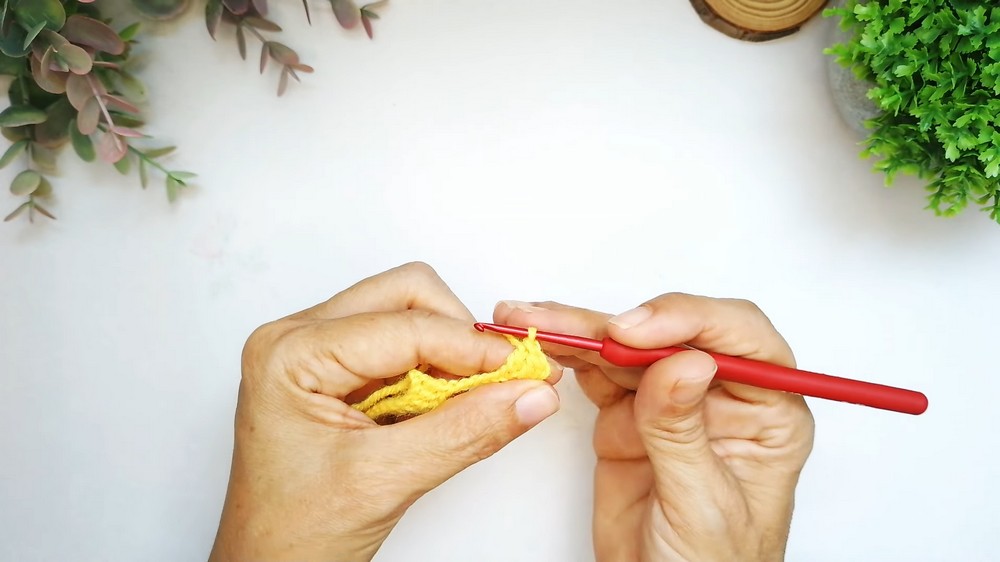
- CH 27. Skip the last 3 chains and work 24 DC across the remaining chains.
- Petals:
Each petal is crocheted as follows:- CH 10. Skip 3 chains and crochet:
- 2 DC, 2 HDC, 2 SC, 1 SL ST across the chain.
- Join the petal with a SL ST at the back loop of the next stitch.
- CH 10. Skip 3 chains and crochet:
- Continue working 12 petals (one in each back loop of the foundation row).
Flower Assembly
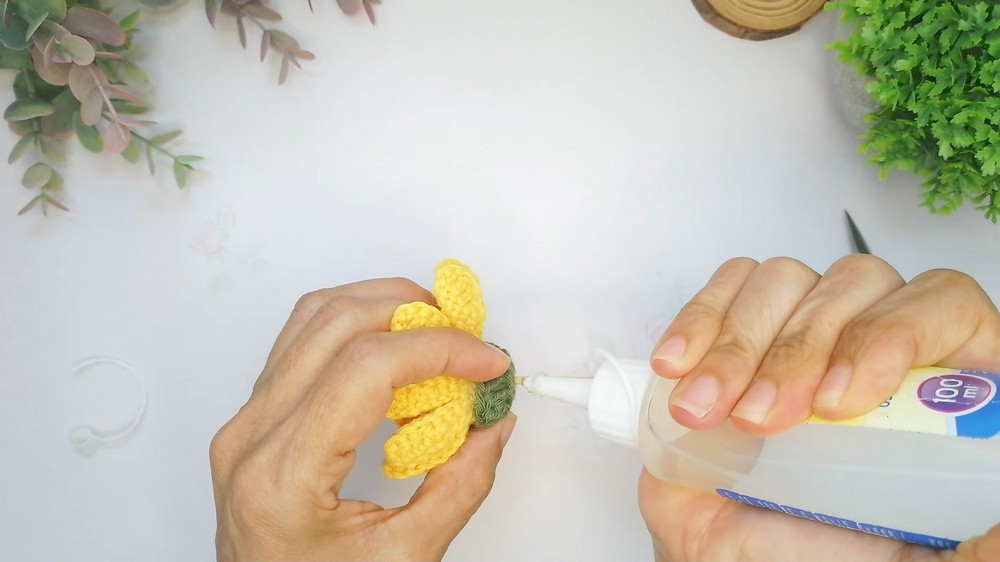
- Wrap the base of the petals around a wooden stick or stem with cold silicone glue, ensuring even distribution.
- Glue the petals securely, adjusting their position for symmetry.
Bud Pattern
- Foundation: Wrap 15 loops of yarn around your finger or a small object and secure them tightly.
- Work SC all around the loops to shape the bud.
- Flatten and Close:
- Compress the bud and secure the base with a tapestry needle.
Leaves and Flower Center
- Leaves: Crochet small leaf shapes by chaining 12 and working SC, HDC, and DC along both sides of the chain.
- Center: Crochet as follows:
- Work a magic ring with 6 SC.
- Work 6 INC for a total of 12 SC.
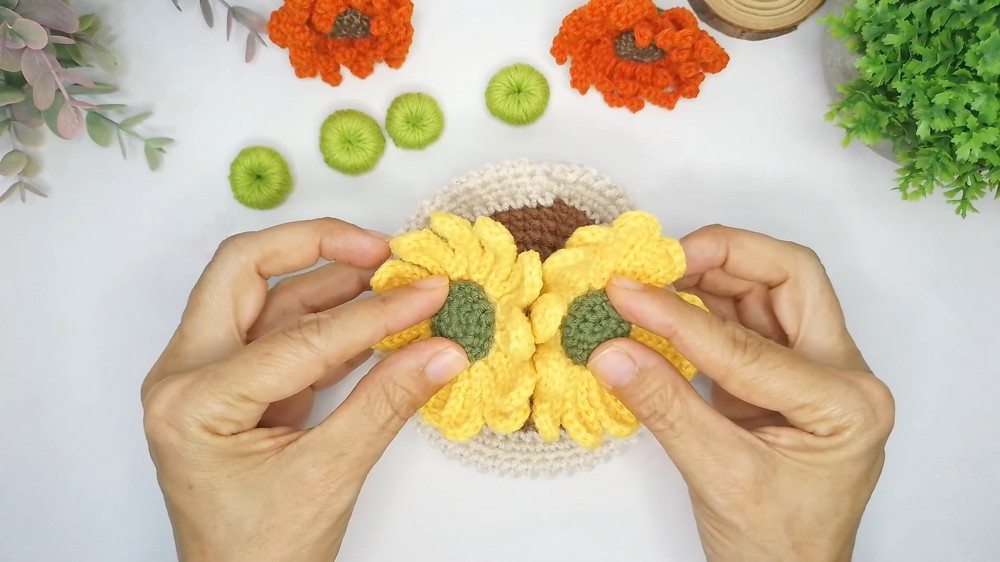
- Work 1 SC in BLO around to create rounded edges. Attach the center to the flowers using cold silicone glue.
Conclusion and Final Remarks
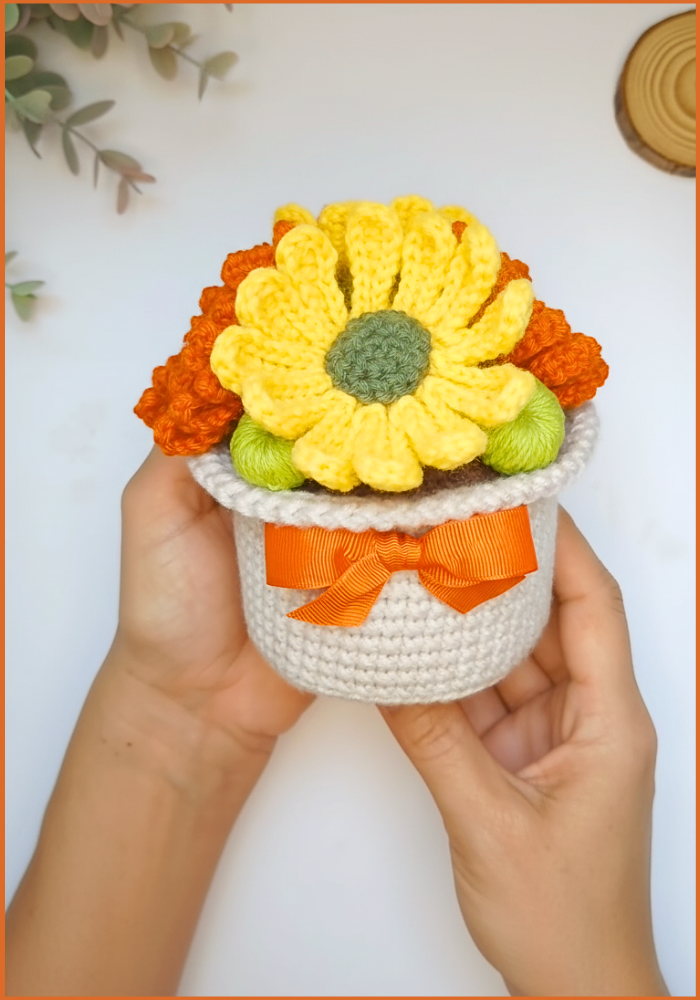
Your crochet autumn flowerpot is complete! It’s a lively, vibrant piece ideal for brightening spaces or gifting as a artisanal decoration. The combination of textured petals, bold colors, and realistic 3D design showcases both creativity and attention to detail.
This pattern allows for customization through varied flower types, sizes, stem arrangements, and even seasonal modifications (e.g., winter poinsettias or spring tulips). Exploring different color combinations adds further personalization.
Tips for Success
- Firm Petals: Acrylic yarn ensures durable petals with excellent structure. Avoid mercerized cotton for this project.
- Balance the Weight: Use small weights inside the pot for better stability.
- Realistic Shape: Position flowers and adjust petals for greater visual appeal.
Pattern Variations
- Size Adjustment: Alter the pot pattern by increasing the circumference with extra rounds to accommodate more flowers.
- Color Variation:
- Spring vibe: Use pastel tones for petals.
- Summer vibe: Bright yellows and fiery reds.
- Winter: Rich reds for poinsettias.



