
Rock a playful look with Crochet Overalls Pattern to create a comfy stylish outfit that adds fun charm and cozy vibes to everyday wear and gifts.
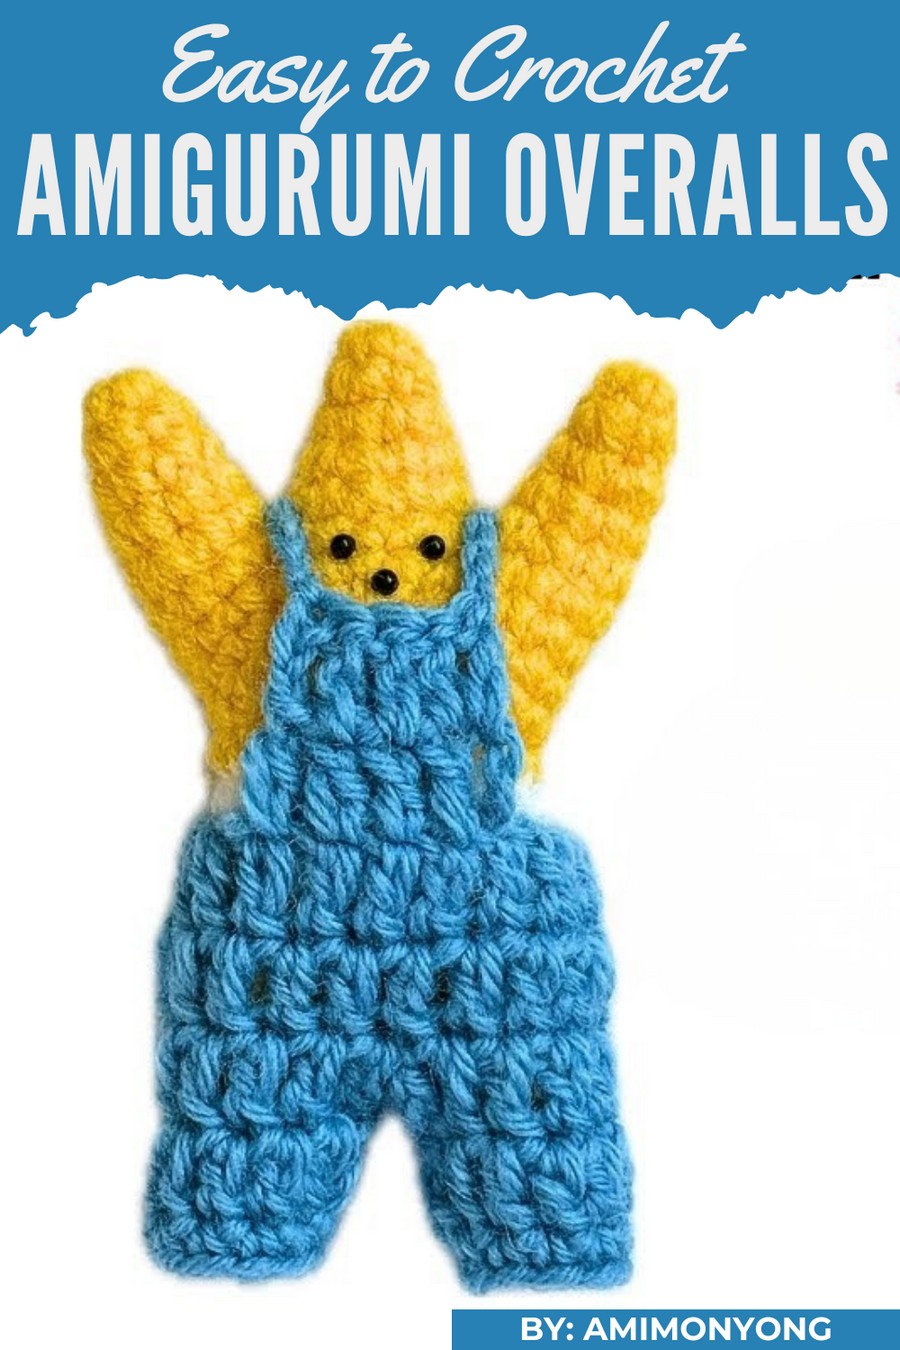
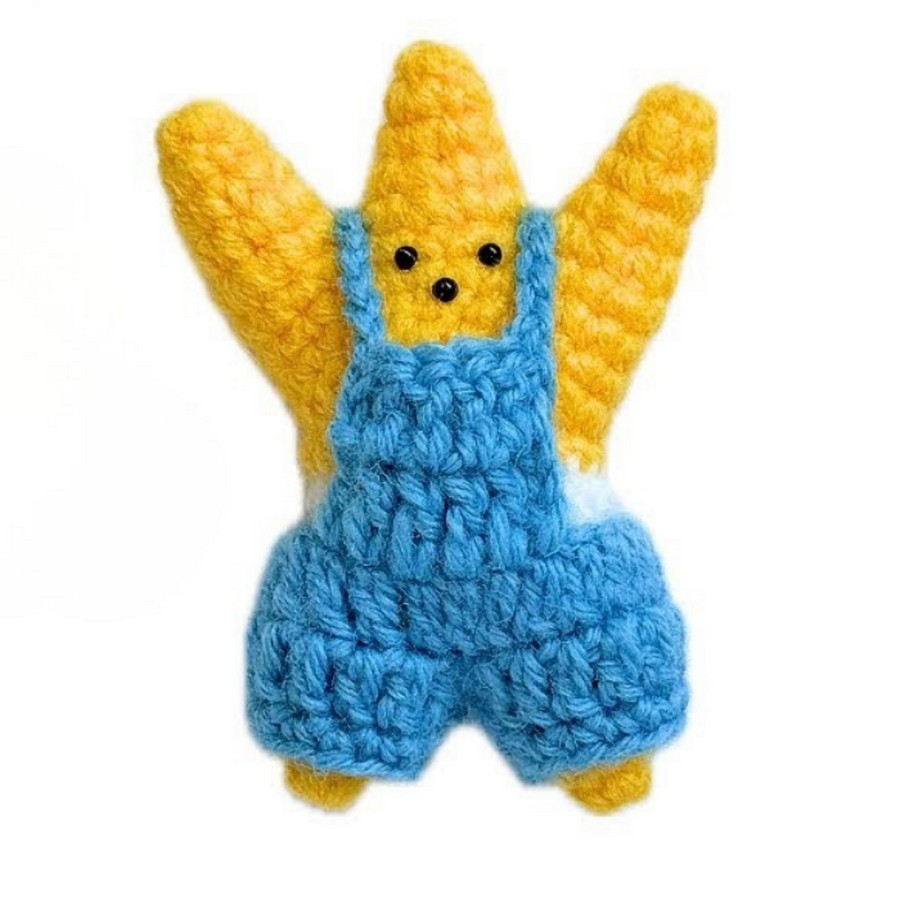
An outfit that perfectly blends charm and comfort, this cozy and stylish overall is a delightful addition to any little one’s wardrobe or even for dressing up dolls. With its soft texture and snug fit, it’s perfect for casual wear, special events, or cute photo sessions.
Sweet Crochet Overalls Pattern That Everyone Will Love
The design is beautiful and completely customizable, letting you play with colors and sizes to match any theme or taste. Featuring delicate patterns and a timeless look, it’s a practical yet standout piece. Whether as a gift or an essential for everyday use, this overall spreads joy and makes every moment feel special.
Supplies Needed
- Yarn: Choose a medium-weight yarn in the color(s) of your preference. Acrylic or cotton yarn works well for clothing pieces like these.
- Crochet Hook: Use a crochet hook size appropriate for the yarn weight (e.g., 4.0mm to 5.5mm for medium-weight yarn).
- Stitch Markers: Essential for marking sections (e.g., stitches for chains, rows, or pattern repeats).
- Tapestry Needle: For weaving in ends and tidying up the final piece.
- Scissors: For cutting yarn when necessary.
- Measuring Tape: To ensure precision in sizing.
Pattern Instructions
This design is for crocheting small overalls (or "pants") designed to fit plush toys, dolls, or similar items. Adjustments for size and color are suggested below.
Step 1: Creating the Waistband
- Using your yarn, create a foundation chain to fit the waist of your doll or toy.
- Example: For a medium-sized plushie (12 inches/30 cm in waist circumference), start with a chain of 50 stitches using a medium-weight yarn and 4mm crochet hook.
- Make sure the length is snug but not too tight.
- Join the foundation chain into a round with a slip stitch, ensuring it isn’t twisted.
Step 2: Building the Waist Section
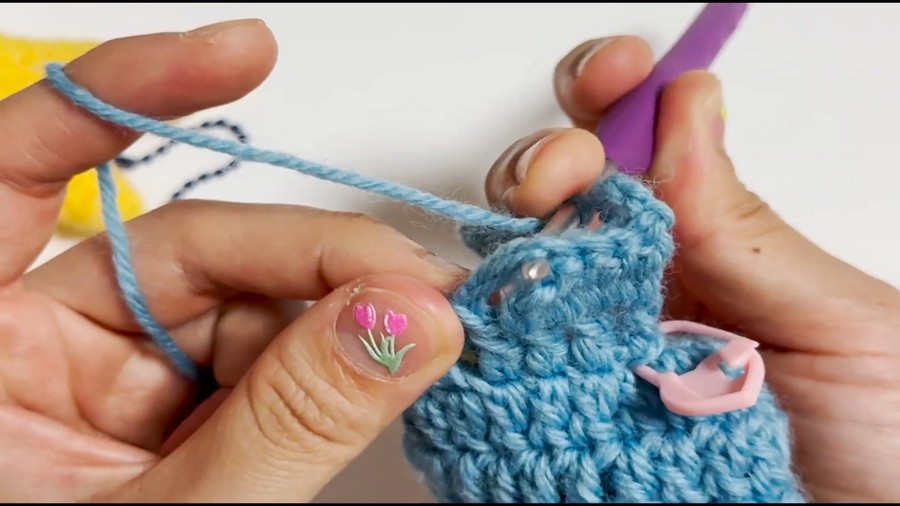
- Work double crochet (dc) stitches evenly around the joined chain.
- Example: Work 1 dc into each chain around the loop.
- This will begin to build the height of the waistband.
- Continue working dc rows for another 3–4 rounds (or until the waistband reaches the desired height for your model).
Step 3: Increasing for Hip Width
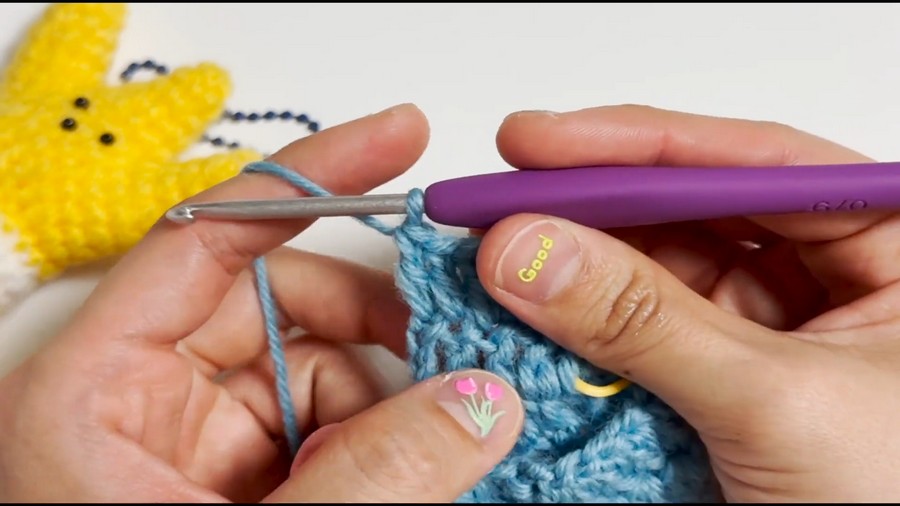
- To ensure a comfortable fit for larger hips or toys, begin adding increases after the waistband.
- In the next row, do 2 dc in every 5th stitch. This will expand the width slightly to account for the hip section.
- Continue increasing for 2–3 rows (depending on the size and how loose you’d like the pants to be).
Step 4: Crocheting the Legs
- Divide the stitches evenly into two sections: These sections will form the two pant legs.
- Example: If you started with 50 stitches and worked an additional row of increases to end with 60 stitches, separate the stitches into 30 for each leg.
- For each leg:
- Work in rounds of dc or half-double crochet (hdc) to form the cylindrical shape of the pants leg.
- Continue until the desired length is reached.
- Optional: Add decorative cuffs at the end of the legs in a contrasting color.
Step 5: Adding the Chest and Shoulder Straps
-
Chest Panel:
- Identify the front section of the waistband. Begin by crocheting a flat rectangular panel from the waistband upwards.
- Work about 10–15 stitches (depending on the desired width) and single crochet (sc) or hdc for 5–6 rows.
- Test the size as you go and adjust accordingly.
-
Straps:
- Crochet two long chains (e.g., 36 chains for a medium-sized toy). These will act as the straps.
- Secure the ends of one chain on either side of the chest panel and the waistband (crossing the straps in the back if desired).
- Attach with slip stitches for a clean finish.
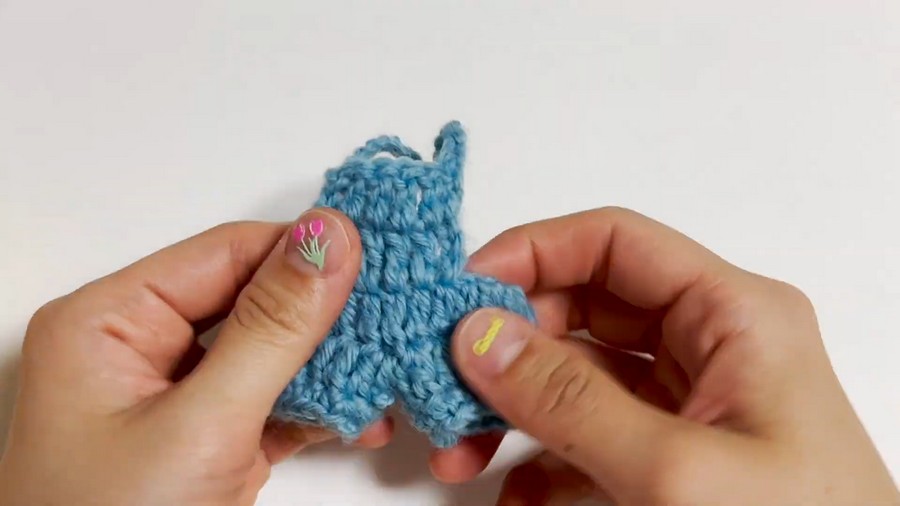
Step 6: Finishing Touches
- Seaming:
- If the pants appear loose, use a tapestry needle to adjust any uneven sections or gaps.
- Weaving In Ends:
- Use the tapestry needle to carefully hide all leftover yarn ends within the design.
- Customization:
- Add decorative buttons or embellishments to the straps or chest section for a polished, personal touch.
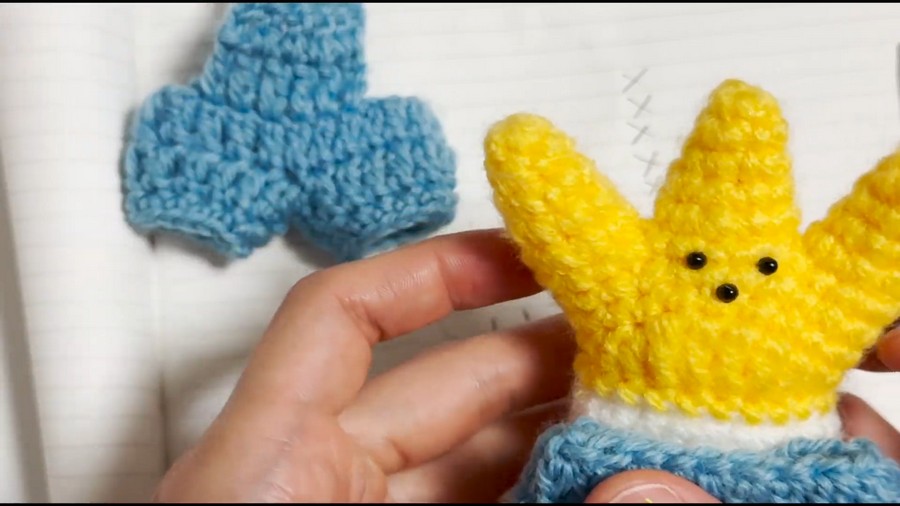
Tips for Success
- Gauge Matters: Test your tension and practice stitches on a sample piece before starting the project. This ensures an accurate fit.
- Check Size Frequently: Stop every few rows to test the fit on your toy or model to avoid making a piece too small or too large.
- Use High-Contrast Colors: If you're making it multi-colored, choose contrasting shades for a striking effect (e.g., pastel blue with cream details).
- Mark Critical Points: Use stitch markers to keep track of chain beginnings, leg separations, and planned increases.
Pattern Variations
1. Size Adjustments
- Smaller Size: Reduce the initial foundation chain and adjust rows proportionally.
- Larger Size: Increase the waist chain and work additional rounds while maintaining the increases.
2. Color Changes
- Create stripes by alternating yarn colors every 2–3 rows.
- Use ombré or gradient yarn for a seamless color transition.
3. Additional Customizations
- Pockets: Attach small crocheted rectangles to the chest or pant legs for added realism.
- Frill or Lace Edge: Add a decorative edge to cuffs or straps using shell stitch techniques.
Final Remarks
The final Sharon Pet pants overalls should fit snugly and look adorable on your intended model. The simple yet effective design allows you to customize freely with colors and embellishments to suit your taste. Display them proudly, share them with friends, or offer them as thoughtful gifts.



