
Dress your furry friend with Crochet Pet Clothes Pattern that offers cozy stylish outfits perfect for pets of all sizes while keeping them comfortable and cute.
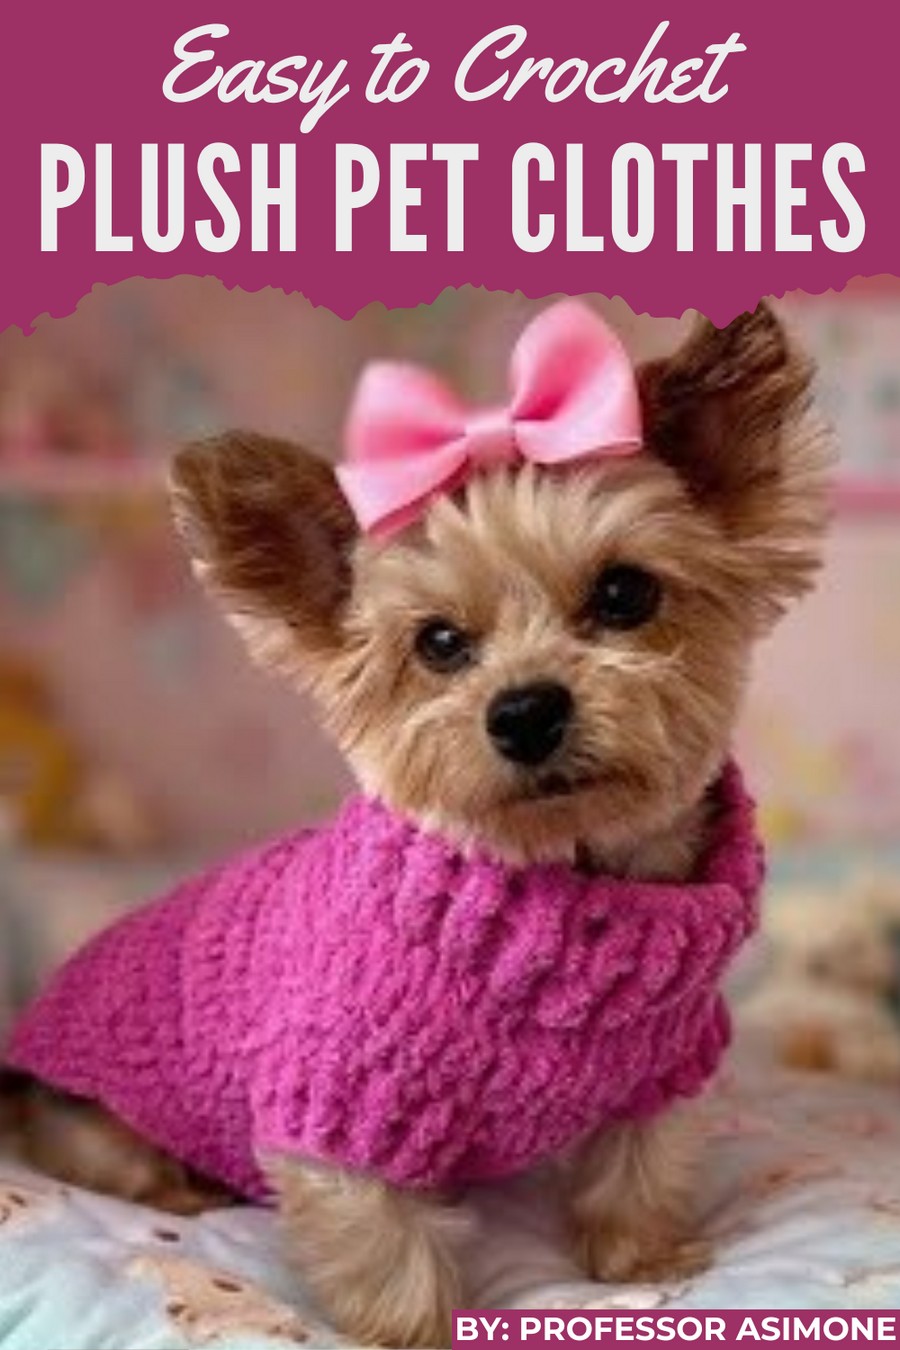
It’s never easy finding something special for your beloved pet, but this adorable clothing design is the perfect way to dress them with love. From cozy sweaters to stylish outfits, these handmade clothes bring both comfort and charm to your furry friend. They are soft, colorful, and can be customized to match your pet’s personality, making them truly unique.
Easy-to-Make Crochet Pet Clothes Pattern That Shines
Perfect for protecting them during cold seasons or simply adding a fashionable touch, these outfits make your pet look extra cute and stand out wherever they go. Practical and delightful, this is a fun way to pamper and spoil your little companion!
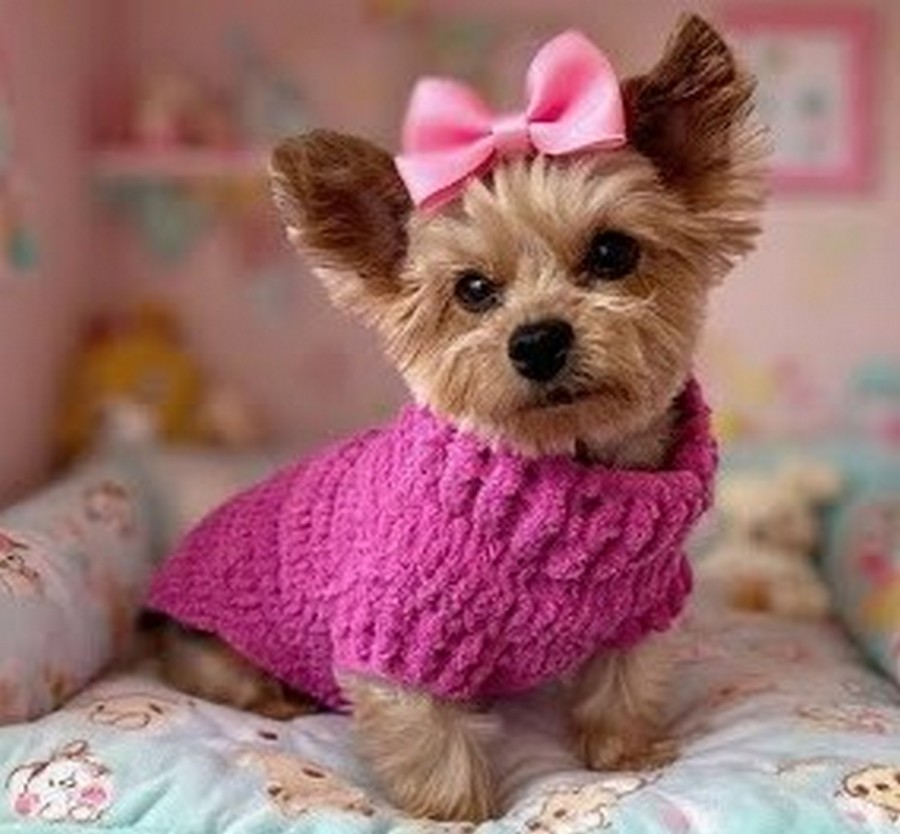
This pattern creates a charming crochet pet outfit adjustable for both male and female pets, designed for comfort and elegance. The tutorial includes instructions for making the outfit, customizing it based on your pet’s measurements, adding finishing details, and creating variations to suit different needs.
Skill Level
Beginner to Intermediate
This pattern involves working in rounds, basic increase and decrease techniques, working with post stitches, and front/back loop stitches.
Materials Needed
Yarn:
- Tenderness Yarn (DK or Worsted Weight): 1 ball. Any soft and comfortable yarn suitable for pets will work.
- Tip: Choose lighter colors for visibility or themed tones for special occasions.
Hook:
- 5 mm crochet hook (or any size that achieves desired tension).
Additional Supplies:
- Tapestry needle – For weaving in ends and tidying up edges.
- Stitch markers – Useful for tracking rounds in continuous rounds.
- Measuring tape – (Optional) for measuring pet and tailoring the size of the garment.
Key Abbreviations (US Crochet Terminology)
| Abbreviation | Meaning |
|---|---|
| ch | Chain stitch |
| sc | Single crochet |
| dc | Double crochet |
| sl st | Slip stitch |
| fpdc | Front Post Double Crochet |
| bpdc | Back Post Double Crochet |
| st(s) | Stitch(es) |
| inc | Increase (two stitches in the same stitch) |
| dec | Decrease (combine two stitches together) |
Step-by-Step Instructions
Step 1: Collar (Worked in Rounds)
- Foundation Chain:
- Ch 36 (adjust based on your pet’s size; refer to the size chart).
- Join to the first ch with a sl st, forming a loop. Take care not to twist the chain.
- Round 1:
- Ch 3 (counts as dc), and dc in each ch around. (36 dc total, or customized according to chain count.)
- Join with a sl st in the 3rd ch at the start.
- Rounds 2–4 (Embossed Collar):
- Begin with ch 2 (does not count as a stitch). Work alternating fpdc and bpdc around (front post double crochet and back post double crochet):
- Fpdc: Insert hook from front to back around the post of the next dc and complete the dc as normal.
- Bpdc: Insert hook from back to front around the post of the next dc and complete the dc.
- Continue repeating fpdc, bpdc around, alternating stitches for texture.
- Join with a sl st at the beginning.
- Begin with ch 2 (does not count as a stitch). Work alternating fpdc and bpdc around (front post double crochet and back post double crochet):
Step 2: Upper Body
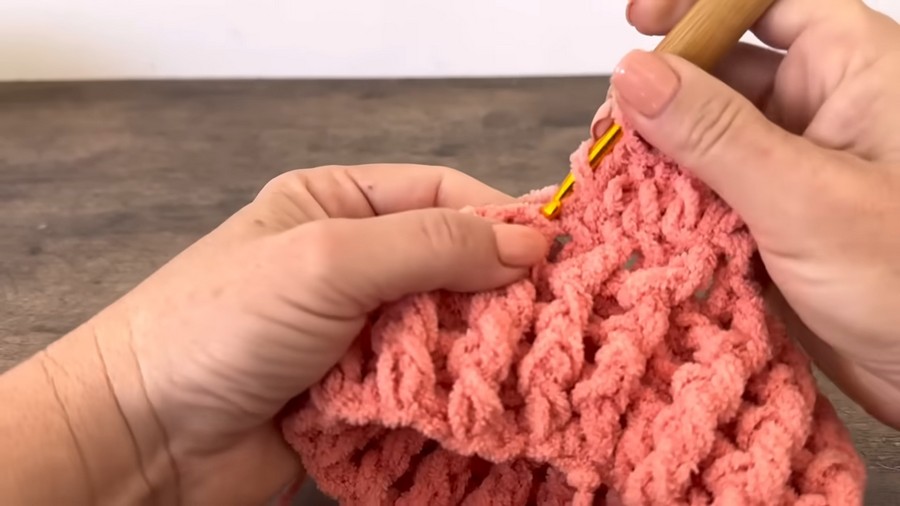
- Increase Round:
- Ch 3 (counts as dc). In the same st, work 1 more dc (first increase).
- Then work alternately: 3 dc, 2 dc (increase in the 4th stitch).
- Repeat this pattern around: 3 single dc, 1 increase (2 dc in the 4th st).
- Join with a sl st at the beginning (total stitches will now increase).
- Rounds 2–3 of Upper Body:
- Ch 3 (counts as dc), and work 1 dc in every st around with no increases or decreases.
- Repeat this for two more rounds to create a straight section.
Step 3: Paw Openings
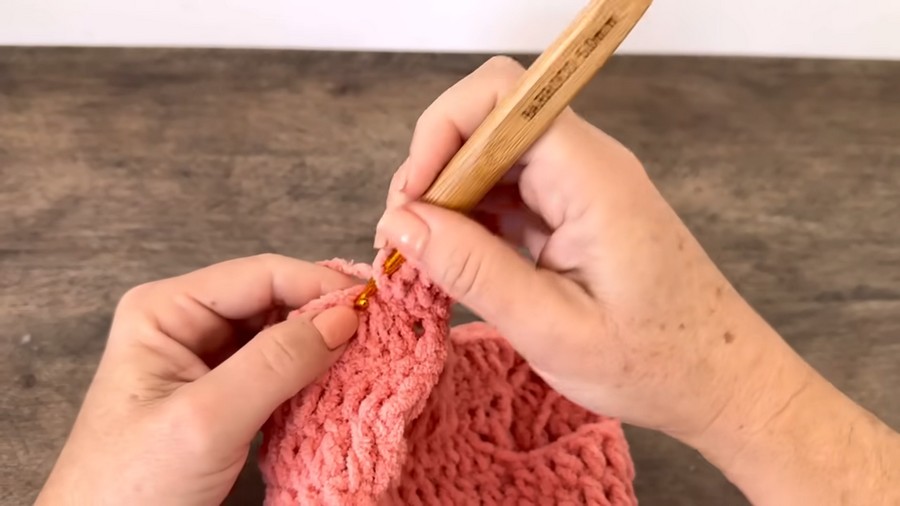
- Start Fourth Round:
- Ch 3, and dc in the first 8 sts.
- Turn your work and work back on these 8 sts only.
- Rows for Paw Opening: Continue back and forth for 2 rows (8 sts per row).
- Fasten off and leave this section for later.
- Work on Remaining Open Section:
- With the folded garment in view, leave a gap for the paws in the middle. For example:
- Skip 5 stitches from the center stitch. Attach yarn to the 6th stitch and ch 2. Begin working across the remaining rounds in dc to circumnavigate the garment, leaving the last 5 stitches unworked.
- With the folded garment in view, leave a gap for the paws in the middle. For example:
- Continue Section Below Belly:
- Depending on the gender of your pet, work the belly section appropriately:
- Females: Work 8–10 rows in dc (1 dc in each st around).
- Males: Work fewer rows (6–7) to create enough gap to avoid accidents during bathroom breaks.
- Depending on the gender of your pet, work the belly section appropriately:
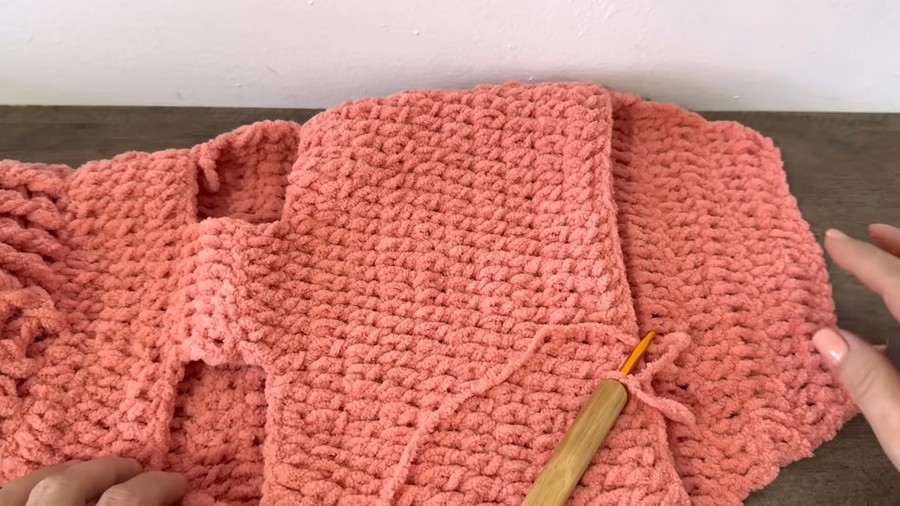
Step 4: Back Section and Decreases
- From the Upper Part of Paw Openings:
- Continue the upper back section with decreases to create a more oval-rounded look:
- Each row begins and ends with a dc decrease.
- Repeat this for 4–5 rows, decreasing at the start and end of each row.
- Continue the upper back section with decreases to create a more oval-rounded look:
- Final Row for Back Section:
- Work a final row in dc, without decreases, to finish off evenly.
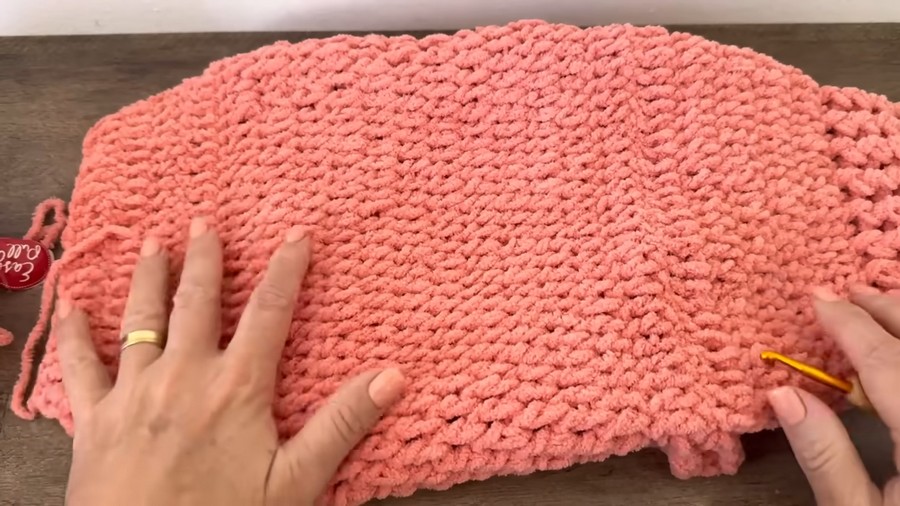
Step 5: Finishing the Paw and Bottom Opening
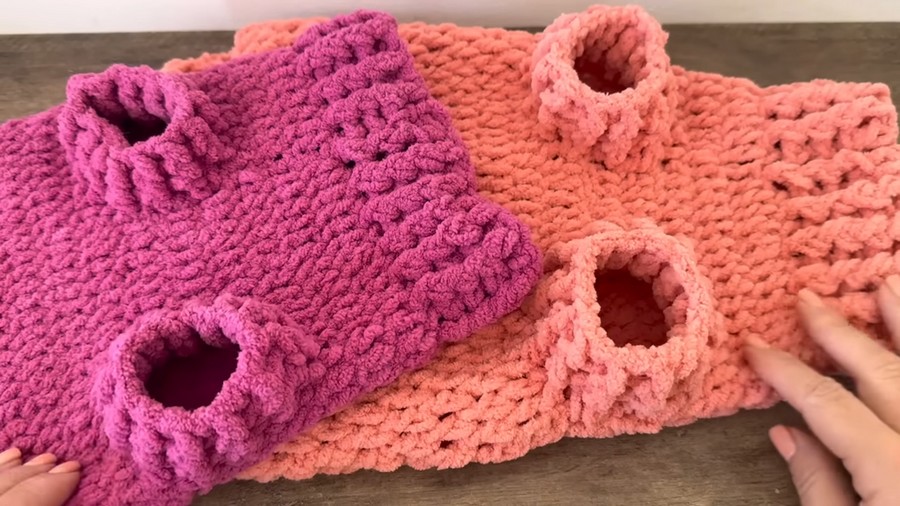
- Paw Edging:
- Attach yarn to an open part of the pawhole and work 1 sc in each space/stitch around for neatness.
- Work fpdc and bpdc alternately for 2 rows to add ribbing or texture to the sleeves.
- Decorative Belly Edge (Optional):
- Work 1 row of sc stitches around the edges of the belly area for a polished finish.
Customization Ideas
- Colors and Themes:
- Use themed colors for the season or holiday (e.g., red and green for Christmas, pink for Valentine’s Day, or bright colors for spring).
- Size Adjustments:
- Increase or decrease the number of stitches in the foundation chain and adjust accordingly for larger or smaller pets.
- Added Details:
- Consider adding bows, buttons, or appliqués to the back of the outfit. Ensure any attachments are secure and pet-safe.
- Yarn Selection:
- Use a soft, washable yarn for comfort, such as acrylic or cotton blends. Avoid yarns that shed as they may irritate your pet.
Tips for Success
- Measure Your Pet: Refer to the size chart to determine your pet’s specific measurements before starting.
- Check for Fit: Try the outfit on your pet at various stages of the process to ensure a snug but comfortable fit.
- Keep It Lightweight: Avoid overly thick or heavy yarns that could be uncomfortable for your pet.
Conclusion
Congratulations on finishing this adorable pet outfit! Whether crafted for special occasions or daily walks, this design allows for both comfort and style. The personalize-friendly elements, such as sleeve length, belly coverage, and color schemes, make it perfect for any furry friend. Share your finished work and watch your pet strut its new cozy attire with pride!
Pattern Variations (Size & Style)
- Size Variations:
- Adjust foundation chaining and stitch counts based on your pet's weight and size using the provided video size chart.
- Example: For smaller dogs, chain fewer foundation stitches (around 28–32). For larger dogs, start with a longer chain (e.g., 40–50).
- Sleeve Customization:
- Skip the sleeve ribbing for more freedom or lengthen it for a fashionable look.
- Full Body Version:
- Extend the belly section and add openings for hind legs for a full-body outfit.
- Decorative Trim:
- Add ruffles, picot edging, or decorative stitches at the borders for an elegant flair.



