
Learn Crochet Shell Stitch Pattern to create beautiful textured designs that add elegance and charm to blankets scarves home decor and handmade gifts with ease.
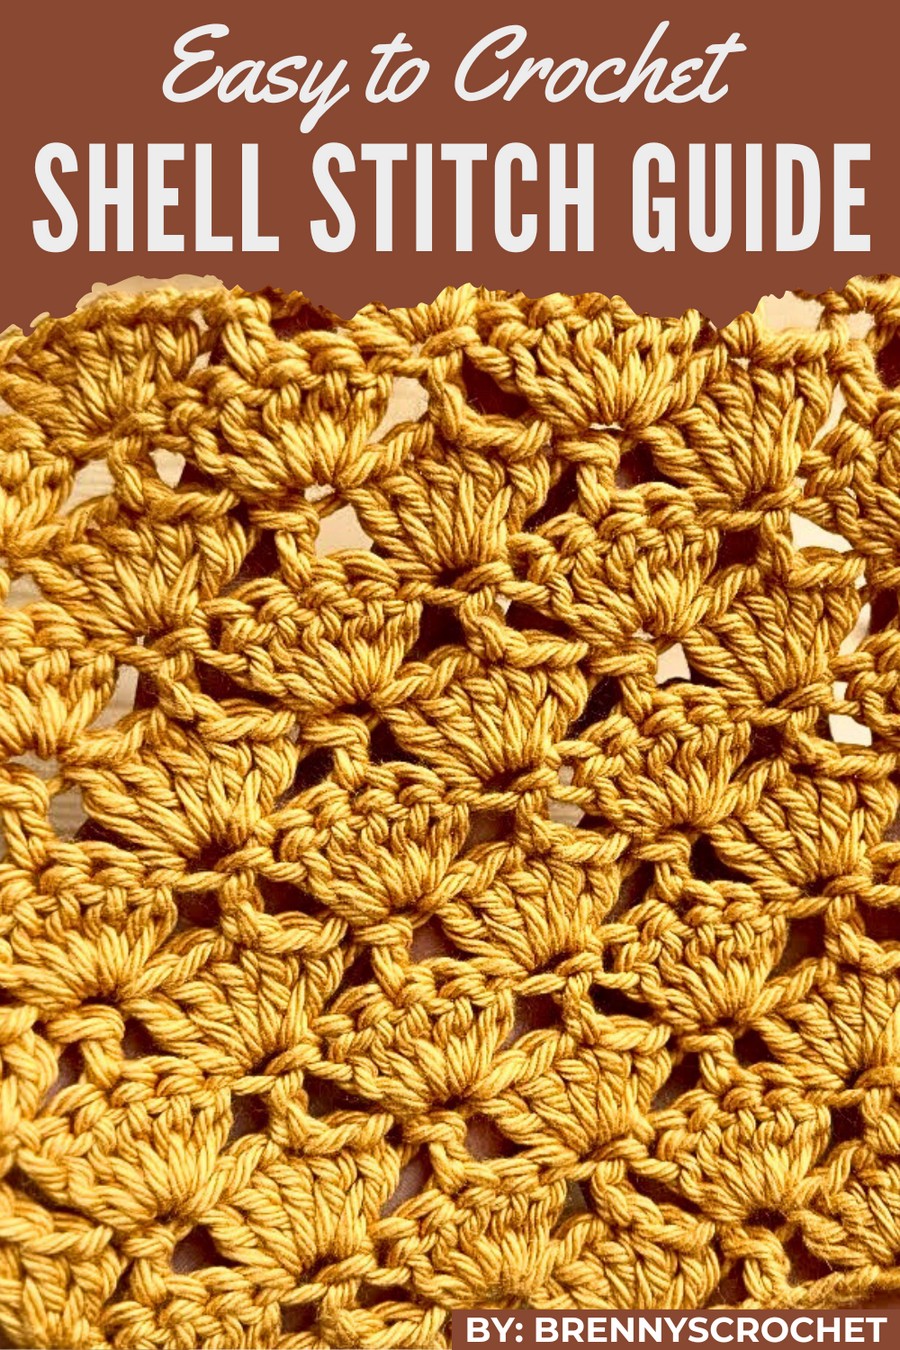
It’s hard to find a pattern that is both simple and stunning, but this design is the perfect balance of elegance and ease. The charming seashell-like texture brings a unique and graceful look to any project, whether it’s a blanket, scarf, or cozy home décor like pillow covers.
Stunning Crochet Shell Stitch Pattern You’ll Love to Make
Its flowing, fan-shaped appearance adds a soft and soothing touch that works for gifts or everyday items. This pattern transforms ordinary crochet pieces into standout creations, combining beauty with practicality. Perfect for beginners or experienced hands, it’s a timeless choice for crafting projects that everyone can admire and enjoy.
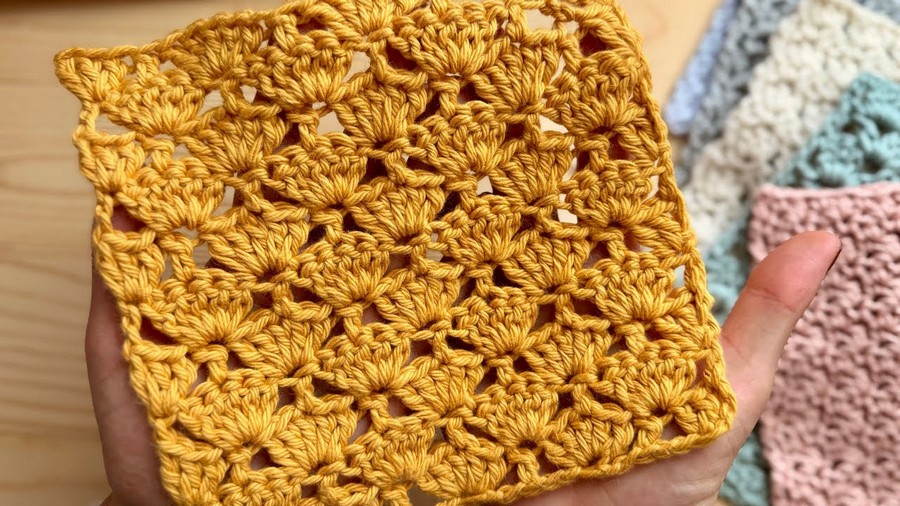
This tutorial introduces a lovely crochet stitch pattern called the "Fan Variation Stitch." This intricate yet simple stitch creates rows of alternating fans and single stitches, ideal for projects such as cardigans, shawls, blankets, or decorative pieces.
Below, you'll find a complete pattern.
Skill Level
Intermediate
The pattern involves basic crochet stitches and repeats. It requires understanding of stitch placement and consistent tension.
Materials Needed
Yarn:
- Cotton Yarn (#4 Medium or Worsted Weight)
- Any cotton or medium-thickness yarn will work. It is perfect for creating a soft texture for wearable items and suitable for this pattern.
- Tip: Experiment with lighter or darker tones to highlight the fan stitch definition.
Hook:
- 5 mm crochet hook (or size appropriate for your chosen yarn).
Optional Equipment:
- Stitch markers – Useful for tracking rows and stitch counts.
- Scissors – To trim ends neatly.
- Measuring tape – If size customization is needed.
Key Abbreviations (US Crochet Terminology)
| Abbreviation | Meaning |
|---|---|
| ch | Chain stitch |
| sc | Single crochet |
| dc | Double crochet |
| sl st | Slip stitch |
| st(s) | Stitch(es) |
| rep | Repeat |
Special Notes
- Multiple of Chains: This fan stitch works with a foundation chain of multiples of 6 + 4. Adjusting the chain count allows for size customization.
- Consistent Tension: Uniform tension ensures clear stitch definition.
- Repetition Rows: The pattern alternates between two main rows: "Row 1 (Fan)," and "Row 2 (Single Stitch with Fans)."
Step-by-Step Instructions
Foundation Row
- Start with Foundation Chains:
- Create a chain in multiples of 6 + 4 for your desired project size (e.g., 28 chains for the sample).
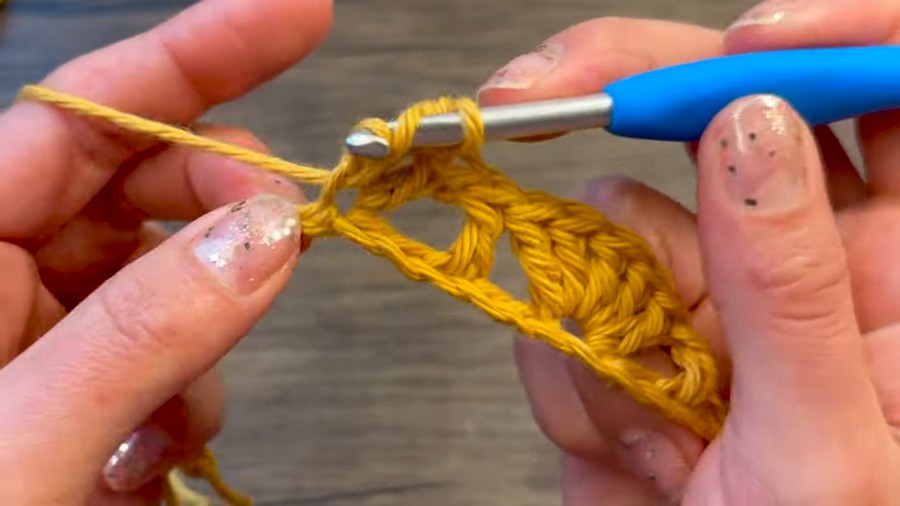
- Row 1 (Base Fans):
- Skip 3 chains from the hook (ch 3 does not count).
- In the 4th chain, work 2 dc. (These two stitches are grouped together in the same chain.)
- Skip the next two chains.
- In the third chain, work 1 dc.
- Fan Pattern:
- Skip the next two chains and in the third chain, work 5 dc in the same stitch (this is the fan).
- Alternate:
- After every fan, skip 2 chains and in the next chain, work 1 dc.
- Repeat this sequence (5 dc fan, 1 dc) until reaching the end of the row.
- End Row 1:
- After the last fan or single dc, ensure 3 chains remain at the end.
- In the last chain, work 3 dc. This finishes Row 1 while mirroring the starting three stitches.
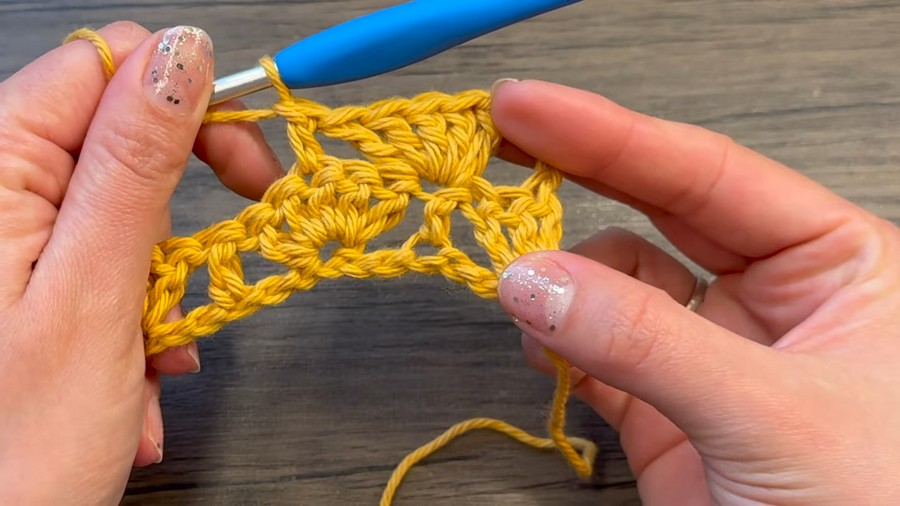
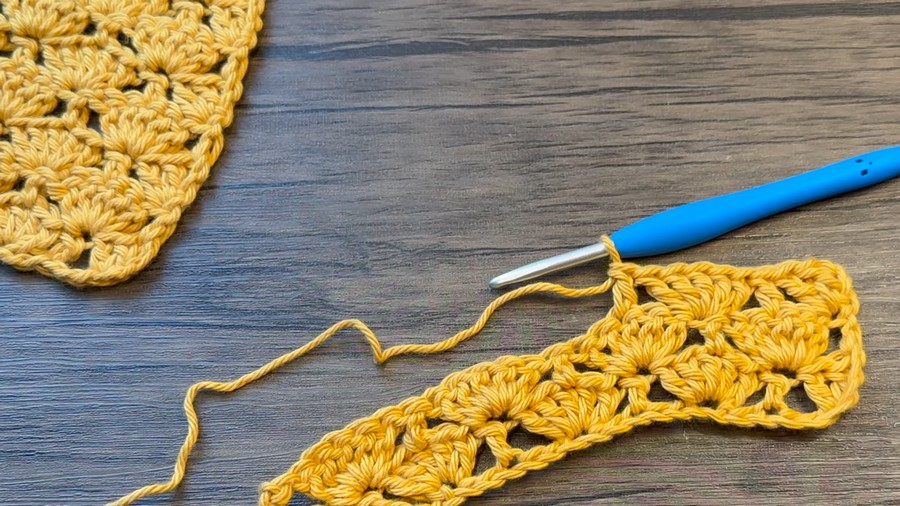
Row 2: Alternating Fans
- Begin Row 2:
- Turn your work and ch 3 (counts as your first dc).
- Work the Fans and Single Stitches Above Previous Row:
- In the single dc from Row 1, work 5 dc (the fan group).
- In the center third stitch of the prior fan group, work 1 dc.
- Sequence:
- 5 dc fan in the single dc from Row 1, and 1 dc in the center of the prior fan group.
- Repeat this pattern across the row until the last single dc.
- End Row 2:
- At the final single dc, work 5 dc, and finish the last stitch with 1 dc in the top of the starting chain from Row 1.
Repetition Rows
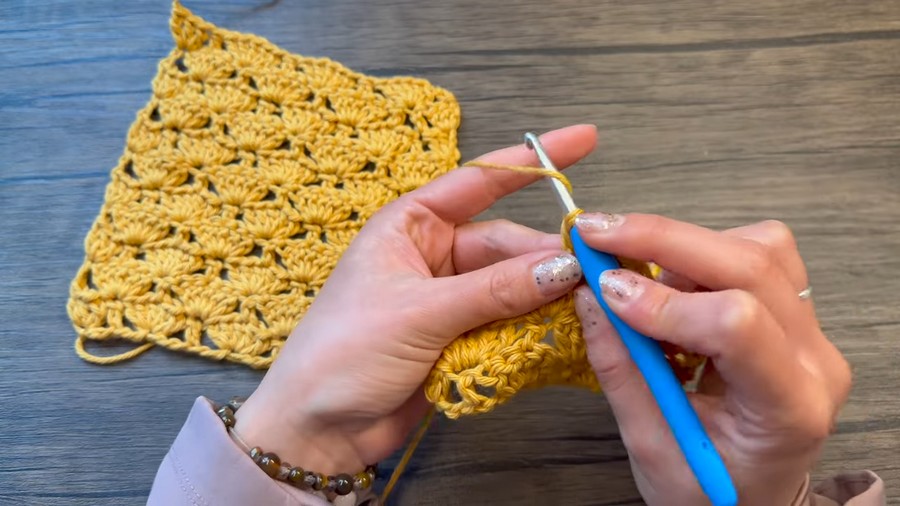
- Repeat Alternating Rows:
- Row 1: Start with ch 3, work fans above single dc stitches and alternate single dc in the center of fans. End with 3 dc.
- Row 2: Start with ch 3, work fans above single dc stitches and alternate single dc in the center of fans. End with 1 dc.
- Continue Repeating Rows:
- Repeat Row 1 and Row 2 for the length of your project. Adjust size according to preference.
Finishing the Stitch Pattern
- Last Row:
- End the pattern on a Row 2 repeat (or on your desired row where fans are prominent).
- Trim excess yarn at the final st and pull through to fasten securely.
- Optional Edging:
- Add a row of sc stitches for clean borders or decorative edges.
Customization Ideas
- Adjusting Size:
- Customize the width by increasing/decreasing foundation chains in multiples of 6 + 4.
- Applying Stitch to Projects:
- Perfect for shawls, scarves, blankets, or cardigans.
- Make smaller samples for coasters or decorative accent pieces.
- Color Options:
- Alternate colors after every 2 rows for a striped look.
- Use variegated yarns for a gradient effect.
Conclusion
The Fan Variation Stitch is an elegant and versatile pattern, providing a delicate texture and beautiful structure for various projects. Whether used in garments or home décor items, this stitch strikes the perfect balance between decorative motif and ease of use. Applying your unique combination of colors and sizes will make every project special.
Pattern Correction
If your rows appear uneven or lack symmetry, check:
- That you are skipping the correct number of chains between stitches.
- That your starting and ending stitches on each row match correctly.
Tips for Success
- Practice with Swatches: Crochet small test swatches to perfect the pattern before starting a large project.
- Consistent Tension: Ensure uniform gauge throughout to highlight the fan design.
- Row Markers: Use markers to distinguish Row 1 and Row 2 repeats in longer projects.
- Finishing Touch: Block your final project to highlight the fan shapes and provide even edges.



