
Rock a trendy crochet poncho blouse that's easy to make super comfy to wear and totally customizable for outfits that turn heads and show off your style.
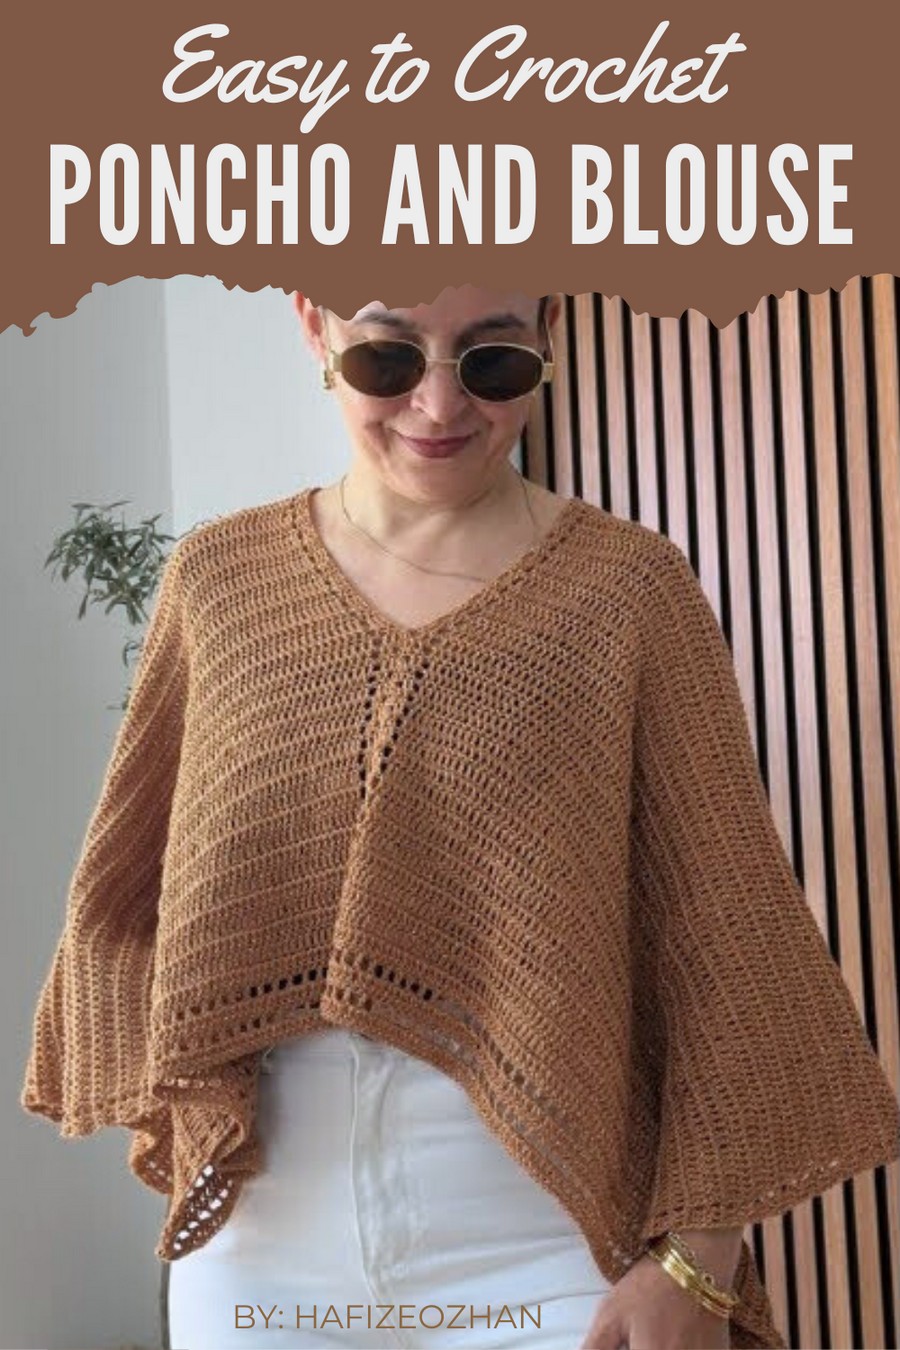
Lightweight, stylish, and surprisingly simple, the Free Crochet Poncho Blouse Pattern is the perfect project for anyone looking to combine comfort with elegance. This timeless blouse suits all skill levels, offering a relaxing project that results in an effortlessly chic wardrobe staple.
Easy Crochet Poncho Blouse Pattern That Looks Amazing
It pairs beautifully with jeans, skirts, or even over swimwear for a touch of charm. Whether you're updating your wardrobe or making something thoughtful for a loved one, this versatile piece is both practical and flattering. With endless customization possibilities, this blouse is ready to become your go-to favorite for any season.
Materials List
- Yarn:
- ~410 grams of viscose-blend yarn (lightweight, preferably with shimmer).
- Recommended: Viscose-blend yarn from Hayal Hobby. Any compatible yarn suitable for 4 mm hooks will work.
- Hook Size: 4 mm (US G/6)
- Yarn Needle: For weaving in ends and sewing seams.
- Scissors
- Measuring Tape: Optional for ensuring dimensions.
Skill Level
Intermediate: Requires an understanding of working with mesh patterns (chains and double crochet), assembling panels, and seaming techniques.
Key Abbreviations (US Terms)
- ch: Chain
- dc: Double Crochet
- sl st: Slip Stitch
- st(s): Stitch(es)
Special Notes
- Gauge: This poncho accommodates various sizes based on panel width and length. Adjust the foundation chain length as needed.
- Assembly: The poncho consists of two identical panels, which are seamed only at the shoulders.
- Chain Tension: Avoid tight chains to ensure the stitches lie flat (especially mesh rows).
- Customization: The length and size of the poncho can be adjusted based on your body measurements or desired fit.
Final Measurements
- Panel Dimensions:
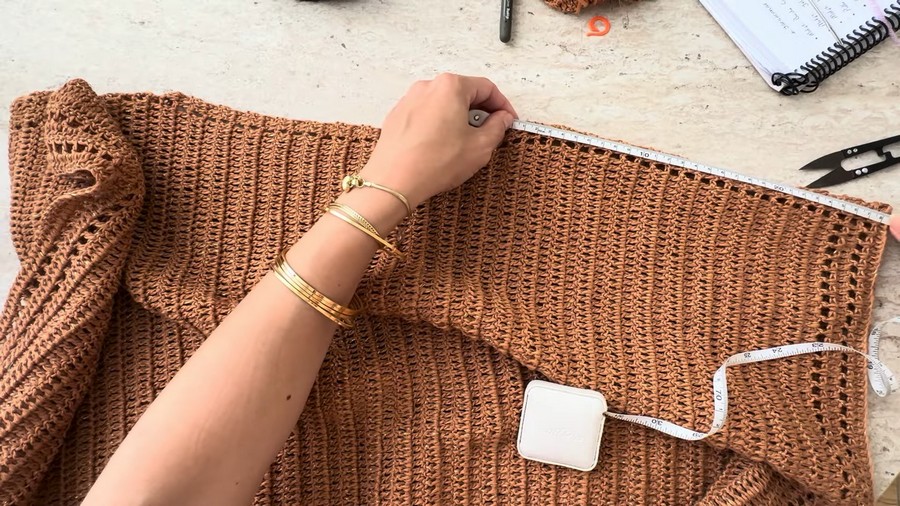
- Length: 83 cm (~32.7 inches) after blocking.
- Width: 50 cm (~19.7 inches) after blocking.
- Neckline Opening: Adjustable during seaming.
Pattern Instructions
Step 1: Create the Foundation Rows
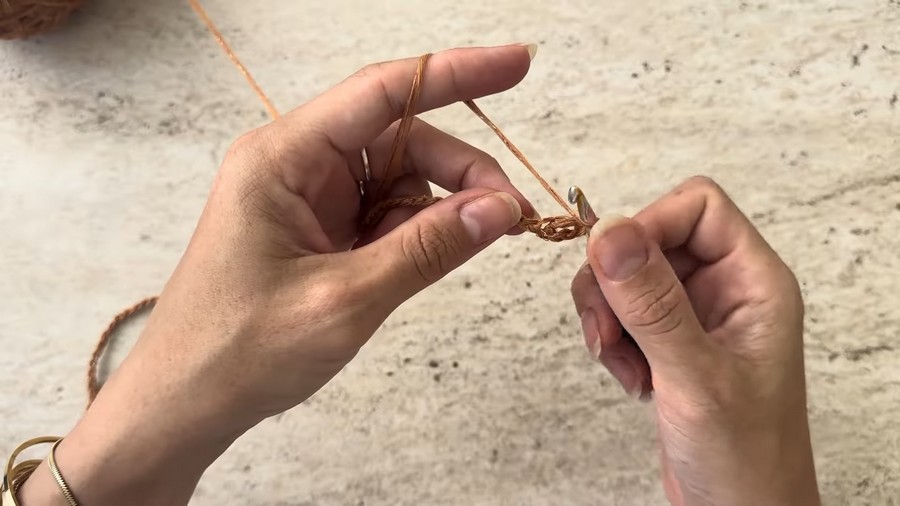
- Begin with a Slip Knot: Place the yarn on your hook and pull through to form the knot.
- Foundation Chains:
- Make a slightly loose starting chain of 98 ch (adjust to your preferred width).
- If adjusting, continue chaining until the length matches your desired fit. Test the chain width against your body for accuracy.
- Pro Tip: Keep your tension relaxed when making chains for neat results.
Step 2: Row 1 (Double Crochet Row)
- Ch 3: Counts as the first dc.
- Work Double Crochet (dc):
- Yarn over, insert hook into the 4th chain from the hook, and complete the dc.
- Continue working 1 dc in each chain across the row.
- End of Row: At the final chain, finish with 1 dc. Turn your work.
Step 3: Row 2 (Mesh Row)
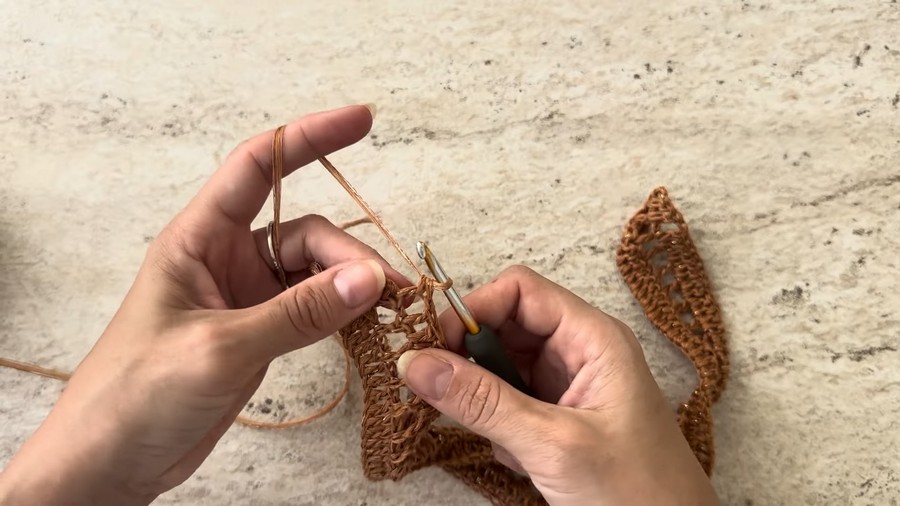
- Ch 4: Counts as 1 dc + 1 ch (mesh space).
- Skip 1 dc: Yarn over, work 1 dc into the next stitch. This creates the first mesh space.
- Repeat Across the Row:
- Ch 1, skip 1 dc, 1 dc in the next stitch.
- Continue until the end of the row.
- Last Mesh Space: In the final 3rd chain of the turning ch, work 1 dc. Turn your work.
Step 4: Row 3 (Alternating Double Crochet & Mesh Row)
- Ch 3: This counts as the first dc.
- Begin Double Crochets:
- Work 1 dc in the next chain space from Row 2.
- Work 1 dc in the dc stitch from Row 2, alternating rows of mesh and dc.
- Add Mesh Rows: Create alternating rows with dc and mesh rows.
Step 5: Pattern Repeats
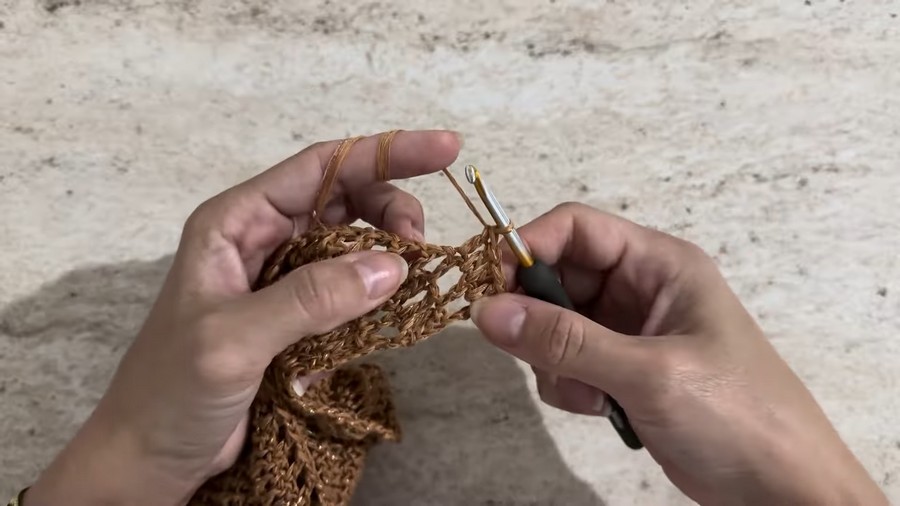
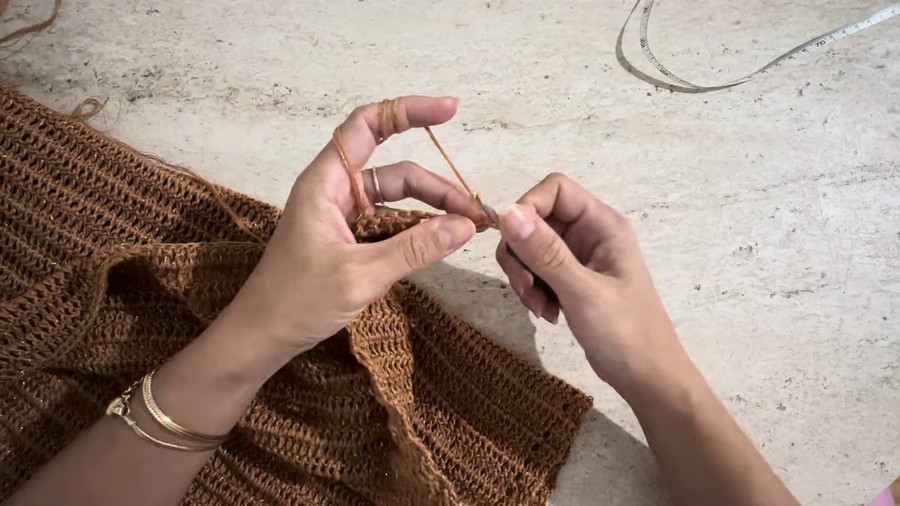
Repeat Row 2 and Row 3 to create the alternating pattern. Continue crocheting until your panel measures 77 cm (~30 inches) in total length, or your desired length.
Checkpoints:
- Panel dimensions are completed with 70 rows in total.
Step 6: Second Panel
- Repeat Steps 1–5: Crochet a second panel identical to the first, ensuring matching dimensions.
Step 7: Assembly
- Position the Panels:
- Place the two panels wrong sides together.
- Align the top edges to form the neckline.
- Seam the Shoulders:
- With a yarn needle, sew the shoulder seams. Leave a 30 cm (~11.8 inches) gap for the neckline opening.
- Ensure stitching is even and secure.
- Avoid Seaming the Sides: The panels are left open for a flowing, poncho-style fit.
Tips for Success
- Blocking: Steam-block the finished panels to relax stitches and finalize measurements for a polished finish.
- Customize Neckline: Adjust the neckline width by increasing or decreasing the panel overlap during seaming.
- Change Stitch Counts: For larger or smaller sizes, modify the foundation chain length (multiples of 4) to suit your fit.
Pattern Variation
- Color Ideas: Use gradient or variegated yarns for elegant color transitions. Bright solid colors are also excellent for statement pieces.
- Length Adjustments:
- Increase row counts for a longer poncho.
- Shorten rows to create a cropped overlay style.
Conclusion
Congratulations! You’ve successfully completed the lightweight poncho. This piece is versatile for layering over casual outfits or summer dresses. Its flowy, openwork design combined with the shimmer of viscose-blend yarn makes it both functional and stylish.
Pattern Correction
If your mesh rows or double crochets appear uneven, ensure the chains are not too tight to maintain uniformity. Adjust tension as necessary and block panels after finishing to smooth uneven stitches.
Final Remark
Pair this airy poncho with a belt for added shape or wear it casually for effortless elegance. Share your creation online and tag #LightweightMeshPoncho to showcase your unique design.



