
Stay cozy and stylish with a lightweight crochet airy sweater that offers comfort and charm perfect for layering and ideal for any season or occasion.
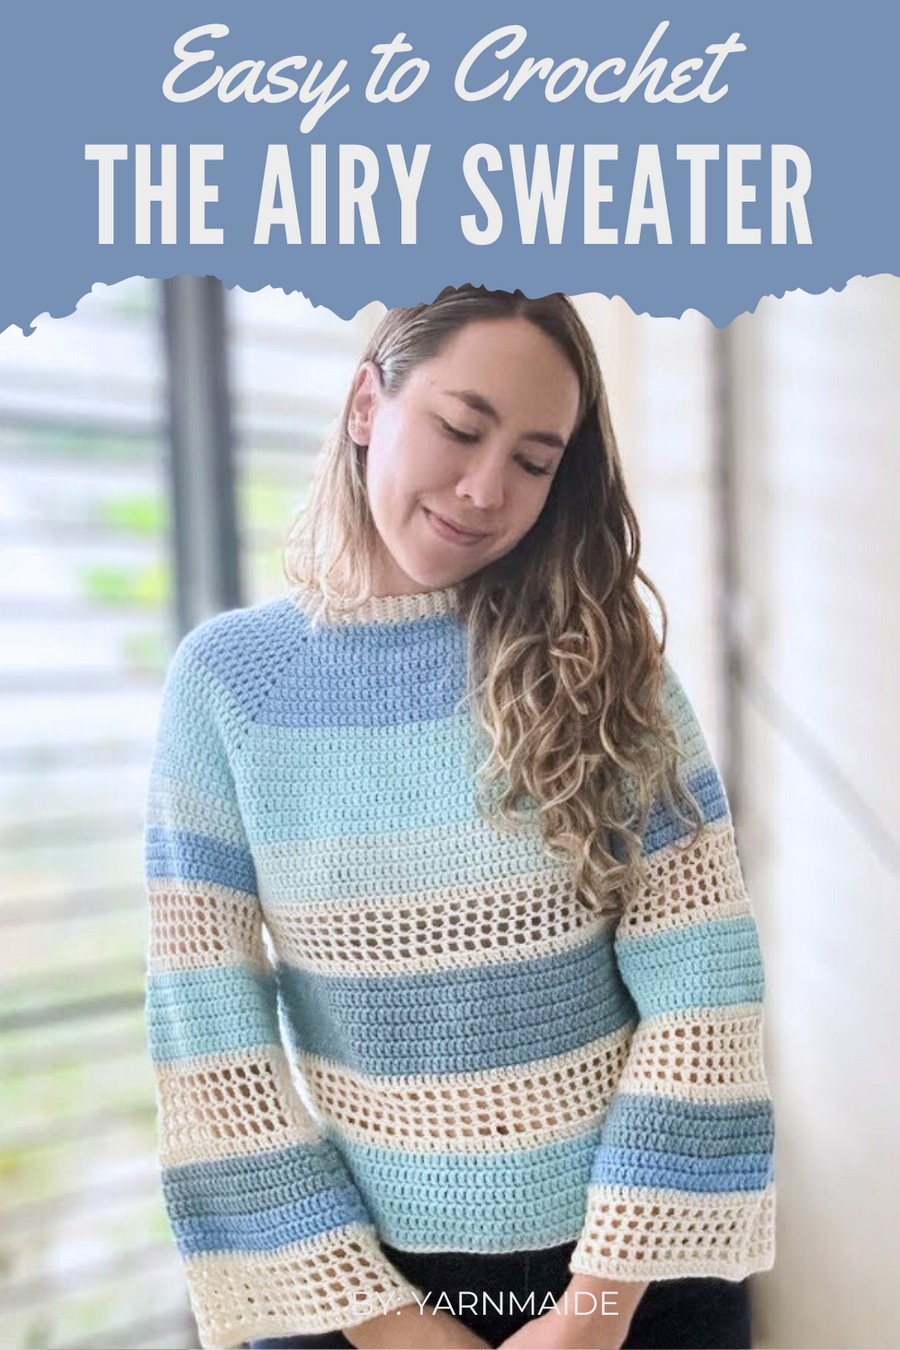
An airy crochet sweater offers timeless versatility for layering and comfort throughout any season. This light and breathable style pairs effortlessly with other wardrobe favorites, making it a reliable piece for casual outings or relaxed evenings. Its open texture provides a delicate, flowing look, while the relaxed fit ensures all-day comfort.
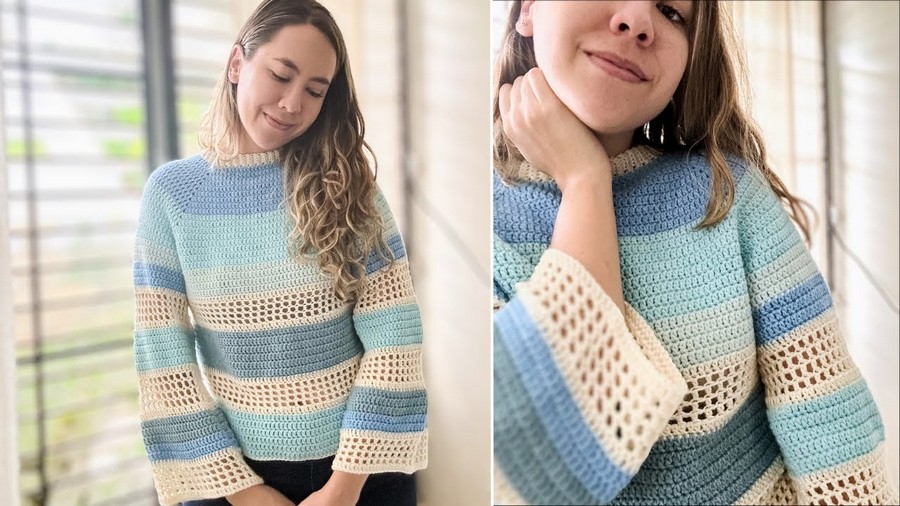
Light and Breezy Crochet Sweater You’ll Love
With approachable stitches and a calming rhythm, working on this sweater is just as satisfying as wearing the finished piece. Whether dressed up or styled down, the sweater delivers both practicality and charm, making it an appealing addition to everyday wear or thoughtful handmade gifts.
Materials List
Yarn:
- Primary Yarn:
- Lion Brand Wool-Ease Recycled Yarn in Cream or equivalent.
- Weight: Worsted/Aran (#4)
- Color: Cream (or preferred color)
- Approximate yardage: ~1000 yards for a medium-sized sweater.
- Secondary Yarn for Stripes (optional):
- Wool-Ease Recycled Yarn or similar yarn in contrasting colors.
Hook Size:
- 4.5 mm crochet hook (US 7)
Additional Supplies:
- Tapestry Needle: For weaving in ends.
- Scissors
- Stitch Markers: Helpful for marking corners and ensuring correct stitch counts.
Skill Level
Intermediate – Requires familiarity with foundational crochet stitches, increasing, joining rounds, and changing colors within a project.
Key Abbreviations (US Terms)
- ch: Chain
- sc: Single Crochet
- dc: Double Crochet
- sl st: Slip Stitch
- st(s): Stitch(es)
- yo: Yarn Over
Special Notes
- Gauge: Ensure your gauge matches the specified dimensions by making a gauge swatch beforehand.
- Neck-Down Construction: This sweater is worked from the neck down, allowing adjustments for length and width as you go.
- Seamless Construction: The raglan style eliminates the need for intricate seaming.
Gauge
- Gauge Swatch: 16 dc x 10 rows = 4 x 4 inches (10cm x 10cm) using a 4.5 mm hook.
Finished Dimensions (Medium Size)
- Bust: 40 inches
- Length: 24 inches
- Sleeve Length: Adjust to preference
Pattern Instructions
Step 1: Ribbed Collar
- Create the Foundation Chain:
- Using the cream yarn, ch 6.
- Row 1 (Foundation Row):
- Starting in the second ch from the hook, sc in each ch across (5 sc).
- Ch 1, turn your work.
- Row 2 and Subsequent Rows:
- Sc in the back loop only (BLO) of each st across.
- Ch 1, turn your work.
- Repeat until you have 78 rows of ribbing.
- Join the Ribbing to Form the Collar:
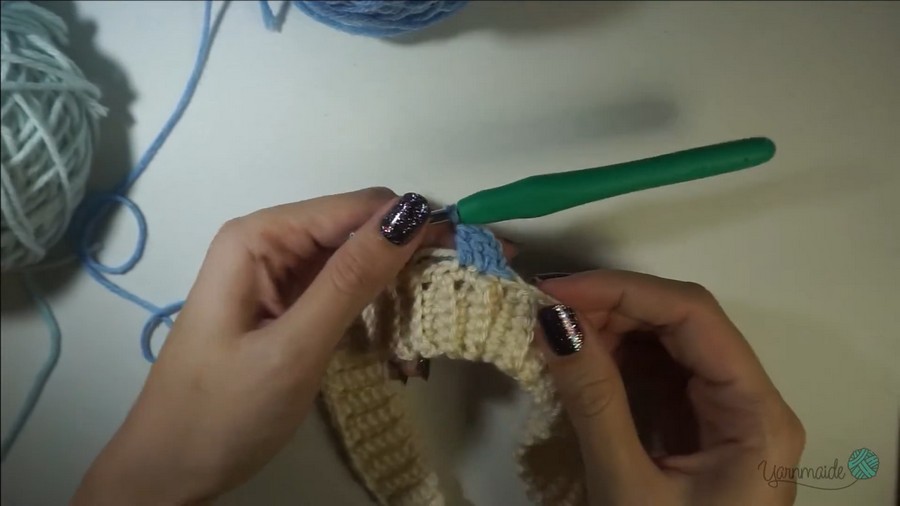
- Fold your ribbing in half and join the short ends with sl st, working through the BLO of one side and the foundation loops on the other side.
- Ch 1 and turn the ribbing inside out so the seam is on the inside.
Step 2: Top of the Sweater
- Form the Yoke Section:
- Sc evenly along the edge of the ribbing. Place 1 sc in the end of each row (78 sc total).
- Change Colors If Desired:
- Finalize the last sc by pulling through with a new color if changing yarn.
Round 1:
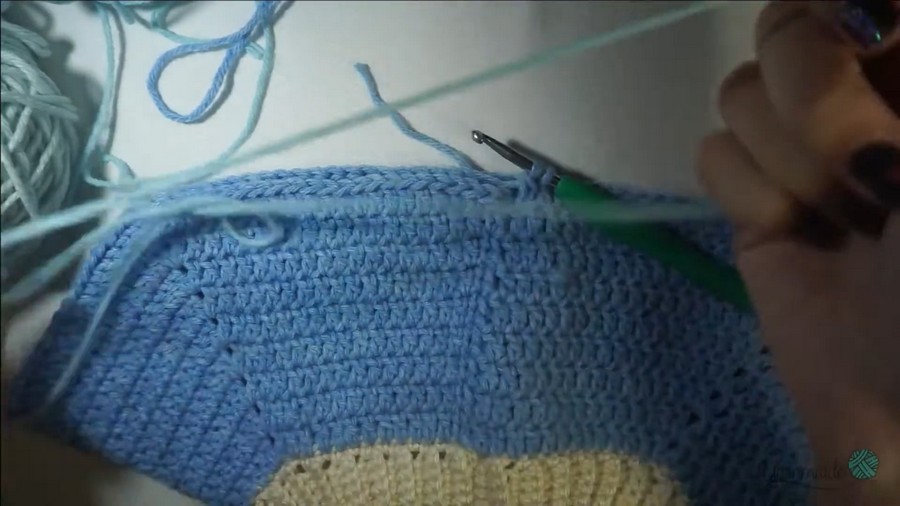
- Starting with 24 sc for the back and front, and 13 sc for each sleeve, mark 12 sts at the back and front for corners:
- From start to first corner: dc in each of the 12 st.
- Corner: (dc, ch 1, dc in the same stitch), mark this point with a stitch marker.
- First Sleeve: dc in the next 13 sts.
- Corner: (dc, ch 1, dc in the same stitch), mark this point with a stitch marker.
- Front: dc in the next 24 sts.
- Corner: (dc, ch 1, dc in the same stitch), mark this point with a stitch marker.
- Second Sleeve: dc in the next 13 sts.
- Corner: (dc, ch 1, dc in the same stitch), mark this point with a stitch marker.
- Back: Complete the round with dc in the remaining 12 sts.
- Complete and Close the Round:
- Join with a sl st to the first dc of the round.
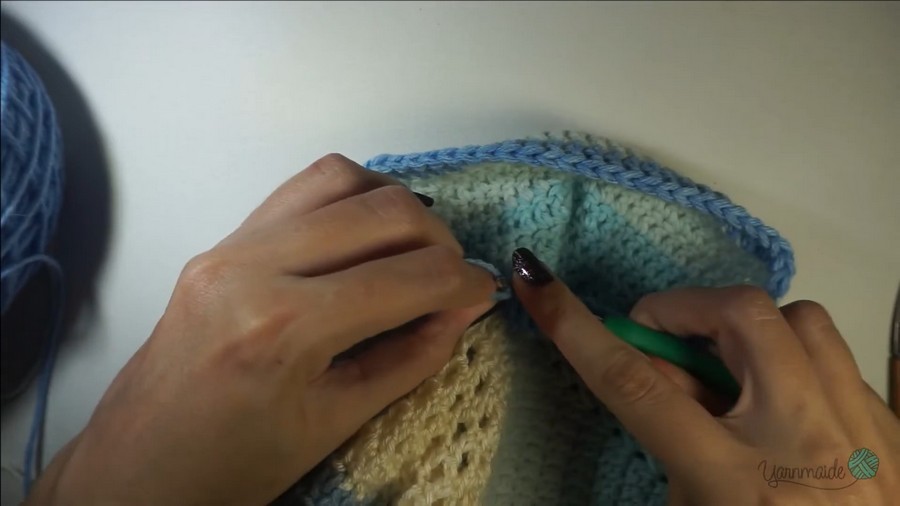
Round 2:
- Ch 3, (counts as dc), dc in each stitch until the next corner:
- Corner: (dc, ch 1, dc in the ch-1 space).
- Sleeves & Body: Repeat around, increasing at each corner by placing (dc, ch 1, dc in ch-1 space), join with a sl st to the first dc.
- Repeat these steps to form the raglan pattern on rounds, ensuring each subsequent round increases by 2 dc each section and dc in each stitch between corners.
- Fit to Your Size: Continue until the body and sleeve segments fit around your torso, usually around 20 rows.
Separate the Body and Sleeves:
- Join Underarm Sections:
- Place 5 chains under each sleeve join for more room, and join body sections with a dc.
- Continue Without Corners:
- Work the body in the round, dc in each stitch, adjusting color bands as desired.
Step 3: Body of the Sweater
- Add New Color Bands (Optional):
- Incorporate new colors for design, similarly changing color every 5 rows.
- Working Detail Rows: Chain 1, sk and dc in each round for pattern row.
Step 4: Sleeves
- Join Yarn:
- Attach yarn to the underarm.
- Work dc around sleeves.
- Decrease Gaps:
- Use dc and mesh pattern until desired length.
- Finish:
- Sl st and complete sleeve ends accordingly.
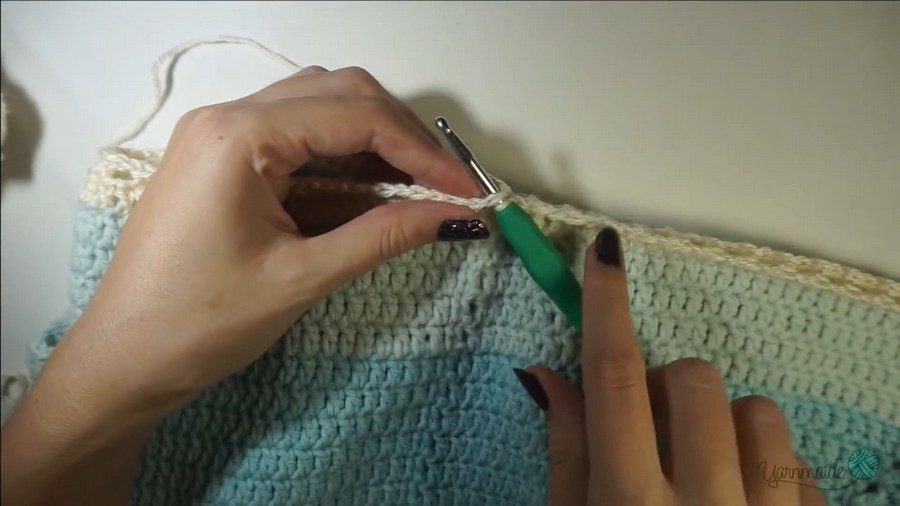
Step 5: Final Details
- Single Crochet Border:
- Add sc around cuffs and bottom of the body for final touches.
- Weave in Ends:
- Secure and hide your yarn ends.
Conclusion
Congratulations on completing your Airy Raglan Sweater! This versatile and stylish piece will be a perfect addition to your wardrobe, allowing you to stay comfortable in mild weather.
Pattern Corrections and Final Tips
- Yarn Choices: Consider using different yarns for stripe variations.
- Gauge Accuracy: Ensure your gauge remains consistent for a well-fitted sweater.
- Blocking: Lightly block the finished garment for a polished, professional look.



