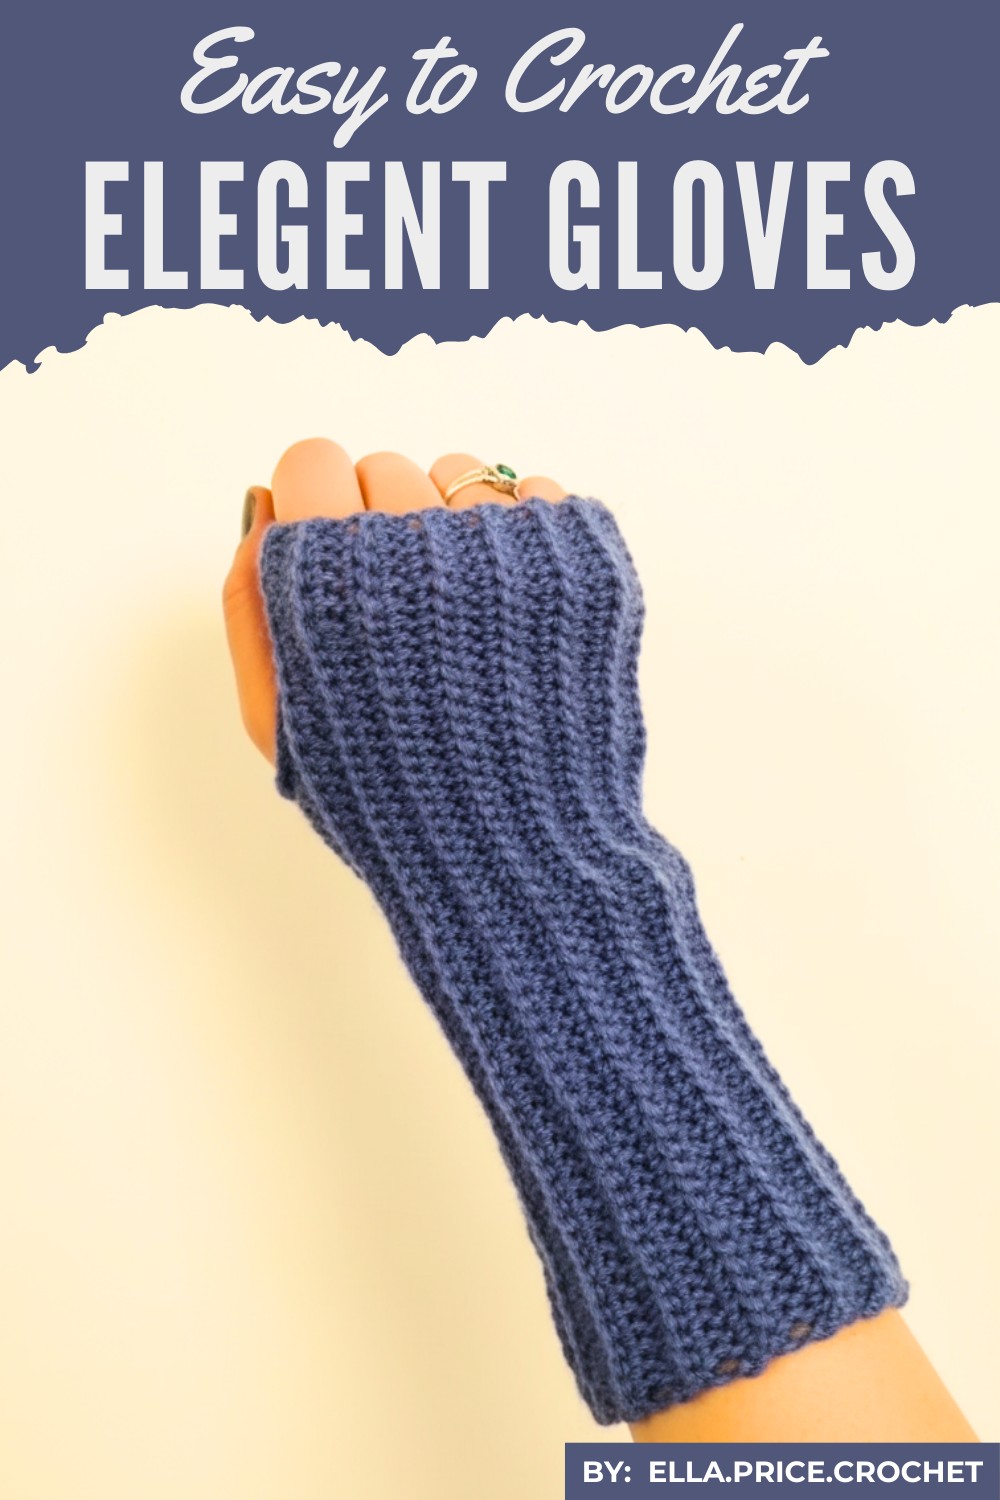
Wrap your hands in warmth and personality with unique crochet gloves that showcase your style while keeping you cozy and effortlessly chic.
Keep your hands cozy and stylish with handmade creations that are as beautiful as they are practical. Crochet gloves patterns bring a special charm and uniqueness to any wardrobe! With intricate designs, soft textures, and endless color options, these gloves are perfect for warmth, everyday use, or even as thoughtful gifts for loved ones.
Fun Crochet Glove Ideas to Keep Your Hands Warm
Their beautiful appearance adds a touch of elegance to any outfit, while their functionality ensures comfort in chilly weather. Whether you prefer simple patterns or detailed designs, crocheted gloves can be tailored to match your style, making them both useful and stunning accessories for everyone to enjoy.
These fingerless crochet gloves are a versatile and stylish accessory, perfect for keeping your hands warm while maintaining dexterity. Whether you're a beginner or intermediate crocheter, this project is quick and enjoyable to make.
Materials
Main Supplies
- Yarn: A couple of skeins of Merino wool or any medium-weight yarn (Size 4). Merino wool is recommended for its elasticity and comfort, but any yarn with similar characteristics will work.
- Crochet Hook: Size 4 mm recommended for medium-weight yarn. Adjust based on your yarn choice for the best fit.
- Embroidery Needle: For sewing edges together and weaving in loose ends.
- Scissors: To cut yarn.
Optional Supplies
- Tape Measure: For custom glove sizing (measuring hand circumference, knuckle-to-wrist distance).
- Stitch Marker: To keep track of rows if needed.
Skill Level
Intermediate: Basic knowledge of crochet techniques like creating slip knots, chaining, single crochet (sc), and sewing edges is required.
Key Abbreviations & Terminology
(All are in US crochet terminology)
- ch – Chain
- sc – Single Crochet
- st(s) – Stitch(es)
Special Notes & Tips
- Customizing Size:
- To make the gloves longer: Increase the number of foundation chains.
- To adjust width: Increase or decrease the total number of rows.
- Gauge:
- Not critical due to the ribbed design, which stretches.
- Each 2 rows create 1 ridge; 28 rows will form approximately 14 ridges.
- Fit Testing: Frequently try on the glove during assembly, especially when placing the thumbhole, to ensure the fit is perfect.
- Optional Color Ideas: Use a single solid color or try alternating colors every 2-4 rows for a striped design.
Detailed Pattern Instructions
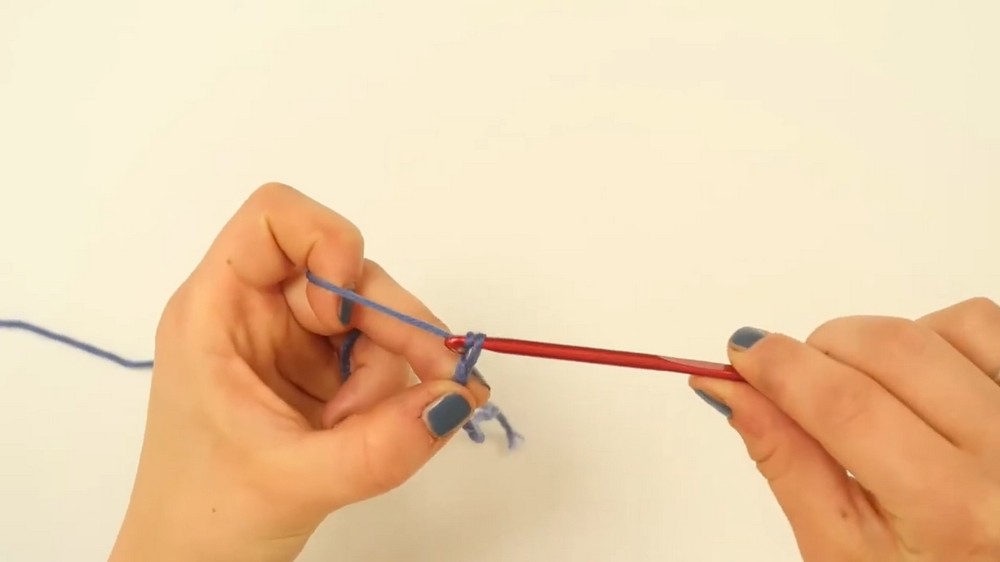
Step 1: Start the Foundation Chain
- Begin with a slip knot on your 4 mm crochet hook.
- Chain 40 (ch 40) for a standard-sized glove. Adjust this number if you want the glove to start higher or lower on the wrist.
- Measure the chain length against your hand, from your knuckles to the point where you want the glove to end.
- Add 2 additional chains (ch 2) at the end of your foundation chain, which will act as a turning stitch for the first row.
Step 2: Row 1
- Insert your hook into the third chain from the hook.
- Single Crochet (sc) into the top loop of each chain across:
- Insert the hook into the top loop.
- Yarn over and pull through (2 loops on hook).
- Yarn over again and pull through both loops (1 single crochet made).
- Continue creating single crochets into every chain across the row.
- At the end of the row, chain 2, and turn your work to begin the next row.
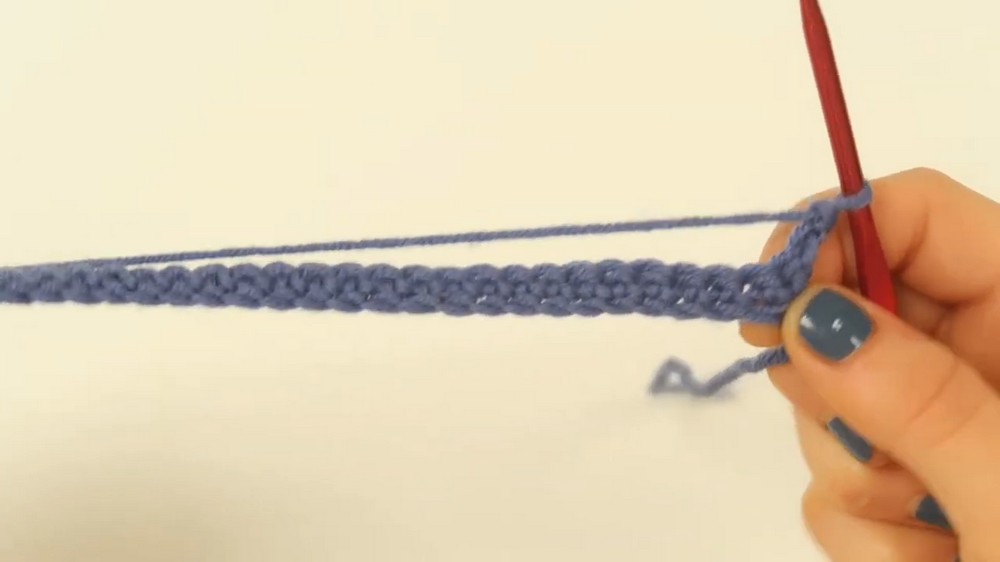
Tip: Keep the chain flat and ensure it doesn’t twist during the crocheting process.
Step 3: Rows 2–28 (Ribbed Design)
- Into the first stitch next to the hook, work a single crochet (sc) into the top loop only. This technique creates a ribbed texture.
- Continuing across the row:
- Insert the hook into the top loop, yarn over, and pull through (2 loops on hook).
- Yarn over, pull through both loops to finish 1 single crochet.
- At the end of each row:
- Chain 2, turn your work, and continue.
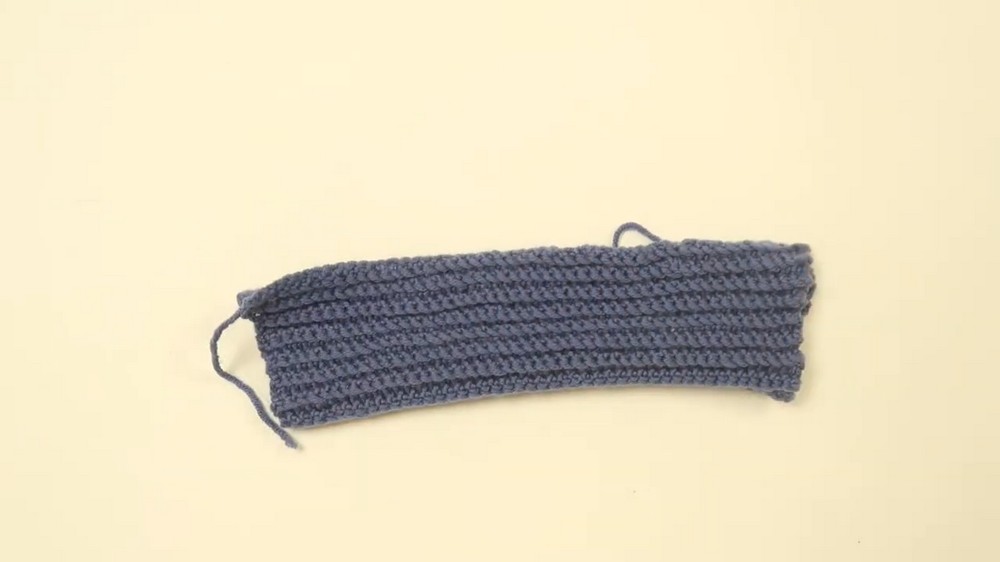
Important: Repeat this process for 28 rows or until you have 14 ridges (every 2 rows create 1 ridge). For a custom fit:
- Add rows for larger hands.
- Decrease rows for smaller hands or children.
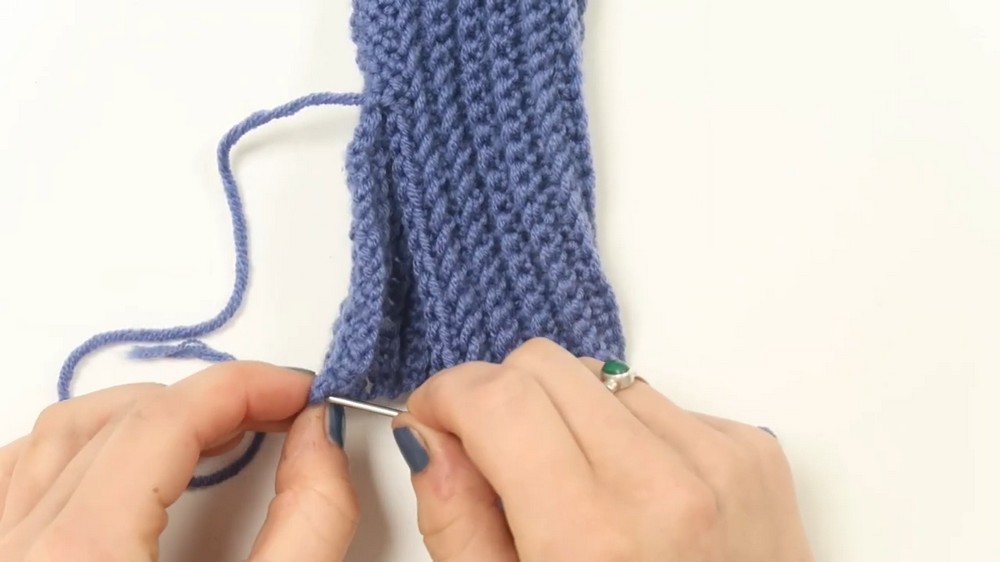
Step 4: Assembling the Glove (Sewing & Thumb Hole)
- Cut 12 inches of yarn and thread it through the embroidery needle.
- Align the edges of your glove so the ridges match vertically.
- Sew the edges together:
- Insert the embroidery needle into the matching stitches on both sides. Start at the bottom edge.
- Pull the yarn up and repeat for the next stitch. Always work from underneath for a neater finish.
- Leave a thumbhole: Sew up the edges until about 2.5 inches from the top for the thumb opening.
Tip: Try on the glove. Adjust the thumbhole or seam placement for a comfortable fit.
Step 5: Finishing the Top Section
- Cut 6 inches of yarn for stitching the top edge of the glove.
- Using the embroidery needle, sew the top section from the thumbhole to the top edge. Follow the same technique as before for alignment.
- Secure the yarn with a small knot, then use the embroidery needle to weave in all loose ends.
Customization Ideas
- Colors: Alternate between 2 or more colors to make stripes. Change colors every 2 rows (or 1 ridge) for a unique design.
- Size Adjustments: For children's sizes, chain fewer foundation stitches (e.g., ch 30-35). Add/subtract rows based on their hand circumference.
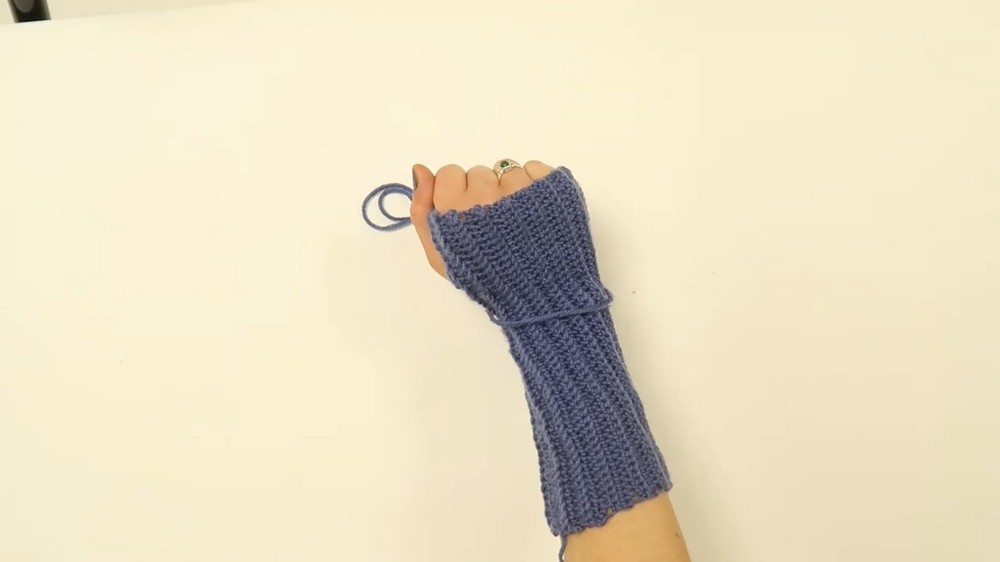
Conclusion
Your ribbed fingerless gloves are now complete! The ribbing provides a durable and stretchy fit, making them both stylish and functional. These gloves make a great gift and are ideal for chilly weather when you still want finger mobility.
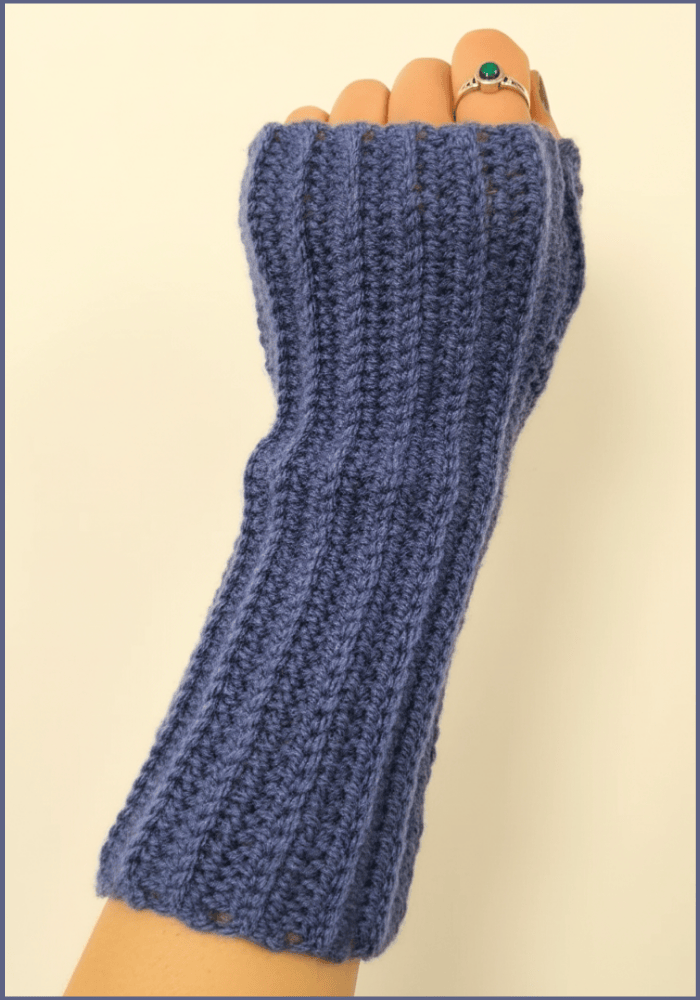
Final Look
- 14 ridges (28 rows) for a snug, stretchy fit around the hand.
- A neat, ribbed texture runs vertically for aesthetic appeal.
- Custom thumbhole ensures comfort and usability.
Pattern Variations
- Striped Gloves
- Use two colors alternated every 2 rows for a minimalist striped design.
- You can also create patterns, e.g., large color blocks by alternating after every 6-8 rows.
- Extended Length
- Add 10–15 extra chains to the foundation chain for gloves that reach farther up the arm. Length can always be adjusted based on the wearer’s preference.
- Child-Sized Gloves
- For smaller hands, chain fewer foundation stitches (30-35) and reduce the total number of rows to 20-24.
Remarks & Final Tips
- Yarn with elasticity (like Merino wool) enhances the fit and prevents stretching over time.
- When sewing, work slowly and align the ridges properly to ensure a polished, professional look.
- Always try the gloves on during key steps (e.g., placing the thumbhole) to avoid having to undo work later.